
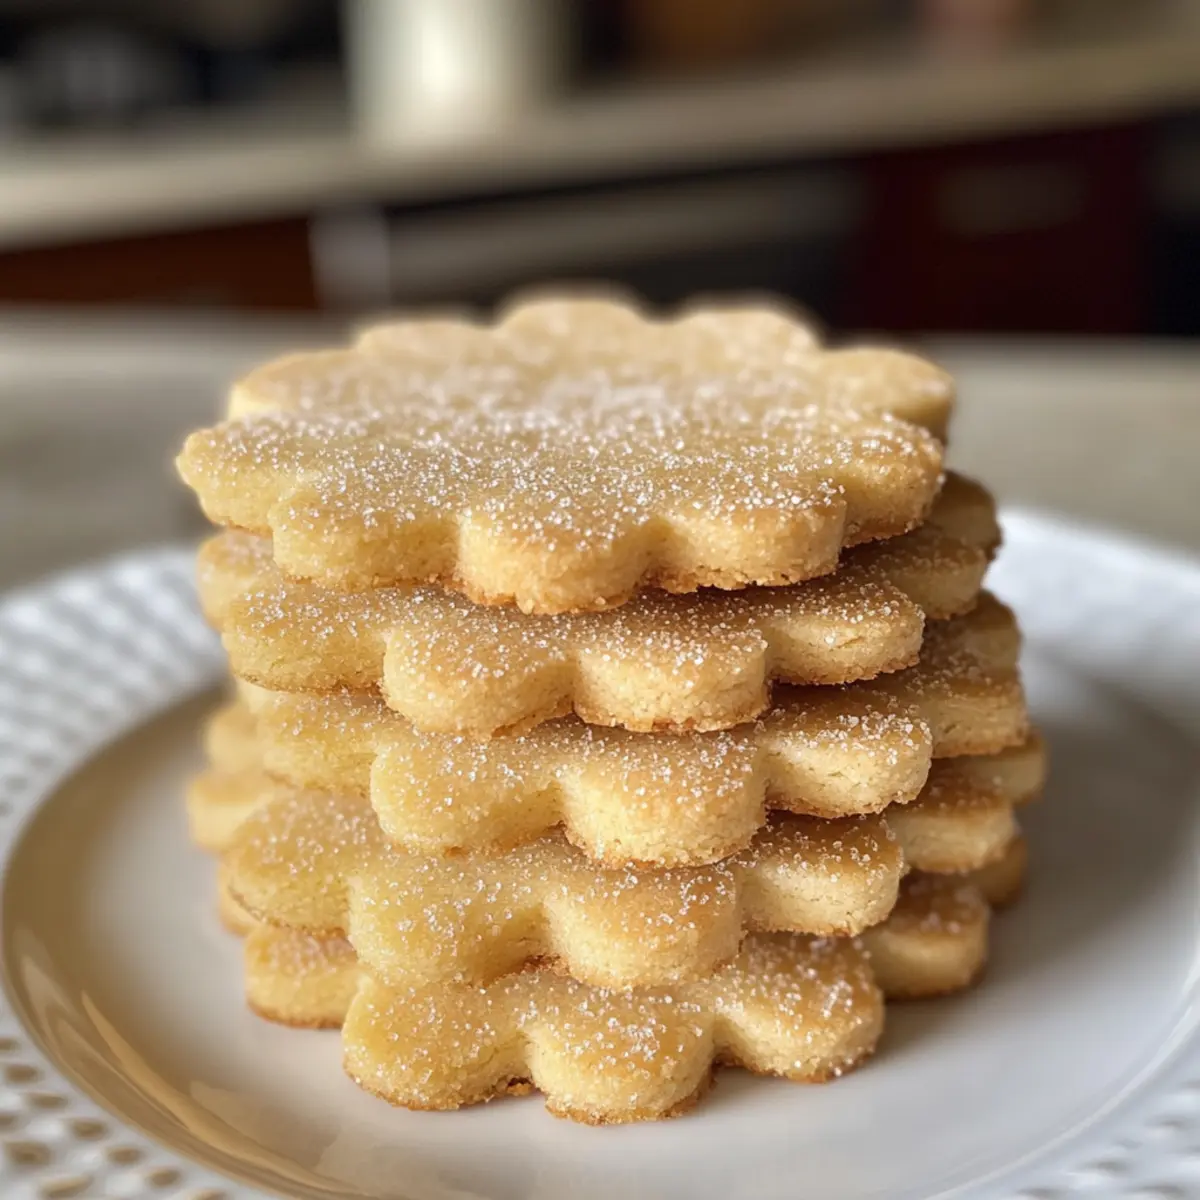
As I stood in my kitchen, the scent of sweet vanilla wafted through the air, instantly transporting me back to cozy holiday gatherings filled with laughter. These Melt-in-Your-Mouth Danish Butter Cookies are my go-to recipe for sharing warm joy during the festive season, and they come with two irresistible perks: they’re incredibly easy to whip up and make for delightful gifts that friends and family can’t resist. With their crumbly texture that melts in your mouth, this classic treat becomes an instant favorite, effortlessly evoking those cherished memories around the table. Ready to bring a little Scandinavian charm into your home? Let’s dive into this heartwarming recipe that invites you to create delicious moments with loved ones!
Why Are These Cookies So Irresistible?
Simplicity at Its Core: These cookies are a breeze to make, requiring only a few common ingredients and minimal effort.
Melt-in-Mouth Delight: The combination of rich European butter and finely milled cake flour creates a light, crumbly texture that simply melts in your mouth.
Perfect for Gifting: Present them in a beautiful tin or box, and you have a thoughtful gift that’s sure to impress friends and family during the holidays.
Versatile Flavors: Feel free to play with flavors—consider adding a hint of almond extract or topping with chocolate drizzles for a delightful twist!
Nostalgic Charm: Each bite evokes the comforting essence of festive gatherings, making them the perfect treat to share during cozy get-togethers.
Quick to Store: With an easy storage method, you can freeze batches to enjoy these delightful cookies whenever the craving strikes! If you like sweet treats, try them alongside Kitchen Sink Cookies or indulge in some Red Velvet Crinkle Cookies for more delicious options.
Danish Butter Cookie Ingredients
• Get ready to create magic with these simple yet irresistible cookies!
For the Batter
- European Salted Butter (1 cup/227 g) – Provides rich buttery flavor; using European butter enhances taste due to higher fat content.
- Granulated Sugar (½ cup/100 g) – Adds sweetness and contributes to the cookie’s texture.
- Salt (⅛ teaspoon) – Enhances flavor; use kosher salt for best results.
- Egg Yolks (2) – Provides richness and helps with structure.
- Vanilla Extract (2 teaspoons/10 g) – Adds aromatic depth and flavor.
- Whole Milk (1 tablespoon/15 g) – Softens the dough for easier piping; optional to add more for dough consistency.
For the Flour Mixture
- All-Purpose Flour (2 cups/220 g) – The primary structure component of the cookies; measure accurately for best results.
- Cake Flour (½ cup/50 g) – Lightens the texture, creating a more delicate crumb; can replace with all-purpose flour if needed.
For Decoration
- Coarse Sugar – For decorating the cookies; adds a crunchy texture.
With these simple Danish butter cookie ingredients, you’re one step closer to baking up a storm and creating delightful memories!
Step‑by‑Step Instructions for Melt-in-Your-Mouth Danish Butter Cookies
Step 1: Preheat the Oven
Begin by preheating your oven to 350°F (175°C). This ensures that your Melt-in-Your-Mouth Danish Butter Cookies bake evenly. While the oven is heating, gather your baking sheets and line them with parchment paper or silicone mats to prevent sticking and ensure easy cleanup.
Step 2: Cream the Butter and Sugar
In a large mixing bowl, combine the room temperature European salted butter, granulated sugar, and salt. Using an electric mixer, cream these ingredients together on medium speed until the mixture is light and fluffy, which should take about 3-5 minutes. The consistency should be smooth, and this step is crucial for achieving that melt-in-your-mouth texture.
Step 3: Add the Egg Yolks and Flavorings
Next, incorporate the egg yolks, vanilla extract, and whole milk into the butter mixture. Mix on low speed until just combined, ensuring a homogeneous mixture without overworking it. This enhances the cookies’ rich flavor and helps bind the ingredients together nicely as you prepare for the next step.
Step 4: Combine the Flour Mixtures
In a separate bowl, whisk together the all-purpose flour and cake flour. Gradually sift this flour mixture into the butter mixture, folding gently to combine. Continue mixing until no flour remains visible, but take care not to over-mix. The dough should be soft and slightly sticky, which is perfect for piping your Danish butter cookies.
Step 5: Pipe the Cookie Shapes
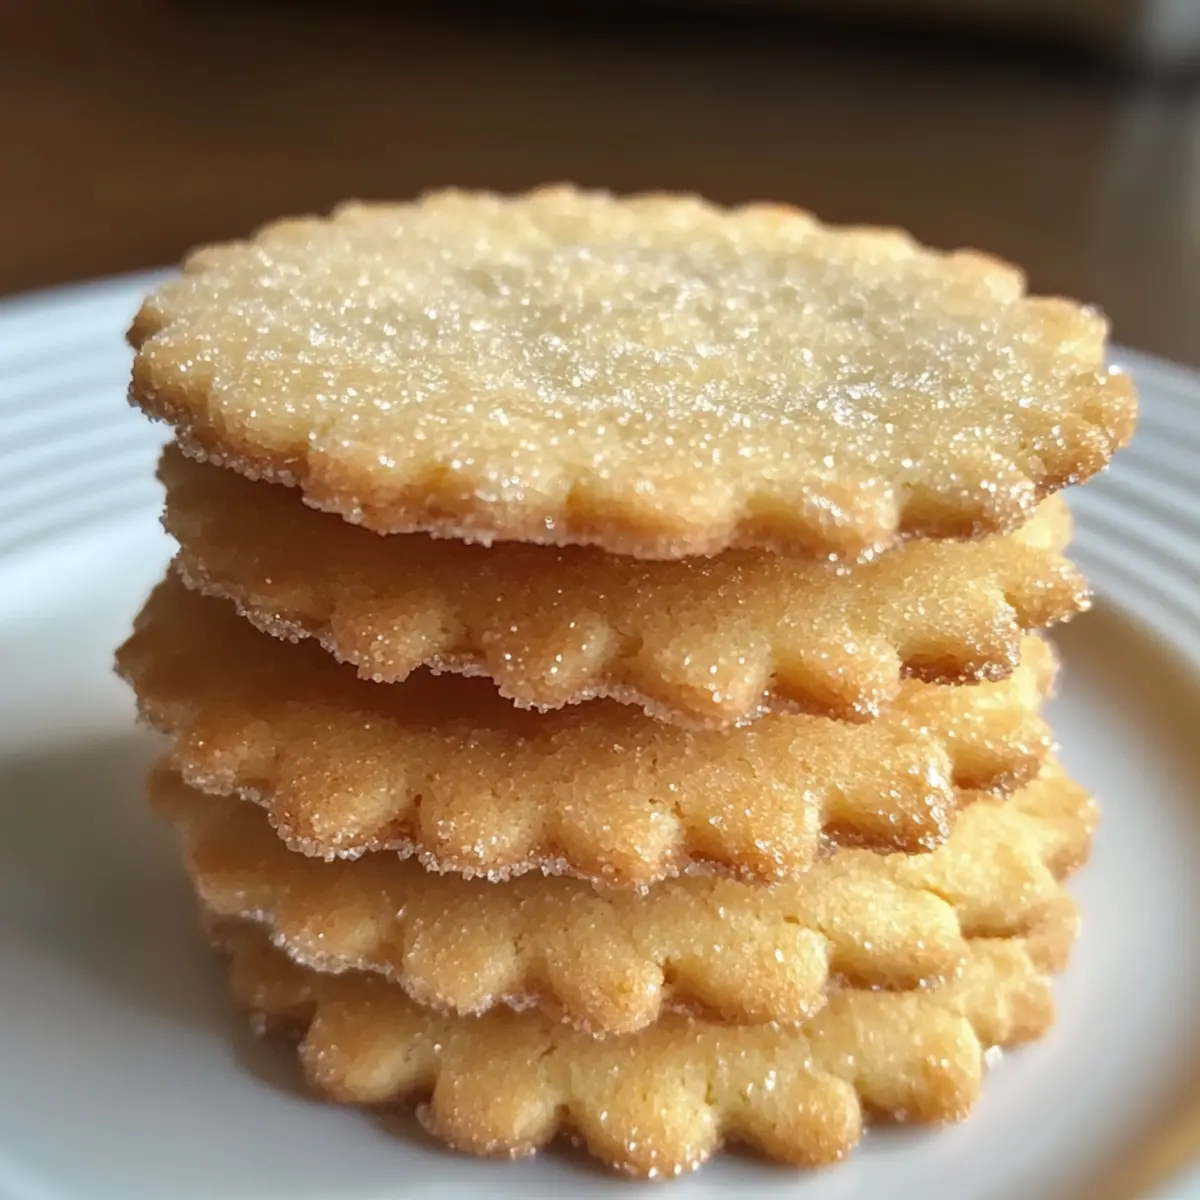
Transfer the prepared cookie dough into a piping bag fitted with a star tip. Pipe the desired shapes onto your lined baking sheets, ensuring they are spaced about 2 inches apart to allow for spreading while baking. Each shaped dollop should be about an inch in diameter, creating lovely petal-like cookies that will bake beautifully.
Step 6: Chill the Cookies
Once all the cookies are piped, place the baking sheets in the refrigerator for 20 to 30 minutes. Chilling the piped cookies is important to help maintain their shape and prevent excessive spreading in the oven, ensuring that your Melt-in-Your-Mouth Danish Butter Cookies have a lovely, defined structure.
Step 7: Bake the Cookies
Take the chilled cookie sheets out of the refrigerator and place them in the preheated oven. Bake for 10 to 15 minutes, or until the edges are lightly golden. Keep an eye on them as they bake, as even a minute too long can change their perfect melt-in-mouth texture.
Step 8: Cool and Serve
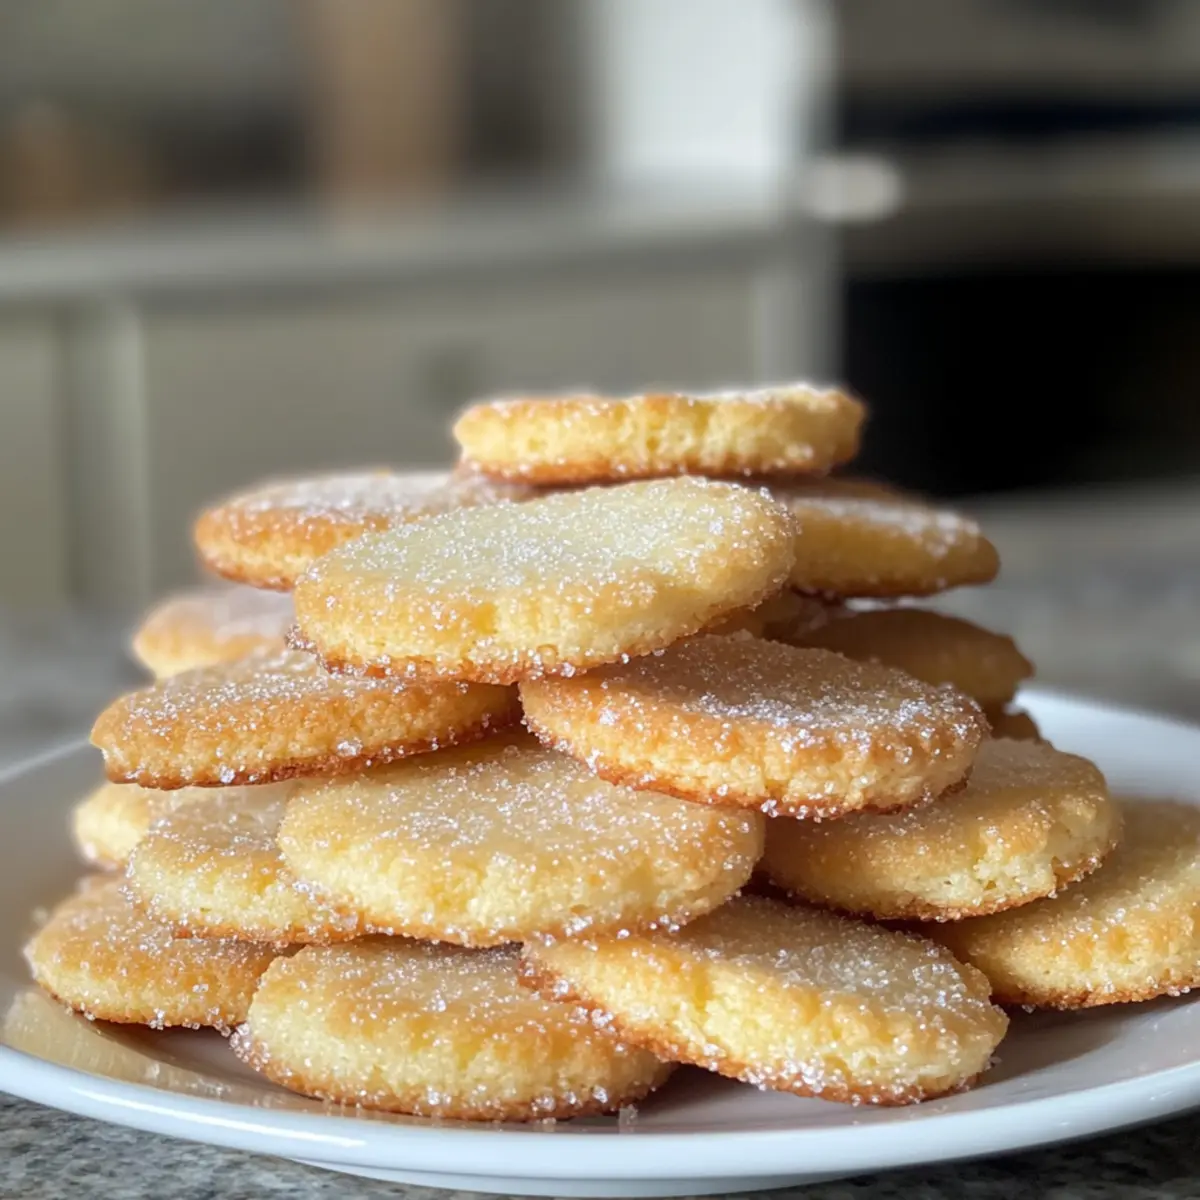
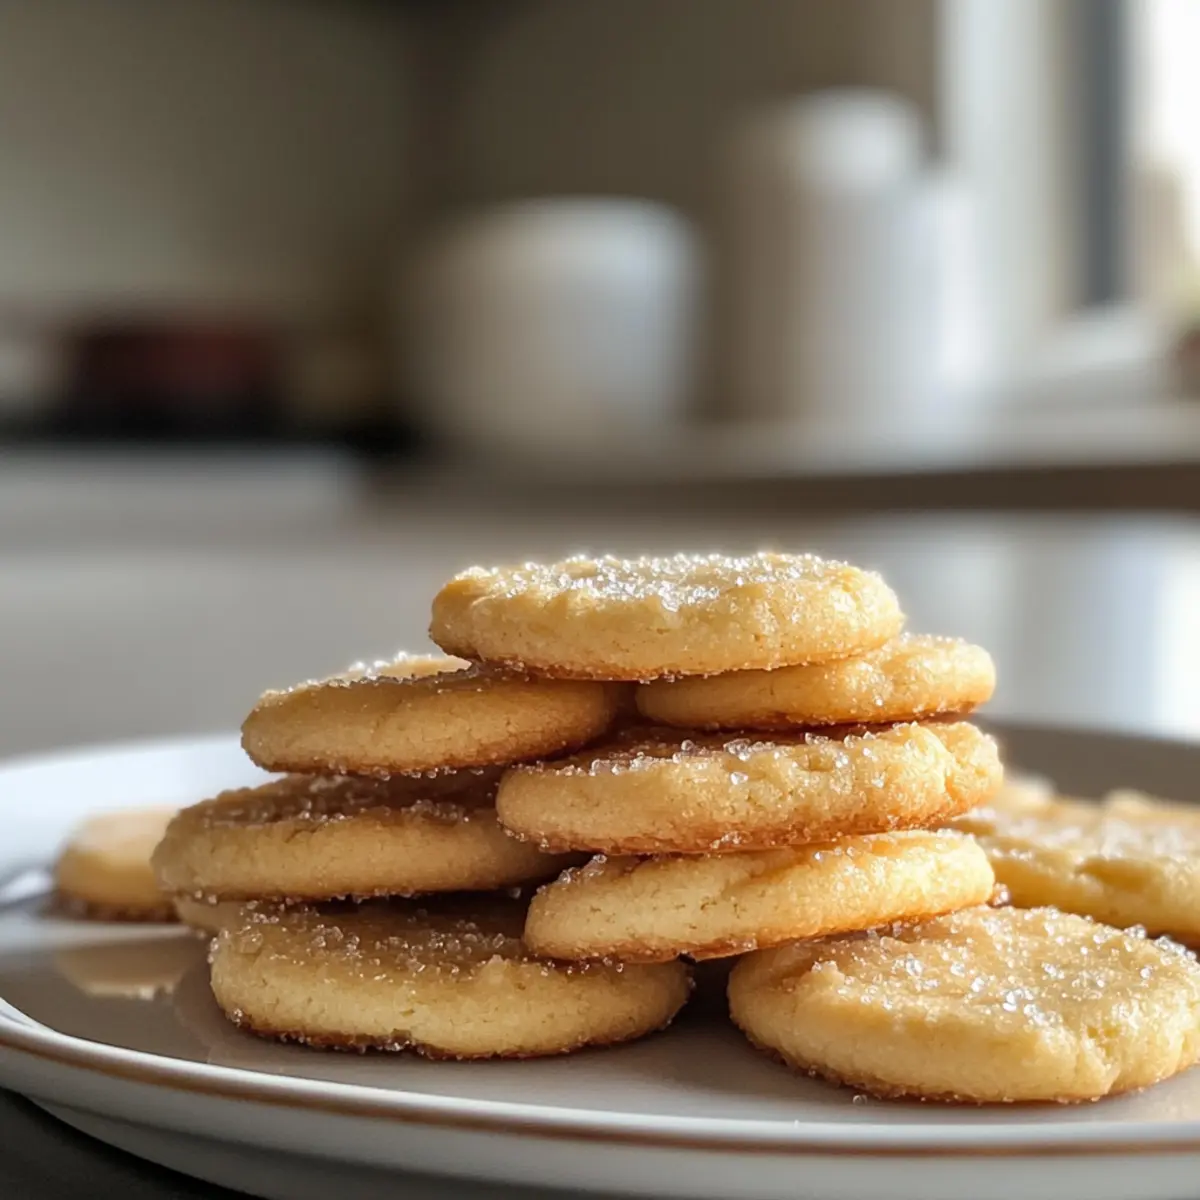
Once baked, allow the cookies to cool on the baking sheet for about 5 minutes. This helps them set slightly before transferring them to a wire rack. After they have cooled completely, enjoy these delightful Melt-in-Your-Mouth Danish Butter Cookies as a perfect treat for yourself or elegant gifts for friends and family!
Make Ahead Options
These Melt-in-Your-Mouth Danish Butter Cookies are perfect for busy home cooks looking to save time during the hectic holiday season! You can prepare the cookie dough up to 24 hours in advance and store it in the refrigerator, tightly wrapped in plastic wrap to maintain its quality. For extended storage, consider piping the cookies onto the baking sheets and covering them with plastic wrap, then refrigerate them for up to 3 days before baking. When you’re ready to bake, simply preheat the oven and transfer the cookies directly from the fridge to the oven—no need to wait! This way, you’ll enjoy fresh, delicious cookies with minimal effort, retaining that delightful melt-in-mouth texture everyone loves.
How to Store and Freeze Danish Butter Cookies
Room Temperature: Store your Danish butter cookies in an airtight container at room temperature for up to 5 days. This keeps them fresh and maintains their delightful melt-in-mouth texture.
Fridge: If you live in a warmer climate, you can keep your cookies in the fridge for up to 7 days. Be sure to use a tightly sealed container to prevent them from drying out.
Freezer: For longer storage, freeze the cookies in an airtight container or freezer bag for up to 3 months. Layer parchment paper between cookies to prevent sticking.
Reheating: To enjoy your cookies warm, place them in a preheated oven at 300°F (150°C) for about 5-10 minutes. This will revive their lovely texture as if they were freshly baked!
Danish Butter Cookie Variations
Feel free to explore your creativity and customize these cookies into delightful variations that tickle your taste buds!
-
Nutty Delight: Swap some of the all-purpose flour for ground almonds or hazelnuts to add a rich nutty flavor. This addition not only enhances taste but also introduces a delightful crunch to each bite.
-
Spiced Accents: Add a pinch of cinnamon or nutmeg for a warm, fragrant twist. These spices evoke cozy feelings, making each cookie taste like a hug from the inside.
-
Almond Extract Boost: Substitute vanilla extract with almond extract for a unique flavor profile. This subtle yet distinct hint will elevate the cookies to a new level of deliciousness, perfect for those who enjoy a nutty aroma.
-
Chocolate Lovers’ Dream: Drizzle melted chocolate over the cooled cookies for an indulgent treat. The combination of buttery cookie and rich chocolate is irresistible, making them a showstopper at any gathering.
-
Festive Sprinkles: Top the cookies with seasonal sprinkles before baking to add a touch of color and fun. Not only do they look inviting, but they also bring a sense of celebration to your holiday gatherings.
-
Citrus Zest Escape: Add the zest of an orange or lemon to the dough for a refreshing twist. This bright flavor adds a unique layer and balances the richness of the butter beautifully.
-
Coconut Crunch: Fold in some shredded coconut for a tropical twist that complements the buttery goodness. The chewy texture of coconut paired with the crumbly cookies creates a delightful experience.
-
Spicy Kick: For those who like it hot, mix in a pinch of cayenne pepper or ground ginger. The warmth from the spice brings an unexpected depth, making each bite an adventure.
These variations allow you to transform your Danish butter cookies while still allowing the core flavors to shine through beautifully. Enjoy exploring these delightful twists, and if you’d like to try out more delectable recipes, don’t miss the opportunity to bake these scrumptious Chocolate Peanut Butter Bars or indulge in our delightful Cajun Seafood Boil with Garlic Butter Sauce. Happy baking!
What to Serve with Melt-in-Your-Mouth Danish Butter Cookies
Nothing pairs better than delightful accompaniments to elevate your cookie experience!
-
Fresh Berries: Their tartness cuts through the richness, adding a refreshing contrast to the buttery sweetness of the cookies.
-
Earl Grey Tea: Aromatic and slightly floral, this tea beautifully complements the vanilla notes in the cookies, making for a cozy pairing.
-
Creamy Hot Chocolate: Rich and indulgent, hot chocolate creates a warm hug in a mug, perfect for dipping those crumbly treats.
-
Homemade Whipped Cream: A dollop of lightly sweetened whipped cream adds a luscious cloud that complements the melting texture of the cookies perfectly.
-
Sparkling Apple Cider: Effervescent and sweet, this beverage lends a festive feel, contrasting the buttery texture while enhancing the overall experience.
-
Chocolate Drizzle: If you want to amp up the dessert aspect, a warm drizzle of melted chocolate offers an elegant finish that makes the cookies even more irresistible.
-
Spiced Chai Latte: With its warming spices, a cup of chai aligns beautifully with the buttery cookies, crafting a soothing treat for chilly evenings.
-
Nutty Biscotti: For a delightful crunch and a different texture, serving these with biscotti provides a unique combination that’s fun to explore.
Expert Tips for Melt-in-Your-Mouth Danish Butter Cookies
-
Room Temperature Ingredients: Ensure your butter and eggs are at room temperature for easier mixing, leading to a smoother, more pliable dough.
-
Chill for Best Shape: Don’t skip the chilling step. Chilling the piped dough prevents the cookies from spreading too much during baking, keeping their pretty shapes intact.
-
Monitor Baking Time: Keep a close eye on the cookies while baking, as they can go from perfect to overbaked very quickly. The edges should be just lightly golden.
-
Measure Flour Accurately: Sift and measure your flour properly to avoid dry dough, which can affect the melt-in-your-mouth texture of these delightful cookies.
-
Taste as You Go: Feel free to adjust flavorings by tasting the dough before piping to ensure your melt-in-mouth cookies have a perfect balance of sweetness and richness.
Melt-in-Your-Mouth Danish Butter Cookies Recipe FAQs
What kind of butter is best for Danish butter cookies?
Using European salted butter is highly recommended as it provides a rich buttery flavor with a higher fat content, enhancing the overall taste of your cookies. If unavailable, you can use regular unsalted butter, but adding a pinch of salt can help mimic the flavor profile.
How should I store my Danish butter cookies?
To keep your cookies fresh, store them in an airtight container at room temperature for up to 5 days. If you’re making them in advance or have leftovers, place them in the fridge for up to 7 days, ensuring they’re tightly sealed to prevent drying out.
Can I freeze Danish butter cookies?
Absolutely! You can freeze your cookies for up to 3 months in an airtight container or freezer bag. To prevent them from sticking together, layer parchment paper between the cookies. When you’re ready to enjoy them, simply thaw them at room temperature or warm them in a preheated oven at 300°F (150°C) for about 5-10 minutes.
What should I do if my dough is too dry?
If you find your cookie dough is too dry, it’s likely due to the flour measurement. Start by adding a tablespoon of whole milk to the dough, mixing gently until well combined. If needed, repeat until you reach the desired consistency. Remember to measure your flour correctly for the best results!
Are these cookies safe for kids and pets?
These melt-in-mouth Danish butter cookies are not toxic to pets; however, they are not suitable for them due to the sugar and butter content. As for kids, they’re generally safe for all ages unless allergies to any ingredients like eggs or dairy are present. Always check with your pediatrician if you have concerns!
How do I prevent my cookies from spreading too much while baking?
Chilling the piped cookies in the refrigerator for 20-30 minutes before baking is key to maintaining their shape. This step helps the butter firm up, resulting in cookies that hold their lovely star-shaped designs during baking. Keeping a close watch on the baking time (10-15 minutes) will also help you achieve that perfect texture!
Melt-in-Your-Mouth Danish Butter Cookies for Delightful Gifting
Ingredients
Equipment
Method
- Preheat your oven to 350°F (175°C). Line baking sheets with parchment paper or silicone mats.
- In a large bowl, cream together the butter, sugar, and salt until light and fluffy (about 3-5 minutes).
- Add egg yolks, vanilla extract, and whole milk, mixing on low speed until just combined.
- In a separate bowl, whisk together the all-purpose flour and cake flour. Gradually sift this into the butter mixture, folding gently.
- Transfer the dough to a piping bag fitted with a star tip. Pipe cookie shapes onto lined baking sheets, spaced 2 inches apart.
- Chill the piped cookies in the refrigerator for 20-30 minutes to help maintain their shape.
- Bake for 10-15 minutes, or until the edges are lightly golden. Watch carefully to prevent overbaking.
- Allow cookies to cool on the baking sheet for 5 minutes before transferring to a wire rack to cool completely.
Leave a Reply