
As I was flipping through my favorite recipe book, a captivating thought struck me—what if I could combine the ooey-gooey goodness of cheese with the delightful crunch of a taco? Enter Loaded Cheesy Pocket Tacos, a dish that has quickly become a staple in our household. These handheld delights are not only a breeze to whip up, but they also allow for endless customization, so you can pack in your favorite meats or veggies. Whether you’re planning a quick weeknight meal or hosting a lively get-together, these customizable cheesy tacos are guaranteed to impress. Plus, they offer the flexibility of gluten-free and vegan options, making them suitable for everyone at the table. Ready to dive into this cheesy adventure? Let’s get cooking!
Why Will You Adore These Tacos?
Customization Galore: The beauty of Loaded Cheesy Pocket Tacos lies in their endless filling possibilities—mix and match meats, veggies, and even switch up the cheeses to suit your cravings.
Quick and Easy: With straightforward instructions, you’ll have these delectable tacos ready to enjoy in no time—perfect for busy weeknights or spontaneous gatherings.
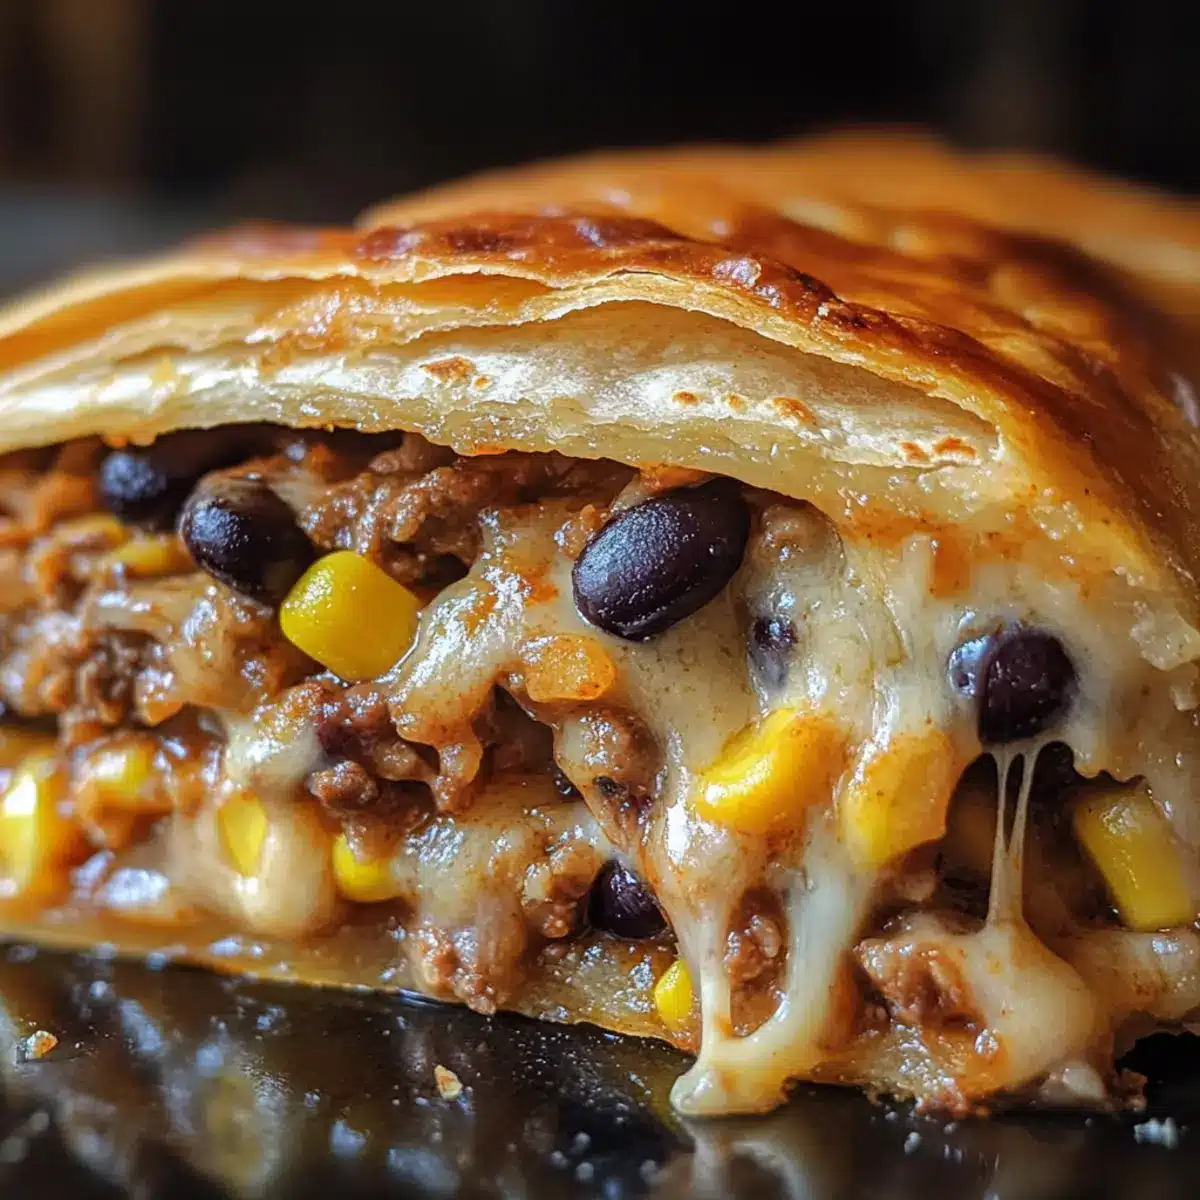
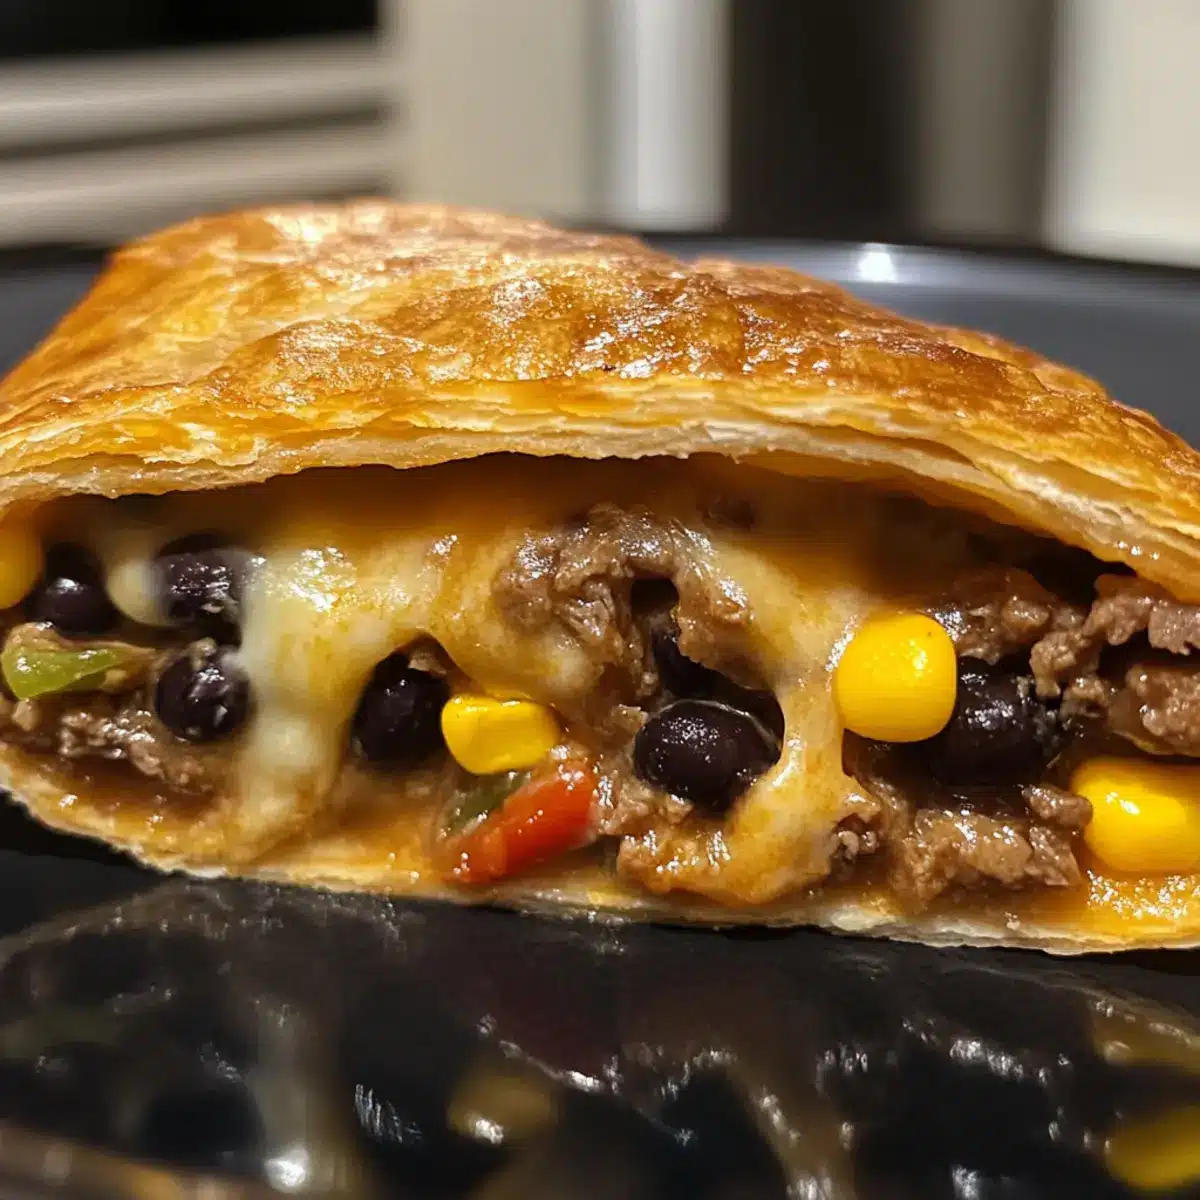
Crispy Texture: Savor a delightful crunch with each bite, showcasing a golden-brown exterior that encases an ooey-gooey cheesy center.
Crowd-Pleasing: Whether it’s a family dinner or a casual get-together, these tacos are sure to be a hit, leaving everyone asking for seconds! Looking for more easy taco alternatives? Check out the mouthwatering Birria Tacos Savory or the delicious Air Fryer Tacos.
Cheesy Pocket Tacos Ingredients
• The must-have ingredients for your new favorite comfort food snack!
For the Filling
- Ground Beef or Turkey – Main protein source; swap with shredded chicken, tofu, or lentils for vegetarian/vegan options.
- Shredded Cheddar Cheese – Provides rich flavor and meltability; substitute with Monterey Jack or any other melting cheese.
- Shredded Mozzarella Cheese – Adds creaminess and additional melt; can be replaced with any mild cheese variant.
- Taco Seasoning – Enhances flavor with earthy spices; consider homemade seasoning for more control over ingredients.
- Black Beans – Adds fiber and protein; can be substituted with pinto beans or chickpeas for variety.
- Corn Kernels – Offers a sweet crunch; use fresh or frozen, or swap with diced bell peppers for a twist.
- Diced Tomatoes – Provides juiciness and freshness; salsa can be used as a flavorful alternative.
For the Tacos
- Flour Tortillas – The base; for a gluten-free option, replace with corn tortillas.
For Toppings
- Chopped Green Onions – Adds freshness and color; optional herbs like cilantro or parsley can be used instead.
- Sour Cream – Complements with creaminess; consider Greek yogurt for a healthier twist.
For Cooking
- Olive Oil or Cooking Spray – Essential for frying; can be substituted with any neutral cooking oil.
With these essentials, you are just a step away from indulging in home-cooked cheesy pocket tacos that will satisfy your cravings and impress your guests!
Step‑by‑Step Instructions for Loaded Cheesy Pocket Tacos
Step 1: Cook Meat
In a large frying pan, heat 1 tablespoon of olive oil over medium heat. Once the oil shimmers, add your choice of ground beef or turkey. Cook for about 7-10 minutes, breaking the meat apart and stirring until it’s browned. Sprinkle taco seasoning over the meat, adding a splash of water, and let it simmer for an additional 3-4 minutes, until fragrant and slightly thickened.
Step 2: Prep Tortillas
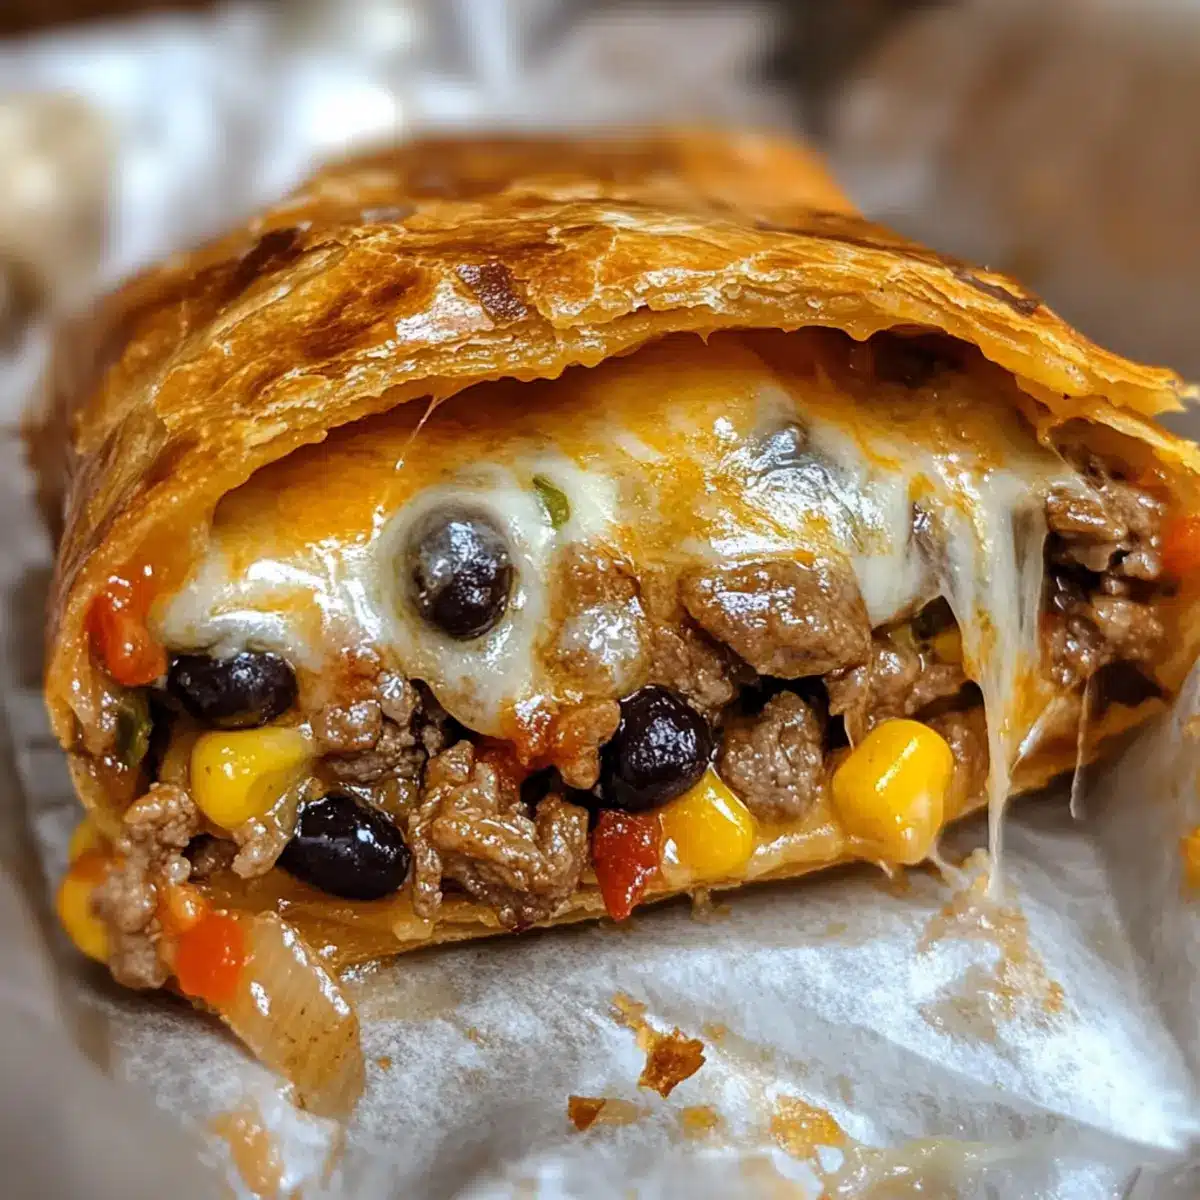
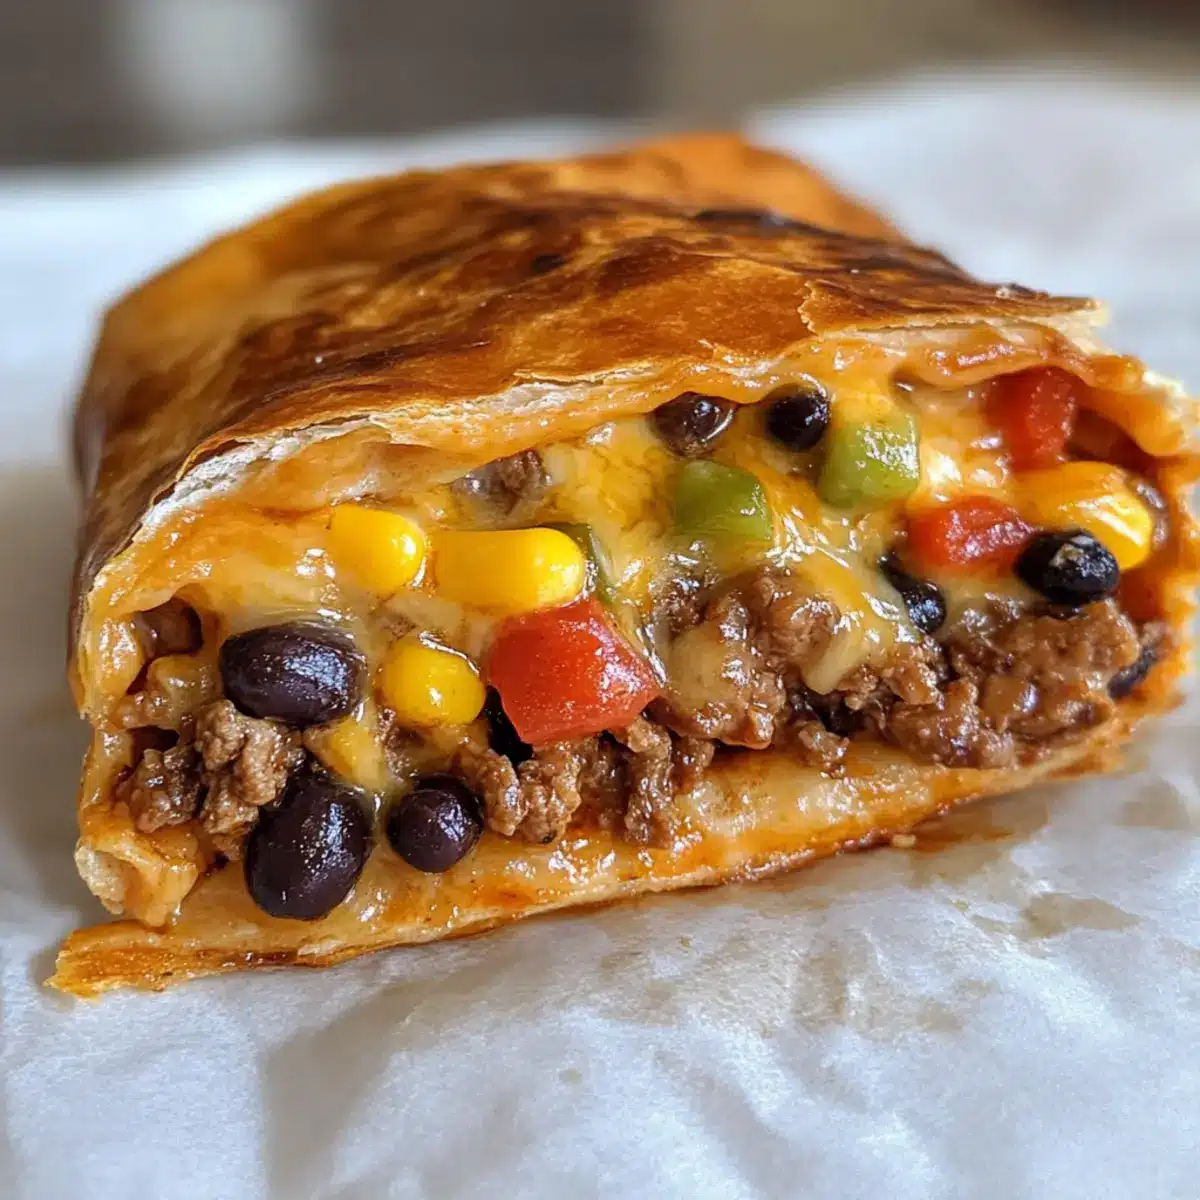
While the meat is simmering, preheat your oven to 350°F (175°C). Take your flour tortillas and lay them out on a clean surface. Start layering each tortilla with a generous scoop of cooked meat, followed by black beans, corn kernels, diced tomatoes, and both shredded cheddar and mozzarella cheese. Aim for an even distribution to ensure every bite is packed with flavor.
Step 3: Form Tacos
Once the tortillas are filled, carefully fold them in half, pressing gently to seal the edges. To make sure they stay closed while cooking, you can lightly pinch or press down along the seam. This step creates your cheesy pocket tacos, ready for that satisfying crunch with gooey cheese inside.
Step 4: Fry Tacos
In the same frying pan you used for the meat, spray a bit of cooking spray or add a touch more olive oil if needed. Heat over medium-low. Carefully place the folded tacos in the pan and fry for about 2-3 minutes on each side, or until they are golden brown and crispy. Keep an eye on them to avoid burning while the cheese melts beautifully inside.
Step 5: Bake
Transfer the fried tacos to a baking sheet, ensuring they’re arranged in a single layer. Pop them into the preheated oven and bake for 5-10 minutes, or until the cheese is melted and bubbly. The oven will also help crisp up the exterior, making these loaded cheesy pocket tacos even more delightful.
Step 6: Serve
Once baked to perfection, remove the tacos from the oven and let them cool for a minute. Serve hot, topped with chopped green onions, a dollop of sour cream, and any fresh herbs you enjoy. These loaded cheesy pocket tacos not only look tempting but are sure to delight your taste buds with every bite!
What to Serve with Loaded Cheesy Pocket Tacos
Savoring the melted cheese and perfectly seasoned filling of these tacos sets the stage for a vibrant meal experience.
- Fresh Guacamole: Creamy and zesty, guacamole pairs beautifully with the rich flavors, adding a burst of freshness to every bite.
- Tortilla Chips with Salsa: Crunchy tortilla chips served with a tangy salsa provide a delightful contrast and a fun sharing option for gatherings.
- Mexican Street Corn Salad: This dish offers a sweet and savory flavor with a creamy dressing, balancing the cheesy richness of the tacos perfectly.
- Crispy Potato Wedges: Golden, crispy wedges bring a comforting texture that complements the soft tacos, creating a hearty meal experience.
- Black Bean Salad: A refreshing mix of black beans, corn, and diced peppers adds a pop of color and additional protein, making the meal wholesome.
- Pineapple Pico de Gallo: Sweet fruits combined with zingy lime and jalapeños elevate the taco experience with a refreshing twist.
- Margaritas: A classic margarita with lime and a touch of salt enhances the Tex-Mex flavors, delivering a festive touch to your meal.
- Chocolate Flan: End the meal on a sweet note with this rich, creamy dessert that echoes the comforting vibes of your cheesy tacos.
Each pairing brings a unique flavor or texture enhancing the enjoyment of your Loaded Cheesy Pocket Tacos!
Make Ahead Options
These Loaded Cheesy Pocket Tacos are a lifesaver for meal prep enthusiasts! You can assemble the tacos up to 24 hours in advance by filling the tortillas with your choice of meat, black beans, corn, and cheeses, then wrapping them tightly in plastic wrap or placing them in an airtight container to refrigerate. To maintain their crispy texture, avoid frying them until you’re ready to serve. When it’s time to enjoy, simply fry the assembled tacos for about 2-3 minutes on each side until golden, then bake them in the oven for 5-10 minutes to melt the cheese. This way, you’ll have delicious cheesy pocket tacos ready with minimal effort, perfect for those busy weeknights!
Storage Tips for Cheesy Pocket Tacos
Fridge: Store leftover cheesy pocket tacos in an airtight container for up to 3 days. This keeps them fresh and maintains their delightful flavor.
Freezer: For longer storage, wrap individual tacos tightly in aluminum foil and place them in a freezer-safe container. They can be frozen for up to a month.
Reheating: To reheat, preheat your oven to 350°F (175°C) and bake frozen tacos for 10-15 minutes, ensuring they stay crispy. Enjoy the gooey goodness just like when they were freshly made!
Make-Ahead: If you’re planning a get-together, feel free to assemble the tacos in advance and refrigerate them. Cook them fresh just before serving for the best texture.
Cheesy Pocket Tacos Variations
Explore the exciting world of flavors and textures with these customizable ideas for your cheesy pocket tacos!
-
Vegan Delight: Substitute ground meat with lentils or plant-based crumbles, using vegan cheese for a tasty plant-based option. Enjoy the same cheesy goodness without the animal products!
-
Gluten-Free Twist: Swap flour tortillas for corn tortillas to make gluten-free cheesy pocket tacos without sacrificing flavor. They’ll hold up beautifully and keep everything inside!
-
Spicy Kick: Add sliced jalapeños or swap cheddar for spicy pepper jack cheese to heat things up. It’s a simple yet effective way to bring the heat to your taco experience!
-
Creamy Avocado: Incorporate mashed avocado into the filling for a creamy texture. This mild addition compliments the spices beautifully and creates a delightful balance.
-
Southwest Veggie: Mix in black beans, corn, and diced bell peppers for a Southwest-inspired veggie twist. The added crunch and flavor will make every bite enjoyable!
-
Salsa Surprise: Replace diced tomatoes with your favorite salsa for an extra punch of flavor. This swap can transform the whole taco with new layers of taste!
-
Herb Infusion: Sprinkle fresh cilantro or parsley into the filling for an aromatic touch. Fresh herbs can elevate the dish and add a refreshing note to your cheesy pocket tacos.
-
Cheese Trio: Use a combination of cheeses like Monterey Jack, cheddar, and cream cheese for an indulgent, creamy inside. The melty mixture will create a cheesy dream come true!
For more family favorites, you might also enjoy pairing these tacos with Spicy Southern Cheesy or serving them alongside crunchy Cheesy Corn Fritters. Each variation offers a delightful way to make these cheesy pocket tacos your own!
Expert Tips for Cheesy Pocket Tacos
-
Keep It Warm: Pre-warm your tortillas in the oven to make them more pliable and easier to fold without tearing.
-
Even Filling: Ensure each taco is filled evenly to prevent some from bursting during frying, maintaining the integrity of your cheesy pocket tacos.
-
Crispy Secrets: Frying at medium heat helps achieve that perfect golden crisp without burning. Adjusts for crispier edges while keeping the filling gooey inside.
-
Storage Savvy: If making in advance, wrap assembled tacos individually in plastic wrap and store in the fridge for no more than 24 hours to maintain quality.
-
Spice It Up: Add chopped jalapeños or a sprinkle of chili powder when cooking meat for an extra kick, catering to spicy lovers.
-
Freezer-Friendly: These tacos freeze beautifully! Wrap in aluminum foil and store in an airtight container—perfect for quick meals later on.
Loaded Cheesy Pocket Tacos Recipe FAQs
How can I choose the best meat for my Loaded Cheesy Pocket Tacos?
Absolutely! For the best flavor and texture, choose ground beef with around 80-85% lean content for juiciness. If you prefer a lighter option, ground turkey or shredded chicken works beautifully. For a veggie twist, try crumbled tofu or lentils for a satisfying meat alternative—both are delicious and nutritious!
How do I store leftover Cheesy Pocket Tacos?
Very! Store your leftover tacos in an airtight container in the refrigerator for up to 3 days. Be sure to separate layers with parchment paper to preserve their texture. If you want to enjoy them later, freezing is a great option!
Can I freeze Loaded Cheesy Pocket Tacos?
Of course! To freeze them, wrap each taco tightly in aluminum foil and place them in an airtight freezer bag or container. They can be stored in the freezer for up to a month. To reheat, preheat your oven to 350°F (175°C) and bake for 10-15 minutes—this keeps them deliciously crispy!
What should I do if my tacos are bursting open while cooking?
No problem! Here’s an easy fix: make sure not to overfill your tacos. Aim for even filling distributions and gently pinch the edges to seal before cooking. Cooking at medium heat also helps, as it prevents the tortillas from burning and keeps the filling gooey inside.
Are these Loaded Cheesy Pocket Tacos suitable for my gluten-free friends?
Absolutely! Just swap the flour tortillas for corn tortillas, which are naturally gluten-free. You can also check any spice blends for gluten-free status. If you or anyone has dairy allergies, there are excellent plant-based cheese alternatives that melt well and keep the cheesy goodness intact!
What are the best toppings for serving with my tacos?
Very! Enhance your loaded cheesy pocket tacos with fresh toppings like chopped green onions, diced tomatoes, or homemade salsa for a burst of flavor. Avocado or guacamole can add creaminess. And for those who enjoy a kick, don’t forget about jalapeños or a drizzle of hot sauce for an extra spicy touch!
Cheesy Pocket Tacos: Your New Favorite Comfort Food Snack
Ingredients
Equipment
Method
- In a large frying pan, heat the olive oil over medium heat. Cook the ground meat for about 7-10 minutes until browned. Add taco seasoning and a splash of water, and let it simmer for 3-4 minutes.
- Preheat your oven to 350°F (175°C). Lay out the tortillas and layer each with cooked meat, black beans, corn, diced tomatoes, and both cheeses.
- Fold each tortilla in half, pressing gently to seal the edges to create the cheesy pocket tacos.
- In the same frying pan, fry the folded tacos for about 2-3 minutes on each side until golden brown and crispy.
- Place the fried tacos on a baking sheet and bake for 5-10 minutes until cheese is melted and bubbly.
- Remove from the oven, let cool slightly, and serve topped with green onions and sour cream.
Leave a Reply