
As I stood in my kitchen, the delicate aroma of purple yam filled the air, transporting me to the vibrant streets of the Philippines. It was the perfect inspiration for my latest endeavor: crafting a Bouncy Chewy Gluten Free Ube Mochi Cake. This delightful treat is not just a feast for the eyes; its chewy texture and subtle sweetness create a unique dessert experience that will leave your taste buds dancing with joy. What’s even better? It comes together in just ten minutes and requires minimal equipment, making it an effortless addition to any gathering. Whether you’re celebrating a special occasion or simply indulging your sweet tooth, this gluten-free delight is certain to impress. Ready to discover how to make this delectable Asian dessert? Let’s dive in!
Why is Ube Mochi Cake so special?
Uniquely Flavorful: Infused with the natural sweetness of Filipino ube, this mochi cake offers a delightful twist that excites the taste buds.
Chewy Perfection: The use of mochiko sweet rice flour ensures a perfectly chewy texture, making every bite a joy.
Quick & Easy: Whip it up in just ten minutes with minimal ingredients and equipment—ideal for busy home cooks.
Gluten-Free Delight: Suitable for those with gluten intolerance, this dessert allows everyone to indulge without worry.
Endless Variations: Experiment with flavors by swapping in your favorite jams or adding nuts for texture—your imagination is the limit!
With its vibrant color and enticing flavor, this Ube Mochi Cake is sure to be the star of your dessert table and impress guests of all ages.
Ube Mochi Cake Ingredients
Here’s everything you need to create this delightful dessert!
For the Batter
- Mochiko Sweet Rice Flour – Essential for the cake’s chewy texture; can use regular rice flour for less chewiness.
- Baking Powder – Ensures the cake rises slightly; no substitutes recommended.
- Kosher Salt – Enhances flavor; regular salt can be substituted in the same amount.
- Unsalted Butter – Adds moisture and richness; substitute with coconut oil for a dairy-free version.
- Granulated Sugar – Provides sweetness; can replace with coconut sugar for a more caramel-like flavor.
- Large Eggs (at room temperature) – Bind ingredients and add moisture; be sure they’re at room temperature to avoid curdling.
- Ube Halaya Jam – Infuses flavor and color; can substitute with homemade ube puree if available.
- Ube Extract – Intensifies the ube flavor; make sure it’s pure or omit for a subtler taste.
- Purple Food Coloring – Enhances aesthetic appeal; optional for a more vibrant color.
- Coconut Milk – Adds creaminess; substitute with any non-dairy milk for variations.
With these ingredients in hand, you’re all set to create a stunning Ube Mochi Cake that promises to delight everyone who takes a bite!
Step‑by‑Step Instructions for Ube Mochi Cake
Step 1: Preheat and Prepare
Begin by preheating your oven to 350°F (175°C). While it’s warming up, take an 8-inch square pan to grease with butter or cooking spray and line it with parchment paper for easy removal later. This step sets the foundation for your delightful Ube Mochi Cake, ensuring it bakes evenly and comes out perfectly.
Step 2: Whisk Dry Ingredients
In a small bowl, whisk together 1 cup of mochiko sweet rice flour, 1 teaspoon of baking powder, and ¼ teaspoon of kosher salt until the mixture is uniform. This blend of dry ingredients is crucial for the chewy texture of your mochi cake. Set this bowl aside as you’ll incorporate it into your wet mixture shortly.
Step 3: Mix Wet Ingredients
In a medium bowl, combine ½ cup of melted unsalted butter with ¾ cup of granulated sugar. Whisk these until smooth, then add in 2 large eggs one at a time, mixing well after each addition. This emulsifies the mixture, creating a rich base for your Ube Mochi Cake. Make sure to incorporate air for lightness!
Step 4: Add Ube and Coconut
Stir in ½ cup of ube halaya jam and a teaspoon of ube extract to enhance that beautiful ube flavor. If using, add a few drops of purple food coloring to intensify the visual appeal. Lastly, whisk in ½ cup of coconut milk until fully combined, ensuring a creamy texture that complements the ube.
Step 5: Combine Wet and Dry Mixtures
Gradually fold the dry ingredients into the wet mixture using a spatula. Be gentle to avoid overmixing, as you want to maintain the cake’s bouncy texture. Stop mixing once you see no dry spots; the batter should be slightly lumpy, signaling that it’s ready for the oven!
Step 6: Pour and Smooth the Batter
Pour the batter into the prepared pan, using a spatula to smooth the top evenly. This ensures uniform baking and a lovely rise. Visualize a beautiful golden hue forming as it bakes. Don’t forget to tap the pan gently on the counter to remove any air bubbles trapped in the batter.
Step 7: Bake to Perfection
Place the pan in your preheated oven and bake for 48-50 minutes. The Ube Mochi Cake is done when a skewer inserted in the center comes out with a few moist crumbs—indicative of its chewy texture. Keep an eye on it towards the end to avoid over-baking, ensuring that perfect finish.
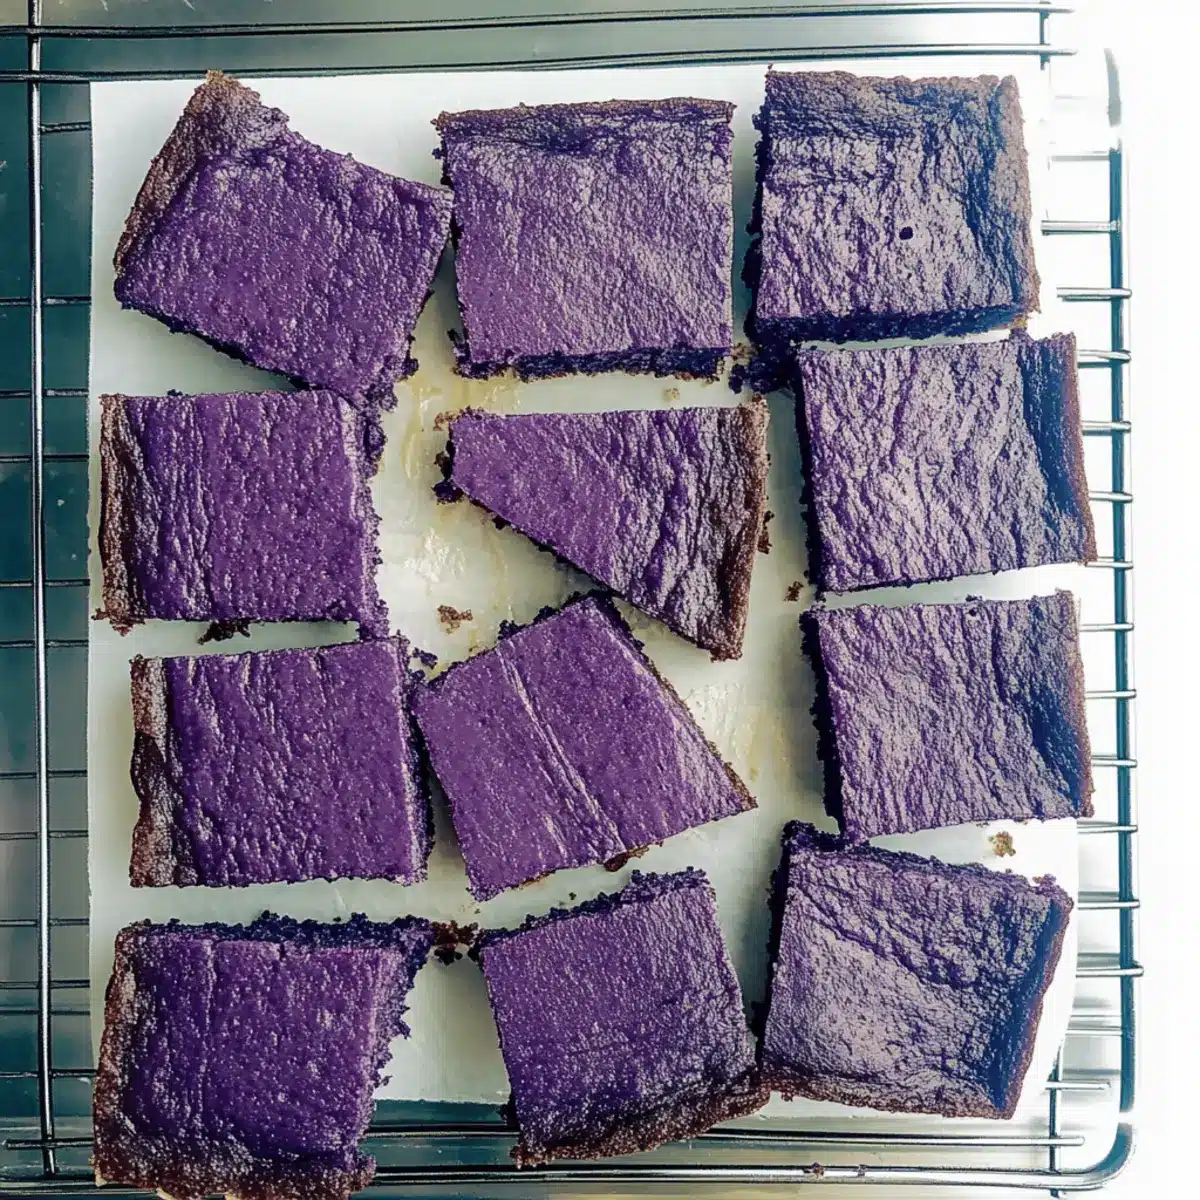
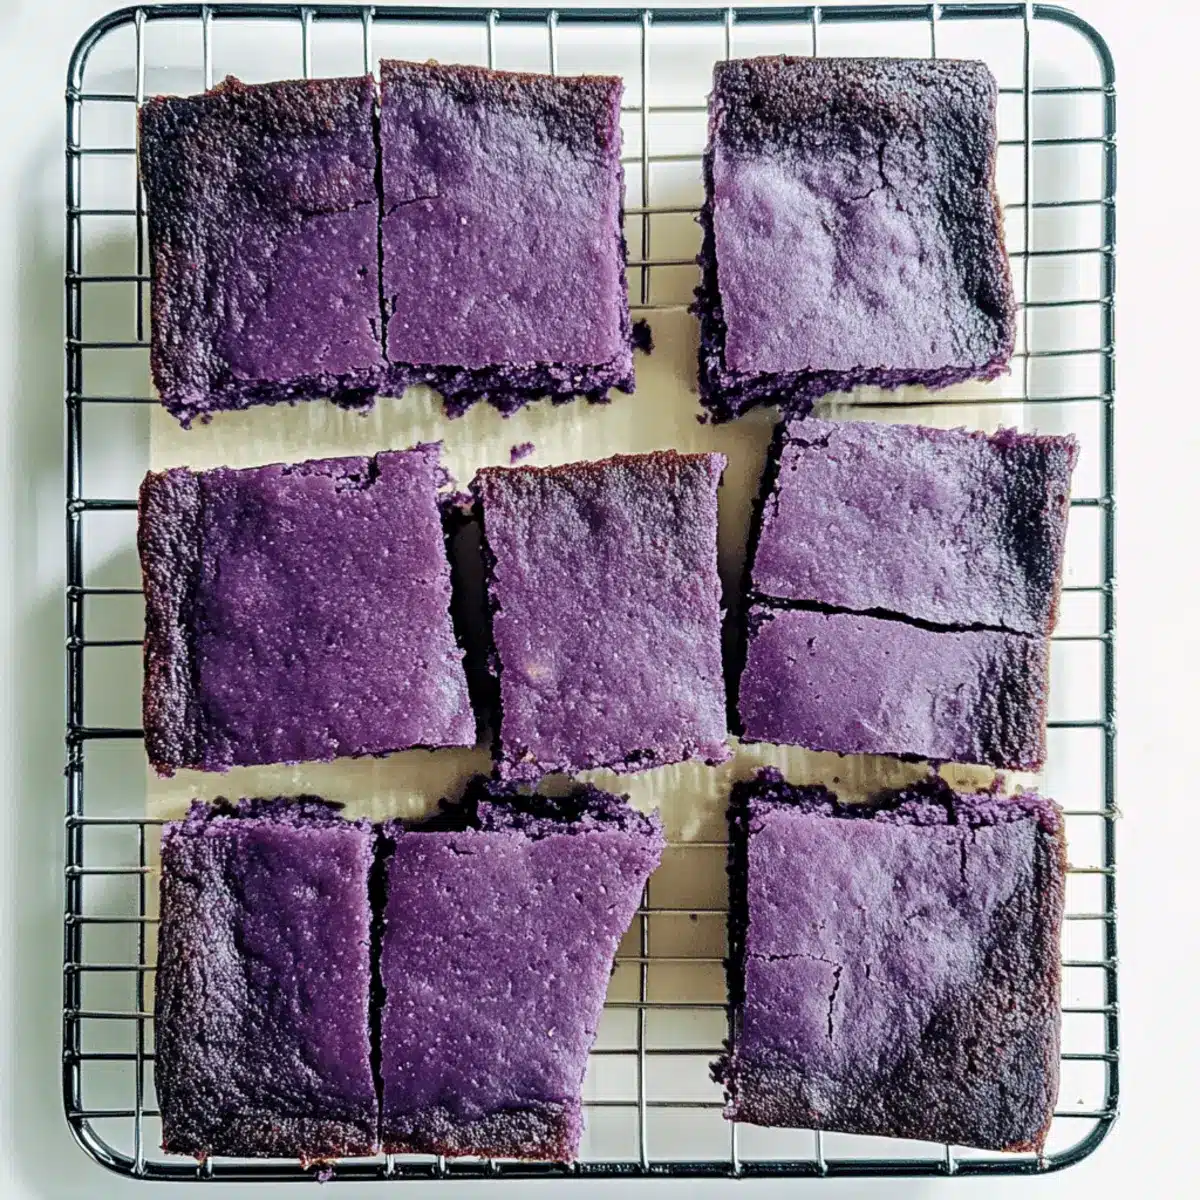
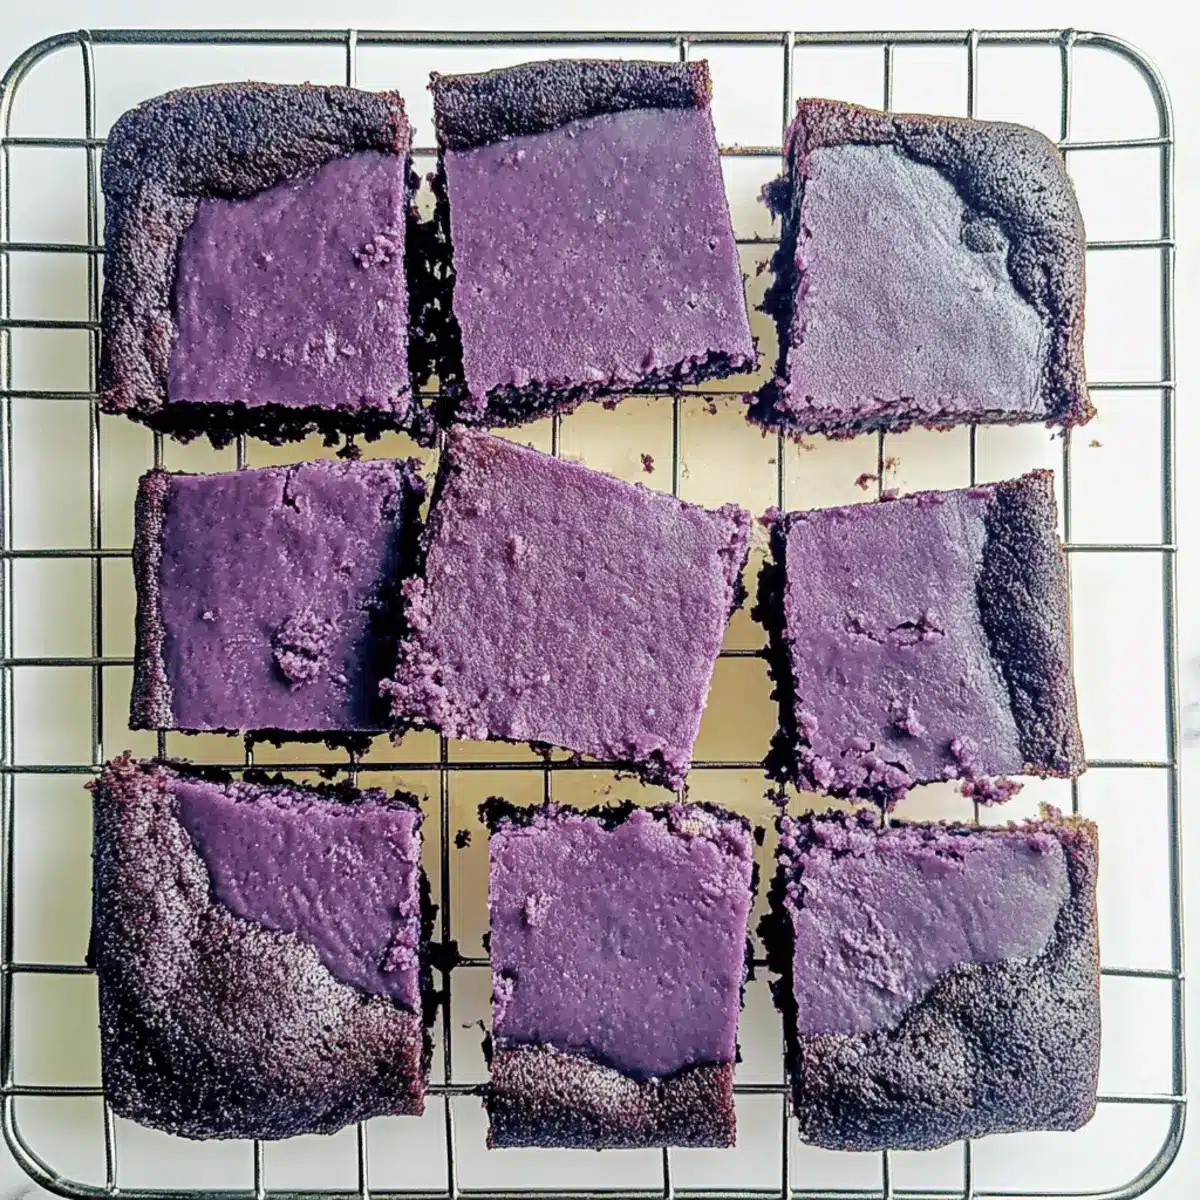
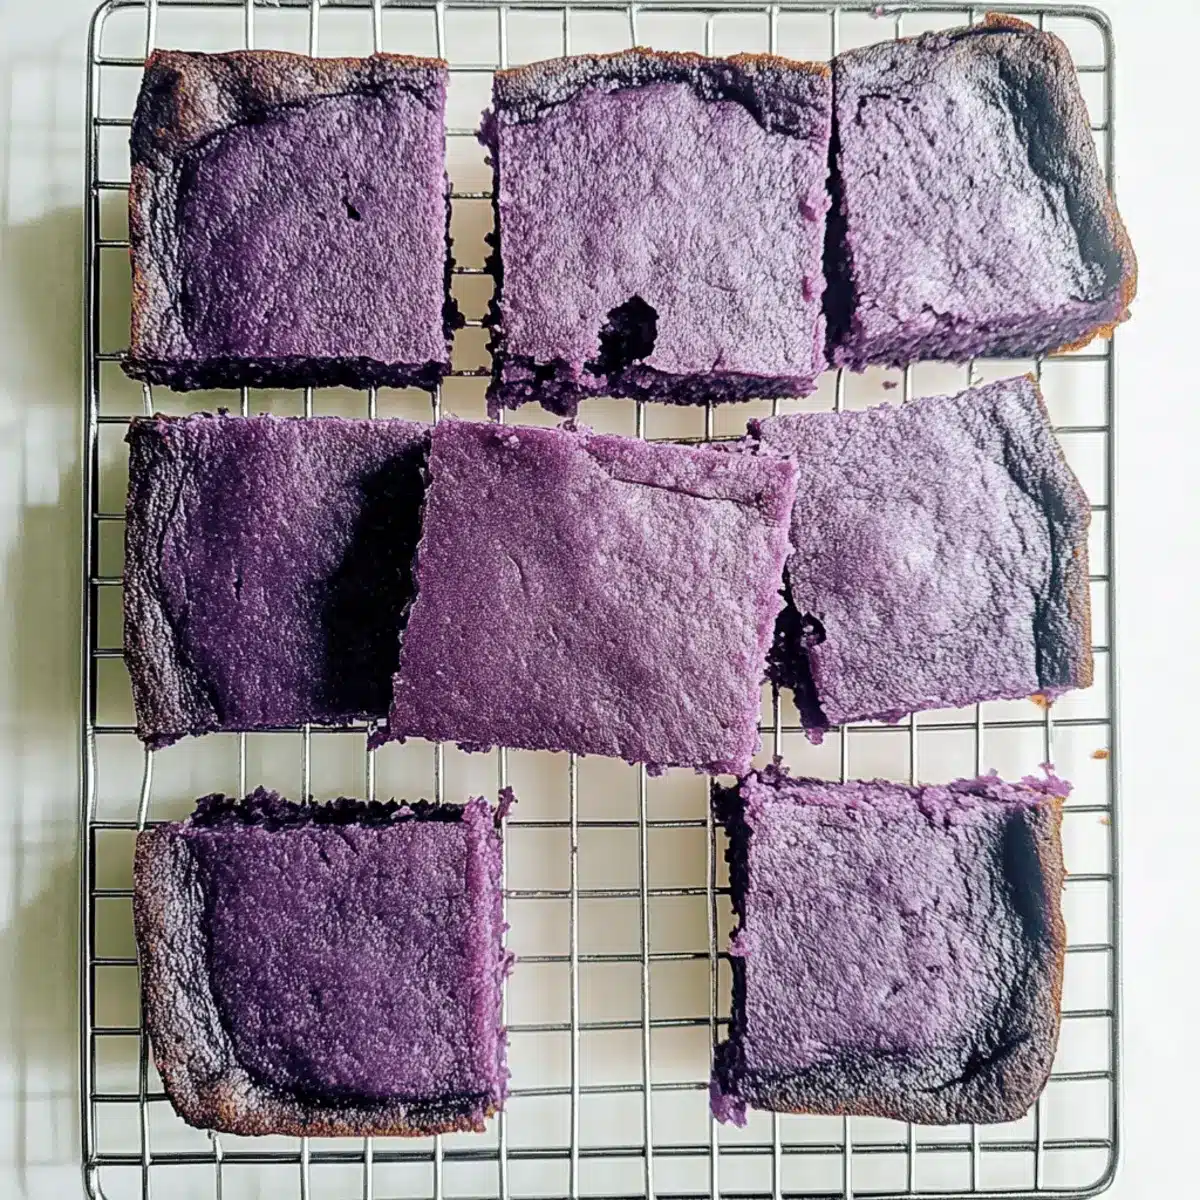
Step 8: Cool and Serve
Once baked, remove the pan from the oven and let it cool on a wire rack for at least 15-20 minutes. This cooling step is essential for setting the texture of your Ube Mochi Cake. When it’s cool enough to handle, slice it into squares, and savor the vibrant flavors and delightful chewy bite of your creation!
What to Serve with Bouncy Chewy Gluten Free Ube Mochi Cake
Imagine a vibrant feast for the senses, where the unique sweetness of ube mochi cake meets delightful companions that elevate every bite.
- Coconut Whipped Cream: A light and airy topping that adds a creamy richness, balancing the chewy texture of the mochi without overpowering its flavor.
- Fresh Mango Slices: Juicy and sweet, fresh mango slices provide a refreshing contrast to the dense cake, enhancing its tropical essence.
- Green Tea Ice Cream: This creamy, earthy pairing brings a silky smoothness to each bite and balances the cake’s sweetness with its subtle bitterness.
- Tropical Fruit Salad: A medley of pineapple, papaya, and kiwi adds a burst of freshness, brightening your dessert table while reflecting the cake’s roots.
- Black Sesame Cookies: Serve these alongside for a nutty complement; the crunch pairs perfectly with the soft texture of the mochi cake.
- Iced Hibiscus Tea: This floral drink with a hint of tartness contrasts beautifully with the sweetness of the cake, making each sip a delightful experience.
- Chocolate Drizzle: A ribbon of warm chocolate over the cake elevates it to a gourmet treat, adding an elegant touch that satisfies any chocolate lover.
- Lychee Sorbet: Light and refreshing, this sorbet enhances the ube flavor while cleansing the palate, making it a perfect accompaniment.
- Roasted Nori Chips: A savory snack that offers a salty touch, providing a playful and unexpected contrast to the dessert.
Make Ahead Options
These Bouncy Chewy Gluten Free Ube Mochi Cakes are perfect for busy home cooks who want to streamline their dessert preparation! You can prepare the batter up to 24 hours in advance by mixing all the wet and dry ingredients together, then refrigerating it in an airtight container to maintain freshness. When you’re ready to bake, simply pour the batter into the prepared pan, and pop it in the oven. Alternatively, if you want to bake the cake ahead of time, it remains delicious for up to 3 days at room temperature in an airtight container. Just remember to cool it completely before sealing to preserve that wonderful chewy texture. Enjoy the convenience of having this delightful treat ready to share at a moment’s notice!
How to Store and Freeze Ube Mochi Cake
Room Temperature: Store leftover ube mochi cake in an airtight container at room temperature for up to 3 days to maintain its delightful chewiness and flavor.
Freezer: For long-term storage, wrap individual slices tightly in plastic wrap and place them in a freezer-safe bag. The cake will keep for up to 3 months; however, expect a slight texture change upon thawing.
Reheating: To enjoy your frozen mochi cake, thaw overnight in the fridge or at room temperature. Reheat briefly in the microwave for 10-15 seconds to restore softness before serving.
Ube Mochi Cake Variations & Substitutions
Feel free to add your own twist to this delightful dessert and let your creativity shine!
-
Dairy-Free: Substitute unsalted butter with coconut oil for a vegan-friendly option that still delivers richness.
Enhancing the cake’s flavor with coconut oil gives it a subtle tropical aroma, making each bite even more delightful. -
Sweet Swaps: Use coconut sugar instead of granulated sugar for a deeper, caramel-like sweetness that pairs beautifully with ube.
This simple change provides a more complex flavor profile, elevating the cake’s taste and texture. -
Egg-Free: Substitute eggs with flaxseed meal or a store-bought egg replacer for a vegan version.
Mix one tablespoon of ground flaxseed with three tablespoons of water and let it sit for a few minutes; it works wonderfully while keeping the cake moist! -
Nutty Delight: Add chopped nuts like walnuts or macadamia nuts to the batter for an exciting texture contrast.
Their crunch adds a nutty flavor that complements the soft, chewy cake, providing an unexpected culinary surprise. -
Fruity Fusion: Replace ube halaya with any fruit jam, like mango or guava, for a completely different flavor experience.
Each fruit brings its own unique sweetness and aroma, transforming the mochi cake into a versatile treat suited for any occasion. -
Flavor Boost: Experiment by adding a teaspoon of vanilla extract or a dash of cinnamon to deepen the flavor profile of your cake.
This subtle enhancement can elevate your ube mochi cake into a new level of deliciousness and warmth. -
Color Play: Use different food colorings to create a visually stunning cake for special occasions.
This aesthetic twist not only attracts the eye but also invites friends and family to indulge in your delightful creation. -
Creamy Layer: Top the cake with a layer of whipped cream or dairy-free whipped topping for added creaminess.
This delicious addition pairs perfectly with the chewy texture, making every bite a heavenly experience not soon forgotten!
With these variations, you can create a bouncy ube mochi cake that’s uniquely yours while enjoying the classic charm of this Filipino dessert. For more easy and delicious dessert ideas, check out our guide on baking with alternative flours and try incorporating seasonal fruits for exciting new flavors!
Expert Tips for Ube Mochi Cake
- Room Temperature Eggs: Ensure your eggs are at room temperature to prevent curdling when mixed with melted butter, leading to a smoother batter.
- Gentle Mixing: Avoid overmixing the batter; a few lumps are perfectly fine. This will help maintain the cake’s delightful chewy texture, crucial for a successful ube mochi cake.
- Precise Baking Time: Keep an eye on the baking time; check for doneness a few minutes early. A skewer should come out with just a few crumbs for the perfect consistency.
- Cooling Essentials: Allow the cake to cool in the pan before slicing. This step ensures that the texture sets correctly and prevents it from falling apart.
- Storage Knowledge: Enjoy your ube mochi cake fresh, but if stored, keep it in an airtight container at room temperature for up to 3 days to maintain its chewy delight.
Bouncy Chewy Gluten Free Ube Mochi Cake Recipe FAQs
What is the best way to select ripe ube for this recipe?
When selecting ube, look for smooth, firm skin without dark spots. The heavier the ube, the sweeter and more flavorful it will be. A perfect ube has a deep purple color and a slightly earthy aroma. If it’s too soft or has brown blemishes, it’s likely past its prime.
How should I store leftover ube mochi cake?
Store leftover ube mochi cake in an airtight container at room temperature for up to 3 days. Keeping it sealed helps maintain its chewy texture and prevents it from drying out. If you want to save some for later, absolutely wrap it tightly in plastic wrap for optimal freshness.
Can I freeze the ube mochi cake?
Yes! To freeze your ube mochi cake, wrap individual slices tightly in plastic wrap, then place them in a freezer-safe resealable bag. This way, you can enjoy them later without worrying about freezer burn. The cake will maintain its quality for up to 3 months. When you’re ready to enjoy it, simply thaw overnight in the fridge or at room temperature, and if you like it warm, reheat for 10-15 seconds in the microwave for that soft, chewy goodness.
What if my ube mochi cake is not chewy enough?
If you find your ube mochi cake isn’t chewy enough, it may be due to overbaking—making it drier and less chewy. Ensure you check for doneness with a skewer around 48 minutes. Also, using the right type of flour is key; mochiko sweet rice flour is essential for that bouncy texture. If you want a chewier result, keep the baking time slightly shorter, and avoid overmixing the batter.
Can I make this recipe dairy-free?
Absolutely! You can easily make this ube mochi cake dairy-free by substituting melted unsalted butter with coconut oil. This not only maintains the cake’s moisture but also adds a lovely subtle coconut flavor that pairs beautifully with ube. Just ensure your sugar is dairy-free as well, although granulated sugar typically is.
Is ube safe for pets or those with allergies?
Ube is generally safe for dogs in moderation, but avoid giving them large portions as it may cause gastrointestinal upset. As for allergies, ube is gluten-free, but always check for cross-contamination if you’re cooking for someone with severe allergies. Keep in mind that if you’re using specific brands for ingredients like ube jam or coconut milk, check the labels to ensure there are no allergens.
Bouncy Ube Mochi Cake: The Chewy Gluten-Free Delight
Ingredients
Equipment
Method
- Preheat your oven to 350°F (175°C) and prepare an 8-inch square pan with grease and parchment paper.
- In a bowl, whisk together mochiko sweet rice flour, baking powder, and kosher salt.
- In another bowl, mix melted butter with granulated sugar until smooth, then add eggs one at a time.
- Stir in ube halaya jam and ube extract; optionally add food coloring and mix in coconut milk.
- Fold the dry ingredients into the wet mixture carefully until just combined.
- Pour the batter into the prepared pan and smooth the top.
- Bake for 48-50 minutes until a skewer comes out with a few moist crumbs.
- Cool on a wire rack for 15-20 minutes, then slice and serve.
Leave a Reply