
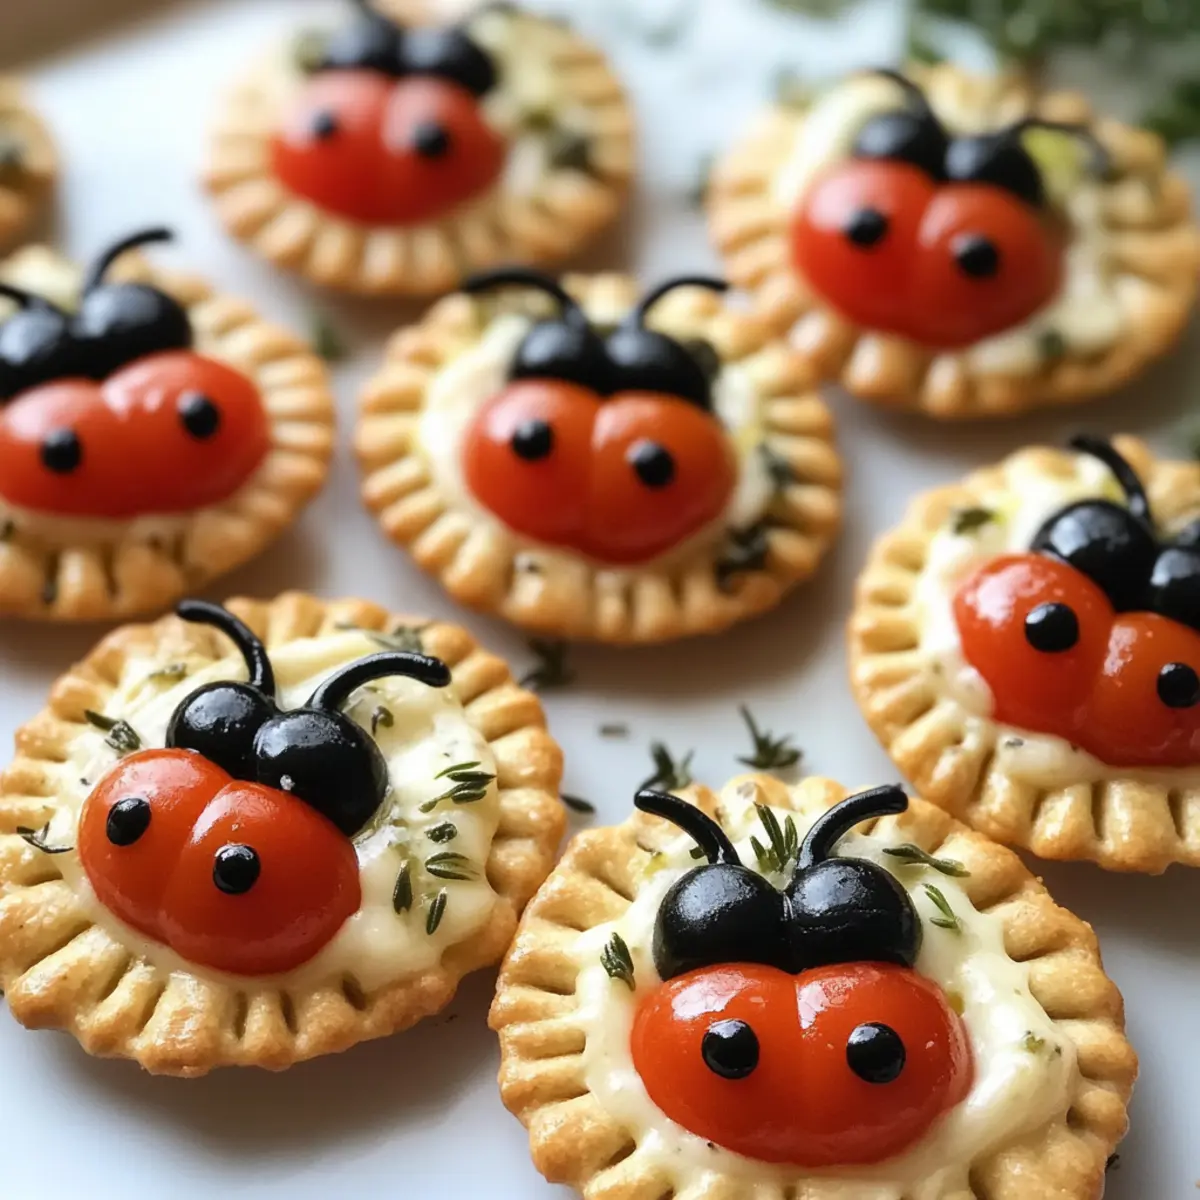
“Look! The garden is alive with ladybugs!” The excitement in my child’s voice pulls me from the depths of a busy kitchen, where I’m juggling dinner prep and an endless list of chores. It’s moments like these that inspire me to whip up fun, engaging snacks, and that’s how I stumbled upon Ladybug Crackers. These delightful, easy-to-make treats are not just visually appealing with their red tomato wings and olive heads; they also bring a touch of joy to any snack time. Perfect for parties or afternoon playdates, they’re a healthy and no-bake option that parents can feel good about serving. Plus, getting kids involved in making their own ladybug snacks can turn eating into a delightful adventure. Curious how to create this irresistible treat that will spark smiles? Let’s dive in!
Why Are Ladybug Crackers Perfect for Kids?
Engaging Fun: These Ladybug Crackers transform snack time into a whimsical experience that encourages creativity in the kitchen.
No-Bake Ease: With no cooking required, even little hands can help assemble these delightful snacks, making it a perfect family activity.
Visually Appealing: The bright colors and playful design will attract kids’ attention, ensuring that healthy eating becomes an enjoyable routine.
Customizable Options: Feel free to mix and match toppings! From cucumbers to different cheeses, every batch can be a new adventure—ideal for celebrating different occasions or themes.
Party Hit: Perfect for classroom events or birthday celebrations, these snacks impress guests and add a delightful touch to any gathering.
For more creative ideas, check out our article on Easy Kid-Friendly Snacks.
Ladybug Crackers Ingredients
For the Base
• Plain Round Crackers – Choose sturdy options to hold toppings without breaking.
For the Cream Filling
• Cream Cheese (8 oz, mixed with fresh herbs) – Use softened cream cheese for easy spreading and to help the toppings stick.
For the Ladybug Wings
• Cherry Tomatoes (6 pieces, sliced in half) – Cut-side down creates beautiful ladybug wings that are eye-catching.
For the Ladybug Head
• Black Olives (6 pieces, whole or halved) – These add both contrast and a delightful taste to the snacks.
For the Antennae
• Fresh Chives (2 stalks, cut into short pieces) – These add a fun touch and enhance the overall presentation of your Ladybug Crackers.
Step‑by‑Step Instructions for Ladybug Crackers
Step 1: Prepare Ingredients
Begin by gathering all your ingredients on a clean countertop. Soften the cream cheese by leaving it at room temperature for about 30 minutes until it’s easy to spread. Meanwhile, slice the cherry tomatoes in half and chop the chives into short pieces, which will serve as the ladybug’s antennae later.
Step 2: Spread Cream Cheese
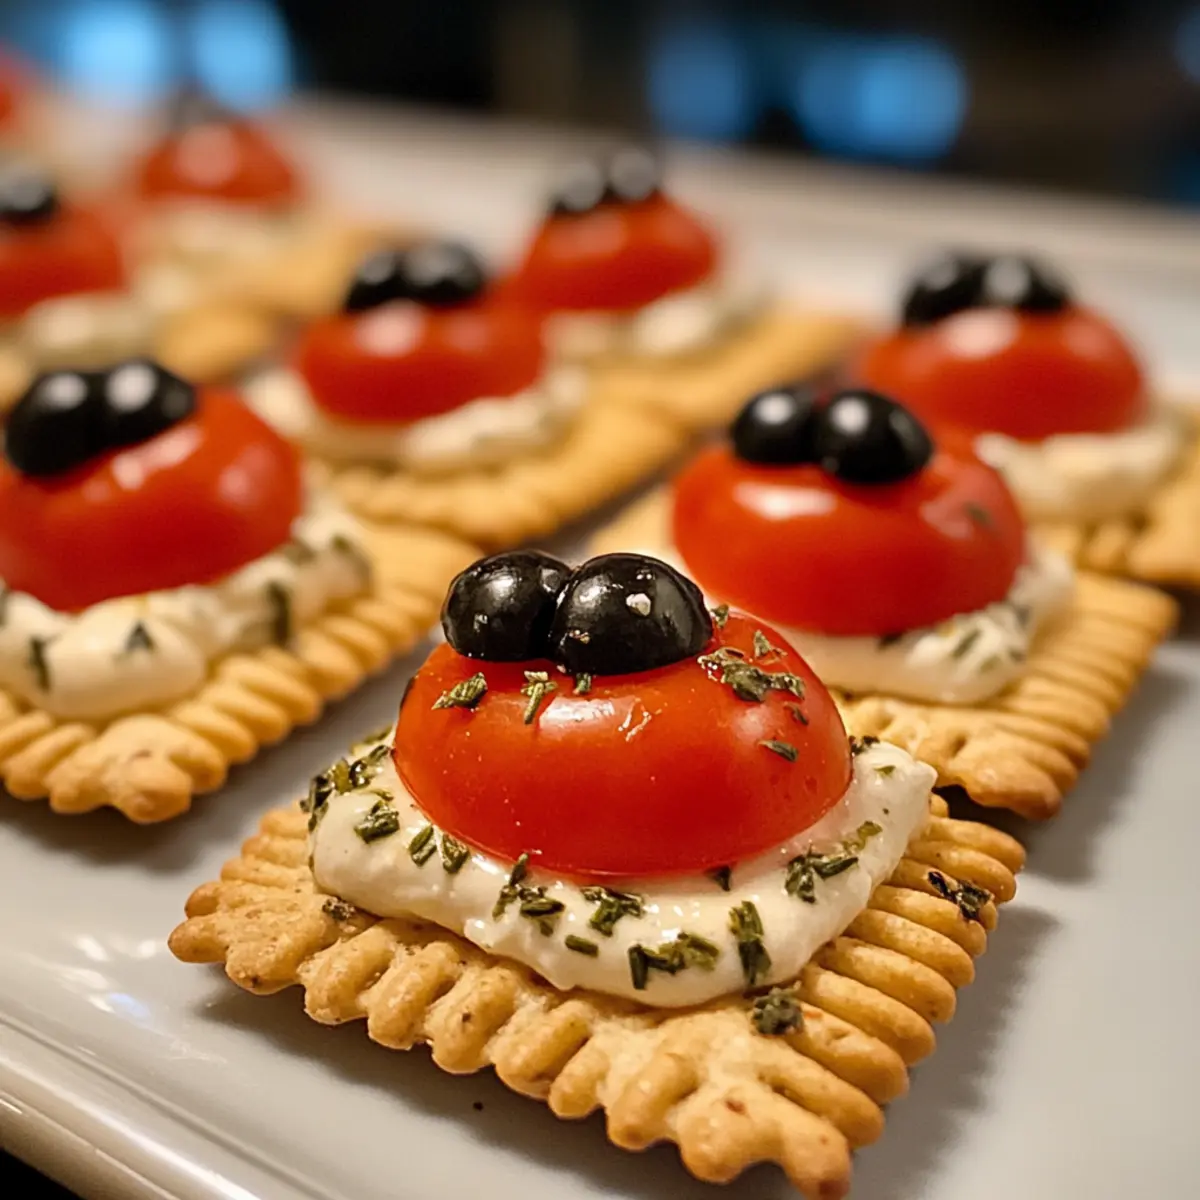
Take a plain round cracker and apply a generous layer of your herbed cream cheese on the top. Use a butter knife or a small spatula to ensure an even coating that reaches the edges. This creamy layer acts both as a flavorful spread and an adhesive for the toppings, making it essential for constructing your adorable Ladybug Crackers.
Step 3: Build Ladybugs
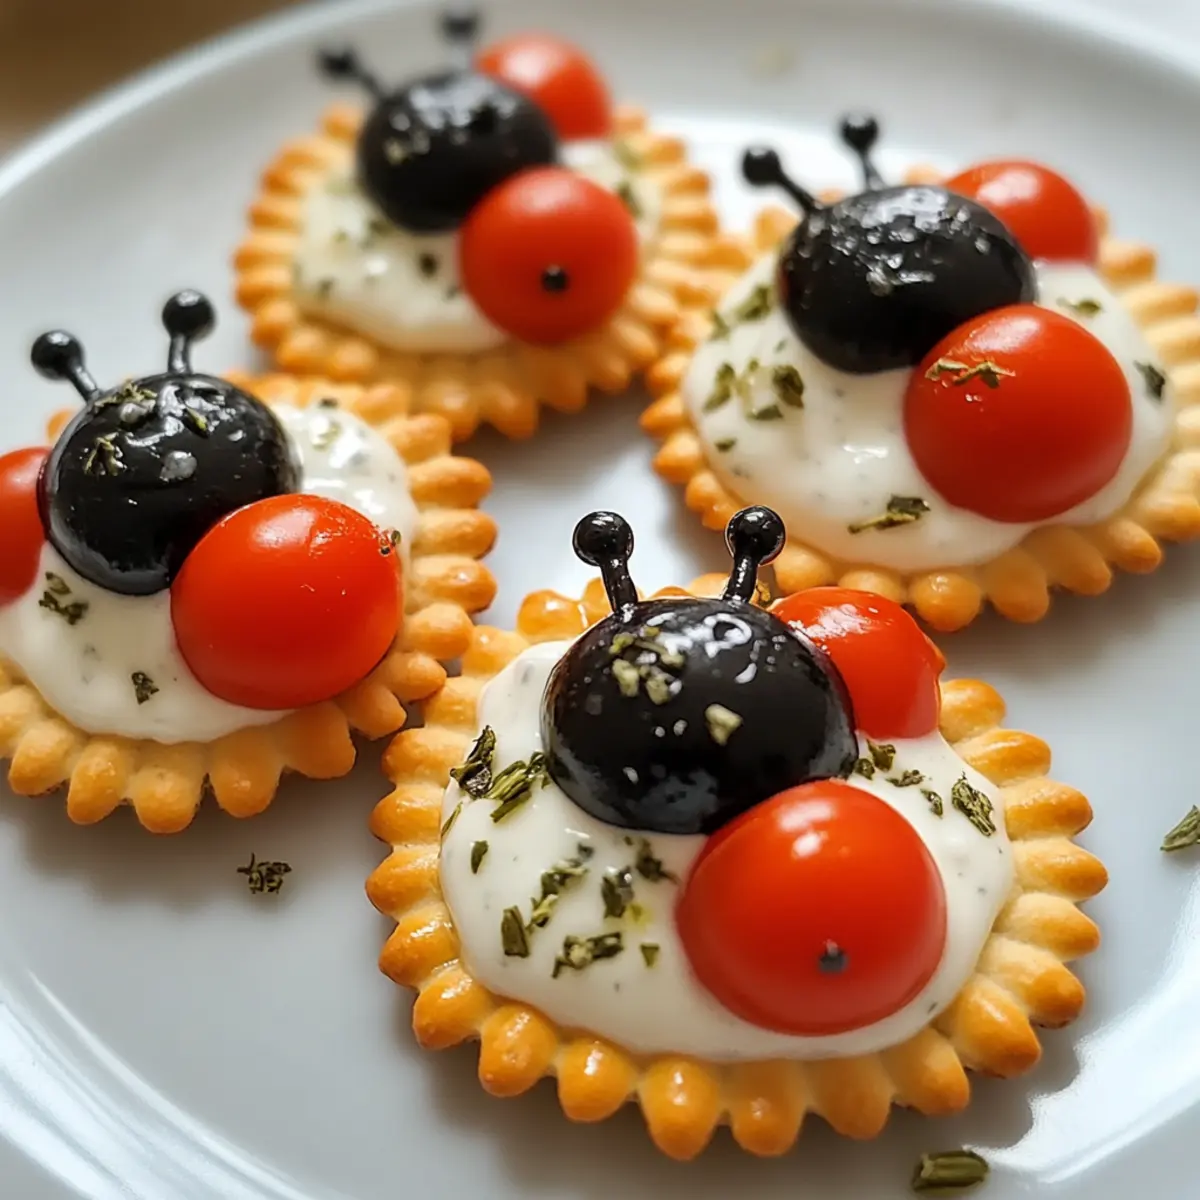
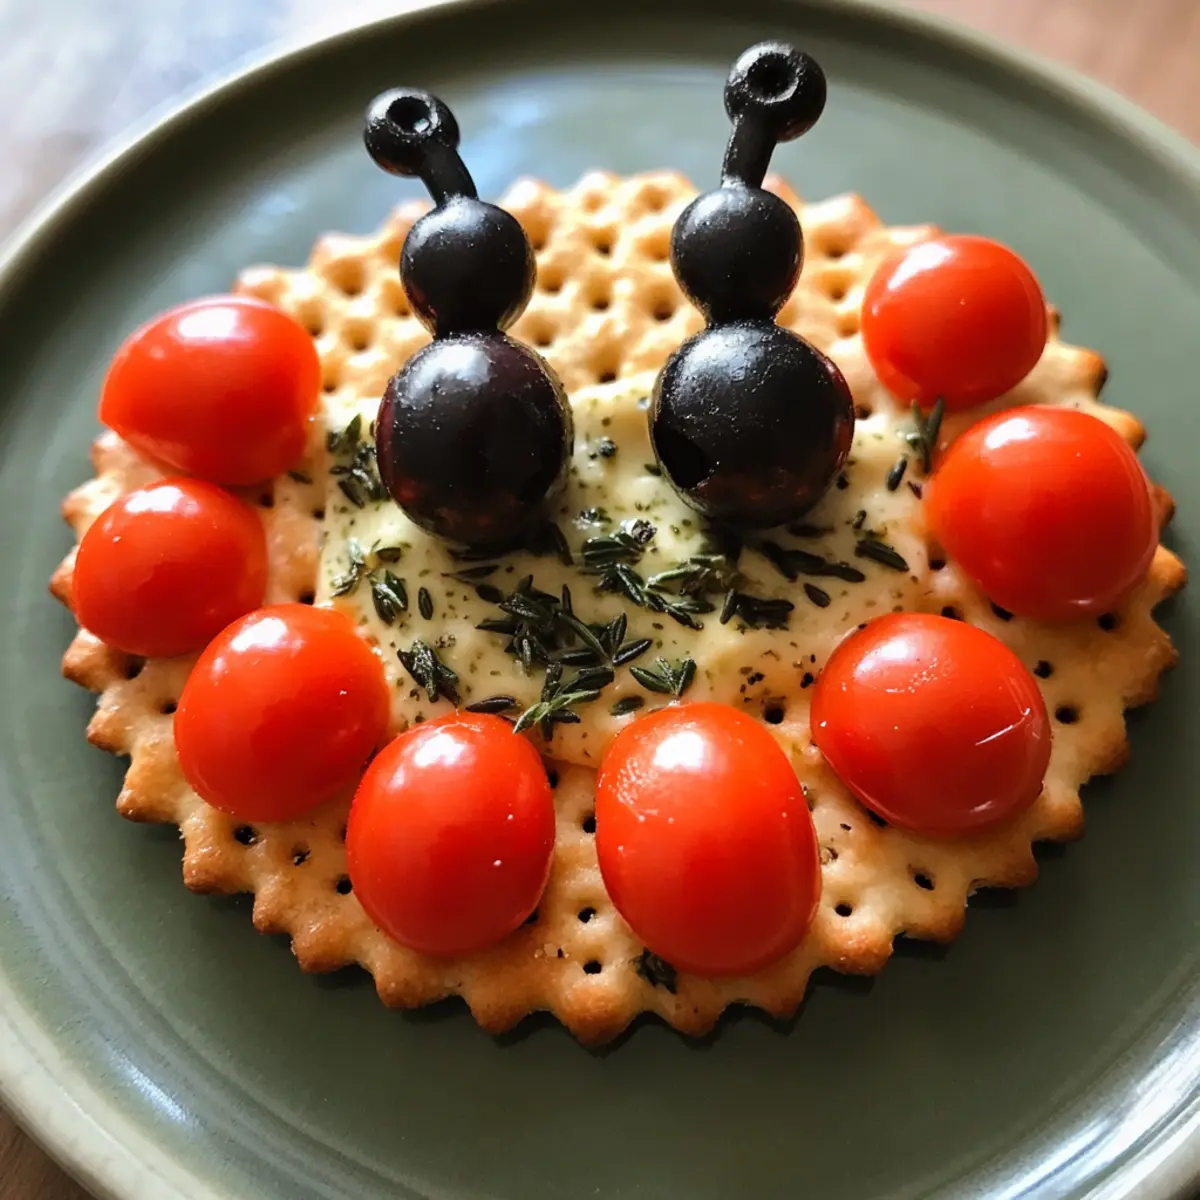
Place two cherry tomato halves, cut-side down, right on top of the cream cheese layer, ensuring they are positioned close together to resemble the wings of a ladybug. Leave a small gap at the front of the cracker to add the next topping. For the head, place one black olive either whole or halved at the front of the tomatoes to complete the ladybug’s face.
Step 4: Add Antennae and Dots
Take two pieces of chopped chives and gently insert them into the olive at the front of the cracker to mimic the ladybug’s antennae. Next, for added visual appeal, carefully dot small pieces of the remaining olives onto the cherry tomato halves, creating the perfect spots that give your Ladybug Crackers that whimsical, authentic touch.
Step 5: Serve
Transfer your beautifully assembled Ladybug Crackers onto a colorful platter for presentation. Serve them immediately to enjoy their crunchy texture and creamy goodness at their best. These playful snacks are sure to delight kids at parties or during fun afternoon snack times, making every bite feel like a garden adventure!
What to Serve with Ladybug Crackers
Transform your snack time into a delightful spread that inspires creativity and joy for kids and adults alike.
-
Fresh Fruit Skewers: Bright, colorful fruit is a sweet complement that adds a burst of flavor and freshness to your table. These skewers can engage kids and encourage them to enjoy their vitamins while having fun.
-
Veggie Dippers: Crispy carrot and cucumber sticks with hummus or ranch dip are a crunchy side that echoes the fresh themes of your ladybug-inspired snacks. The cool dip brings harmony to the playful cracker design, making snack time a hit!
-
Mini Sandwiches: Bite-sized sandwiches with fun fillings, like turkey and cheese or peanut butter and jelly, can be cut into fun shapes, tying in with the playful mood of ladybug snacks. Their soft texture balances the crunch of the crackers brilliantly.
-
Cheese and Crackers Platter: Offer a variety of cheeses alongside additional crackers for a savory option. The creaminess of the cheese amplifies the rich flavors of the cream cheese in your Ladybug Crackers, ensuring that every bite is a tasty adventure.
-
Apple Slices with Nut Butter: Crisp apple slices served with nut butter provide a satisfying crunch and sweetness that pairs deliciously with your crackers. This combination creates a wholesome balance, making it a favorite among both kids and parents.
-
Sparkling Lemonade: A refreshing drink like homemade sparkling lemonade with fresh mint adds a bubbly flair to your snack table. It pairs flawlessly with the vibrant colors of the ladybug theme, creating an inviting atmosphere that’s perfect for gatherings.
-
Chocolate Dipped Pretzels: For a sweet treat, chocolate-dipped pretzels add a fun, salty-sweet contrast. They not only satisfy a sweet craving but also visually contrast with your colorful ladybug creations, enhancing the overall appeal of your snack spread.
-
Mini Cupcakes: These sweet confections can be decorated with fun themes or colors to match your ladybug crackers, creating a cohesive and joyous party atmosphere. Perfect for adding a little sweetness to a celebratory occasion!
Storage Tips for Ladybug Crackers
Room Temperature: Serve Ladybug Crackers immediately after assembly for the best texture and flavor. They’re most delightful when enjoyed fresh and crispy.
Fridge: If you have leftover crackers, store them in an airtight container for up to 24 hours. Keep in mind that they may lose their crispiness during storage.
Freezer: It’s not recommended to freeze assembled Ladybug Crackers, as the toppings can create a soggy texture upon thawing.
Reheating: Enjoy these crackers cold or at room temperature for optimal taste. Avoid reheating, as it may compromise the delicate textures of the ingredients.
Make Ahead Options
These Ladybug Crackers are fantastic for meal prep, allowing you to save time and engage your little ones in the kitchen! You can prepare the herbed cream cheese and cut the cherry tomatoes and chives up to 24 hours in advance. Simply store the cream cheese in an airtight container in the refrigerator, and keep the chopped vegetables in a separate container to maintain freshness. When you’re ready to serve, just spread the cream cheese on the crackers, assemble the ladybugs, and enjoy this delightful snack that’s just as delicious as when freshly made. This prep-ahead approach transforms snack time from chaos to convenience!
Expert Tips for Ladybug Crackers
-
Prep Ahead: Ensure cream cheese is at room temperature for easy spreading. Softening it beforehand saves time and frustration.
-
Color Variety: Use different colored tomatoes or olives to create a rainbow of ladybugs. This keeps kids engaged and excited about their snack.
-
Assembly Line: Set up an assembly line with all ingredients ready so kids can help build their own ladybugs. It’s a fun way to involve them in healthy eating!
-
Store Properly: If you need to make them ahead of time, cover the assembled crackers with plastic wrap and store in the fridge. They’re best enjoyed within 24 hours for optimum freshness.
-
Avoid Sogginess: Serve immediately after assembly to maintain crispness. Storing them too long can make the crackers soft, so keep that in mind.
-
Engage Imagination: Encourage kids to name their creations! This can turn snack time into a storytelling session, enhancing their interest in food.
Ladybug Crackers Variations & Substitutions
Feel free to explore these playful twists on your Ladybug Crackers; your creativity can turn snack time into an exciting adventure!
-
Veggie-Bug Version: Swap cherry tomatoes for slices of cucumber. The fresh crunch adds a delightful twist!
-
Cheesy Delight: Use a flavored cheese spread instead of cream cheese. Options like garlic herb or spicy pepper jack can elevate the flavor.
-
Fruit-Inspired: Try using sliced strawberries for wings to create a fruity version. This fruity alternative makes snack time sweet!
-
Dairy-Free: Substitute cream cheese with hummus or a dairy-free spread to cater to dietary needs without sacrificing taste.
-
Spicy Kick: For older kids, add sliced jalapeños as heads for a spicy ladybug. Just a slice will do to keep it fun!
-
Crunchy Topper: Dot with toasted sunflower seeds on top of the tomatoes for an added crunch factor, enhancing the texture wonderfully.
-
Festive Theme: Change toppings to match the seasons—mini marshmallows for winter or edible flowers for spring can make your ladybugs extra special.
For even more fun ideas, don’t forget to check out our article on Easy Kid-Friendly Snacks. Let your imagination soar and create your own variations that your little ones will adore!
Ladybug Crackers Recipe FAQs
What kind of crackers work best for Ladybug Crackers?
Absolutely! You’ll want to choose plain round crackers that are sturdy enough to hold the toppings without breaking. Look for options that are thick and crispy; I often use whole grain or multi-grain varieties for an added crunch and flavor.
How should I store leftover Ladybug Crackers?
If you happen to have any leftovers, store them in an airtight container in the refrigerator for up to 24 hours. However, they’re best enjoyed fresh. The texture may soften as they sit due to the cream cheese topping, so enjoy them quickly for that delightful crunch!
Can I freeze Ladybug Crackers?
It’s not recommended to freeze assembled Ladybug Crackers, as the cream cheese and fresh toppings can become soggy when thawed. If you want to prep ahead, consider making just the crackers and cream cheese mixture, then assemble them fresh right before serving for the best taste and texture.
What should I do if my cream cheese is too firm to spread?
No worries! If your cream cheese is still too firm, cut it into smaller chunks and microwave it in 5 to 10-second intervals until it softens slightly. You can also let it sit at room temperature for about 30 minutes, which usually helps achieve the perfect spreading consistency!
Are there any allergy considerations for Ladybug Crackers?
Yes, definitely! If you’re catering to kids with allergies, be cautious with the cream cheese; you can substitute it with dairy-free alternatives. For the toppings, ensure you check for any allergens related to tomatoes or olives, especially in larger groups of kids. You can always get creative and use alternatives like cucumbers or sliced cheese to avoid allergens altogether.
Can Ladybug Crackers be made with different toppings?
Very much! Feel free to mix and match toppings based on your preferences. You can swap cherry tomatoes for cucumber slices, or use different types of olives or even a flavored cream cheese if you want to switch things up. The more the merrier when it comes to customization!
Ladybug Crackers: Fun Easy Snack That Kids Will Love
Ingredients
Equipment
Method
- Begin by gathering all your ingredients on a clean countertop. Soften the cream cheese by leaving it at room temperature for about 30 minutes until it’s easy to spread. Meanwhile, slice the cherry tomatoes in half and chop the chives into short pieces, which will serve as the ladybug's antennae later.
- Take a plain round cracker and apply a generous layer of your herbed cream cheese on the top. Use a butter knife or a small spatula to ensure an even coating that reaches the edges.
- Place two cherry tomato halves, cut-side down, right on top of the cream cheese layer, ensuring they are positioned close together to resemble the wings of a ladybug. For the head, place one black olive either whole or halved at the front of the tomatoes.
- Take two pieces of chopped chives and gently insert them into the olive at the front of the cracker to mimic the ladybug's antennae. Dot small pieces of the remaining olives onto the cherry tomato halves for added visual appeal.
- Transfer your beautifully assembled Ladybug Crackers onto a colorful platter for presentation. Serve them immediately to enjoy their crunchy texture and creamy goodness at their best.
Leave a Reply