
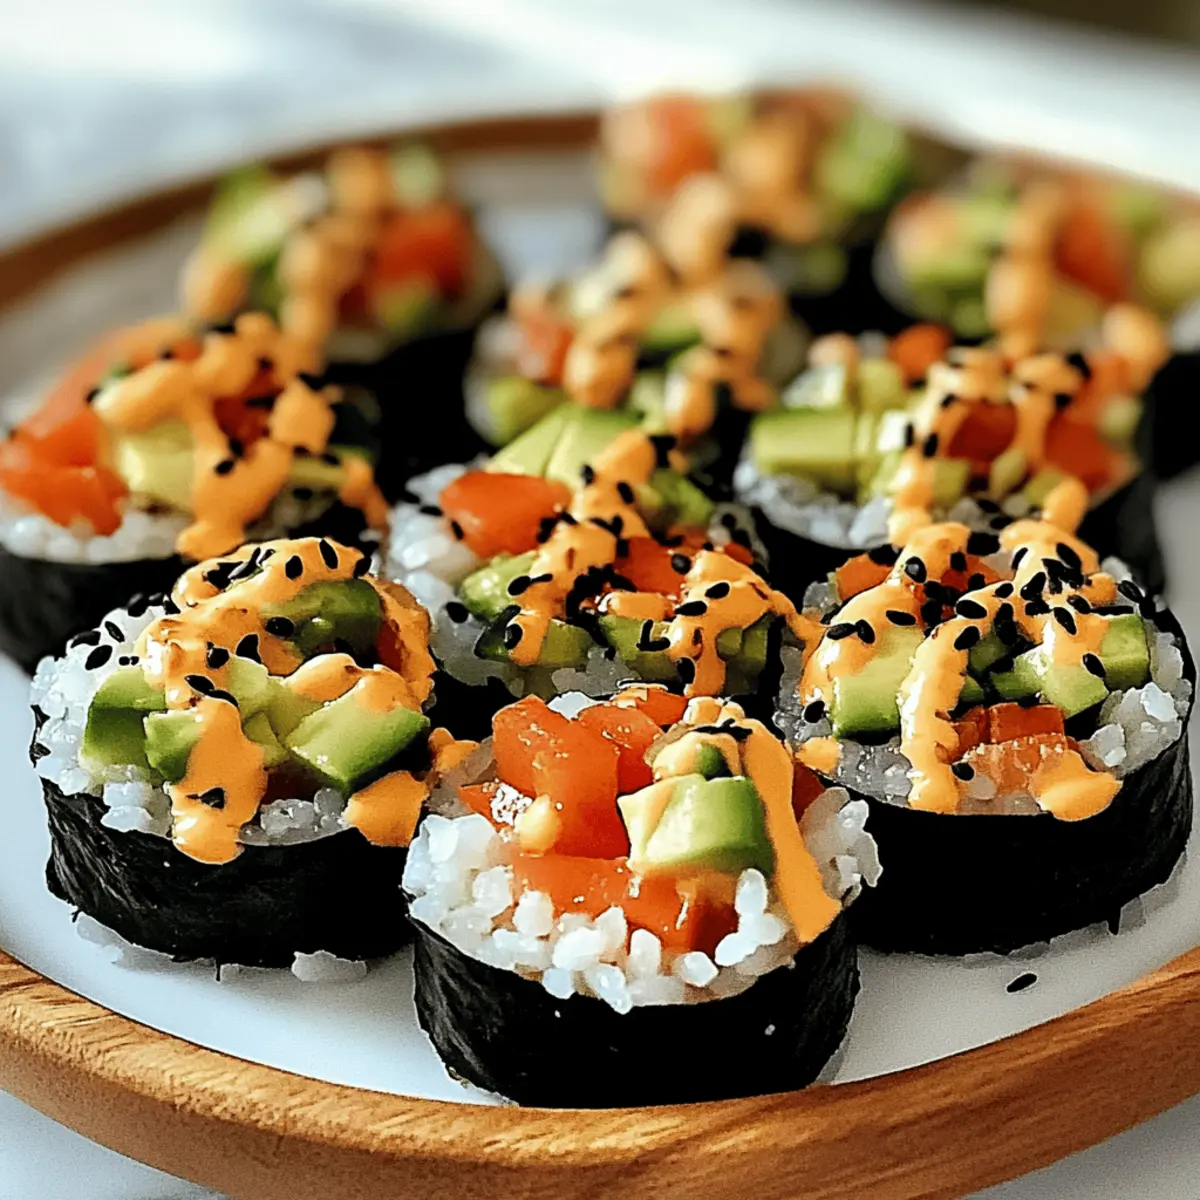
As I stood in my kitchen, the tantalizing aroma of rice simmering on the stove pulled me back to my favorite sushi spot in town. I couldn’t help but wonder: how can I recreate that delight in my own home? Enter these Sushi Cups! This recipe offers a fun, healthy twist on traditional sushi, making it perfect for a quick snack or a light meal. With just around 110 calories per serving, these customizable Sushi Cups are not only compelling for their low-calorie count, but they also shine with vibrant, fresh vegetables and a creamy, spicy mayo that gives each bite a delightful kick. Whether you’re hosting a casual get-together or looking to elevate your lunch game, you’ll love how easy it is to whip up these satisfying bites. Ready to discover how to make your own sushi sensation? Let’s dive in!
Why are Sushi Cups So Irresistible?
Customization at its finest: These Sushi Cups allow you to mix and match ingredients, letting your creativity shine in the kitchen! Healthy and guilt-free: Each cup packs only about 110 calories, making them the perfect guilt-free treat. Quick preparation means you can whip these up in no time, making them a snack or meal solution for busy days. Fresh flavors burst in every bite—thanks to colorful veggies and that luscious spicy mayo. Plus, they’re perfect for gatherings; impress your friends with a fun presentation that’s as tasty as it is visually appealing. Dive into your favorite variations and check out how to pair them with a light cucumber salad or a side of miso soup for a complete meal!
Sushi Cups Ingredients
• Perfect for a customizable treat!
- Sushi Rice (200 g) – The essential base for your sushi cups; rinse well to avoid stickiness.
- Water (300 ml) – Used to cook the rice; ensure proper ratio for fluffy results.
- Finely Chopped Vegetables (1 cup, e.g., carrots, cucumbers, bell pepper) – Adds crunch and nutrition; feel free to substitute with your favorites.
- Steamed Mukimame (100 g) – Provides a protein boost; can be swapped for edamame if preferred.
- Avocado (1/2, diced) – Introduces creaminess—opt for perfectly ripe ones for the best texture.
- Sauce of Choice – Enhances flavor, with options like Tamari or gluten-free coconut aminos to keep it versatile.
- Mayonnaise (2 tbsp, or vegan mayo) – Base for the spicy mayo; go for low-fat versions for added health.
- Sriracha Sauce (1 tsp) – Adds heat; adjust according to your spice preference.
- Honey (1 tsp) – A touch of sweetness for the mayo; omit for a vegan-friendly version.
- Sesame Oil (1 tsp) – Infuses a nutty flavor; optional depending on dietary choices.
- Black Sesame Seeds (1 tbsp) – For garnish, adding lovely crunch and visual appeal to your final dish.
Step‑by‑Step Instructions for Sushi Cups
Step 1: Cook the Rice
In a medium pot, combine 200 grams of rinsed sushi rice with 300 ml of water. Bring the mixture to a rapid boil over medium-high heat, then reduce to low, cover, and let it simmer for 20 minutes until the rice is tender. Once cooked, remove from heat and let it cool for about 10 minutes, allowing the rice to firm up slightly for shaping the sushi cups.
Step 2: Prepare the Rice Cups
Using a silicone muffin mold, press about two tablespoons of the cooled sushi rice into each cavity, ensuring they are packed tightly to hold their shape. Spread the rice evenly across the bottom to create a thin layer, then refrigerate the mold for 20 minutes. Chilling helps the rice cups set up nicely for filling, ensuring they maintain their structure when served.
Step 3: Mix the Filling
While your sushi rice cups are cooling in the fridge, take a medium bowl and combine one cup of finely chopped vegetables (like carrots, cucumbers, and bell peppers) with 100 grams of steamed mukimame and half a diced avocado. Drizzle your sauce of choice, such as Tamari or coconut aminos, over the mixture for added flavor. Gently toss together until the ingredients are well-coated with the sauce.
Step 4: Prepare the Spicy Mayo
In a small bowl, whisk together 2 tablespoons of mayonnaise, 1 teaspoon of Sriracha, 1 teaspoon of honey, and 1 teaspoon of sesame oil until you achieve a smooth consistency. Taste your spicy mayo and adjust the heat level by adding more Sriracha if desired. This creamy mayo will enhance the flavor of your sushi cups with a delightful kick.
Step 5: Assemble the Sushi Cups
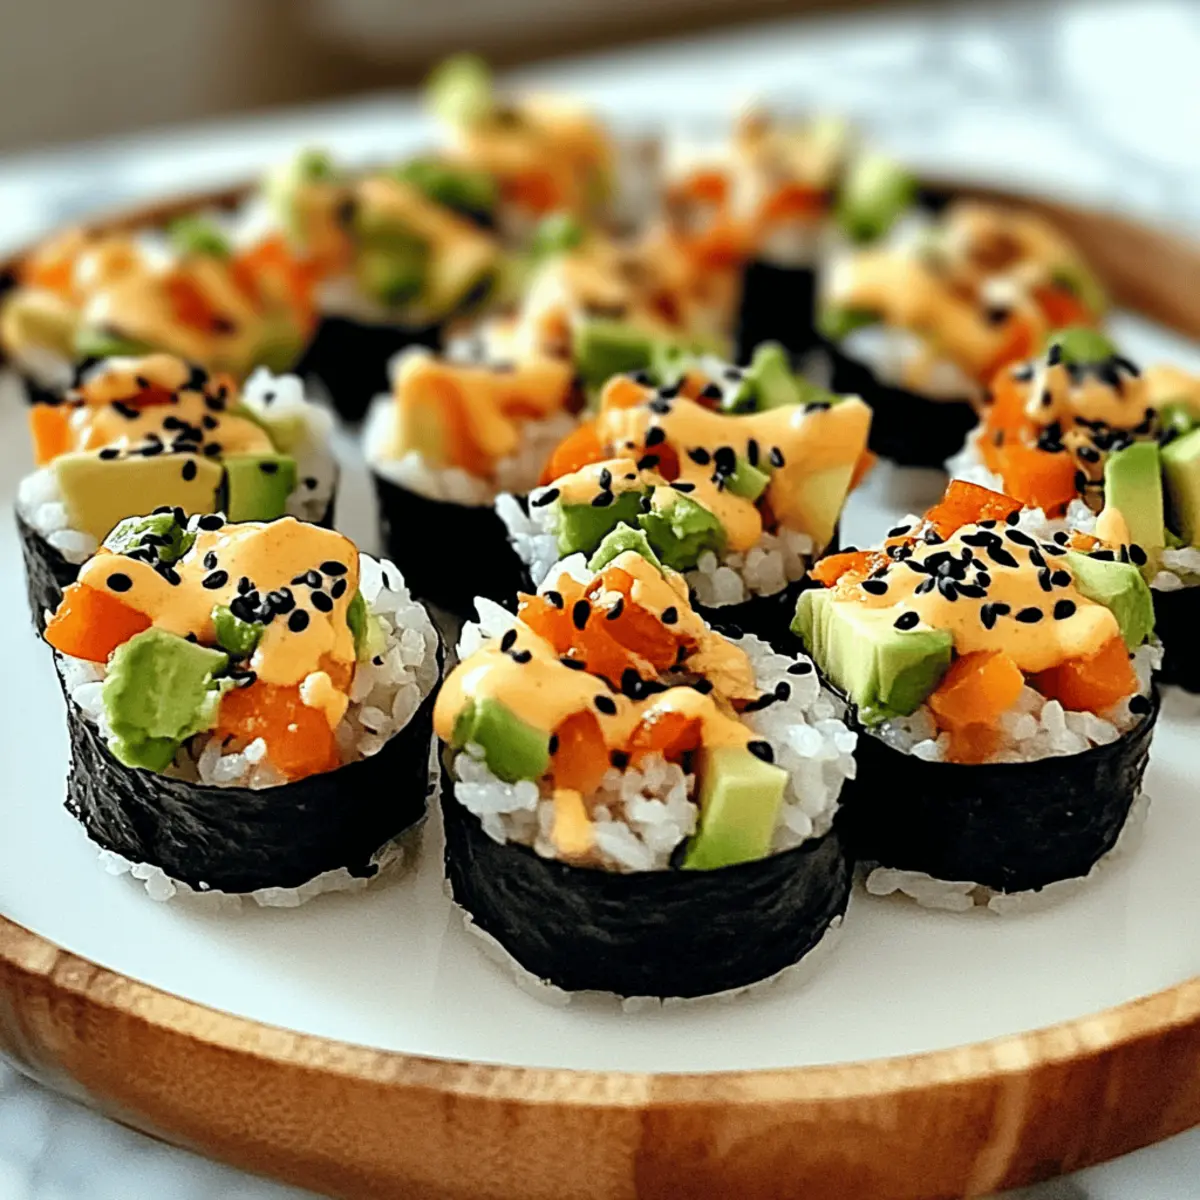
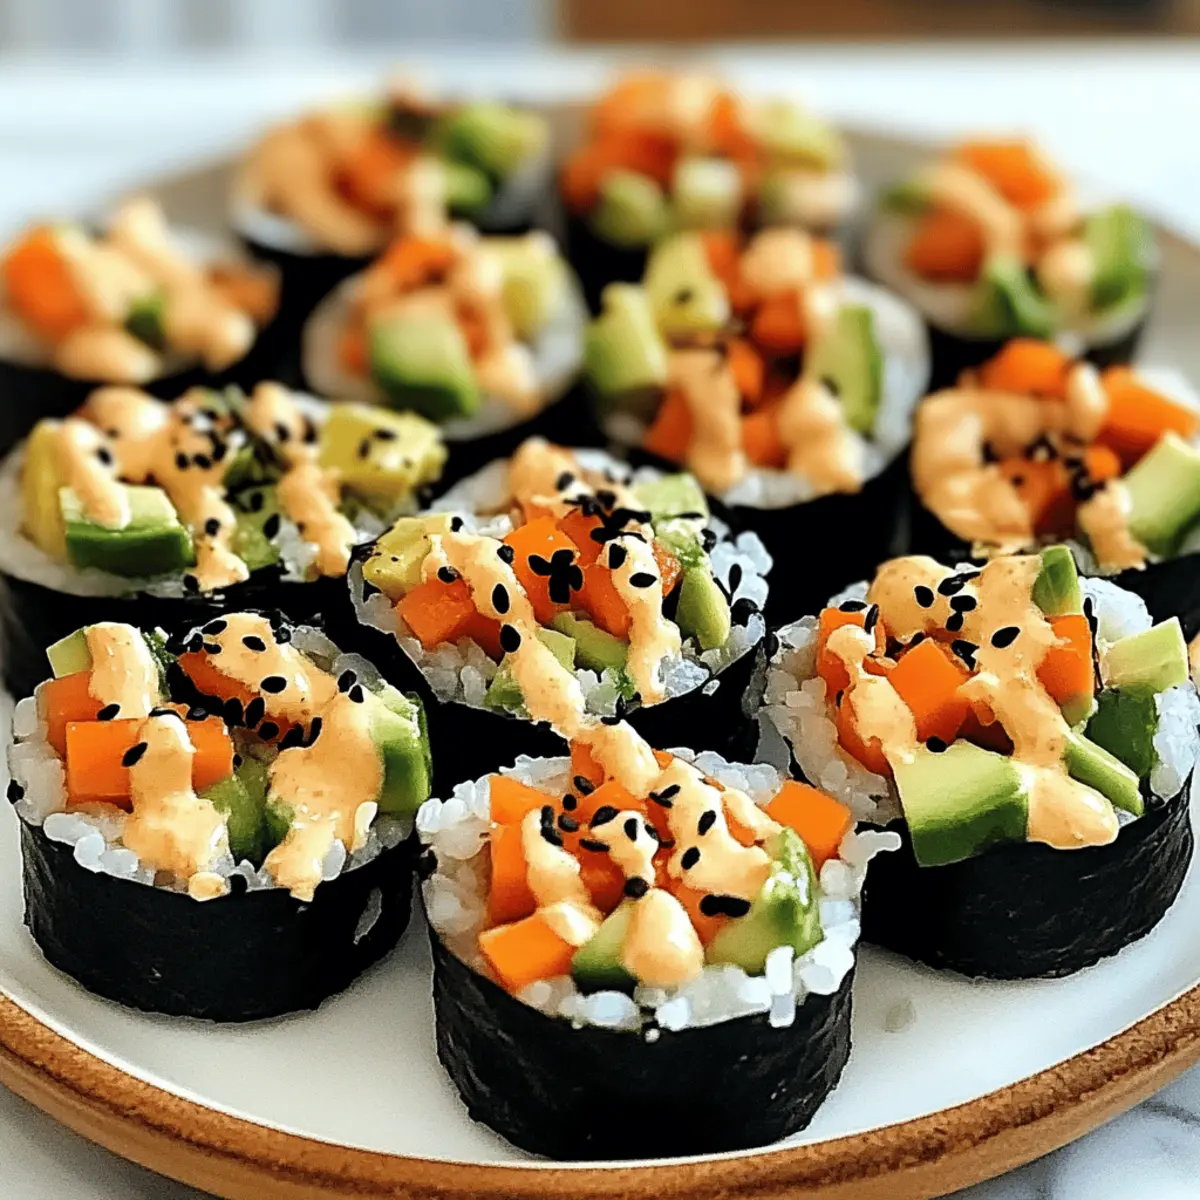
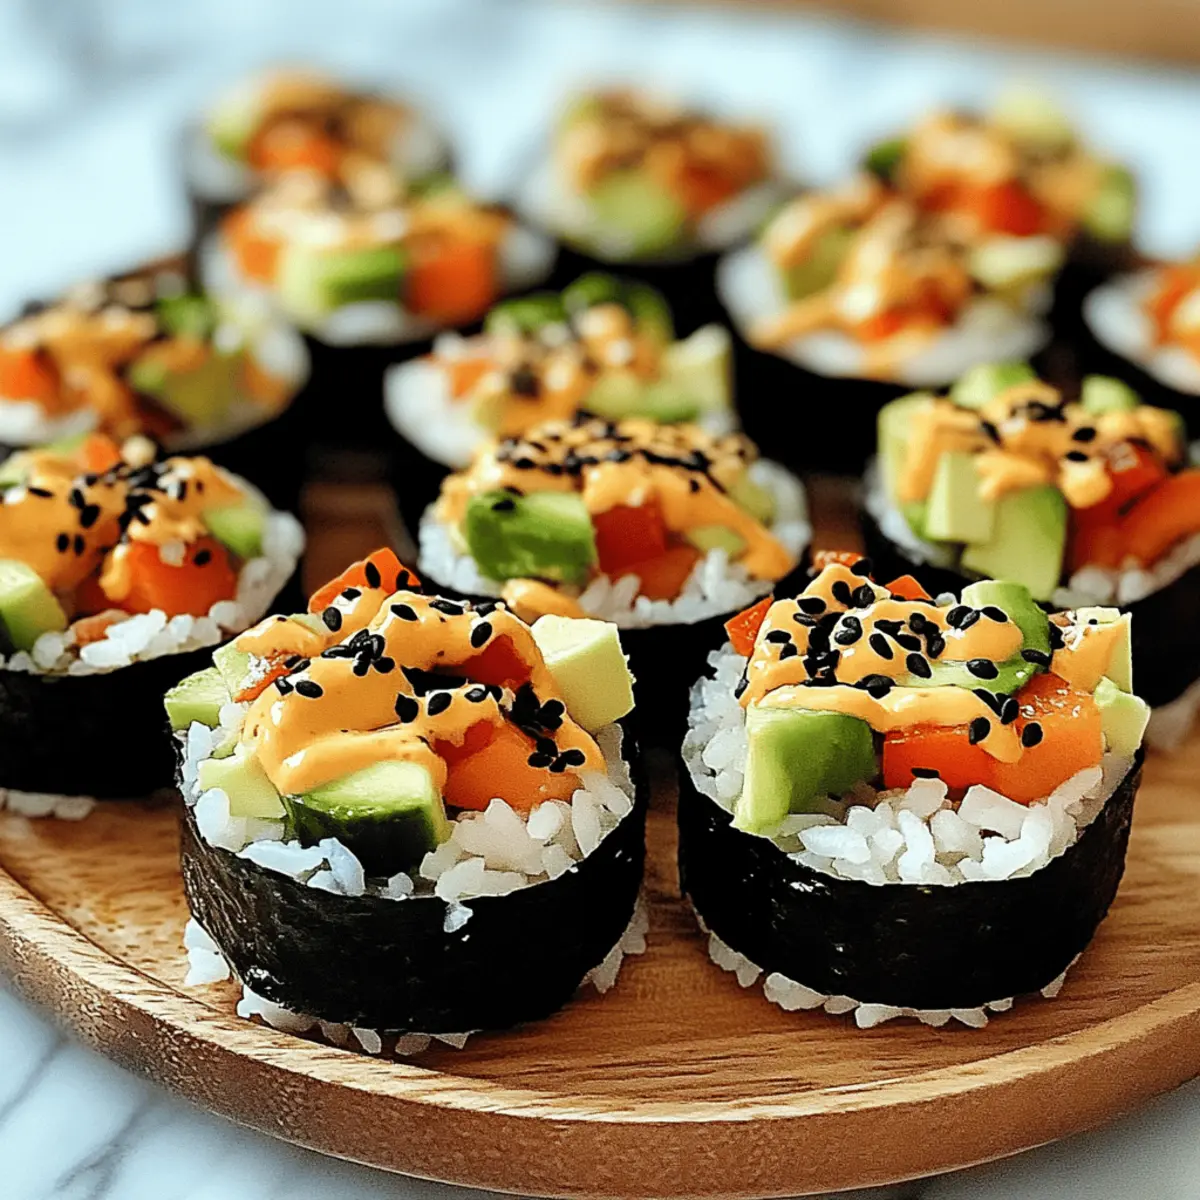
Once the rice cups have set, carefully remove them from the silicone mold. Spoon the prepared vegetable and mukimame mixture into each rice cup, filling them generously without overstuffing. Finish by drizzling the spicy mayo over the top of each filled cup, allowing it to cascade down. Garnish with black sesame seeds for added crunch and a beautiful presentation.
Make Ahead Options
These Sushi Cups are perfect for busy weeknights or meal prep enthusiasts! You can prepare the sushi rice up to 24 hours in advance, simply cook and cool it, then store it in an airtight container in the fridge. The vegetable filling can be mixed ahead of time and kept in the refrigerator for up to 3 days; this helps maintain the freshness while saving you time when it’s time to assemble. Just remember to assemble the cups right before serving, as the rice can become soggy if filled too early. Drizzle the spicy mayo on top for a delightful finish, and you’ll have homemade Sushi Cups that are just as delicious as if they were made fresh!
How to Store and Freeze Sushi Cups
Fridge: Consume your sushi cups within 2 days when stored in an airtight container. This keeps them fresh and safe for enjoying later.
Freezer: For long-term storage, freeze unfilled rice cups for up to 1 month. Wrap each tightly in plastic wrap before placing in a freezer bag to preserve their texture.
Reheating: When ready to enjoy, thaw in the refrigerator overnight. Reheat gently in the microwave for about 30 seconds, then fill with fresh ingredients and top with spicy mayo.
Assembly Tip: It’s best to avoid freezing filled sushi cups, as the vegetables can lose their crispness. Assemble fresh just before serving for the best flavor and texture.
What to Serve with Healthy Sushi Cups?
A vibrant, flavorful meal awaits as you pair these delightful sushi cups with the perfect sides and sauces.
-
Light Cucumber Salad: A refreshing companion that balances the spicy mayo with cool, crunchy cucumbers dressed in rice vinegar.
-
Miso Soup: The umami notes of this warm soup enhance the sushi experience, providing a comforting warmth and earthy flavor alongside.
-
Edamame: Simple yet nutritious, steamed edamame adds a satisfying protein boost and a pop of green that complements the colorful sushi cups.
-
Pineapple Salsa: Sweet and tangy, this fruit salsa brightens up the dish with tropical flavors, making every bite a burst of joy.
-
Pickled Ginger: Often served with sushi, this zesty condiment cleanses the palate between bites, elevating the flavor of the sushi cups.
-
Fresh Green Tea: A calming beverage that pairs beautifully with sushi, its earthy notes enhance the freshness of the vegetables while aiding digestion.
-
Sesame Seed Crackers: For an added crunch, serve with these nutty crackers to complement the creamy texture of the spicy mayo and rice cups.
Expert Tips for Sushi Cups
- Perfect Rice: Rinse your sushi rice thoroughly to remove excess starch; this ensures a fluffier texture and prevents stickiness in your sushi cups.
- Fresh Ingredients: Always use fresh vegetables for an optimal crunch and flavor; avoid pre-cooked or canned options that can dull the taste.
- Chill and Firm: Don’t skip refrigerating the rice cups—this step is crucial to help them maintain their shape when you fill them, preventing spills.
- Fill Wisely: Avoid overfilling your sushi cups; keep the amounts balanced to prevent them from falling apart, ensuring a delightful bite every time.
- Adjust Spice: When making the spicy mayo, taste as you go. Start with less Sriracha, adding more gradually to match your heat preferences in these sushi cups.
Sushi Cups: Creative Twists You’ve Got to Try
Want to elevate your sushi cups? Here are some fantastic ideas to customize your recipe and make it even more delightful!
- Protein-Packed: Substitute firm tofu or shrimp for a heartier filling, giving your sushi cups a protein boost that adds flavor and texture.
- Sweet Swaps: Try adding diced mango or pineapple to your veggie mix for a refreshing sweetness that contrasts wonderfully with the spicy mayo.
- Crunchy Extras: Toss in some toasted nuts or seeds like almonds or sunflower seeds for an extra layer of crunch, enhancing your sushi’s texture.
- Herb Infusion: Incorporate fresh herbs like cilantro or basil into your filling for a fragrant pop of flavor that brightens each bite.
- Zesty Sauces: Experiment with different sauces such as teriyaki or a sesame ginger dressing to bring a new flavor profile to your sushi cups.
- Veggie Variations: Use seasonal veggies like radishes or zucchini for a colorful twist that celebrates the bounty of the season.
- Spicy Alternatives: If you’re looking for more heat, try adding pickled jalapeños right into your filling for a zesty kick.
- Gluten-Free Option: Swap regular soy sauce with tamari or coconut aminos to ensure your sushi cups remain gluten-free without sacrificing taste.
These ideas not only let you play with flavors but also invite you to express your culinary creativity. For more inspirations, don’t forget to check out our delicious California Roll Sushi and the crowd-pleasing Salmon Sushi Bake recipes! Enjoy making these delightful sushi cups your own!
Sushi Cups Recipe FAQs
What type of sushi rice should I use?
Absolutely! It’s best to use short-grain sushi rice for these Sushi Cups. Look for “sushi rice” or “Japanese rice” at your local grocery store. This type of rice becomes sticky when cooked, allowing it to hold together nicely in the cups.
How long do sushi cups last in the fridge?
Very! Your sushi cups will stay fresh for about 2 days if stored in an airtight container in the fridge. Make sure to keep the filling separate from the rice cups if you’re not consuming them right away to maintain the best texture.
Can I freeze sushi cups?
Yes, you can! To freeze unfilled sushi cups, wrap them tightly in plastic wrap and place them in a freezer bag. They can last for up to 1 month in the freezer. When you’re ready to enjoy, simply thaw in the refrigerator overnight, then fill fresh veggies and your spicy mayo before serving!
What if my rice is too sticky?
If your rice turns out overly sticky, don’t worry! Rinse it again with cold water to remove excess starch, then let it cool slightly before using. This will help you get the fluffy texture you want for your sushi cups, making assembly easier.
Are there any gluten-free options for the sauces?
Absolutely! For a gluten-free sushi cup, use Tamari or gluten-free coconut aminos instead of regular soy sauce. Both are fantastic at enhancing flavor without compromising your dietary preferences, allowing everyone to enjoy these delicious Sushi Cups!
Can I use other vegetables in my sushi cups?
Yes, you can! Feel free to get creative with your fillings. You can substitute the veggies with any of your favorites, such as bell peppers, shredded carrots, or even fruits like mango for a sweeter option. The more the merrier when it comes to adding colors and textures to your sushi cups!
Delicious Sushi Cups: Easy, Healthy, and Customizable Bites
Ingredients
Equipment
Method
- In a medium pot, combine 200 grams of rinsed sushi rice with 300 ml of water. Bring to a boil, then reduce to low, cover, and simmer for 20 minutes. Let it cool for about 10 minutes.
- Press about two tablespoons of cooled sushi rice into each cavity of a silicone muffin mold. Refrigerate for 20 minutes.
- In a bowl, mix one cup of finely chopped vegetables, 100 grams of mukimame, and half a diced avocado. Drizzle your sauce over the mixture and toss gently.
- In a small bowl, whisk together 2 tablespoons of mayonnaise, 1 teaspoon of Sriracha, 1 teaspoon of honey, and 1 teaspoon of sesame oil until smooth.
- Remove rice cups from the mold, fill them with the vegetable mixture, drizzle with spicy mayo, and garnish with black sesame seeds.
Leave a Reply