
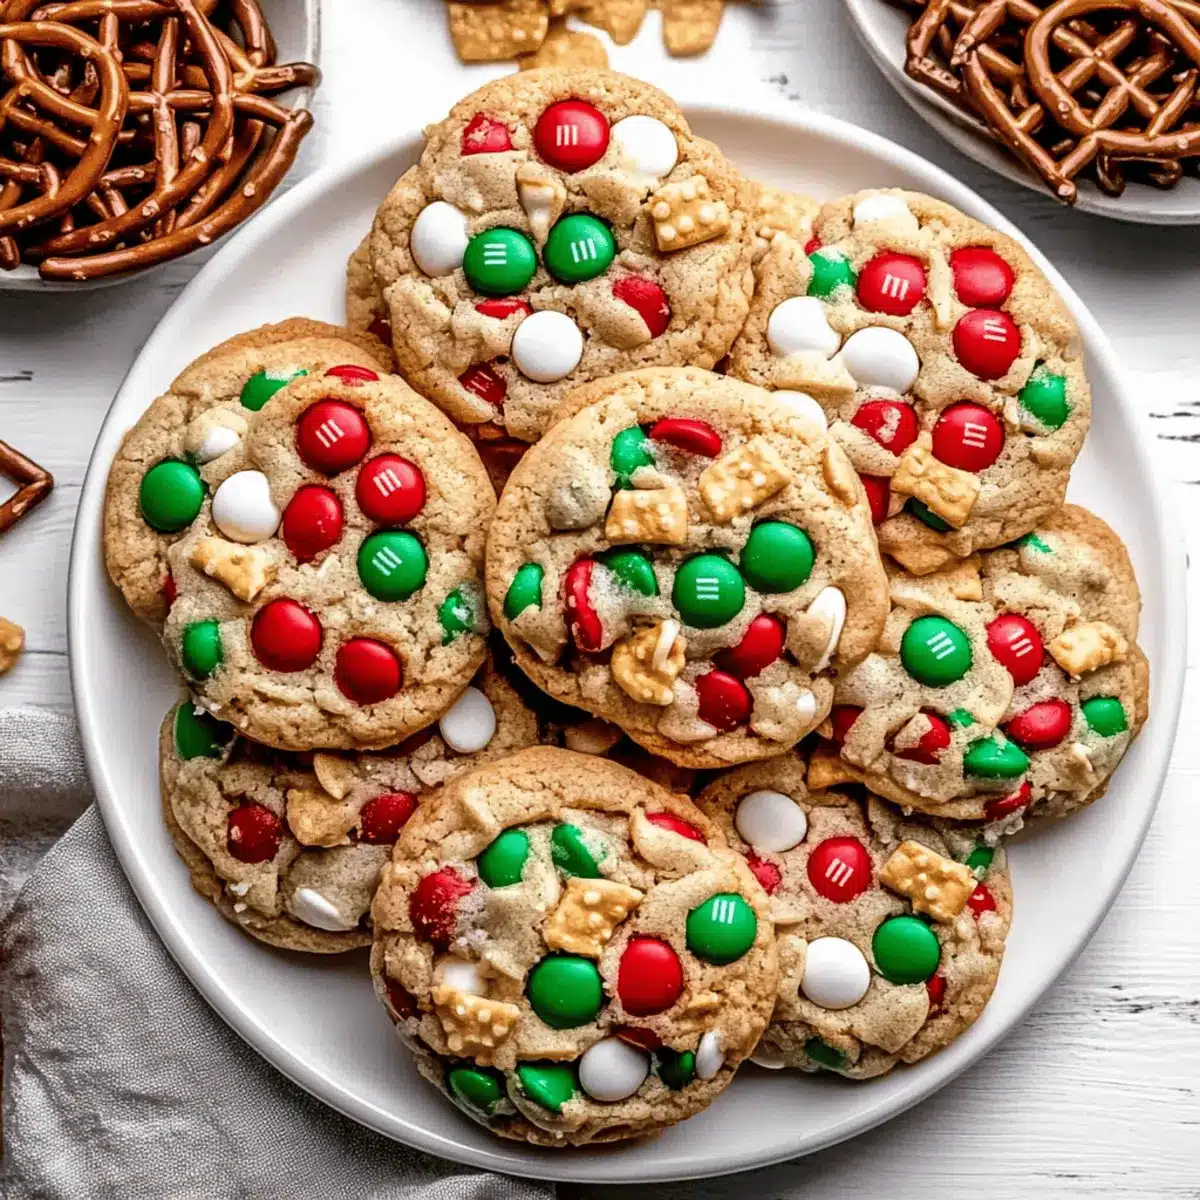
As I sift through my favorite holiday recipes, I can’t help but recall the joyous chaos of baking with my kids. This year, we’re whipping up a delightful batch of Sweet & Salty Christmas Kitchen Sink Cookies that perfectly capture the spirit of the season! With their mouthwatering combination of crunchy pretzels, salty potato chips, and vibrant M&M’s, these cookies offer a fun twist on traditional treats. What I love most is that there’s no chill time required—just 30 minutes from bowl to cookie bliss! Not only are they quick to make, but these cookies are also a hit at gatherings, making them a must-try for any festive occasion. So, are you ready to bring a little holiday cheer to your kitchen? Let’s dive into this cookie adventure together!
Why Are These Cookies So Irresistible?
Uplifting Flavors: These Sweet and Salty Christmas Kitchen Sink Cookies deliver a harmonious blend of sweet and salty delight, with bursts of festive color from M&M’s.
Kid-Friendly Fun: Perfect for baking with little ones, these cookies add excitement and creativity to the kitchen as kids mix in their favorite treats.
Quick and Efficient: In just 30 minutes, you can go from mixing bowl to enjoyed cookies—ideal for busy holidays and last-minute gatherings.
Versatile Options: Mix and match your favorite add-ins for endless variations; try swapping M&M’s for butterscotch chips or creating a gluten-free version.
Crowd-Pleaser: Bake a batch, and watch them disappear! These cookies are sure to be a hit at any festive gathering, making memories like those shared over a warm plate of cookies.
For more delightful variation ideas, consider using Velvet Crinkle Cookie as inspiration for your next baking adventure!
Christmas Kitchen Sink Cookies Ingredients
• A flavorful blend to create magic!
For the Batter
- Salted Butter – Adds richness and moisture. Optional: Use unsalted butter; add a pinch of salt.
- Light Brown Sugar – Provides sweetness and moisture, enhancing chewiness. Sub: Dark brown sugar for a deeper flavor.
- Granulated White Sugar – Contributes sweetness and helps with browning. No substitution needed.
- Egg Yolks – Help bind the dough and add richness. Do not substitute; egg whites may alter texture.
- Vanilla Bean Paste or Extract – Adds aromatic sweetness. Sub: Vanilla extract if paste is unavailable.
- All-Purpose Flour – Provides structure to the cookies. Measure properly to avoid density; can also use gluten-free flour blend.
- Baking Powder – Acts as a leavening agent. No substitute for desired texture.
- Baking Soda – Enhances browning and spread. Necessary for cookie structure.
- Salt – Balances sweetness and enhances flavor. Use only if unsalted butter is substituted.
For the Mix-Ins
- Red and Green M&M’s – Offer festive color and sweetness. Sub: Other chocolate candies as desired.
- White Chocolate Chips – Provide creamy sweetness. Sub: Semi-sweet chocolate chips for a richer flavor.
- Pretzel Pieces – Introduce a salty crunch. Sub: Nuts if preferred.
- Potato Chip Pieces – Add a unique crunch and salty flavor. Sub: Use additional pretzels or other snacks.
- Red and Green Jimmies (Sprinkles) – Decorative touch and added sweetness. Sub: Any sprinkles available.
Step‑by‑Step Instructions for Christmas Kitchen Sink Cookies
Step 1: Preheat the Oven
Begin by preheating your oven to 350°F (175°C). While the oven warms up, prepare your baking sheets by lining them with parchment paper. This non-stick surface helps the cookies release easily after baking, ensuring your Christmas Kitchen Sink Cookies come out perfectly golden and intact.
Step 2: Cream the Butter and Sugars
In a large mixing bowl, beat together 1 cup of softened salted butter, 1 cup of light brown sugar, and 1/2 cup of granulated sugar. Use an electric mixer on medium speed for about 2 minutes until the mixture is light and fluffy. The creamy texture will indicate that the sugars have properly incorporated, creating a delightful base for your cookie dough.
Step 3: Incorporate Eggs and Vanilla
Next, add in 2 egg yolks and 2 teaspoons of vanilla bean paste or extract. Mix on medium speed for another 2 minutes until well combined and the mixture appears pale in color. This step is essential for building richness, contributing flavorful depth to your Christmas Kitchen Sink Cookies.
Step 4: Add the Dry Ingredients
Now, it’s time to incorporate the dry ingredients. Gently stir in 2 cups of all-purpose flour, 1 teaspoon of baking powder, 1 teaspoon of baking soda, and a pinch of salt. Mix until just combined, being careful not to over-mix, which helps maintain the cookies’ soft and chewy texture.
Step 5: Fold in the Add-ins
Using a spatula, fold in your festive add-ins: 1 cup of red and green M&M’s, 1 cup of white chocolate chips, 1 cup of pretzel pieces, and 1 cup of crushed potato chips. Ensure all ingredients are evenly distributed throughout the dough, creating a colorful and delicious mixture for your Christmas Kitchen Sink Cookies.
Step 6: Form Cookie Dough Balls
Scoop the dough into approximately 20 equal portions using a cookie scoop or spoon. Arrange the dough balls on the prepared baking sheets, spacing them about 2 inches apart to allow for spreading during baking. This ensures each Christmas Kitchen Sink Cookie has enough room to expand perfectly.
Step 7: Optional Decoration
If you’d like a little extra flair, sprinkle extra M&M’s and pretzel pieces on top of each dough ball before baking. This optional decoration enhances the visual appeal, giving your cookies a festive touch that will delight your family and friends.
Step 8: Bake the Cookies
Place your baking sheets in the preheated oven and bake for 10-12 minutes. Keep an eye on them; you’ll know they’re ready when the edges are lightly golden but the centers still look a tad soft. For chewier cookies, opt for 10 minutes, while 12 minutes will yield crispier edges.
Step 9: Shape Cookies (Optional)
Right after baking, take a circular cookie cutter and gently press it around each cookie to perfect their shapes while they’re still warm. This technique ensures your Christmas Kitchen Sink Cookies are as visually appealing as they are delicious!
Step 10: Cool Down
Let the cookies rest on the baking sheet for about 5 minutes to firm up. Then, carefully transfer them to wire racks to cool completely, approximately 10 more minutes. This cooling period is crucial for achieving that perfect soft and chewy texture that everyone will love!
How to Store and Freeze Christmas Kitchen Sink Cookies
Airtight Container: Store your Christmas Kitchen Sink Cookies in an airtight container at room temperature for up to 3 days. This keeps them fresh and chewy, perfect for snacking!
Refrigeration: If you want to extend their lifespan, refrigerate the cookies in an airtight container for up to a week. Just remember to let them come to room temperature before enjoying!
Freezing Dough: You can also freeze the cookie dough before baking. Shape it into balls, place them on a baking sheet to freeze individually, then transfer to a freezer-safe bag for up to 2 weeks.
Reheating: When you’re ready to bake your frozen dough, simply bake straight from the freezer, adding an extra minute or two to the baking time for perfectly fresh cookies!
What to Serve with Sweet & Salty Christmas Kitchen Sink Cookies
These festive cookies are not just a treat on their own; they create the perfect spread for holiday gatherings and cozy evenings at home.
-
Cold Milk: The classic pairing! A glass of cold milk beautifully balances the sweetness and enhances the nostalgic feel of cookie enjoyment.
-
Hot Cocoa: Rich and creamy hot chocolate is a comforting companion, especially when topped with whipped cream or marshmallows for an indulgent touch.
-
Festive Fruit Platter: Fresh fruits like apples and pears add a refreshing crunch, contrasting the cookies’ chewy textures while offering a burst of natural sweetness.
-
Nutty Trail Mix: An easy non-bake addition, a mix of nuts and dried fruits introduces a satisfying crunch and enhances the sweet-salty dynamic of the cookies.
-
Vanilla Ice Cream: Serve your cookies warm with a scoop of vanilla ice cream for an irresistible dessert combination—think cookie a la mode!
-
Coffee or Tea: A steaming cup of coffee or herbal tea provides a cozy backdrop, perfect for slow sipping while enjoying these delightful cookies by the fire.
Christmas Kitchen Sink Cookies Variations
Feel free to unleash your creativity and customize these cookies to match your festive cravings!
- Flavor Boost: Swap M&M’s for peanut butter chips or butterscotch chips for a delightful twist.
- Gluten-Free: Replace all-purpose flour with a gluten-free blend for a cookie everyone can enjoy.
- Holiday Sparkle: Use holiday-themed sprinkles or colored chocolate candies to make them even more festive.
- Nutty Addition: Try adding chopped nuts, like pecans or walnuts, for a warm, nutty flavor that complements the sweet and salty mix.
- Chewy Oats: Fold in a cup of rolled oats for extra texture and a heartier cookie experience.
- Coconut Twist: Add shredded coconut for a tropical flair that pairs beautifully with the sweet and salty elements.
- Chocolate Lovers: Opt for semi-sweet chocolate chips instead of white chocolate for a richer flavor.
- Spiced Delight: Add a dash of cinnamon or nutmeg for a warm, cozy flavor that will make your kitchen smell like the holidays.
Looking for more cookie ideas? Consider making a batch of these dreamy Velvet Crinkle Cookies for an indulgent treat during the festive season!
Make Ahead Options
These Sweet & Salty Christmas Kitchen Sink Cookies are perfect for busy home cooks looking to save time during the holiday rush! You can prepare the cookie dough and refrigerate it for up to 3 days. Simply scoop the dough into balls, place them on a parchment-lined baking sheet, and store in an airtight container. When you’re ready to enjoy these delightful treats, just bake them straight from the fridge for 10-12 minutes. This way, you’ll have fresh, warm cookies with that irresistible mix of sweet and salty flavors right when you need them, making your holiday baking a breeze!
Expert Tips for Christmas Kitchen Sink Cookies
- Measure Flour Accurately: Use a spoon to fill your measuring cup with flour, then level it off to avoid dense cookies.
- Perfect Round Shape: Use a circular cookie cutter immediately after baking to achieve that perfect, uniform look for your Christmas Kitchen Sink Cookies.
- Monitor Baking Time: For softer cookies, stick to the shorter baking time of 10 minutes, as they will firm up while cooling.
- Customize Mix-Ins: Don’t hesitate to get creative with your add-ins; experiment with your favorite chocolates or snacks for unique flavor combinations.
- Cool Properly: Allow cookies to cool adequately on the wire rack; this helps them maintain a chewy texture and enhances overall flavor.

Christmas Kitchen Sink Cookies Recipe FAQs
What type of butter is best for these cookies?
I recommend using salted butter for a rich flavor and moisture, which enhances the cookie’s overall taste. If you prefer unsalted butter, just add a pinch of salt to the mixture to ensure the sweet and salty balance remains intact.
How should I store leftover cookies?
To keep your Christmas Kitchen Sink Cookies fresh, store them in an airtight container at room temperature for up to 3 days. If you want to extend their life, refrigerate them for up to a week. Let them come back to room temperature before serving for that just-baked feel!
Can I freeze the cookie dough?
Absolutely! For freezing, shape the cookie dough into balls and arrange them on a baking sheet lined with parchment paper. Freeze them individually for about 1-2 hours, then transfer the frozen dough balls into a freezer-safe bag. They can stay in the freezer for up to 2 weeks. When you’re ready to bake, cook them straight from frozen, just add an extra minute or two to the baking time.
What if my cookies turn out too flat?
If your cookies become flat, it could be due to insufficient flour or melted butter. Make sure to measure your flour accurately—using the spoon and level method is best to avoid packing it down. Also, ensure your butter is softened, not melted. If the dough feels too soft, chilling it for about 30 minutes can help!
Are there any allergy considerations with these cookies?
Yes, always be mindful of dietary restrictions! These cookies contain gluten from the all-purpose flour and dairy from the butter. If needed, substitute with a gluten-free flour blend and dairy-free butter alternatives. Additionally, check for nut allergies if you’re swapping pretzels for nuts and ensure other mix-ins are allergy-friendly.
Can I make these cookies vegan?
Sure! To make these Christmas Kitchen Sink Cookies vegan, substitute the butter with a plant-based alternative and use flax eggs (1 tablespoon of ground flaxseed mixed with 2.5 tablespoons of water per egg) in place of the egg yolks. Just remember to check that your mix-ins are also vegan-friendly!

Sweet and Salty Christmas Kitchen Sink Cookies Made Easy
Ingredients
Equipment
Method
- Preheat your oven to 350°F (175°C) and prepare baking sheets with parchment paper.

- In a large mixing bowl, beat together the butter, light brown sugar, and granulated sugar until light and fluffy, about 2 minutes.
- Add the egg yolks and vanilla, mixing for another 2 minutes until well combined.
- Gently stir in the flour, baking powder, baking soda, and salt until just combined.
- Fold in the M&M's, white chocolate chips, pretzels, and potato chips until evenly distributed.
- Scoop the dough into approximately 20 equal portions on the prepared sheets, spacing them 2 inches apart.
- Optional: Sprinkle extra M&M's and pretzels on top of each ball before baking.
- Bake for 10-12 minutes until edges are golden and centers are slightly soft.
- Optionally shape cookies with a circular cookie cutter right after baking.
- Allow to cool on the baking sheet for 5 minutes, then transfer to wire racks to cool completely.
Leave a Reply