
The first scoop is like a sweet embrace for your taste buds, instantly transporting you to summer evenings and backyard gatherings. This is what you can expect with my Burnt Honey Ice Cream—a luxurious frozen dessert that offers a delightful twist on traditional flavors. The rich, creamy texture and deep, caramelized notes of orange blossom honey create a truly indulgent experience, perfect for those who crave something special. Not only is this ice cream a showstopper for any gathering, but it also comes together quickly, making it a fantastic addition to your homemade repertoire. Are you ready to elevate your dessert game with this delectable treat? Let’s dive in and uncover the secrets to crafting this heavenly ice cream!
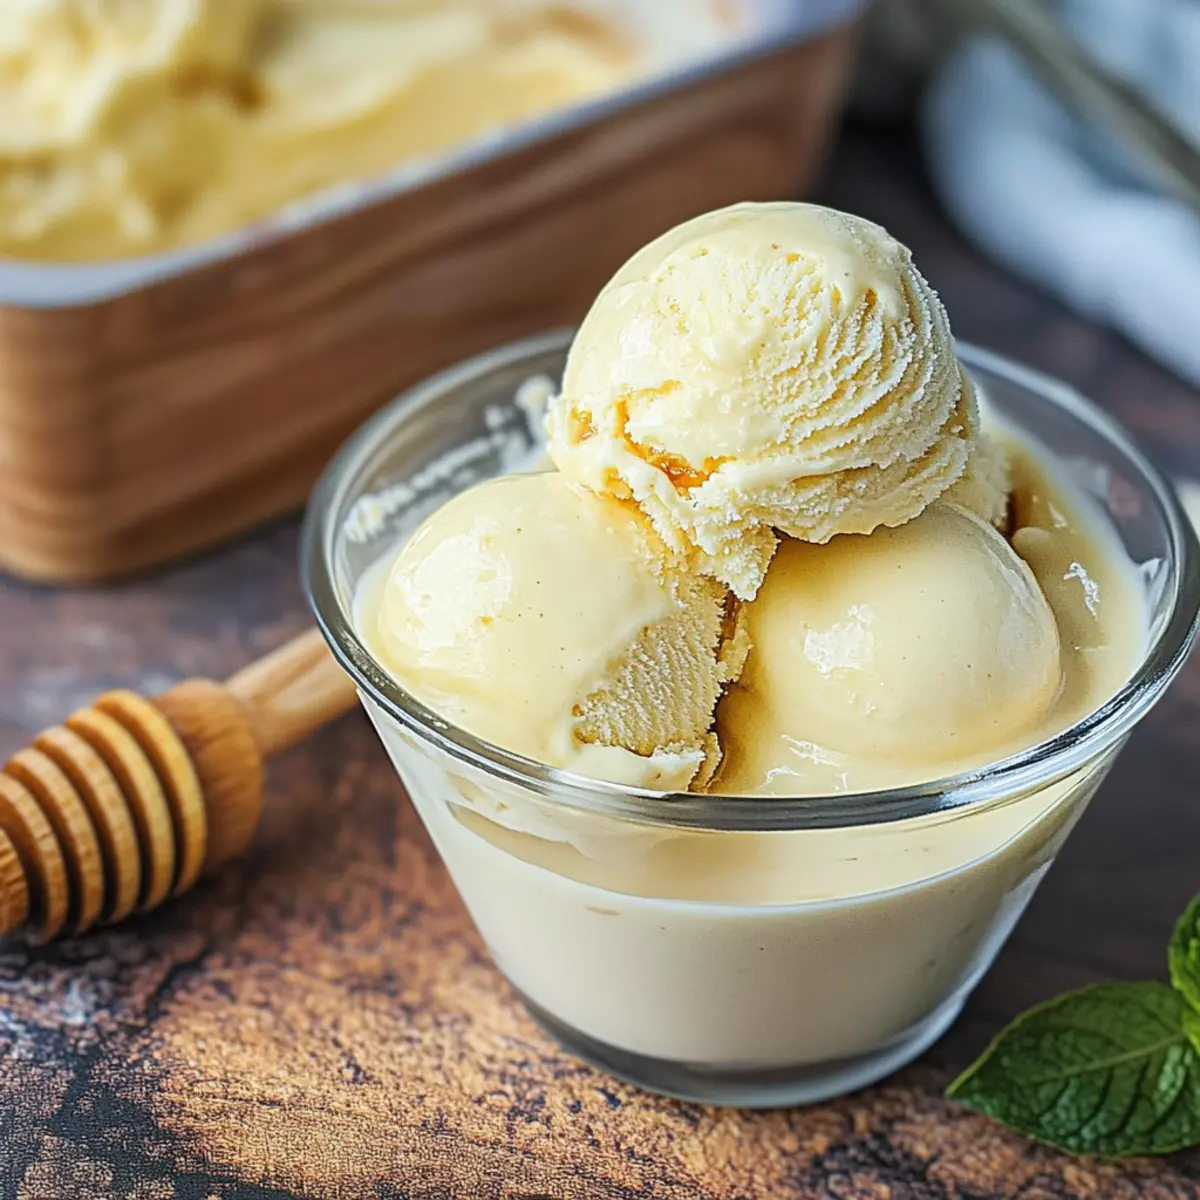
Why is Burnt Honey Ice Cream so special?
Indulgent Delight: Each scoop offers a luxurious, creamy texture that tantalizes your taste buds!
Unique Flavor Profile: The deep caramelized notes of orange blossom honey elevate this dessert to gourmet status.
Quick to Make: This recipe comes together efficiently, perfect for home chefs craving a special treat.
Versatile Variations: Mix it up! Consider trying curry ice cream for an adventurous twist.
Crowd-Pleasing Treat: Whether at summer BBQs or cozy gatherings, this ice cream is sure to impress!
Perfect Pairing: Serve it alongside warm pastries for an unforgettable sensory experience!
Burnt Honey Ice Cream Ingredients
• Embrace the sweetness of homemade ice cream!
For the Ice Cream Base
- Egg Yolks – Provide richness and act as a thickening agent for the ice cream base.
- Granulated Sugar – Adds sweetness and helps achieve a smooth texture in the ice cream.
- Orange Blossom Honey – Infuses a distinct, floral sweetness that caramelizes beautifully.
- Heavy Cream – Ensures a rich and creamy consistency for the best results.
- Whole Milk – Balances the richness of the cream and maintains a silky texture.
- Crème Fraîche – Introduces a tangy note and helps form a luscious consistency.
- Kosher Salt – Elevates the flavor and balances the sweetness, enhancing the overall taste.
For Churning
- Ice Cream Maker – Essential for achieving that creamy texture and soft-serve-like consistency.
These ingredients come together to create a delightful Burnt Honey Ice Cream that will elevate your dessert experience to new heights!
Step‑by‑Step Instructions for Burnt Honey Ice Cream
Step 1: Prepare the Ice Bath
Begin by creating an ice bath to chill your ice cream base. Fill a large bowl with ice and a little water, then place a medium-sized bowl within it, ensuring the bottom does not touch the water. Set a fine-mesh strainer on top of this bowl; this will help you strain your custard later.
Step 2: Whisk Egg Yolks and Sugar
In a separate mixing bowl, add the egg yolks and granulated sugar. Using a whisk, vigorously mix them together until the mixture becomes pale and creamy, about 2 minutes. This vital step helps dissolve the sugar and aerate the yolks, ensuring a smooth texture for your Burnt Honey Ice Cream.
Step 3: Caramelize the Honey
In a medium saucepan, pour in the orange blossom honey and heat it over medium heat. Allow the honey to cook undisturbed for about 5 minutes, or until it darkens in color and develops a rich caramel aroma. Keep a close eye on it to avoid burning—stir gently if needed to ensure an even caramelization.
Step 4: Warm the Cream and Milk
In another saucepan, combine the heavy cream and whole milk. Gradually warm this mixture over low to medium heat until it starts to steam, approximately 3-4 minutes. You don’t want it to boil; just heat until hot to the touch. This step helps incorporate both dairy components smoothly into the caramelized honey.
Step 5: Combine Honey and Cream Mixtures
Once the honey has caramelized, slowly whisk in the warm cream and milk mixture while continually stirring. This gentle action helps incorporate the flavors seamlessly. After fully combined, add the honey-cream mixture to the bowl with the egg yolks, whisking continuously to temper the eggs and prevent curdling.
Step 6: Cook the Mixture
Return the combined mixture to the saucepan and place it over low heat. Cook gently while stirring constantly for about 5-7 minutes or until the custard thickens and coats the back of a spoon. You should see steam rising and feel the mixture thickening. Do not let it boil; this will ensure a smooth Burnt Honey Ice Cream.
Step 7: Strain the Custard
Pour the thickened custard mixture through the fine-mesh strainer set over your prepared ice bath. This step removes any cooked egg bits, ensuring a silky texture. Stir occasionally as the custard cools in the ice bath, allowing it to chill more quickly while you prepare the next step.
Step 8: Add Crème Fraîche and Salt
Once the custard has cooled, whisk in the crème fraîche and a pinch of kosher salt until combined. The crème fraîche introduces a luxurious tanginess that complements the sweet notes of the burnt honey. Mix thoroughly to create a creamy base for your Burnt Honey Ice Cream.
Step 9: Chill the Mixture
Transfer your custard to the refrigerator and let it chill for at least 2 hours. This step is crucial for achieving the best texture during churning. The colder the mixture, the smoother your ice cream will be. Don’t rush this step if you want to ensure a creamy and indulgent dessert.
Step 10: Churn the Ice Cream
Once chilled, pour the custard into an ice cream maker. Churn according to the manufacturer’s instructions for about 20-25 minutes until it reaches a soft-serve consistency. The agitation incorporates air into the mixture, making your Burnt Honey Ice Cream light and fluffy.
Step 11: Transfer and Freeze
Spoon the churned ice cream into an airtight container, smoothing the top. Place a sheet of parchment paper directly on the surface to prevent ice crystals from forming. Seal the container and freeze for at least 4 hours for a firmer texture. Patience here will give you a beautifully scoopable ice cream.
Step 12: Serve and Enjoy
When ready to serve, let the Burnt Honey Ice Cream sit at room temperature for about 5 minutes to soften slightly. Scoop into bowls and enjoy its creamy, caramelized flavor. Pair it with warm pastries or desserts for an irresistible experience!
Make Ahead Options
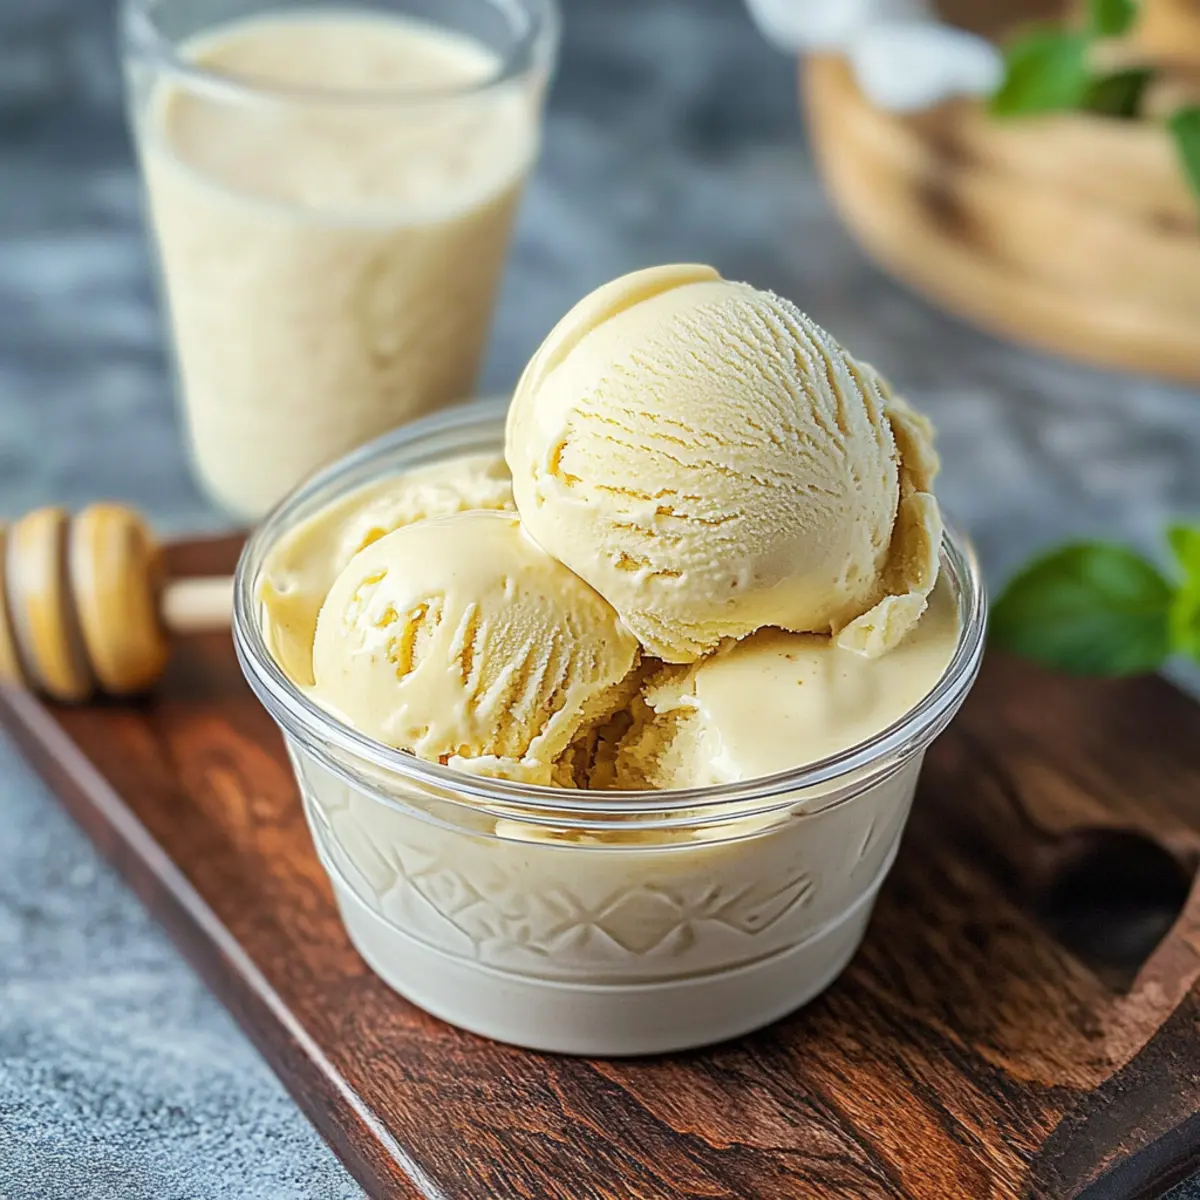
These Burnt Honey Ice Cream preparations are perfect for busy home cooks! You can prepare the custard base up to 24 hours in advance, allowing the flavors to meld beautifully while reducing stress on serving day. Simply follow the recipe through step 8, then cover and refrigerate your mixture—this chilling time ensures a smoother texture when churning. Another great tip is to churn the ice cream and store it in an airtight container for up to 3 days in the freezer before serving. Just remember to let it sit at room temperature for about 5 minutes to soften slightly before dishing it out. By prepping ahead, you’ll bring creamy, indulgent goodness to your table with minimal effort!
Burnt Honey Ice Cream Variations
Feel free to customize your Burnt Honey Ice Cream to suit your taste and dietary needs with these exciting options!
-
Dairy-Free: Substitute heavy cream and milk with coconut cream and almond milk for a rich, creamy alternative. Coconut adds a delightful tropical twist!
-
Flavored Honeys: Try using thyme or wildflower honey for unique flavor profiles that elevate the sweetness. Each option offers an enticing twist, so don’t be afraid to explore!
-
Spice It Up: Add a dash of cinnamon or nutmeg to the custard for a warm, comforting flavor that dances on your palate. These cozy spices create a beautiful harmony with the caramelized notes.
-
Nutty Crunch: Fold in crushed toasted almonds or walnuts during the churning stage for added texture and a delightful nutty flavor. It’s a fantastic contrast to the creamy base!
-
Curry Ice Cream: For the adventurous, a hint of curry powder can be added to the custard. It delivers an exotic twist that surprises and delights!
-
Fruit Infusion: Blend in a fruit puree, such as raspberry or mango, for a fruity contrast that brings a refreshing balance to the richness of the ice cream.
-
Salted Caramel Drizzle: Swirl a homemade or store-bought salted caramel sauce through the churned ice cream right before freezing. It’s an irresistible addition of sweet and salty bliss.
-
Chocolate Twist: Incorporate cocoa powder into the mixture for a chocolate-honey combination. It’s like a sweet relationship between rich chocolate and caramelized honey—it’s simply divine!
These variations will take your homemade Burnt Honey Ice Cream to new heights. If you’re looking for more creamy delight, try it with Avocado Cream Sauce or enjoy it alongside Honey Garlic Chicken for a delightful meal and dessert combo!
What to Serve with Burnt Honey Ice Cream?
Indulging in a bowl of this creamy delight deserves thoughtful companions to elevate your dessert experience even further.
-
Warm Pastries: The flaky goodness of a croissant or a warm beghrir creates a delightful contrast, providing a crispy texture that beautifully complements the rich, creamy notes of the ice cream.
-
Fresh Fruit: A side of ripe, juicy peaches or berries adds a refreshing touch. These bright flavors and textures balance the sweetness of the honey and bring seasonal vibrancy to your dish.
-
Salted Caramel Sauce: Drizzling a silky salted caramel sauce on top creates an exquisite taste explosion. The sweet and salty combo heightens the caramelized flavors already present in the burnt honey, making each bite unforgettable.
-
Chocolate Brownies: The fudgy decadence of a warm brownie pairs perfectly. The richness of the chocolate resonates with the honey’s depth, creating an indulgent experience that loves to be savored.
-
Espresso or Coffee: A cup of strong espresso or a rich brew is an ideal companion, cutting through the creaminess and intensifying the dessert’s luxuriousness, making every spoonful even more delightful.
-
Spice Cookies: Ginger snaps or chai-spiced cookies offer an exciting crunch and a hint of spice that harmonizes beautifully with the ice cream, adding layers of flavor to your dessert affair.
How to Store and Freeze Burnt Honey Ice Cream
- Freezer: Transfer your homemade Burnt Honey Ice Cream to an airtight container, making sure to press a sheet of parchment paper onto the surface to prevent ice crystals from forming. It can be stored for up to 2 weeks.
- Serving Tip: Before serving, allow the ice cream to sit at room temperature for about 5 minutes to soften slightly, making it easier to scoop.
- Keep It Tightly Sealed: Always keep the container tightly sealed in the freezer to maintain the creamy texture and flavor integrity of your Burnt Honey Ice Cream.
- Reheating Tip: If you find the ice cream too hard, don’t microwave it, as this affects the texture. Instead, let it soften naturally at room temperature before serving.
Expert Tips for Burnt Honey Ice Cream
- Watch the Honey: Keep a close eye on the honey to achieve the perfect caramelized flavor; it can go from delicious to burnt quickly!
- Chill the Custard: Ensure the custard is fully chilled before churning; this makes for a smoother texture in the final Burnt Honey Ice Cream.
- Stir Constantly: When adding the warm cream to the egg mixture, whisk constantly to prevent curdling; this ensures a creamy custard.
- Strain Well: Don’t skip straining the custard; it removes any cooked egg bits, resulting in a silky-smooth ice cream.
- Store Properly: For the best texture, store in an airtight container and allow it to soften slightly before serving.
Burnt Honey Ice Cream Recipe FAQs
How do I choose the right orange blossom honey for this recipe?
Absolutely! When selecting orange blossom honey, look for a bottle that is clear and free from any dark spots or sediment. The honey should have a pleasant floral aroma, which indicates its freshness. If you can’t find orange blossom honey, wildflower honey is a good alternative, but keep in mind it will impart a different flavor profile.
How should I store my Burnt Honey Ice Cream?
To ensure your Burnt Honey Ice Cream stays fresh, transfer it to an airtight container and press a sheet of parchment paper directly onto the surface to prevent ice crystals from forming. It can be stored in the freezer for up to 2 weeks. For optimal texture, let it sit at room temperature for about 5 minutes before scooping.
Can I freeze the Burnt Honey Ice Cream for longer than two weeks?
While I recommend enjoying your Burnt Honey Ice Cream within 2 weeks, it can be kept in the freezer for up to 3 months. If you choose to do this, use an airtight container and make sure it’s well-sealed to prevent freezer burn. Just remember that the texture might change slightly after an extended period, so consume sooner for the best experience!
What should I do if my custard curdles during cooking?
Very! If your custard curdles, don’t panic. Simply transfer the mixture to a blender and blend until smooth. This will help re-emulsify the ingredients and give you a silky consistency for your Burnt Honey Ice Cream. Ensure you’re whisking constantly during the initial steps to prevent curdling in the first place.
Is this recipe suitable for people with egg allergies?
While traditional Burnt Honey Ice Cream relies on egg yolks for its rich texture, you can make a custard-free version by replacing the yolks with a blend of cornstarch and additional cream. Mix about 2 tablespoons of cornstarch with a bit of milk before adding it to the warm cream mixture. This will help thicken the ice cream without eggs, creating a delightful treat for those with allergies. Always check with a healthcare professional for specific dietary concerns.
Can my pet have a taste of this ice cream?
No, it’s best to keep your furry friends away from your Burnt Honey Ice Cream. Ingredients like sugar and dairy can upset their stomachs, and honey, though natural, may not be suitable for pets. Instead, consider making a dog-friendly version using pureed bananas or pumpkin in a blended yogurt base for a treat they can enjoy.

Burnt Honey Ice Cream: Indulge in Caramelized Bliss
Ingredients
Equipment
Method
- Prepare an ice bath by filling a large bowl with ice and a little water, placing a medium bowl within it.
- In a mixing bowl, whisk together egg yolks and sugar until pale and creamy, about 2 minutes.
- In a saucepan, heat the orange blossom honey over medium heat for about 5 minutes until caramelized.
- In a separate saucepan, combine heavy cream and whole milk and warm over low heat until steaming.
- Slowly whisk the warm cream mixture into the caramelized honey, then add to the egg yolks, whisking continuously.
- Return the mixture to the saucepan and cook on low heat, stirring constantly for 5-7 minutes until thickened.
- Strain the custard through a fine-mesh sieve into the ice bath, stirring occasionally as it cools.
- Whisk in the crème fraîche and salt until smooth.
- Chill the custard in the refrigerator for at least 2 hours.
- Pour the chilled custard into the ice cream maker and churn for 20-25 minutes until soft-serve consistency.
- Transfer the churned ice cream to an airtight container, smooth the top, and freeze for at least 4 hours.
- Serve by letting the ice cream sit at room temperature for about 5 minutes to soften slightly before scooping.
Leave a Reply