
As I sifted through piles of candy corn and spider decorations, I stumbled upon a delightful idea that turned my Halloween plans upside down—Peanut Butter Spider Cookies! These little creatures are not just treats but an invitation to unleash your creativity in the kitchen. Perfect for both kids and adults, these cookies offer a quick prep time and a fun twist on a classic favorite, making them an unforgettable addition to your Halloween celebrations. Imagine the laughter as little hands assemble each cookie, transforming simple ingredients into edible art. So, are you ready to whip up some spooky magic that will charm your guests and have them coming back for seconds? Let’s dive into these ghastly yet scrumptious creations!
Why Are Peanut Butter Spider Cookies Unique?
Delightful Fun: These cookies turn a traditional favorite into a Halloween masterpiece that both kids and adults will adore.
Easy to Assemble: With a quick prep time, you can whip up a batch effortlessly—perfect for spontaneous gatherings!
Creative Expression: Let your imagination run wild as you decorate each cookie with gooey chocolate and candy eyes!
Crowd Favorite: Who can resist a treat that combines the richness of peanut butter with playful spider designs?
Memorable Moments: Create lasting memories as you involve your little ones in the fun of cookie decorating!
Why not pair these cookies with some spooky punch or classic Cajun Seafood Sauce for a themed Halloween feast? Enjoy the creativity and flavor this festive season!
Peanut Butter Spider Cookies Ingredients
For the Cookies
• Peanut Butter – Provides a rich, nutty flavor that’s essential for these delicious spider cookies.
• Granulated Sugar – Adds sweetness and helps with the cookie’s crunchy texture.
• Brown Sugar – Enhances moisture and gives the cookies a chewy consistency.
• Egg – Binds the ingredients together for a perfect cookie dough texture.
• Vanilla Extract – A splash of vanilla rounds out the flavors beautifully.
• All-Purpose Flour – Forms the base of the cookies; be sure to measure accurately for the best results.
• Baking Soda – Helps cookies rise and achieve that perfect fluffiness.
For Decorating
• Chocolate Melts – Use for dipping or drizzling to create fun spider shapes; feel free to substitute with dark or white chocolate.
• Candy Eyes – Essential for bringing your spider cookies to life; swap with small chocolate chips for a spooky twist.
• Cookie Legs (e.g., Pretzel Sticks) – Provides a crunchy contrast; replace with black licorice for a sweet alternative.
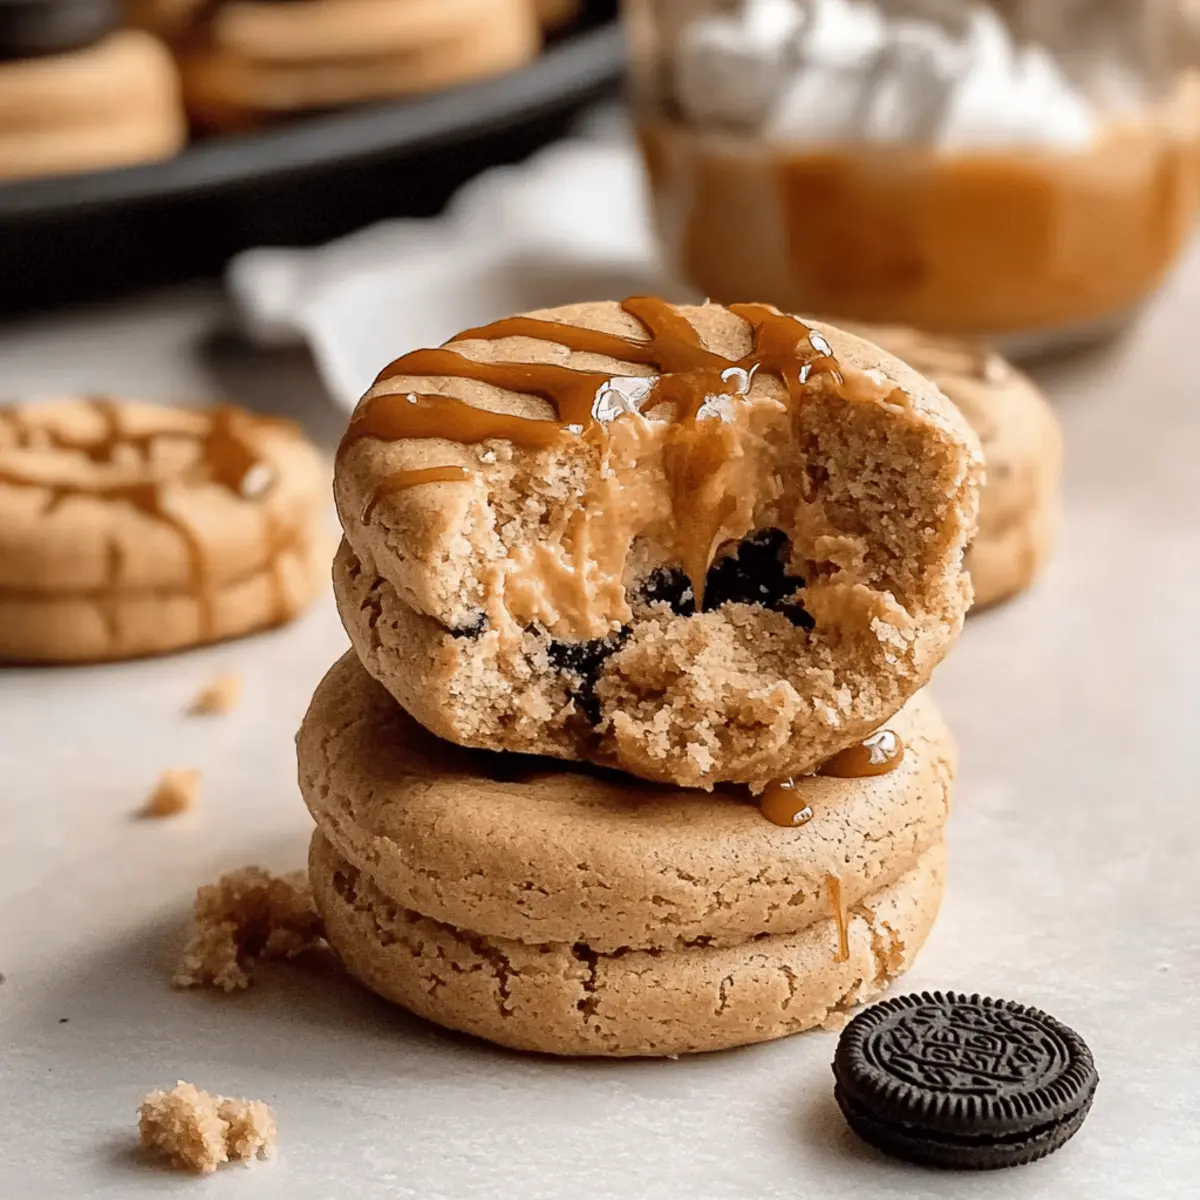
Imagine the delight of assembling these Peanut Butter Spider Cookies, where creativity and flavor collide in a sweet Halloween treat!
Step‑by‑Step Instructions for Peanut Butter Spider Cookies
Step 1: Prepare the Cookie Dough
In a large mixing bowl, combine 1 cup of peanut butter, ½ cup of granulated sugar, ½ cup of brown sugar, 1 egg, and 1 teaspoon of vanilla extract. Use a hand mixer on medium speed for about 2-3 minutes until well blended and creamy. Gradually add 1 cup of all-purpose flour and 1 teaspoon of baking soda, mixing until a soft dough forms.
Step 2: Shape and Bake the Cookies
Preheat your oven to 350°F (175°C). Line a baking sheet with parchment paper. Use a tablespoon to scoop the cookie dough, rolling each scoop into a ball. Place the balls on the prepared baking sheet, spacing them about 2 inches apart. Bake in the preheated oven for 10-12 minutes, until the cookies are lightly golden around the edges.
Step 3: Cool the Cookies
Remove the baking sheet from the oven and let the cookies cool on it for about 5 minutes. Once they are slightly firm, transfer the cookies to a wire rack to cool completely. This cooling time allows them to set and ensures a perfect soft texture, ready for decorating into Peanut Butter Spider Cookies.
Step 4: Melt the Chocolate
While the cookies cool, prepare your decorating materials. Melt 1 cup of chocolate melts in a microwave-safe bowl, heating in 30-second intervals, stirring after each until smooth and fully melted. This will give you a glossy finish that will hold the candy eyes and pretzel legs in place.
Step 5: Decorate the Cookies
Once your cookies are completely cool, dip the top of each cookie into the melted chocolate, allowing any excess to drip off. Place the dipped cookie onto a wire rack or parchment paper. Quickly add the candy eyes while the chocolate is still wet, creating fun spider faces.
Step 6: Add the Spider Legs
Cut pretzel sticks into desired lengths for spider legs. Before the chocolate sets completely, gently press four pretzel sticks into each side of the cookie to resemble legs. Let the decorated cookies sit for about 20-30 minutes to allow the chocolate to harden completely, securing the legs and eyes in place.
Step 7: Serve and Enjoy
Once your Peanut Butter Spider Cookies have set, arrange them on a festive plate to showcase these spooky treats! They make perfect additions to a Halloween party or as a fun family activity. Watch as kids and adults alike indulge in these delightful and creative cookie creations!
How to Store and Freeze Peanut Butter Spider Cookies
Room Temperature: Store peanut butter spider cookies in an airtight container at room temperature for up to 4 days to maintain their delightful chewiness.
Fridge: If you prefer a softer texture, keep the cookies in the fridge for up to 7 days. Just ensure they’re in a sealed container to prevent them from drying out.
Freezer: For longer storage, freeze the cookies in a single layer on a baking sheet, then transfer them to a freezer bag once solid. They can be stored for up to 3 months—perfect for pre-Halloween planning!
Reheating: To enjoy the cookies warm, microwave them for about 10-15 seconds, which revives their soft texture and enhances the peanut butter flavor of your treats.
Expert Tips for Peanut Butter Spider Cookies
• Ingredient Temp Matters: Ensure your peanut butter and egg are at room temperature for easier mixing and a smoother dough.
• Avoid Overbaking: Keep an eye on the cookies, as they should be just lightly golden. Overbaking can lead to dry cookies that aren’t chewy.
• Mix Gradually: When adding flour and baking soda, mix gradually to prevent clumping and ensure even distribution in your dough.
• Chocolate Melting Tips: Melt chocolate slowly in intervals to avoid burning; stirring helps achieve a smooth texture perfect for dipping.
• Creative Legs: Feel free to experiment with different legs—use colorful candy sticks or chocolate-covered pretzels for a fun twist on peanut butter spider cookies!
What to Serve with Peanut Butter Spider Cookies?
As you conjure up spooktacular fun in your kitchen, consider accompanying these delightful treats with flavors that elevate your Halloween celebration.
-
Spooky Punch: A refreshing, fruit-infused punch adds a festive touch and pairs well with the sweetness of the cookies.
-
Pumpkin Spice Lattes: This seasonal favorite enhances the cozy flavors and complements the nutty richness of the peanut butter.
-
Gingerbread Cookies: The warm spices from gingerbread create a delightful contrast, adding depth to your Halloween dessert table.
-
Chocolate Milk: Kid-friendly and nostalgic, a tall glass of chocolate milk is the perfect companion for these gooey, fun cookies.
-
Caramel Apple Slices: The crunch of an apple paired with caramel provides a refreshing, crisp bite alongside the rich cookies.
-
Mini Ghost Cupcakes: These whimsical cupcakes bring a fun visual element and tasty contrast to the savory peanut butter flavor.
Invite your family and friends to enjoy these delicious pairings as they savor the laughter and creativity inspired by your Peanut Butter Spider Cookies!
Make Ahead Options
These Peanut Butter Spider Cookies are perfect for busy home cooks looking to save time during the Halloween rush! You can prepare the cookie dough up to 24 hours in advance by mixing all the ingredients and storing it in an airtight container in the refrigerator. This allows the flavors to meld beautifully! Additionally, you can bake and cool the cookies up to 3 days ahead of time. Just be sure to store them in an airtight container to maintain their soft texture. When you’re ready to serve, melt the chocolate and decorate the cookies with candy eyes and pretzel legs, ensuring a fun and festive treat that’s just as delightful as when freshly made!
Peanut Butter Spider Cookies Variations
Feel free to get creative and personalize these spooky delights to match your taste and theme!
-
Nut-Free: Use sunflower seed butter instead of peanut butter for a delicious, allergen-friendly option. You’ll still get that creamy texture and rich flavor.
-
Gluten-Free: Substitute all-purpose flour with a 1:1 gluten-free blend to accommodate dietary needs without sacrificing taste. This way, everyone can join in on the fun!
-
Chocolate Dipped: Instead of just decorating the tops, fully dip each cookie in chocolate melts for a decadent twist that chocolate lovers will go wild for.
-
Spicy Kick: Add a pinch of cayenne pepper or cinnamon to the dough for a daring flavor twist that adds a delightful warm note to your cookies.
-
Mini Treats: Make mini spider cookies by scooping smaller portions of cookie dough. Perfect for little hands, they’re just as fun to decorate and eat!
-
Decorative Drizzle: Use melted white chocolate to create a cobweb design drizzled over the chocolate-covered cookies, adding an elegant touch that’s still spooky.
-
Alternative Toppings: Swap candy eyes for caramel-filled chocolates or gummy worms, giving your treats a unique take and adding an unexpected surprise.
-
Pumpkin-Spiced: For a seasonal flair, incorporate pumpkin spice into the dough along with your regular ingredients. It’ll fill your kitchen with warm fall aromas!
Don’t forget to check out individual cookie creations like these spooky spiderweb brownies that make for a delightful Halloween spread or pair your spooky treats with a nice pumpkin spice latte to warm up the celebration! Happy baking!

Peanut Butter Spider Cookies Recipe FAQs
How can I ensure my peanut butter is the right consistency?
Absolutely! Use creamy peanut butter for this recipe to achieve a smooth, pliable dough. If your peanut butter is refrigerated, let it sit at room temperature for about 30 minutes to soften it before mixing.
How should I store leftover Peanut Butter Spider Cookies?
For up to 4 days, keep your peanut butter spider cookies in an airtight container at room temperature to maintain their delightful chewiness. If you prefer a softer texture, feel free to refrigerate them for up to 7 days, ensuring they’re sealed to prevent drying out.
Can I freeze Peanut Butter Spider Cookies?
Very! To freeze your cookies, place them in a single layer on a baking sheet until solid. Then, transfer them into a freezer bag, where they can stay fresh for up to 3 months. To enjoy, simply thaw the cookies in the fridge overnight or microwave them for 10-15 seconds until warm.
What if my cookies spread too much while baking?
If your cookies spread too much, it may be because the dough was too warm before baking. Always chill your dough for about 30 minutes before rolling it into balls. Additionally, ensure your baking sheet is cool when placing the dough on it to prevent spreading.
Can I customize the legs of my peanut butter spider cookies?
Absolutely! Get creative with your cookie legs! Instead of pretzel sticks, try using colorful candy sticks or even gummy worms for a spooky twist. This adds not only a fun visual element but also an exciting taste variation!
Are these cookies safe for kids with nut allergies?
If you’re considering serving these cookies to children with nut allergies, it’s best to substitute the peanut butter with sunbutter or a similar nut-free spread. This way, you can ensure everyone enjoys the fun without any risk.
Peanut Butter Spider Cookies for a Spooktacular Treat
Ingredients
Equipment
Method
- In a large mixing bowl, combine peanut butter, granulated sugar, brown sugar, egg, and vanilla extract. Mix for 2-3 minutes until well blended.
- Preheat your oven to 350°F (175°C). Line a baking sheet with parchment paper. Use a tablespoon to scoop the dough, rolling into balls.
- Bake for 10-12 minutes until lightly golden. Let cool for 5 minutes before transferring to a wire rack.
- Melt chocolate melts in a microwave-safe bowl, heating in 30-second intervals until smooth.
- Dip the top of each cookie in melted chocolate and quickly add candy eyes.
- Cut pretzel sticks and press into each side of the cookie for legs. Let sit until chocolate hardens.
- Serve and enjoy your Peanut Butter Spider Cookies on a festive plate.
Leave a Reply