
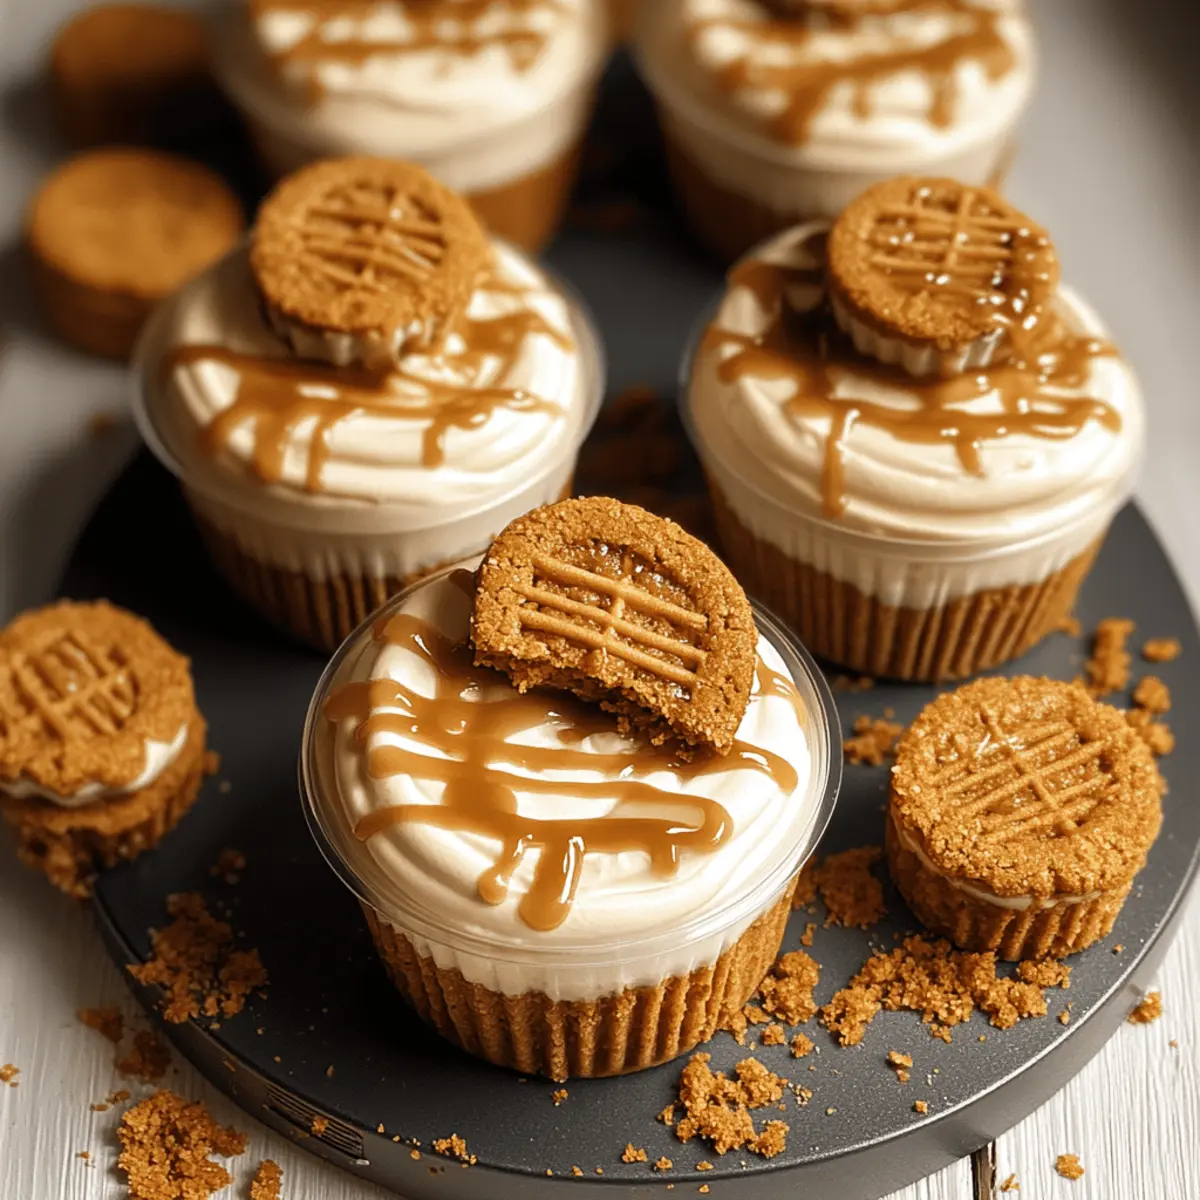
As I rummaged through my pantry one rainy afternoon, I stumbled upon a stash of those irresistible Biscoff cookies. You know the ones—spiced, crunchy, and begging to be transformed into something extraordinary. That’s when the idea for my No-Bake Biscoff Cheesecake Cups sparked to life! This indulgent dessert offers all the creamy goodness of cheesecake minus the oven heat, making it a delightful treat for any occasion. With a quick prep time and the ability to make them ahead, they’re perfect for both family gatherings and unexpected guests. Plus, the visually appealing layers are sure to impress. Are you ready to dive into this scrumptious no-bake adventure?
Why You’ll Crave These Cheesecake Cups
Decadence Delivered: Each spoonful of these No-Bake Biscoff Cheesecake Cups delivers a luxurious experience that’s simply irresistible.
Quick and Easy: With no baking required, you can whip these up in no time, making them perfect for busy weeknights or spontaneous gatherings.
Endless Customization: Feel free to mix and match toppings like berries or chocolate for a unique twist, or try a layer of berry compote for a fruity delight!
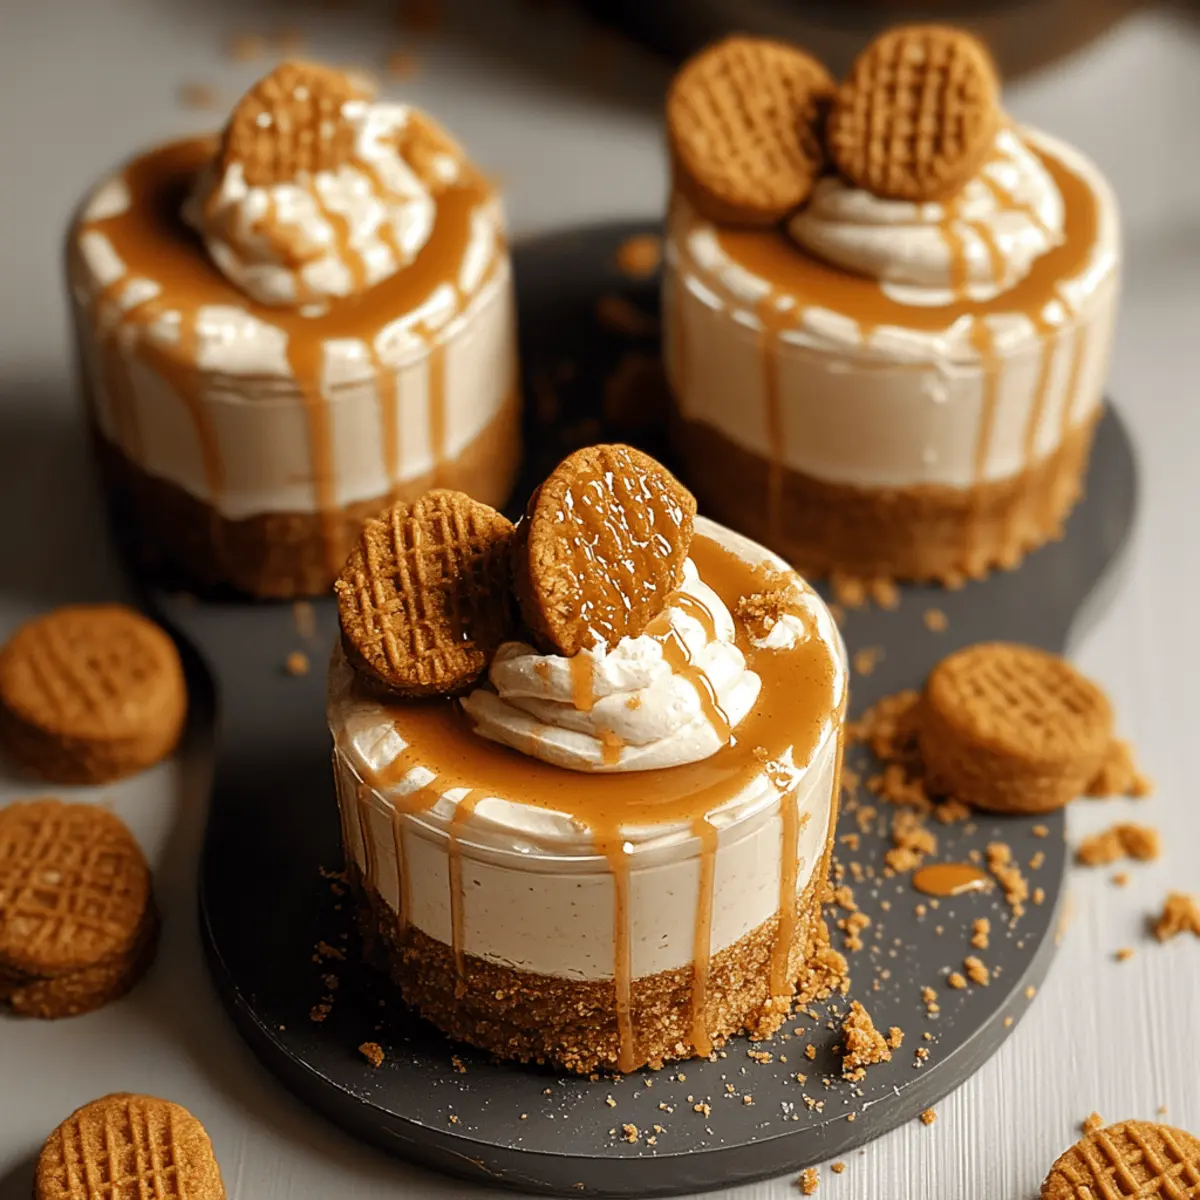
Crowd-Pleasing Appeal: These visually stunning cups are sure to be the star of any potluck or dinner party, impressing both family and friends effortlessly.
Make-Ahead Magic: Prepare them a day in advance for hassle-free hosting, ensuring they’re ready whenever sweet cravings strike!
Indulge in more delightful recipes like Coffee Cheesecake or Chocolate Cheesecake Decadent for added variety!
No-Bake Biscoff Cheesecake Cups Ingredients
• Elevate your dessert game with these delightful components!
For the Crust
- Lotus Biscoff biscuits – Provides a crunchy base and delicious caramelized flavor; ginger snaps can be a fun substitute.
- Unsalted butter – Binds the biscuit crumbs together; using unsalted helps control the overall saltiness.
For the Cheesecake Filling
- Heavy cream – Creates the airy texture of the cheesecake filling; whipped coconut cream makes a great dairy-free alternative.
- Cream cheese – Forms the creamy base of the cheesecake; ensure it’s at room temperature for a smooth mixture.
- Powdered sugar – Adds sweetness and stabilizes the filling; consider using a sugar alternative for a lower-sugar option.
- Biscoff spread (cookie butter) – Infuses the cheesecake with its signature flavor; a chocolate spread works well if you’re feeling adventurous.
- Vanilla extract – Enhances the flavor of the cheesecake; opt for clear vanilla for a consistently beautiful color.
For the Garnish
- Halved Biscoff cookies – Adds a decorative touch and extra crunch on top; reserve some cookie crumbs as well for added texture.
- Reserved cookie crumbs – Perfect for sprinkling over the finished cups as a finishing touch to boost visual appeal and flavor.
Dive into these No-Bake Biscoff Cheesecake Cups and let your taste buds rejoice!
Step‑by‑Step Instructions for No-Bake Biscoff Cheesecake Cups
Step 1: Prepare the Cookie Crust
Begin by crushing the Biscoff biscuits into fine crumbs using a food processor or a zip-lock bag and a rolling pin. Melt the unsalted butter in a microwave-safe bowl. Combine the crushed cookies with the melted butter, mixing thoroughly until the mixture resembles wet sand. Reserve a tablespoon of the crumbs for decoration and set aside.
Step 2: Assemble the Crust in Cups
Take 2-3 tablespoons of the cookie mixture and press it firmly into the bottom of individual dessert cups or glasses. Ensure the crust is tightly packed to create a sturdy base. Use your fingers or the bottom of a measuring cup to achieve an even layer. Set the cups aside to prepare the cheesecake filling.
Step 3: Whip the Heavy Cream
In a separate mixing bowl, pour in the heavy cream and use an electric mixer to whip it on medium-high speed. Beat until stiff peaks form, which usually takes about 3-5 minutes. This step is vital for achieving that light, airy texture in your No-Bake Biscoff Cheesecake Cups, so pay attention to avoid over-whipping.
Step 4: Make the Cheesecake Filling
In another large bowl, beat together the cream cheese, powdered sugar, Biscoff spread, and vanilla extract until completely smooth, which should take about 2-3 minutes. Ensure the cream cheese is at room temperature to prevent lumps. Once blended, gently fold in the whipped cream using a spatula until fully incorporated and fluffy.
Step 5: Pipe the Cheesecake Mixture
Transfer the cheesecake filling into a piping bag or a zip-lock bag with a corner snipped off. Carefully pipe the filling into each cup, layering it over the cookie crust. Fill the cups until they are nearly full, leaving some space for the topping. Smooth the tops with a spatula for a polished look.
Step 6: Add Toppings
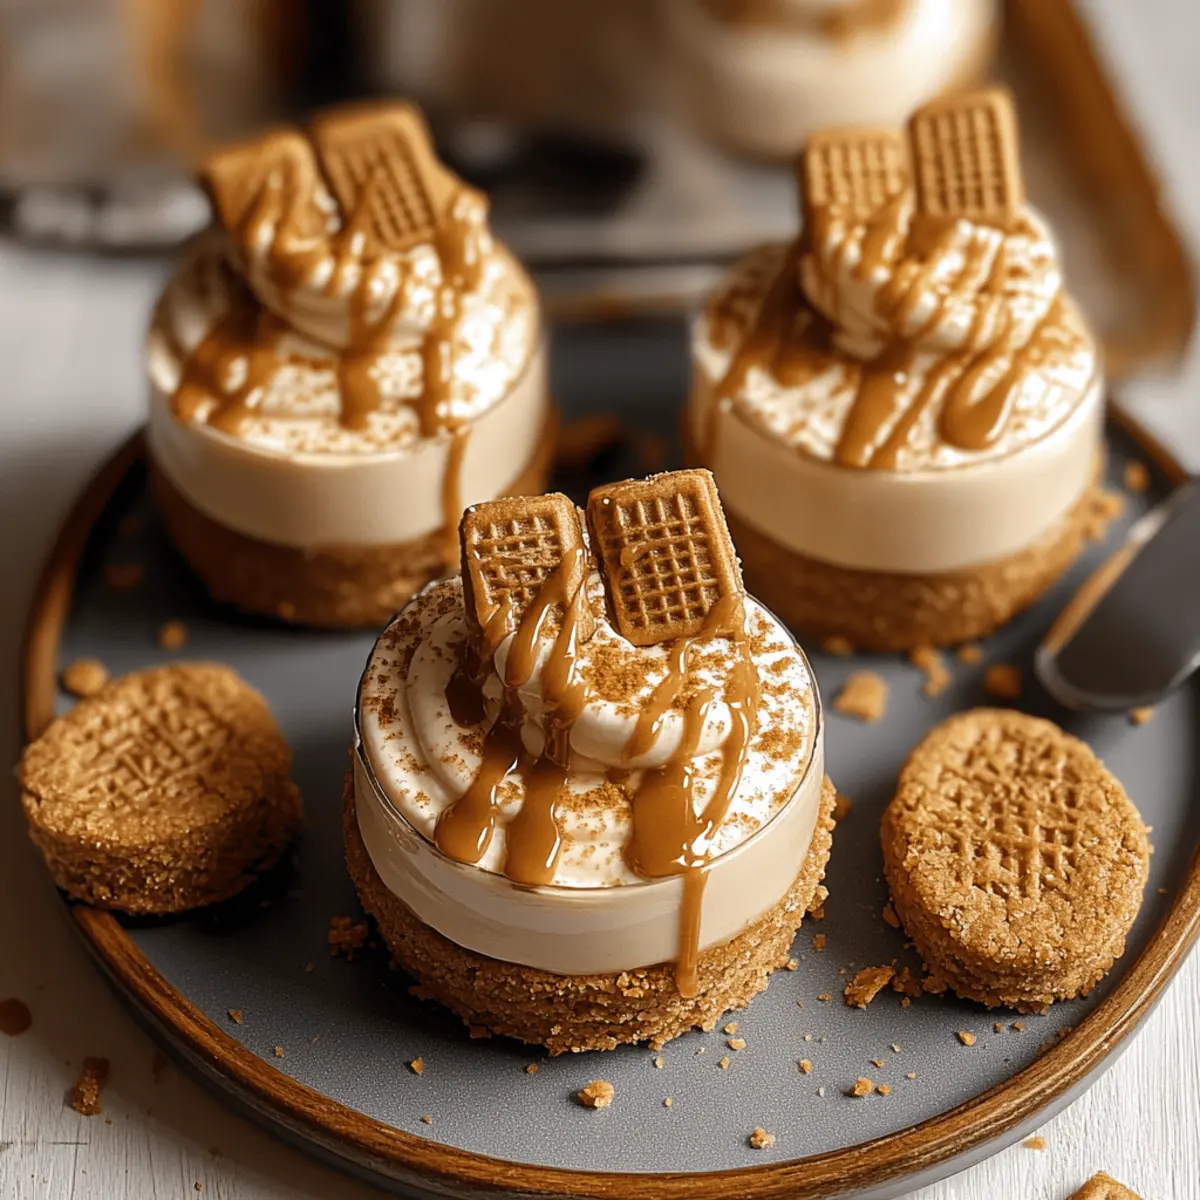
Melt a tablespoon of Biscoff spread in the microwave for about 10-15 seconds until it’s pourable. Drizzle this melted Biscoff over the cheesecake filling in each cup, creating a glossy layer that enhances both flavor and appearance. This adds a luscious finish to your No-Bake Biscoff Cheesecake Cups.
Step 7: Finish and Refrigerate
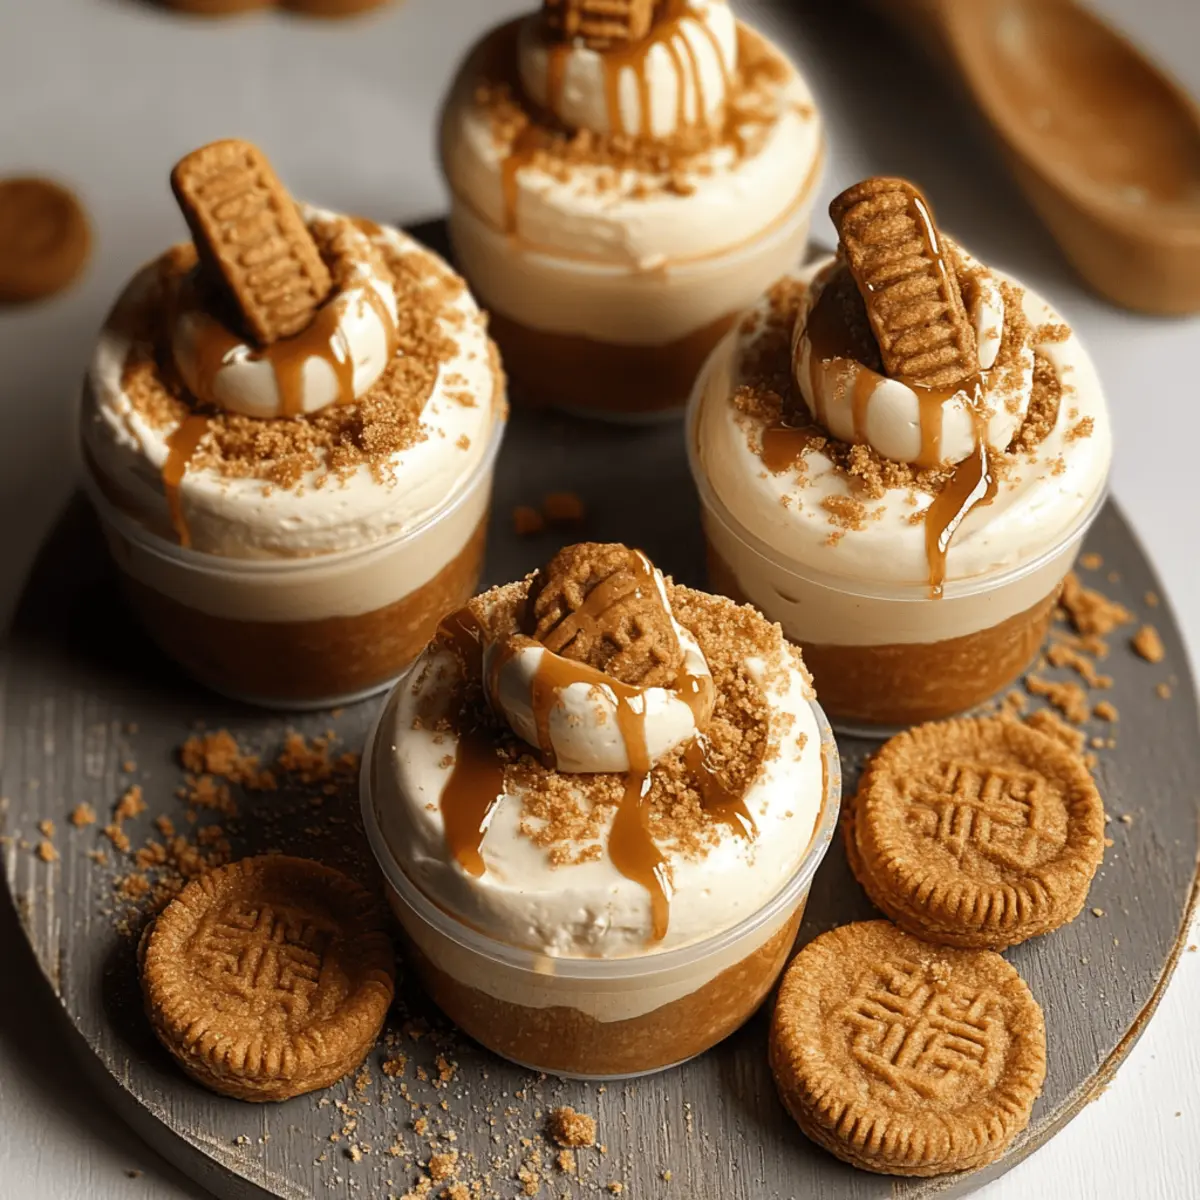
To garnish, place halved Biscoff cookies on top of each cup and sprinkle with the reserved cookie crumbs for added texture and a delightful presentation. Cover the cups with plastic wrap and refrigerate for at least 4 hours, or preferably overnight, to let the flavors meld and the cheesecake firm up beautifully.
Make Ahead Options
These No-Bake Biscoff Cheesecake Cups are ideal for busy home cooks looking to save time without sacrificing flavor! You can prepare the cookie crust and cheesecake filling up to 24 hours in advance. Simply crush the Biscoff biscuits, mix them with melted butter, and pack them into cups; refrigerate until you’re ready to assemble. Next, make the cheesecake filling and store it separately in an airtight container in the fridge to keep it fresh. When it’s time to serve, just layer the filling over the crust, add your toppings, and enjoy a perfect dessert that’s just as delicious as if you made it fresh!
What to Serve with No-Bake Biscoff Cheesecake Cups
Delight in creating a well-rounded meal to accompany these indulgent dessert cups; the balance of flavors will elevate your dining experience.
-
Creamy Mashed Potatoes: Their buttery richness offers a comforting contrast to the sweet cheesecake cups, perfect for a cozy dinner.
-
Fresh Berry Salad: A light medley of seasonal berries adds a refreshing element, cutting through the creaminess while enhancing visuals.
-
Spiced Chai Latte: This warm, aromatic drink complements the caramelized notes in the Biscoff cookies, making your dessert feel like a cozy indulgence.
-
Zesty Lemon Sorbet: The tartness of lemon sorbet cleanses the palate, providing a refreshing finish alongside the richness of the cheesecake cups.
-
Caramelized Pears: These warm, sweet fruits topped with a sprinkle of cinnamon harmonize beautifully with the spiced flavors of the dessert.
-
Chocolate-Covered Espresso Beans: For coffee lovers, these crunchy bites add a delightful crunch and a burst of energy, making them a perfect pick-me-up alongside dessert.
-
Gingerbread Cookies: Their spiced notes echo the flavor of the Biscoff cookies, creating a flavorful duo that beautifully complements the cheesecake cups.
-
Vanilla Ice Cream: A scoop of creamy vanilla ice cream provides a classic pairing, enhancing the richness of the Biscoff flavor with its silky texture.
Expert Tips for No-Bake Biscoff Cheesecake Cups
-
Softened Cream Cheese: Ensure cream cheese is at room temperature to mix smoothly and avoid any lumps in your filling.
-
Whipped Cream Perfection: Whip the heavy cream until stiff peaks form, making your cheesecake light and fluffy; over-whipping can lead to a grainy texture.
-
Tightly Pack Crust: Press the cookie crust firmly into the cups to prevent crumbling when you go to enjoy your scrumptious No-Bake Biscoff Cheesecake Cups.
-
Chill for Success: Allow adequate chilling time—refrigerate for at least 4 hours or overnight—to ensure the layers set perfectly and flavors meld beautifully.
-
Creative Toppings: Feel free to experiment with different toppings like fresh berries or chocolate drizzle to elevate your No-Bake Biscoff Cheesecake Cups.
No-Bake Biscoff Cheesecake Cups Variations
Feel free to explore and customize these beautiful cheesecake cups to fit your taste and mood!
-
Dairy-Free: Substitute heavy cream with whipped coconut cream and use dairy-free cream cheese for a completely dairy-free treat.
-
Chocolate Twist: Mix in a couple of tablespoons of cocoa powder or swap the Biscoff spread for chocolate hazelnut spread for a luscious chocolate version.
-
Berry Delight: Add a layer of your favorite fruit compote—like raspberry or strawberry—between the cookie crust and cheesecake filling for a fruity explosion.
-
Nutty Crunch: Incorporate finely chopped nuts such as pecans or almonds into the crust for an extra layer of texture and flavor.
-
Spice It Up: Stir in a teaspoon of cinnamon or nutmeg to the cheesecake filling for a warm, spiced flavor profile that complements the Biscoff.
-
Matcha Marvel: For an earthy twist, blend in matcha powder for a unique green tea flavor, transforming your cheesecake into a visually stunning dessert.
-
Layered Elegance: Experiment with layering different flavors, like alternating between Biscoff and chocolate cheesecake filling in the same cup for a visually appealing dessert.
-
Tropical Escape: Add crushed pineapple or a hint of coconut to the filling for a delightful tropical take that transports your tastebuds straight to paradise.
For more indulgent delights, why not try your hand at Caramel Brownie Cheesecake or the luscious Strawberry Cheesecake Cinnabon? There’s so much deliciousness to explore!
How to Store and Freeze No-Bake Biscoff Cheesecake Cups
Fridge: Store any leftover No-Bake Biscoff Cheesecake Cups in an airtight container in the refrigerator for up to 3 days to maintain freshness and flavor.
Freezer: If you need to freeze them, place the cups in a single layer in a freezer-safe container, separating layers with parchment paper. They can be frozen for up to 2 months.
Reheating: To enjoy frozen cheesecakes, thaw them in the refrigerator overnight before serving. Avoid refreezing once thawed to preserve texture.
Make-Ahead: These delightful cups can also be prepared up to 2 days in advance, allowing you to serve a crowd-pleasing dessert with minimal last-minute effort!
No-Bake Biscoff Cheesecake Cups Recipe FAQs
What kind of Biscoff biscuits should I use?
Absolutely! Using Lotus Biscoff biscuits is ideal due to their unique spiced and caramelized flavor. If you can’t find them, feel free to substitute with any cookie that has a similar texture, such as ginger snaps or speculoos cookies.
How should I store my No-Bake Biscoff Cheesecake Cups?
To keep your cheesecake cups fresh, store them in an airtight container in the refrigerator for up to 3 days. If you plan to make them ahead, they can be prepared 2 days in advance and stored this way until you’re ready to serve!
Can I freeze No-Bake Biscoff Cheesecake Cups?
Yes, you can! Place the cups in a single layer in a freezer-safe container, ensuring to separate layers with parchment paper. These delightful treats can be stored in the freezer for up to 2 months. When you’re ready to enjoy, just thaw them in the refrigerator overnight.
How can I avoid a lumpy cheesecake filling?
To prevent lumps in your cheesecake filling, make sure that your cream cheese is at room temperature before mixing. Beat the cream cheese, powdered sugar, Biscoff spread, and vanilla until completely smooth—this usually takes about 2-3 minutes. If you’re careful to incorporate the whipped cream gently, your filling will turn out luxuriously creamy!
Are there any dietary considerations I should keep in mind?
Certainly! If you’re catering to various dietary needs, you can easily make this dessert dairy-free by substituting the cream cheese and heavy cream with vegan alternatives such as whipped coconut cream and dairy-free cream cheese. Additionally, for those requiring lower sugar options, using a sugar alternative in place of powdered sugar is a viable choice. Always check the ingredients of your Biscoff spread to ensure it fits your needs.
What should I do if my cheesecake doesn’t set properly?
If your No-Bake Biscoff Cheesecake Cups are not firming up, it’s likely due to insufficient chilling time. I recommend covering them and leaving them in the refrigerator for at least 4 hours, but overnight is even better! If they’re still too soft, try adding more whipped cream that has been stiffened or a bit more Biscoff spread to stabilize the filling.
Decadent No-Bake Biscoff Cheesecake Cups
Ingredients
Equipment
Method
- Begin by crushing the Biscoff biscuits into fine crumbs using a food processor or a zip-lock bag and a rolling pin.
- Melt the unsalted butter in a microwave-safe bowl.
- Combine the crushed cookies with the melted butter, mixing until the mixture resembles wet sand.
- Reserve a tablespoon of the crumbs for decoration and set aside.
- Press 2-3 tablespoons of the cookie mixture firmly into the bottom of individual dessert cups.
- In a mixing bowl, whip the heavy cream on medium-high speed until stiff peaks form.
- In another bowl, beat together the cream cheese, powdered sugar, Biscoff spread, and vanilla extract until smooth.
- Gently fold the whipped cream into the cream cheese mixture until fully incorporated.
- Transfer the cheesecake filling into a piping bag and pipe it over the cookie crust in each cup.
- Melt a tablespoon of Biscoff spread and drizzle it over the cheesecake filling.
- Garnish with halved Biscoff cookies and sprinkle with reserved cookie crumbs.
- Cover the cups with plastic wrap and refrigerate for at least 4 hours, preferably overnight.
Leave a Reply