
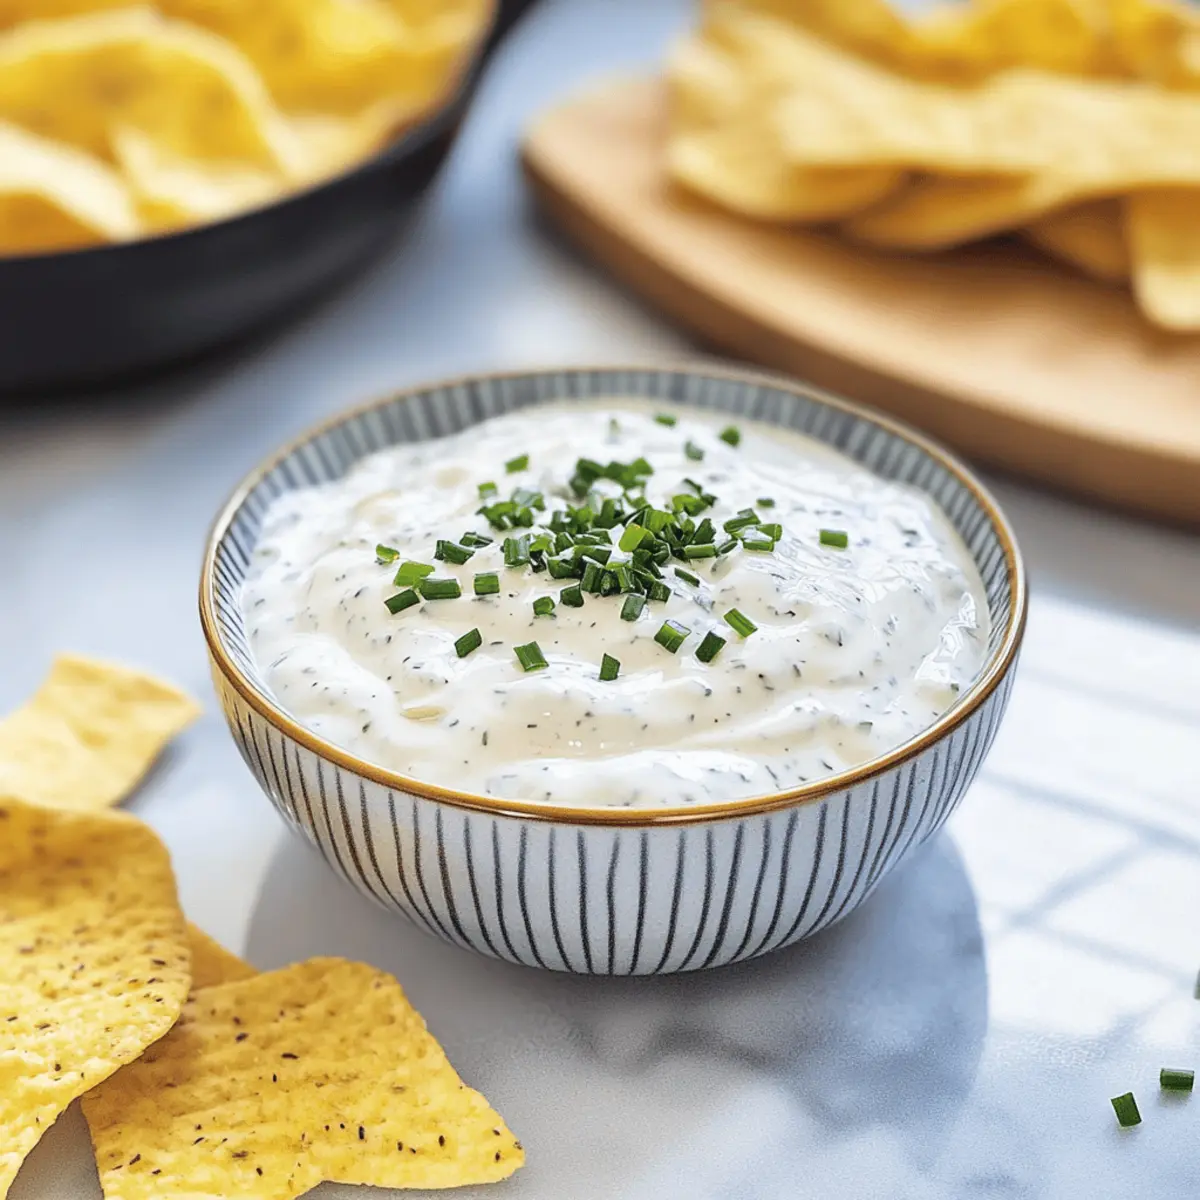
As the evening sun dipped below the horizon, I found myself in a mini crisis—a snack emergency during our game night! With the laughter echoing and hearty competition brewing, I needed something quick, delicious, and easy to whip up. Enter my Quick & Easy Sour Cream Dip with Chives. With only eight simple ingredients and a preparation time of just five minutes, this dip is the secret weapon for turning any gathering into a culinary win. Not only is it gluten-free, but it also makes a perfect make-ahead snack, allowing flavors to deepen and intensify in the fridge. Whether you’re dunking crunchy chips or crisp veggies, this dip transforms ordinary moments into delightful dining experiences. How do you like to dip? Let’s dive into the recipe!
Why is this Sour Cream Dip unforgettable?
Simplicity: Whip this dip up in just five minutes, requiring minimal prep work and basic ingredients.
Versatile Pairing: Perfect with chips, fresh veggies, or even drizzled over baked potatoes.
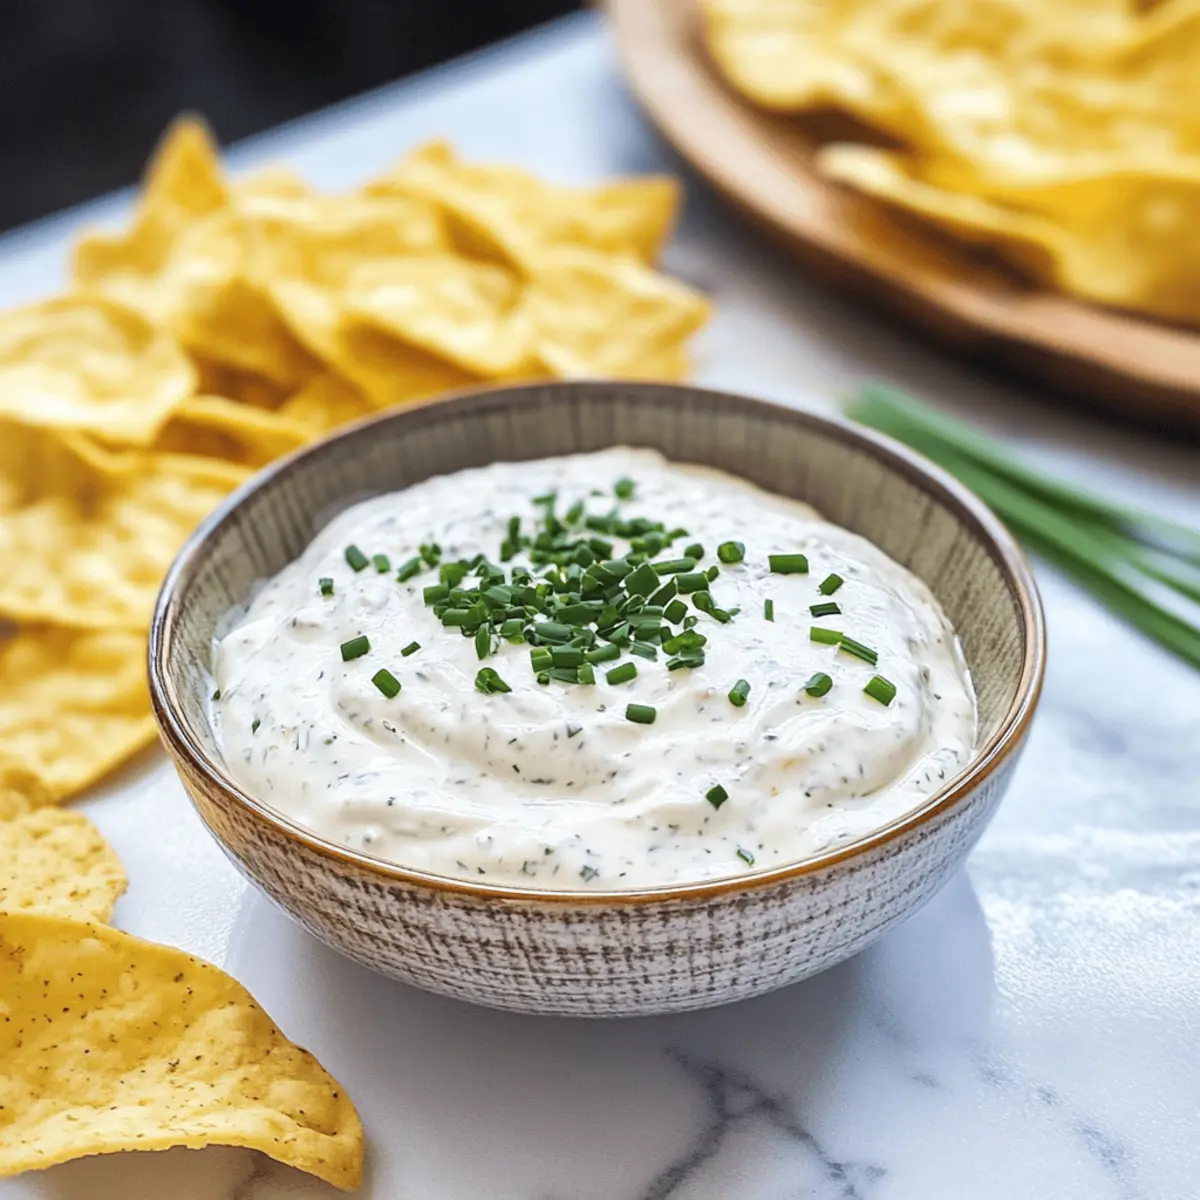
Flavor Boost: The fresh chives, combined with garlic and lemon, create a delightful and refreshing taste.
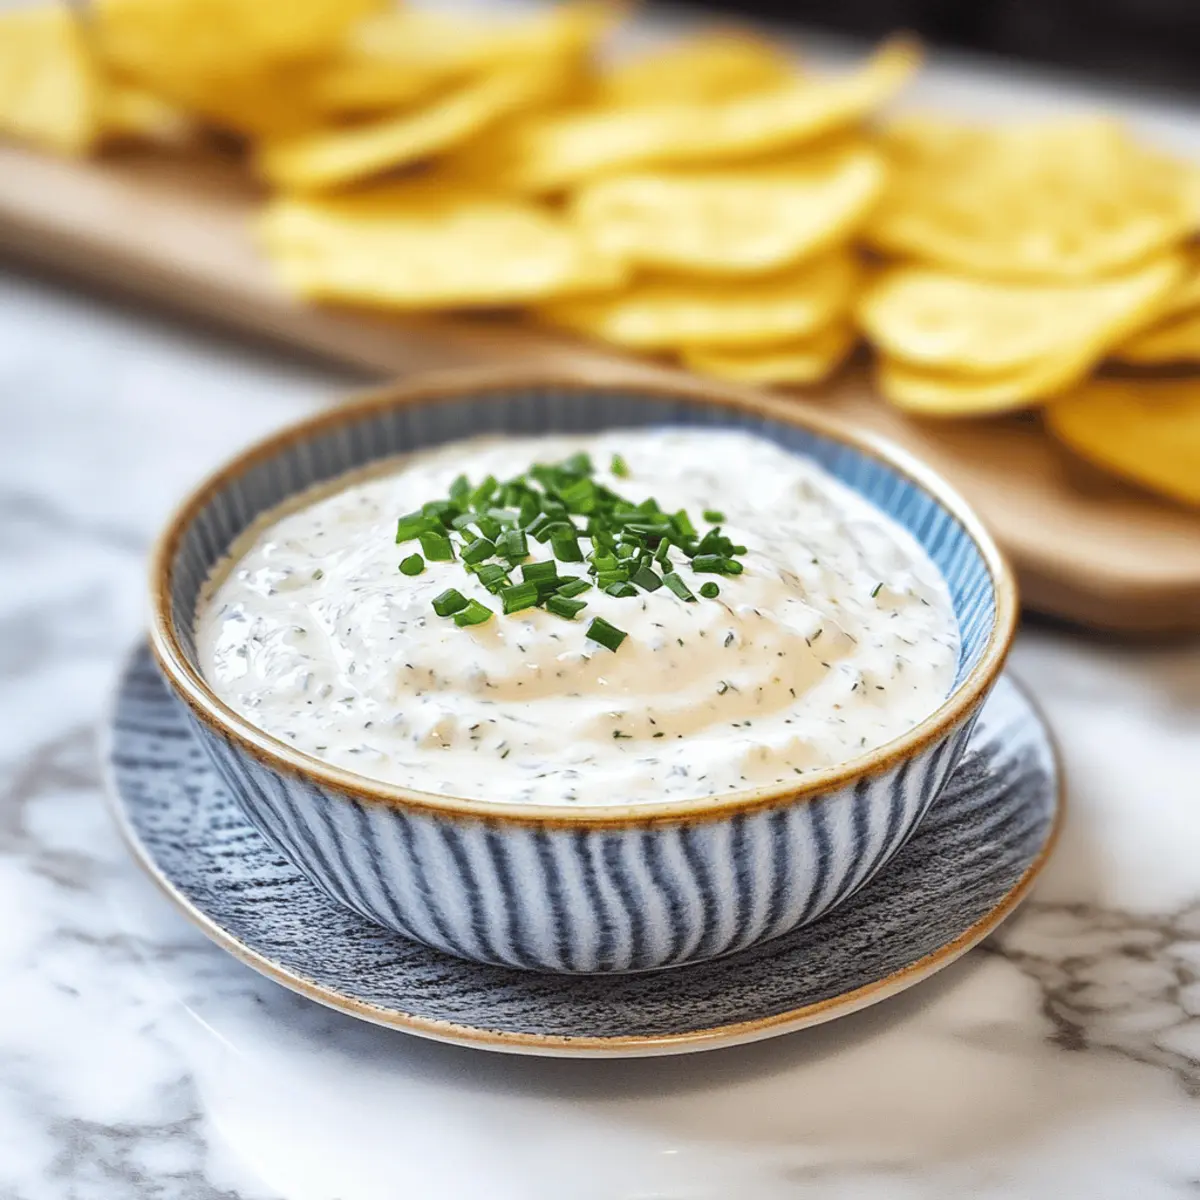
Make-Ahead Magic: Prepare it a day in advance for a richer flavor experience. Storing in an airtight container ensures it stays fresh!
Healthy Twist: Swap sour cream for Greek yogurt for a lighter option, while keeping all the creaminess.
Whether you’re hosting a game night or just in need of a tasty snack, this dip will impress everyone — consider serving it alongside a zesty Avocado Cream Sauce or with some crispy Korean BBQ Meatballs for an unbeatable spread!
Sour Cream Dip Ingredients
• Perfect for your quick and easy dip!
For the Dip
- Sour Cream – The creamy base that gives this dip its delightful tang; feel free to substitute with Greek yogurt for a lighter taste.
- Fresh Chives – Adds a burst of mild onion flavor and lovely color; green onions work as a great alternative if chives are unavailable.
- Onion Powder – Infuses the dip with aromatic depth; you can swap in fresh onion, but it may alter the overall texture.
- Garlic Powder – Offers a subtle garlic kick; opt for fresh minced garlic if you prefer a more pronounced flavor.
- Dried Parsley – Provides a touch of earthiness and color; if you’re out, fresh parsley may be used instead.
- Salt – Essential for enhancing all flavors; adjust according to your personal taste preference.
- Black Pepper – Adds mild heat; freshly cracked black pepper will give better flavor than pre-ground.
- Lemon Juice – Balances the creaminess with bright acidity; if lemons are out, vinegar can also do the trick.
Make this Sour Cream Dip your go-to for every gathering, and watch it disappear faster than you can say “delicious”!
Step‑by‑Step Instructions for Quick & Easy Sour Cream Dip with Chives
Step 1: Combine Ingredients
In a medium mixing bowl, add 16 ounces of sour cream, 3 tablespoons of finely chopped fresh chives, 2 teaspoons of onion powder, and 1½ teaspoons of garlic powder. Also, add 2 teaspoons of dried parsley, 1 teaspoon of salt, and ½ teaspoon of freshly cracked black pepper. Make sure all ingredients are measured and ready, as this will ensure a smooth preparation process.
Step 2: Add Lemon Juice
Squeeze the juice from 2 to 3 teaspoons of fresh lemon into the bowl with the sour cream mixture. This tangy addition will brighten the flavor of the dip and cut through the richness of the sour cream. As you add the lemon juice, be careful to avoid any seeds falling into the mix for a smooth consistency.
Step 3: Mix Thoroughly
Using a sturdy spatula or whisk, gently mix all the ingredients together until they are thoroughly combined and well blended. Aim for a creamy, smooth texture with no lumps of sour cream remaining. This should take about 1 to 2 minutes of steady stirring, and you will see the vibrant specks of chives throughout the dip.
Step 4: Taste and Adjust
Once mixed, take a moment to taste the dip and adjust the seasoning according to your preference. If you find it needs more flavor, consider adding an extra pinch of salt or a bit more lemon juice for brightness. This personal touch ensures your Sour Cream Dip is perfectly tailored to your liking.
Step 5: Serve or Chill
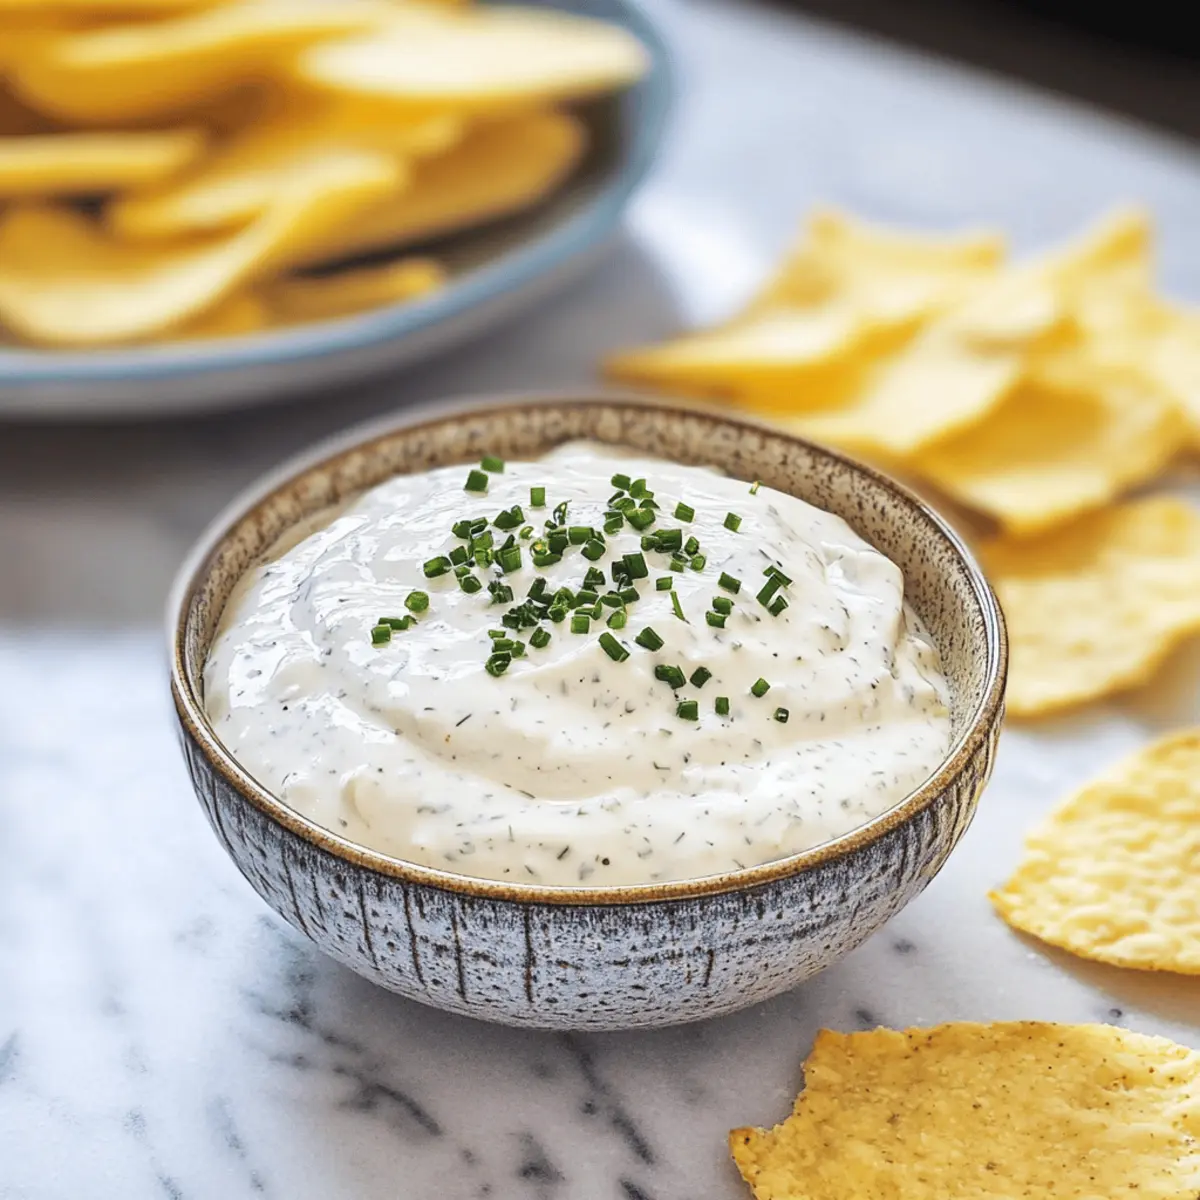
You can serve the dip immediately with a selection of crunchy chips or fresh vegetable sticks for a delightful snack. However, for enhanced flavor, cover the bowl with plastic wrap and refrigerate for at least one hour. This resting time allows the flavors to meld beautifully, creating an even more irresistible Sour Cream Dip when you’re ready to enjoy it.
Expert Tips for Sour Cream Dip
-
Chill Time: Letting the Sour Cream Dip sit in the fridge for at least an hour allows the flavors to blend beautifully. For the best results, prepare it a day in advance!
-
Taste Test: Always taste the dip once mixed. This lets you adjust the salt and lemon juice to your personal preference without risking over-salting.
-
Measurement Matters: Ensure your ingredients are measured accurately to achieve a consistent taste and texture. A little too much of one ingredient can throw off the balance!
-
Fresh Ingredients: Opt for fresh chives and garlic for a more vibrant flavor. Dried herbs work in a pinch, but fresh really elevates the dip!
-
Versatile Substitutes: Don’t hesitate to swap ingredients, like using Greek yogurt for sour cream. This keeps the dip creamy while lightening it up for health-conscious guests!
Make Ahead Options
These Sour Cream Dip preparations are perfect for busy home cooks who crave that homemade touch! You can mix all the ingredients up to 24 hours in advance and store the dip in an airtight container in the refrigerator. This waiting period allows the flavors to deepen and become even more delicious. To maintain optimal quality, make sure to keep it tightly sealed to prevent any drying out. When you’re ready to serve, simply give it a quick stir and taste; you can adjust seasoning as needed. This effortless meal prep not only saves time but ensures you have an irresistible dip ready for your next gathering!
Sour Cream Dip Variations & Substitutions
Feel free to put your own twist on this delicious dip and tailor it to your taste!
- Greek Yogurt: Swap sour cream for Greek yogurt for a tangy and lighter alternative that keeps all the creaminess.
- Herb Infusion: Add chopped fresh dill or cilantro for a refreshing herbaceous flavor that will uplift the dip.
- Spicy Kick: Incorporate a few dashes of hot sauce or cayenne pepper if you’re craving some heat—your taste buds will thank you!
- Cream Cheese Boost: Mix in softened cream cheese for a richer and thicker dip that’s perfect for spreading on bagels or crackers.
- Chipotle Flavor: Add a tablespoon of chipotle in adobo sauce for a smoky, zesty flare that’s ideal for those who love bold tastes.
- Roasted Garlic: Use roasted garlic instead of garlic powder for a sweet and rich flavor that adds a gourmet touch to your dip.
- Veggie Blend: Fold in finely diced bell peppers or cucumbers to add a crunchy texture that balances the creaminess of the dip.
- Zesty Lime: Swap lemon juice for lime juice for a unique twist that brings a bright, zesty flavor—perfect for summer gatherings!
With the flexibility to personalize your dipping experience, why not also try pairing it with some tasty bites like a creamy Korean Milk Cream or a vibrant Creamy Street Corn Pasta Salad?
How to Store and Freeze Sour Cream Dip
Fridge: Store your Sour Cream Dip in an airtight container for up to 3 days. This helps retain its creamy texture and flavors, making it perfect for snacking later.
Make-Ahead: You can prepare the dip a day before your gathering. Just keep it covered in the fridge to allow the flavors to develop further—trust me, it’s worth the wait!
Freezer: While not recommended for this dip due to its creamy texture, if you need to freeze it, place it in an airtight container for up to 2 months. Thaw in the fridge overnight before serving, but expect some texture changes.
Reheating: Serve the dip cold or at room temperature. If refrigerated, give it a gentle stir before serving to restore its smoothness and restore those vibrant flavors!
What to Serve with Quick & Easy Sour Cream Dip with Chives
Creating a mouthwatering spread around your beloved dip adds texture and flavor to your snacking experience.
-
Crunchy Tortilla Chips: The perfect vehicle for your dip, these chips add an irresistible crunch and lightly salted flavor that pairs beautifully with the creamy dip.
-
Colorful Veggie Sticks: A mix of carrots, celery, and bell peppers offer a fresh, crispy contrast while providing a healthy, vibrant accompaniment for those who prefer a lighter bite.
-
Savory Baked Potatoes: Topping baked potatoes with this sour cream dip adds a delightful twist, enhancing their fluffy texture with creamy richness.
-
Spicy Chicken Wings: The heat of spicy wings balances the tangy, cooling effect of the dip, making it a fantastic partner for those who crave bold flavors.
-
Cheesy Garlic Bread: The warm, cheesy goodness of garlic bread makes for a comforting and indulgent pairing, perfect for dipping into your sour cream delight.
-
Herbed Pita Chips: These add a burst of flavor and are a delightful alternative to regular chips, enhancing your dip’s taste with their herby essence.
-
Refreshing Cucumber Slices: The mild, cool taste of cucumbers offers a light, refreshing option that complements the creamy dip without overwhelming the palate.
-
Craft Beer or Light White Wine: Enjoy this dip alongside a chilled craft beer or a crisp glass of white wine, both of which enhance the flavors of the dip while refreshing your palate.
Sour Cream Dip Recipe FAQs
How do I select ripe ingredients for the Sour Cream Dip?
Absolutely! When choosing your chives, look for fresh, vibrant green stalks without wilted or yellowing leaves. The sour cream should be creamy and smooth with no signs of separation. If substituting with Greek yogurt, ensure it’s plain without added sweeteners or flavors for the best results.
How should I store the Sour Cream Dip, and how long does it last?
Very! Store your Sour Cream Dip in an airtight container in the refrigerator for up to 3 days. This will help maintain its creamy texture and vibrant flavors. Make sure to cover it well to prevent any odors from the fridge affecting the taste.
Can I freeze this Sour Cream Dip?
Yes, you can! While freezing may change its texture slightly, you can freeze the dip in an airtight container for up to 2 months. To thaw, simply move it to the refrigerator overnight. Once thawed, give it a good stir to reincorporate the ingredients before serving.
What should I do if my dip is too salty or tangy?
No problem! If your dip turns out too salty, you can balance it by adding a bit more sour cream or Greek yogurt to dilute the saltiness. If it’s overly tangy, a pinch of sugar can help to balance the acidity. Taste and adjust as you mix until you reach your desired flavor.
Is this Sour Cream Dip safe for people with allergies?
Absolutely! This dip is gluten-free, making it suitable for those with gluten sensitivities. However, if you have specific allergies, double-check the ingredient labels, especially for potential cross-contamination, particularly with garlic powder and sour cream. For dairy allergies, consider using a dairy-free sour cream alternative and check that all herbs and spices are free from allergens.
Can I make any adjustments for dietary preferences?
Of course! If you want a lower-fat version, you can substitute the sour cream with Greek yogurt. For a vegan option, look for a plant-based sour cream alternative. Feel free to add different herbs or spices based on your dietary preferences and taste—this dip is all about personalization!
Creamy Sour Cream Dip: Quick, Easy, and Irresistibly Delicious
Ingredients
Equipment
Method
- In a medium mixing bowl, add sour cream, fresh chives, onion powder, and garlic powder.
- Add dried parsley, salt, and freshly cracked black pepper to the bowl.
- Squeeze fresh lemon juice into the bowl, being careful to avoid seeds.
- Mix all ingredients together until thoroughly combined and smooth.
- Taste and adjust seasoning if necessary, then serve immediately or chill for at least one hour.
Leave a Reply