
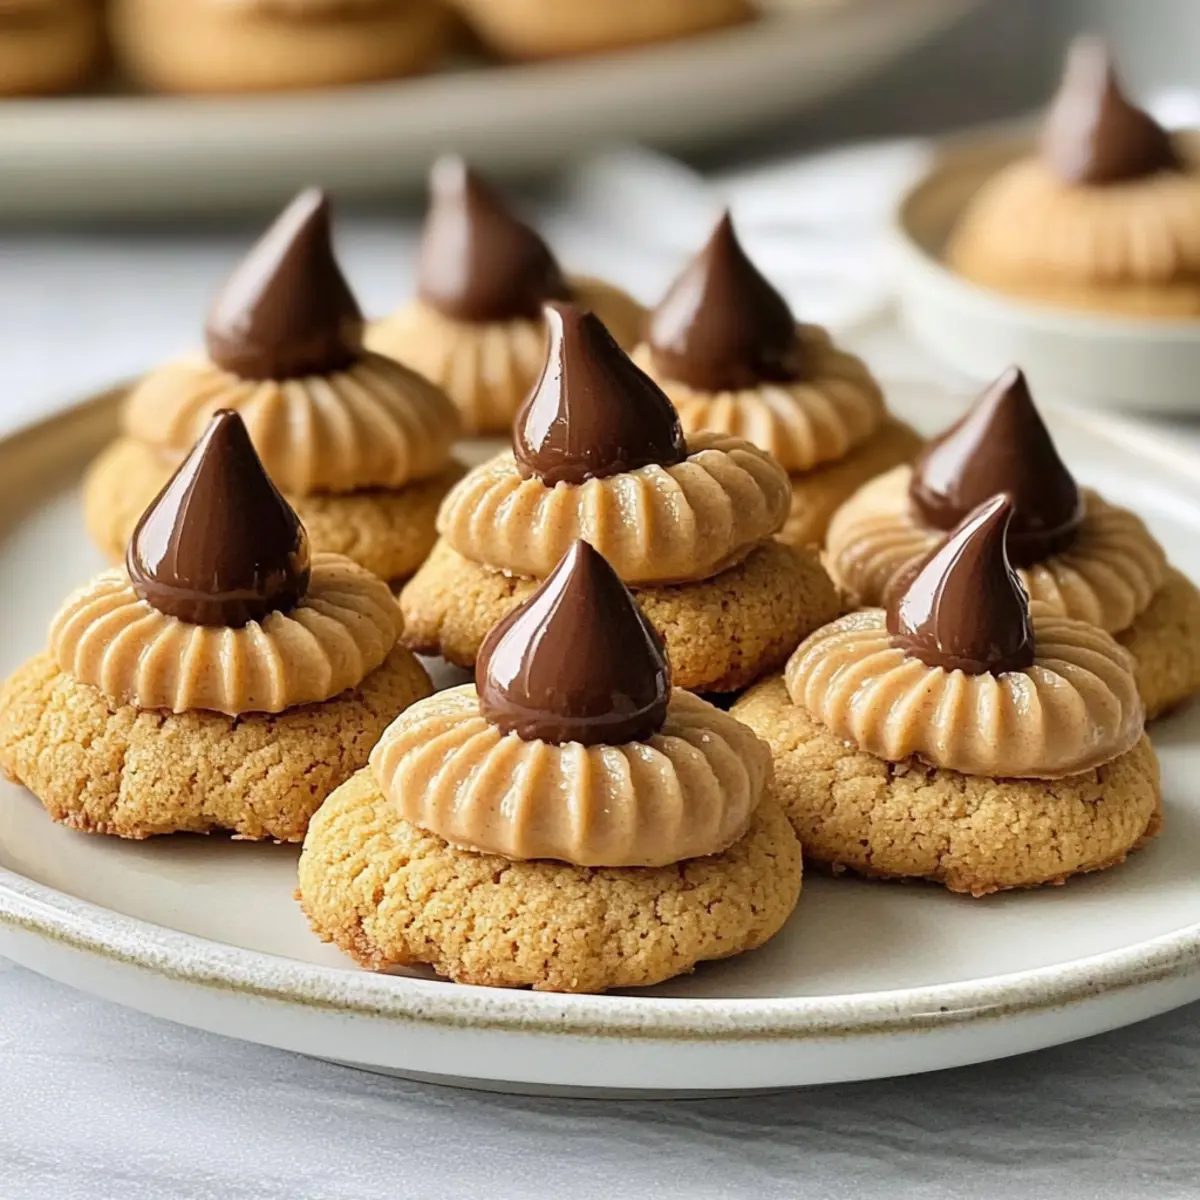
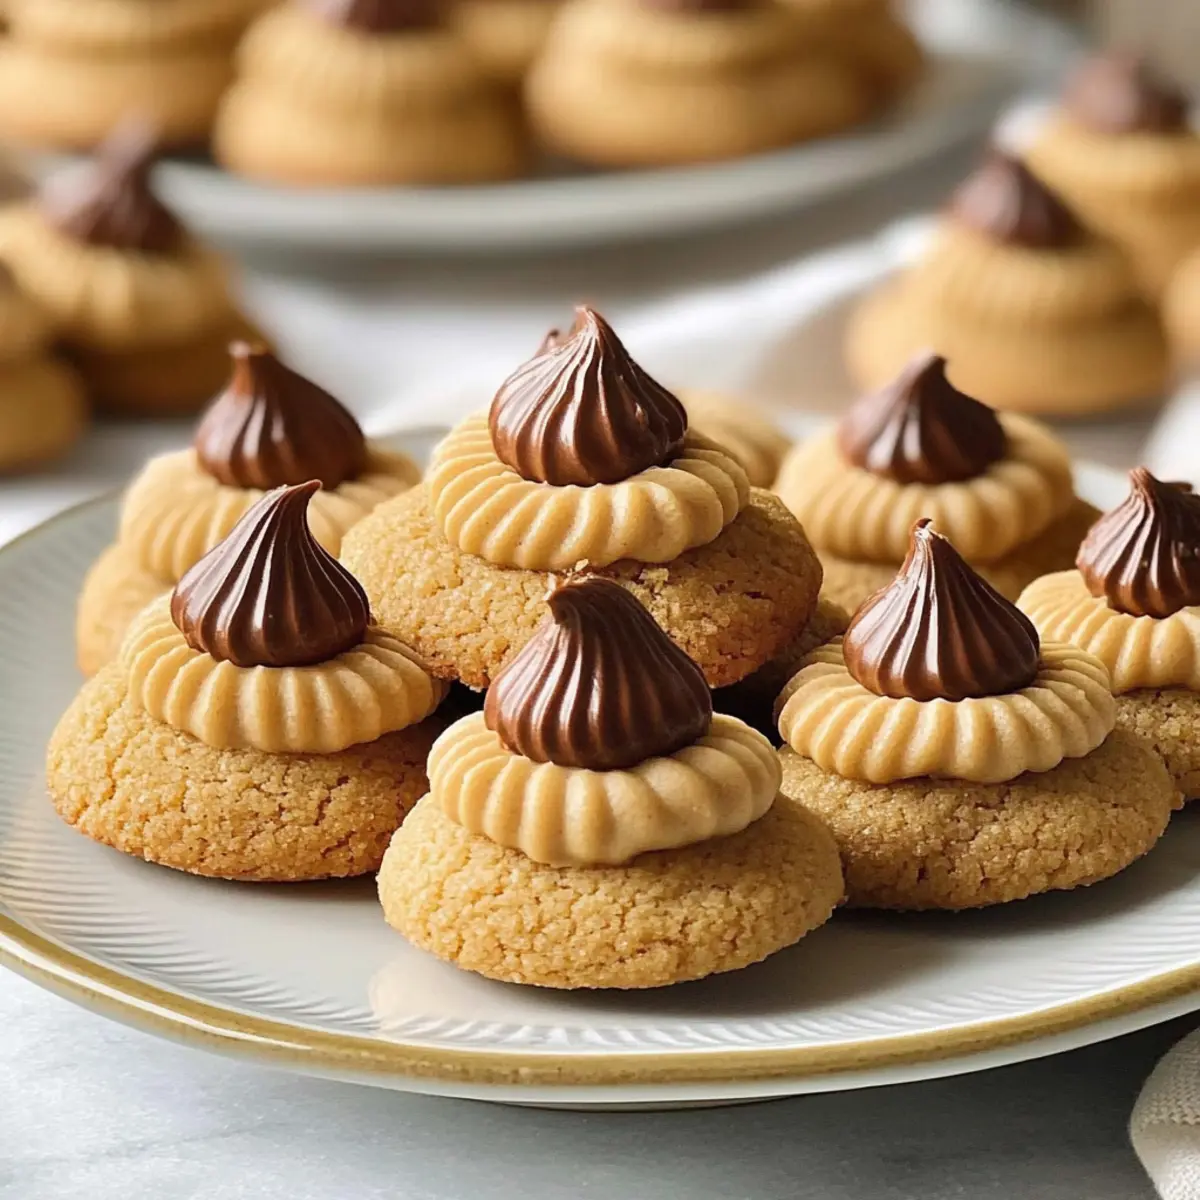
As I watched my kitchen transform into a fragrant wonderland, the allure of holiday traditions beckoned me to bake. These Classic Peanut Butter Blossoms are the embodiment of that festive spirit, delivering a mouthwatering sweet-and-salty experience with every bite. This crowd-pleasing recipe is not only simple enough for bakers of all skill levels, but it also provides an excellent opportunity to create warm memories with loved ones during the bustling holiday season. Imagine pressing those lovely Hershey’s Kisses right into the center of warm cookies, instantly bringing magic to your kitchen. With variations that can make your classic cookies unforgettable—think dark chocolate or refreshing peppermint—you’ll find the perfect twist to wow your guests. Ready to fill your home with joy and deliciousness? Let’s dive into these delightful Peanut Butter Blossoms!
Why Are Peanut Butter Blossoms So Special?
Irresistible flavors: The combination of creamy peanut butter and a melty chocolate center creates a delightful sweet and salty sensation that will have everyone asking for more.
Easy to Make: This recipe is approachable for all skill levels, making it a perfect option for family baking days or holiday gatherings.
Festive Variations: Switch things up with dark chocolate or peppermint-flavored Kisses for an exciting seasonal twist to your classics.
Warm Memories: With every batch baked, you’ll create lasting memories with family and friends, making this a cherished holiday tradition.
Perfect Pairing: Serve alongside a cup of hot cocoa or spiced chai for a cozy festive experience that everyone will love.
Peanut Butter Blossoms Ingredients
• Note: Gather these simple ingredients to create scrumptious Peanut Butter Blossoms that will have everyone coming back for seconds!
-
For the Cookie Dough
-
All-purpose flour – Provides structure for the cookies; no direct substitutes, but gluten-free flour blends work for a gluten-free option.
-
Granulated sugar – Adds sweetness and encourages browning; try coconut sugar for a lower glycemic version.
-
Light brown sugar – Enhances moisture and flavor depth; you can substitute with dark brown sugar for richer taste.
-
Unsalted butter – Creates a tender texture; replace with vegan butter if needed for a dairy-free option.
-
Creamy peanut butter – Contributes that beloved flavor and moisture; natural peanut butter is fine if well-stirred.
-
Large egg – Binds ingredients and adds moisture; swap for a flax egg (1 tbsp ground flaxseed + 3 tbsp water) for a vegan version.
-
Vanilla extract – Enhances flavor; no substitutions necessary, but consider vanilla bean paste for a richer note.
-
Baking soda – Leavens the cookies; important for proper rise with no substitutes allowed.
-
Salt – Balances sweetness; omit if using salted butter.
-
For the Topping
-
Milk chocolate Hershey’s Kisses – Provides a creamy chocolate center; feel free to substitute with dark chocolate or peppermint-flavored Kisses for delightful variations.
Step‑by‑Step Instructions for Peanut Butter Blossoms
Step 1: Preheat Oven
Begin by preheating your oven to 375°F (190°C). While the oven warms up, line your baking sheets with parchment paper to prevent the cookies from sticking. This preparation will ensure a smooth baking process and help achieve those perfectly delightful Peanut Butter Blossoms with crisp edges and soft centers.
Step 2: Prepare Dough
In a large mixing bowl, cream together the softened unsalted butter, granulated sugar, brown sugar, and creamy peanut butter until the mixture is light and fluffy. This should take about 2-3 minutes of vigorous mixing. Next, beat in the large egg and vanilla extract, ensuring everything is well combined and smooth—a tantalizing foundation for your cookie dough.
Step 3: Combine Dry Ingredients
In a separate bowl, whisk together the all-purpose flour, baking soda, and salt until evenly mixed. Gradually incorporate this dry mixture into the wet ingredients, stirring gently until a soft dough forms. As you mix, relish the nutty aroma filling the air, bringing you one step closer to baking those scrumptious Peanut Butter Blossoms.
Step 4: Shape Cookies
To shape your cookies, take about 1-inch balls of dough and roll them between your palms until smooth. Once shaped, roll each ball in granulated sugar to coat evenly. Place the sugar-coated dough balls on your prepared baking sheets, spacing them about 2 inches apart to allow for spreading during baking, which is crucial for achieving that lovely texture.
Step 5: Bake
Slide the baking sheets into your preheated oven and bake the cookies for 10-12 minutes, or until the edges are golden brown and the centers appear slightly puffy. Keep an eye on them, as you want them to be set but still soft in the middle for that perfect chewy bite in your Peanut Butter Blossoms.
Step 6: Add Kisses
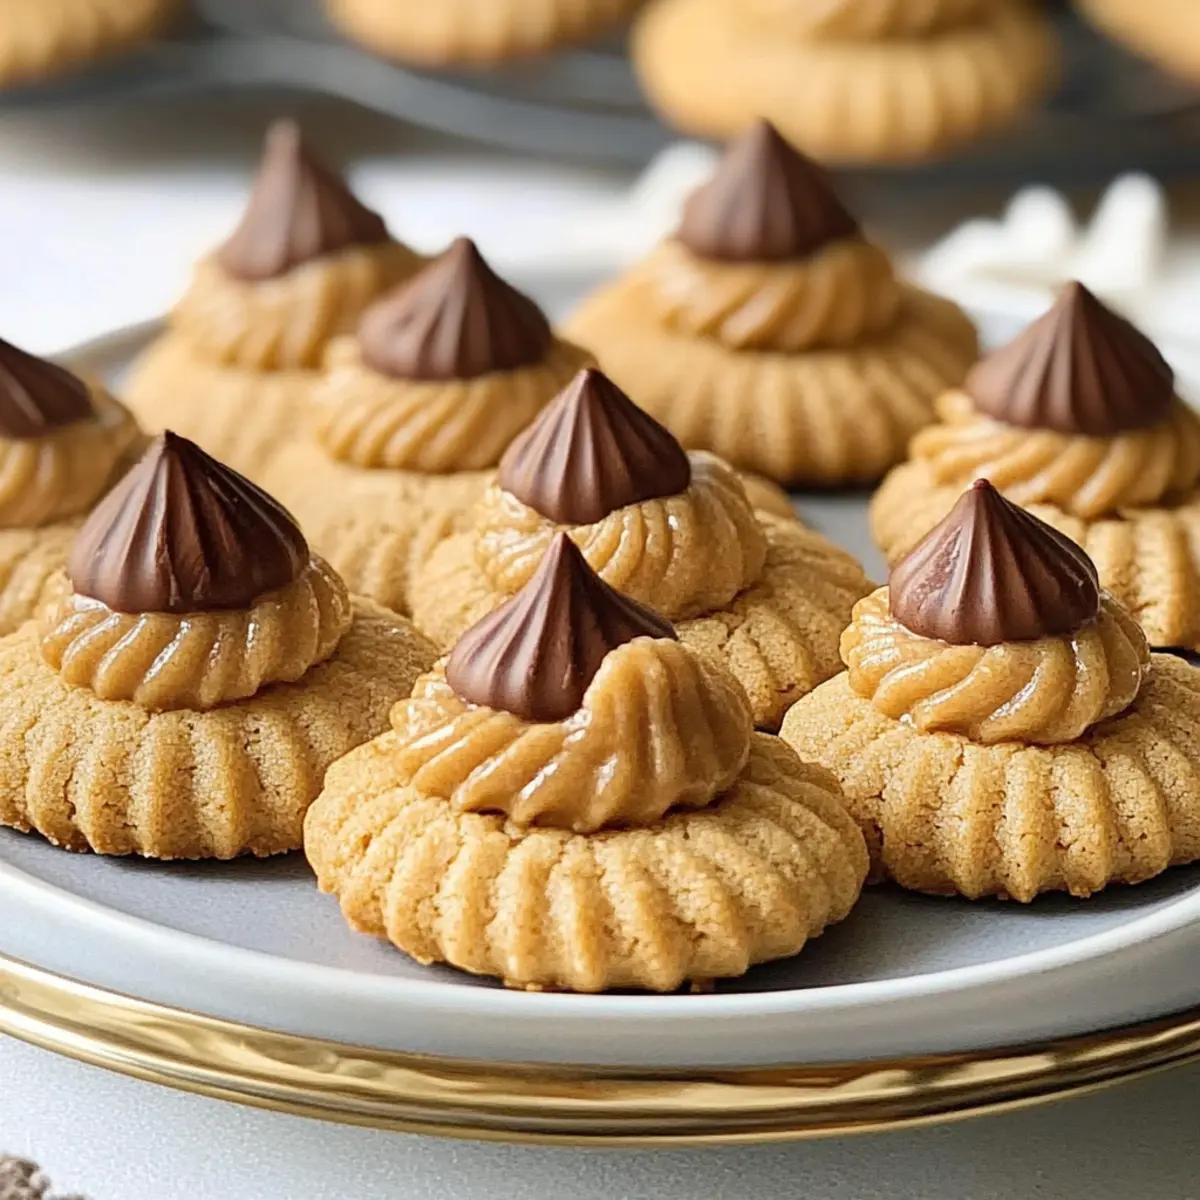
As soon as you take the cookies out of the oven, gently press a Hershey’s Kiss into the center of each cookie while it’s still warm. This will create the signature chocolatey core that complements the peanut butter perfectly. Allow the cookies to cool on the baking sheet for 5 minutes, which helps the chocolate retain its shape without melting away.
Step 7: Cool
After the initial cooling period, carefully transfer the cookies to a wire rack to cool completely. This step allows the cookies to firm up while letting the delectable aroma fill your kitchen. Once cooled, you can savor the sweet and salty goodness of your freshly baked Peanut Butter Blossoms, perfect for sharing during the holidays!
Peanut Butter Blossoms: Sweet Customizations
Invite your creativity into the kitchen with these fun twists, making each batch uniquely yours.
-
Dark Chocolate: Swap the classic Hershey’s Kisses for dark chocolate versions for a rich, indulgent flavor. Dark chocolate pairs beautifully with the nutty peanut butter, enhancing the cookie’s depth.
-
Peppermint Twist: For a festive flair, use peppermint-flavored Kisses to give your cookies a seasonal touch that evokes cozy holiday vibes. The refreshing mint complements the sweetness perfectly, making them a crowd favorite!
-
Nut Butter Exchange: Experiment with almond or cashew butter instead of peanut butter for a delightful twist on flavor. Each nut butter brings its unique taste and character, making your cookies truly special.
-
Sugar Coating Variations: Roll the dough balls in crushed nuts or colorful holiday sprinkles instead of sugar for extra texture and visual appeal. This fun addition adds a crunch factor, making your cookies even more enticing.
-
Dairy-Free Delight: Substitute unsalted butter with vegan butter for a dairy-free version that still maintains the deliciousness. It’s a lovely option for those with dietary restrictions, and your guests will hardly notice the difference!
-
Gluten-Free Adaptation: Use a gluten-free flour blend instead of all-purpose flour for a gluten-free version that everyone can enjoy. Ensure the blend is suitable for baking to achieve the right texture.
-
Flavor Infusions: Add a teaspoon of cinnamon or a dash of espresso powder to the dough for an intriguing flavor boost. These subtle hints can create a warm, aromatic experience that takes the cookies to a new level.
-
Oatmeal Twist: Mix in quick oats for a chewy texture that adds heartiness to your Peanut Butter Blossoms. This variation is not only delicious but also adds a bit of extra fiber to the cookies.
As you explore these variations, don’t hesitate to also serve your Peanut Butter Blossoms with cozy beverages. Pair them with a warm cup of hot cocoa or a spiced chai for the ultimate festive experience Chocolate Peanut Butter fans will love!
How to Store and Freeze Peanut Butter Blossoms
- Room Temperature: Keep your Peanut Butter Blossoms in an airtight container at room temperature for up to 5 days to maintain their delightful softness and flavor.
- Refrigeration: If you live in a warm climate, you may want to store the cookies in the fridge to prolong freshness; they will last up to 7 days.
- Freezer: Freeze individually wrapped Peanut Butter Blossoms in a resealable plastic bag for up to 3 months. This allows you to enjoy fresh cookies even during busy holiday seasons.
- Reheating: To enjoy them warm, reheat frozen cookies in the microwave for about 10-15 seconds or place them in a preheated oven at 350°F (175°C) for 5-7 minutes until warmed through.
What to Serve with Peanut Butter Blossoms
Nothing pairs better with these cookies than cozy accompaniments that enhance their festive charm and make every bite even more memorable.
- Hot Cocoa: This rich, chocolatey drink complements the sweet, salty flavors of the cookies, creating a festive pairing that warms the soul.
- Spiced Chai: The aromatic spices in chai bring out the nutty notes of the peanut butter, making for a comforting, flavorful experience.
- Vanilla Ice Cream: The creamy, cold contrast of vanilla ice cream is perfect for balancing the warm, chewy cookies, offering a delightful textural experience.
- Chocolate Milk: A nostalgic favorite that echoes the sweetness of the Hershey’s Kisses, it’s a playful pairing that kids will adore.
- Caramel Sauce: Drizzled over or served on the side, a warm caramel sauce adds a touch of indulgence and enhances the sweet-salty combination beautifully.
- Chewy Gingerbread Cookies: For a holiday-inspired experience, serve these alongside gingerbread cookies; the warm spices create a delightful medley of flavors.
- Fruit Salad: A light and refreshing contrast, the bright flavors of fresh fruit can balance the richness of the cookies, making for a well-rounded snack.
- Coffee or Latte: An aromatic cup of coffee or a festive latte enhances the overall experience, providing a perfect energy boost during those busy holiday celebrations.
- Peppermint Hot Chocolate: For a seasonal twist, try pairing these cookies with peppermint hot chocolate, marrying chocolate and mint for a delightful holiday treat!
Make Ahead Options
These Peanut Butter Blossoms are perfect for busy home cooks looking to save time during the hectic holiday season! You can prepare the cookie dough up to 2 days in advance by mixing it and then refrigerating it until ready to bake. Simply cover the bowl tightly with plastic wrap to maintain freshness and prevent drying out. You can also roll the cookie balls and coat them in sugar, then refrigerate those for even quicker prep. When you’re ready to bake, just add an extra minute to the baking time if the dough is cold. This allows you to enjoy delightful, homemade cookies with minimal effort, making your holiday baking a breeze!
Expert Tips for Peanut Butter Blossoms
- Softened Butter: Make sure your unsalted butter is softened to room temperature; this will help create a light and fluffy dough, ensuring perfect Peanut Butter Blossoms.
- Chill the Dough: For a richer flavor and better texture, refrigerate your cookie dough for 20-30 minutes before baking. This step is especially helpful in warm kitchens.
- Watch the Bake Time: Keep a close eye on your cookies as they bake. They should be slightly puffed and golden at the edges but remain soft in the middle. Over-baking can lead to a drier cookie.
- Don’t Skip Spacing: Proper spacing of 2 inches between cookie balls on the baking sheet is key to prevent them from merging and losing that classic shape during baking.
- Experiment with Toppings: Feel free to switch up the Hershey’s Kisses with dark chocolate or peppermint-flavored versions, adding a delightful twist to your holiday Peanut Butter Blossoms.
Peanut Butter Blossoms Recipe FAQs
How do I choose the right peanut butter for Peanut Butter Blossoms?
Absolutely! For the best flavor, go for creamy peanut butter that’s well-stirred, as natural peanut butter separates; you’ll want it thick yet spreadable. If you prefer a crunchier texture, feel free to use crunchy peanut butter.
How should I store leftover Peanut Butter Blossoms?
You can keep your Peanut Butter Blossoms in an airtight container at room temperature for up to 5 days to retain their delicious softness. If you’d like them to last a bit longer, consider refrigerating them, where they can stay fresh for up to 7 days.
Can Peanut Butter Blossoms be frozen?
Yes, indeed! To freeze, let the cookies cool completely and then individually wrap them in plastic wrap. Place the wrapped cookies in a resealable plastic bag, and they’ll stay fresh for up to 3 months. When you’re ready to enjoy, simply reheat them in the microwave for 10-15 seconds or warm them in a preheated oven at 350°F (175°C) for 5-7 minutes.
What should I do if my Peanut Butter Blossoms spread too much while baking?
If you notice your cookies spreading more than expected, there could be a few factors at play. Ensure your butter is properly softened to room temperature and not melted, as this can cause excessive spreading. You might also consider chilling your dough for 20-30 minutes before shaping and baking to help firm it up.
Are there any dietary considerations for Peanut Butter Blossoms?
Very! For a gluten-free version, simply swap in a gluten-free flour blend. If you’re making these for someone with a nut allergy, it’s best to avoid peanut butter altogether and try a sun butter alternative. Additionally, you can make these cookies dairy-free by using vegan butter and a flax egg (1 tablespoon ground flaxseed mixed with 3 tablespoons water) instead of a traditional egg.
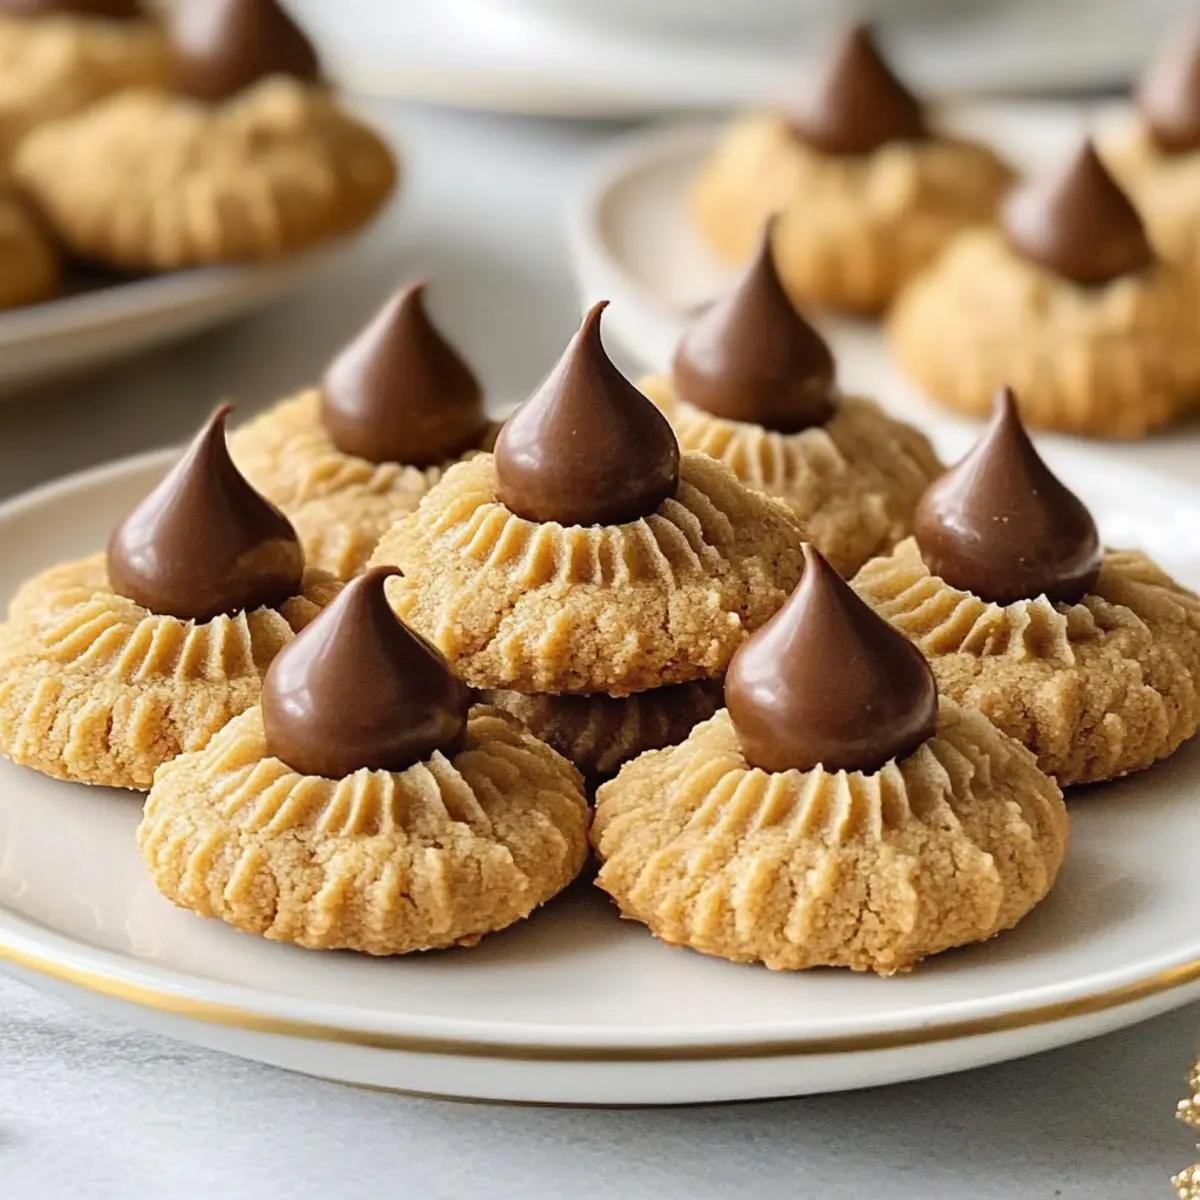
Peanut Butter Blossoms: Irresistibly Soft Holiday Cookies
Ingredients
Equipment
Method
- Preheat your oven to 375°F (190°C) and line your baking sheets with parchment paper.
- Cream together the softened unsalted butter, granulated sugar, brown sugar, and creamy peanut butter until light and fluffy.
- In a separate bowl, whisk together the all-purpose flour, baking soda, and salt. Gradually incorporate this into the wet ingredients until a soft dough forms.
- Take about 1-inch balls of dough, roll them smooth, and coat in granulated sugar before placing them on the baking sheets.
- Bake for 10-12 minutes until edges are golden brown and centers are slightly puffy. Let cool for 5 minutes.
- Press a Hershey’s Kiss into the center of each cookie while warm, then allow to cool completely on a wire rack.
Leave a Reply