
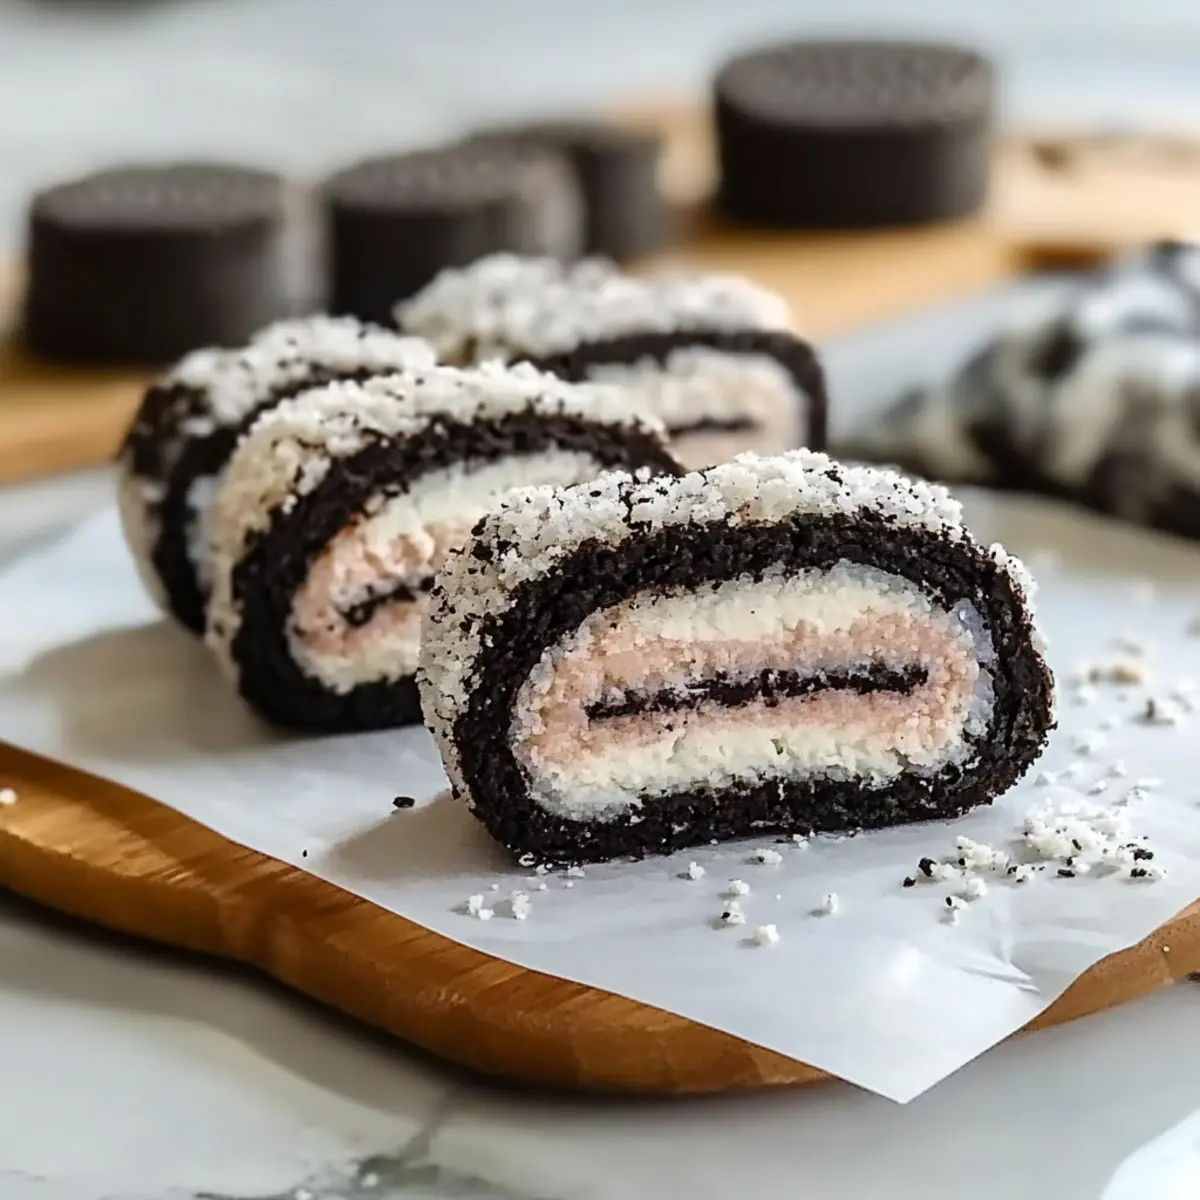
As I stood in the kitchen, my little ones were bouncing around, craving something sweet. That’s when the idea of Oreo Sushi swooped in like a dessert superhero! This playful twist on a classic favorite combines the rich flavors of Oreo cookies with the fun of sushi rolling, creating a treat that’s sure to delight both kids and adults alike. With just two simple ingredients, making this no-bake dessert is a breeze, perfect for those spontaneous kitchen adventures or gathering moments. Whether you’re hosting a party or simply indulging in a fun afternoon project, Oreo Sushi promises a delightful experience that’ll spark creativity in the kitchen. Curious about how to roll up this exciting treat? Let’s dive into the process!
Why Will You Love Oreo Sushi?
Simplicity at Its Best: With only two ingredients, this no-bake dessert can be prepared in no time, making it perfect for even the busiest of days.
Customizable Creations: Feel free to experiment with different Oreo flavors and fresh fruits for endless variations, ensuring everyone gets their favorite taste.
Kid-Friendly Fun: Involve the little ones in the kitchen! Rolling and slicing brings giggles and creativity, making it an enjoyable experience for everyone.
Instant Crowd-Pleaser: Whether it’s a party or a family get-together, Oreo Sushi is always a hit, transforming a classic cookie into a playful dessert roll that leaves everyone smiling.
Perfect Pairings: Serve it with a drizzle of chocolate sauce or whipped cream for an irresistible treat that complements its delightful crunch. For more fun dessert ideas, check out my Mini Oreo Cheesecakes and Oreo Milkshake Indulgence!
Oreo Sushi Ingredients
For the Sushi Rolls
- Oreo Cookies – The star of the show, providing the iconic flavor; feel free to use any Oreo variety for a unique twist.
- Milk – Helps bind the cookie crumbs into a dough; any milk type, including plant-based options, works perfectly!
For Optional Add-ins
- Fresh Fruit – Slices of strawberries or bananas can elevate your sushi with extra sweetness and color.
- Chocolate Sauce – Drizzle it on top for a decadent touch that pairs beautifully with the crunchy sushi.
- Crushed Nuts – Add some texture by sprinkling crushed nuts as a topping for extra crunch.
Get ready to roll up some delicious Oreo Sushi—it’s a quick, fun, and delightful treat everyone will adore!
Step‑by‑Step Instructions for Oreo Sushi
Step 1: Separate Oreos
Twist each Oreo cookie to separate the chocolate wafers from the creamy filling. Place the creamy centers in a medium-sized bowl, making sure to keep the cookies intact for the next step. This process takes about 5 minutes and sets the stage for your delicious Oreo Sushi.
Step 2: Crush Cookies
Place the separated Oreo wafers into a zip-top bag, ensuring it’s securely sealed. Using a rolling pin, crush the cookies until they turn into fine crumbs, which may take about 3–5 minutes. Aim for a texture similar to sand, as it will help form a cohesive dough for your sushi rolls.
Step 3: Mix Dough
Transfer the finely crushed Oreo crumbs into the bowl with the creamy filling. Gradually mix in milk, adding a tablespoon at a time, until the mixture reaches a thick, dough-like consistency. This process will take around 5 minutes, and you want it to be moldable yet not too sticky to work with.
Step 4: Assemble Roll
Lay a sheet of plastic wrap on a clean surface. Using a spatula, evenly spread the Oreo dough mixture over the plastic wrap, forming a rectangular shape about ½ inch thick. Take care to leave a small border around the edges, which will make rolling easier later on as you create your delightful Oreo Sushi.
Step 5: Add Cream Filling
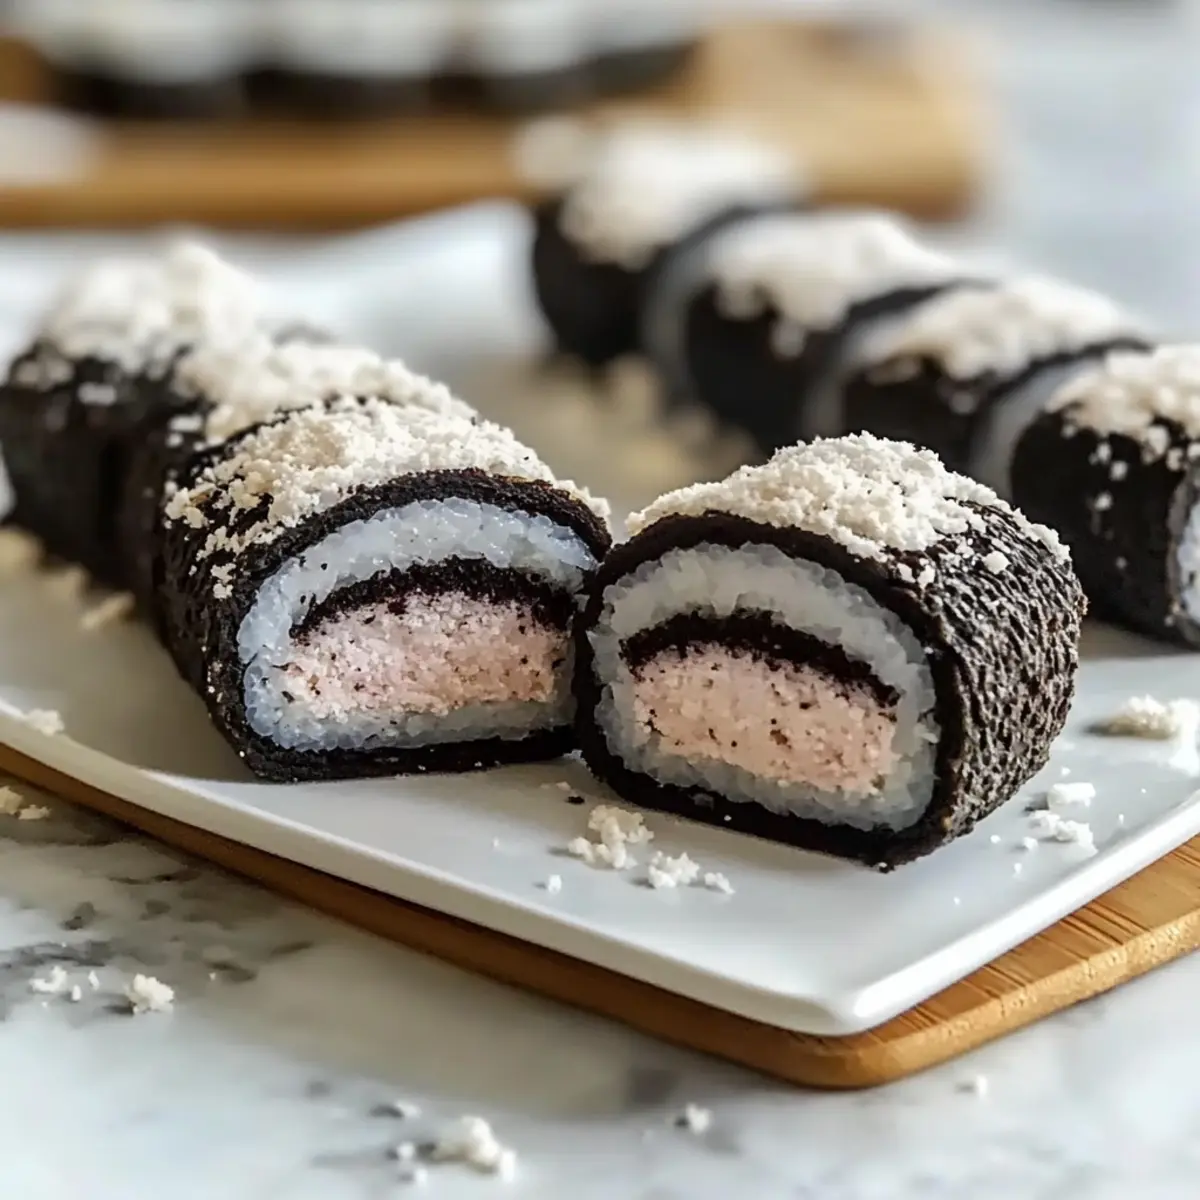
Next, place the reserved Oreo cream filling evenly over the rolled-out cookie base. If you’d like to include optional add-ins like fresh fruit slices, now is the perfect time to layer them on top of the cream to enhance the flavors of your Oreo Sushi, making it both tasty and visually appealing.
Step 6: Roll and Slice
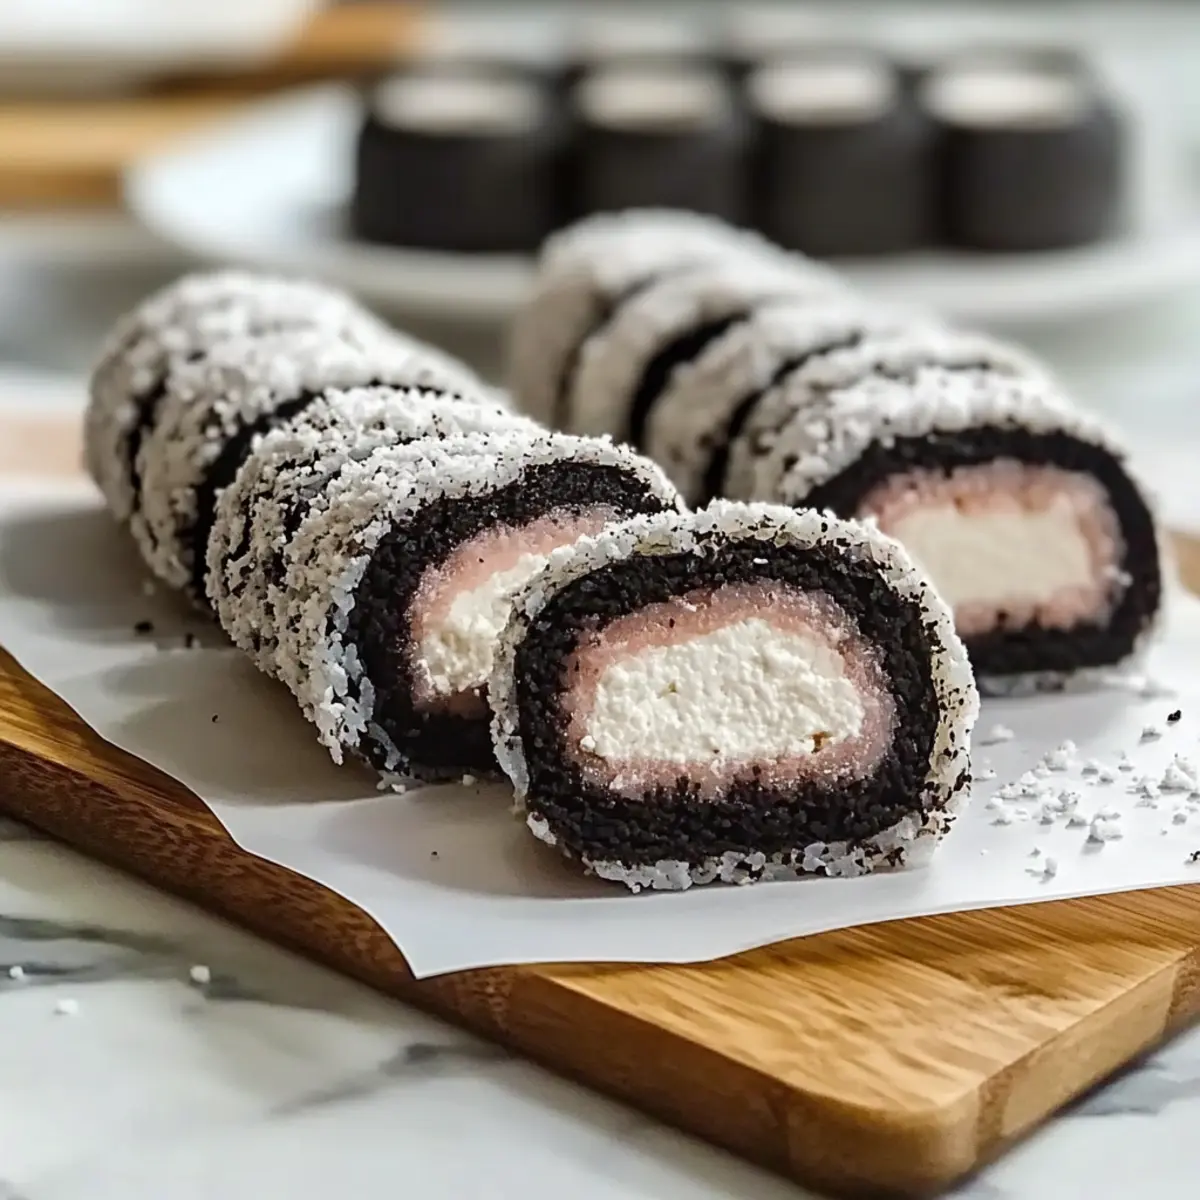
Using the plastic wrap, gently lift one edge and start rolling the mixture away from you, forming a tight cylinder. Once fully rolled, squeeze the ends of the plastic wrap to secure the shape, and refrigerate for about 15 minutes to firm it up before slicing. This ensures your Oreo Sushi holds its shape and makes for a cleaner cut.
Step 7: Serve and Enjoy
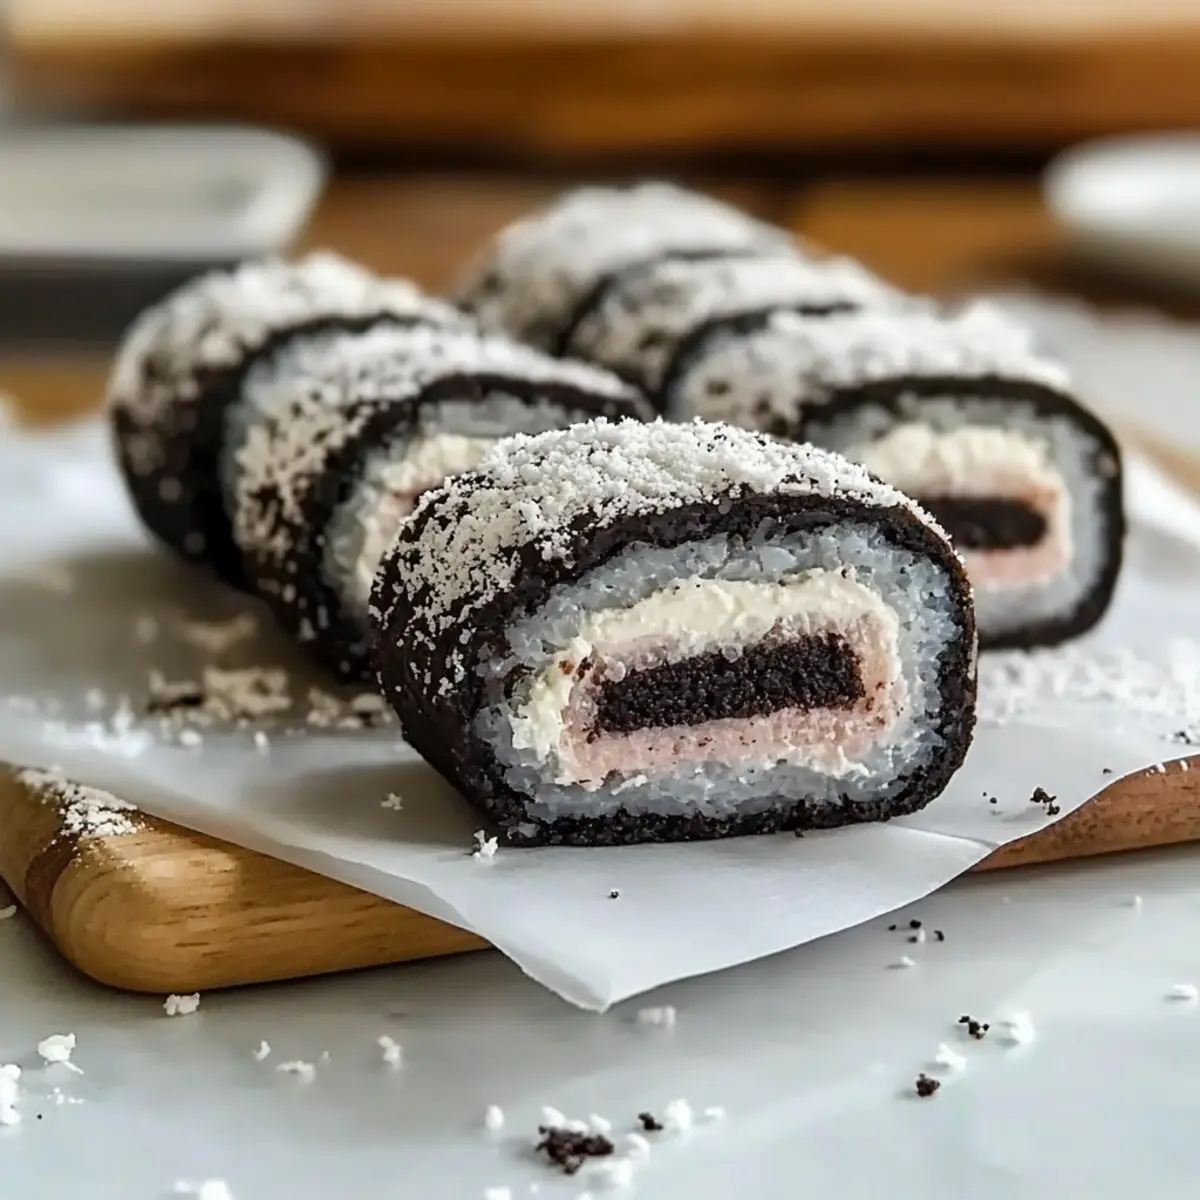
After chilling, remove the plastic wrap and slice the roll into bite-sized pieces, resembling sushi. Arrange your beautiful Oreo Sushi on a serving platter, and feel free to drizzle with chocolate or caramel sauce for added flair. Serve immediately and watch everyone delight in this creative, indulgent dessert!
Storage Tips for Oreo Sushi
Fridge: Store any leftover Oreo Sushi in an airtight container in the refrigerator for up to 1 day for optimal freshness.
Freezer: For longer storage, wrap the sushi tightly in plastic wrap and place it in a freezer-safe container. It can be frozen for up to 1 month.
Reheating: When you’re ready to enjoy your frozen Oreo Sushi, thaw it in the fridge overnight. Avoid reheating, as it’s best enjoyed cold!
Best Quality: For the most delightful experience, consume your Oreo Sushi fresh to enjoy its creamy and crunchy texture.
Oreo Sushi: Fun with Variations
Let your creativity shine as you customize this delightful treat, turning Oreo Sushi into a unique dessert masterpiece!
-
Fresh Fruit: Add slices of strawberries or bananas between the cream filling for a burst of fruity flavor and color. Fresh, juicy elements bring a sweet contrast to the rich Oreos!
-
Different Oreo Flavors: Don’t limit yourself! Try seasonal or specialty Oreo varieties like Pumpkin Spice or Mint for an exciting twist on flavors that will surprise everyone.
-
Toppings Galore: Drizzle with melted chocolate or caramel for a sumptuous finish. For an extra crunch, sprinkle crushed nuts on top to elevate the textural experience.
-
Chill and Enjoy: For an ice-cold treat ideal for hot days, freeze the rolled sushi for a couple of hours before slicing and serving, giving it a refreshing crunch.
-
Spicy Heat: If you’re feeling adventurous, try adding a pinch of chili powder to the cream filling for a surprising spicy kick! It’s a daring twist that can take taste buds on a thrilling journey.
-
Nut Butter Addition: Blend in a spoonful of peanut or almond butter into the cream filling for a nutty flavor that enhances the sweetness, creating a rich, satisfying taste experience.
-
S’mores Style: Introduce mini marshmallows and crushed graham crackers into the filling for a fun s’mores-inspired version. This variation brings summer camp vibes right to your kitchen!
-
Hot Chocolate Dip: Serve with a warm dip of chocolate sauce, inspired by the classic dessert drink! Each piece of sushi can be playfully dunked into the warmth, creating the perfect balance of hot and cold.
For more sweet ideas, consider whipping up some Mini Oreo Cheesecakes or indulge with an Oreo Milkshake Indulgence to accompany your creative dessert adventure!
Make Ahead Options
These Oreo Sushi rolls are perfect for meal prep enthusiasts! You can prepare the Oreo cookie mixture up to 24 hours in advance, keeping it fresh by refrigerating it in an airtight container. When you’re ready to assemble, simply spread the dough over the plastic wrap, layer in the cream filling, and roll it up. If you’ve added any fresh fruits, make sure to do so right before serving to maintain their vibrant color and flavor. For the best quality, wrap the finished sushi tightly in plastic wrap and refrigerate it until you’re ready to slice and serve. This approach ensures you’ll have a fun and delightful dessert ready to impress your family and friends with minimal effort!
Expert Tips for Oreo Sushi
-
Crush Thoroughly: Ensure the Oreo crumbs are finely crushed—this helps achieve a smooth dough consistency, making rolling easier.
-
Avoid Overmixing: Mix the milk gradually to avoid a sticky dough. It should be moldable but not wet, ensuring your Oreo Sushi maintains its shape.
-
Slicing Tips: Use a sharp knife and gentle sawing motion when slicing; this prevents the roll from squishing and keeps it intact.
-
Chill for Best Results: Refrigerate the rolled sushi for at least 15 minutes before slicing. This step firms up the mixture, making it easier to cut cleanly.
-
Experiment Freely: Don’t hesitate to try different Oreo flavors or add-ins! This creativity can elevate your Oreo Sushi and delight your taste buds.
What to Serve with Oreo Sushi
Looking to create a fun and memorable meal around your delicious Oreo Sushi? Let’s complement this whimsical dessert with delightful pairings!
-
Chocolate Dipping Sauce: Adds a rich, indulgent touch that enhances the overall sweetness of the sushi. Perfect for those who can’t resist chocolate!
-
Whipped Cream: Light and fluffy, it provides a creamy contrast that elevates each bite, making it a delightful pairing for kids and adults alike.
-
Fresh Fruit Salad: A refreshing mixture of strawberries, blueberries, and bananas adds a burst of flavor and balances the richness of the Oreo treat. Not only healthy, but it also brightens the plate visually.
-
Vanilla Ice Cream: The creaminess of vanilla ice cream against the crunchy sushi creates a fantastic textural contrast, drenching your palate in sweetness. Serve a scoop beside the sushi for an indulgent dessert!
-
Sparkling Juice: A bubbly drink not only adds fun but also cuts through the sweetness, providing a refreshing sip with every bite. Opt for fruit-flavored sparkling beverages for a festive touch!
-
Mini Fruit Tarts: These delightful bites can be a lovely accompaniment, offering both sweetness and a hint of tartness, perfectly contrasting the Oreo Sushi. They’ll surely impress your guests!
Oreo Sushi Recipe FAQs
How do I choose the best Oreos for my Sushi?
When selecting Oreos for your sushi, opt for the freshest package available. Look for cookies without any dark spots or signs of staleness. Although classic Oreos work best, don’t hesitate to try various flavors like mint or peanut butter for an adventurous twist!
What’s the best way to store leftover Oreo Sushi?
To keep your leftover Oreo Sushi fresh, store it in an airtight container in the refrigerator, where it will last up to 1 day. If you want to enjoy it later, wrapping it tightly in plastic wrap and placing it in a freezer-safe container is the way to go, allowing it to be frozen for up to 1 month without losing flavor or texture.
Can I freeze Oreo Sushi?
Absolutely! To freeze your Oreo Sushi, first wrap it tightly in plastic wrap, ensuring no air enters. Place it in a freezer-safe container or bag. It can be frozen for up to 1 month. When you’re ready to enjoy it, simply thaw it in the fridge overnight—refrain from reheating it, as it’s best served cold!
What if my dough is too sticky?
If your dough turns out too sticky, try adding a bit more crushed Oreo crumbs, mixing in small amounts until it reaches a thick, moldable consistency. This should help you achieve that perfect dough for rolling. If it’s still challenging, letting it chill in the refrigerator for about 15 minutes can also firm it up, making it easier to handle.
Is Oreo Sushi safe for pets?
It’s best not to share Oreo Sushi with pets, especially dogs. Chocolate, a key ingredient in Oreos, can be toxic to them. Please keep this delightful dessert strictly for human enjoyment, ensuring your furry friends are kept safe from any harmful ingredients!
Oreo Sushi: The Fun Dessert Roll Everyone Will Love
Ingredients
Equipment
Method
- Twist each Oreo cookie to separate the chocolate wafers from the creamy filling. Place the creamy centers in a medium-sized bowl.
- Place the separated Oreo wafers into a zip-top bag and crush them using a rolling pin until they turn into fine crumbs.
- Transfer the crushed Oreo crumbs into the bowl with the creamy filling. Gradually mix in milk until the mixture reaches a dough-like consistency.
- Lay a sheet of plastic wrap on a clean surface. Spread the Oreo dough mixture over the plastic wrap, forming a rectangular shape.
- Place the reserved Oreo cream filling evenly over the rolled-out cookie base. Add any optional add-ins now.
- Using the plastic wrap, lift one edge and roll the mixture away from you, forming a tight cylinder. Squeeze the ends of the plastic wrap to secure it.
- Refrigerate for 15 minutes to firm it up before slicing into bite-sized pieces.
- Remove the plastic wrap, slice the roll, and serve drizzled with chocolate or caramel sauce.
Leave a Reply