
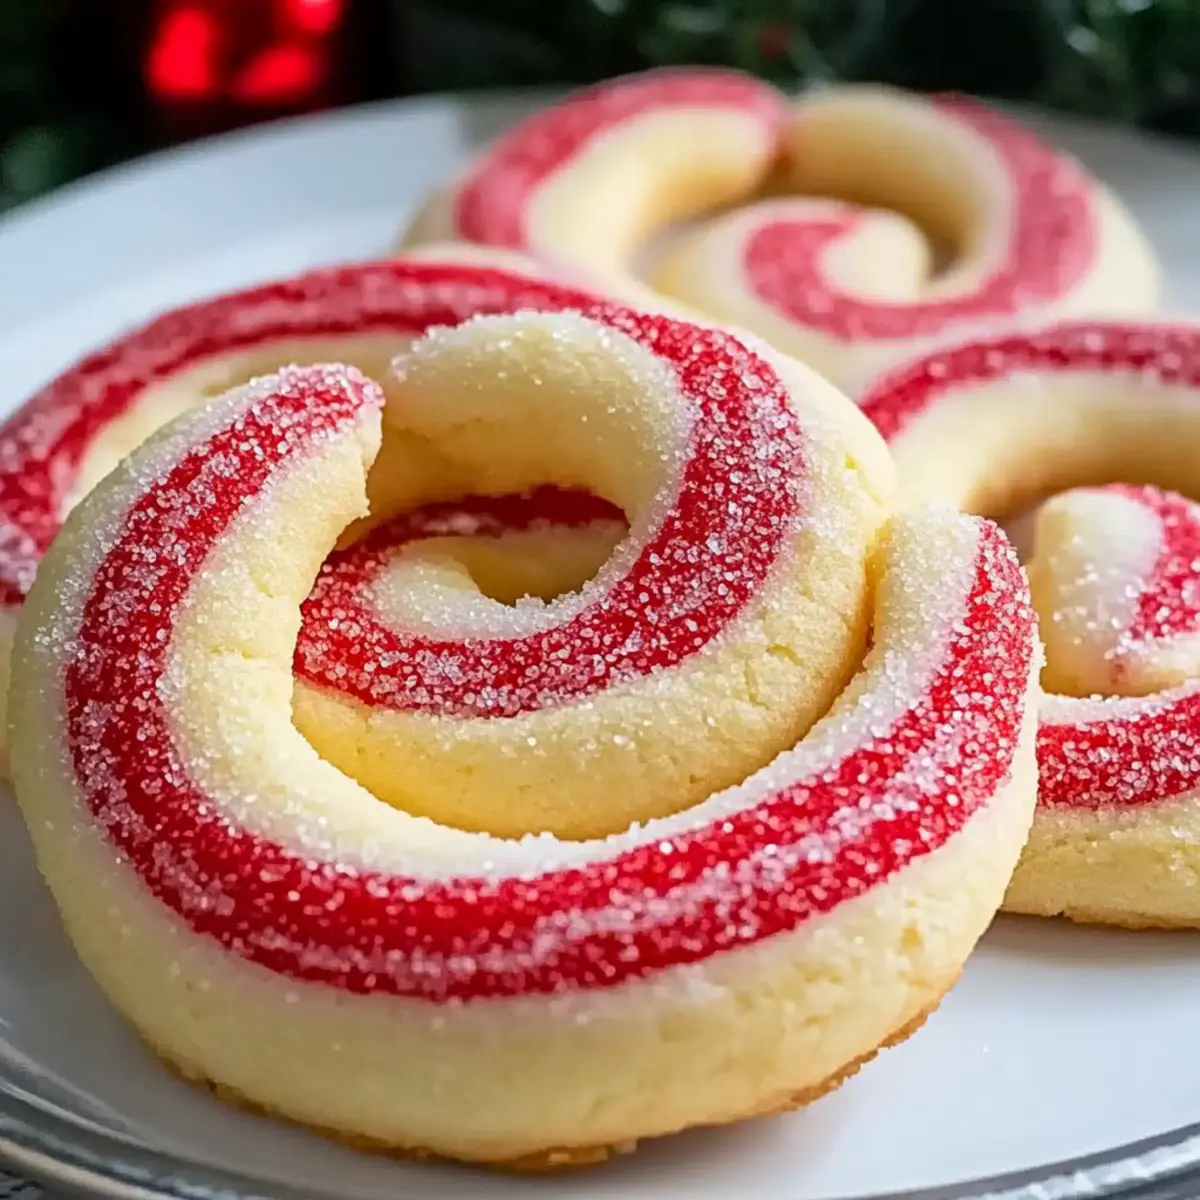
Stepping into the holiday season means welcoming the cheerful aroma of fresh-baked goodies wafting through my kitchen. One of my absolute favorites to whip up are these festive Candy Cane Cookies, which not only brighten up the dessert table but also embody the spirit of Christmas baking. With their soft, buttery texture and a delightful peppermint twist, these cookies strike the perfect balance between tradition and creativity. They are incredibly easy to make, allowing you to include family and friends in the fun, and the best part? You can freeze any extras for a last-minute festive treat! Whether you choose to shape them into classic candy canes or other whimsical designs, these cookies are guaranteed to bring smiles to all who taste them. Are you ready to create some holiday magic in your own kitchen?
Why are Candy Cane Cookies a must-bake?
Holiday Cheer: These festive Candy Cane Cookies bring a splash of joy to your holiday celebrations, offering a delightful twist on traditional holiday treats.
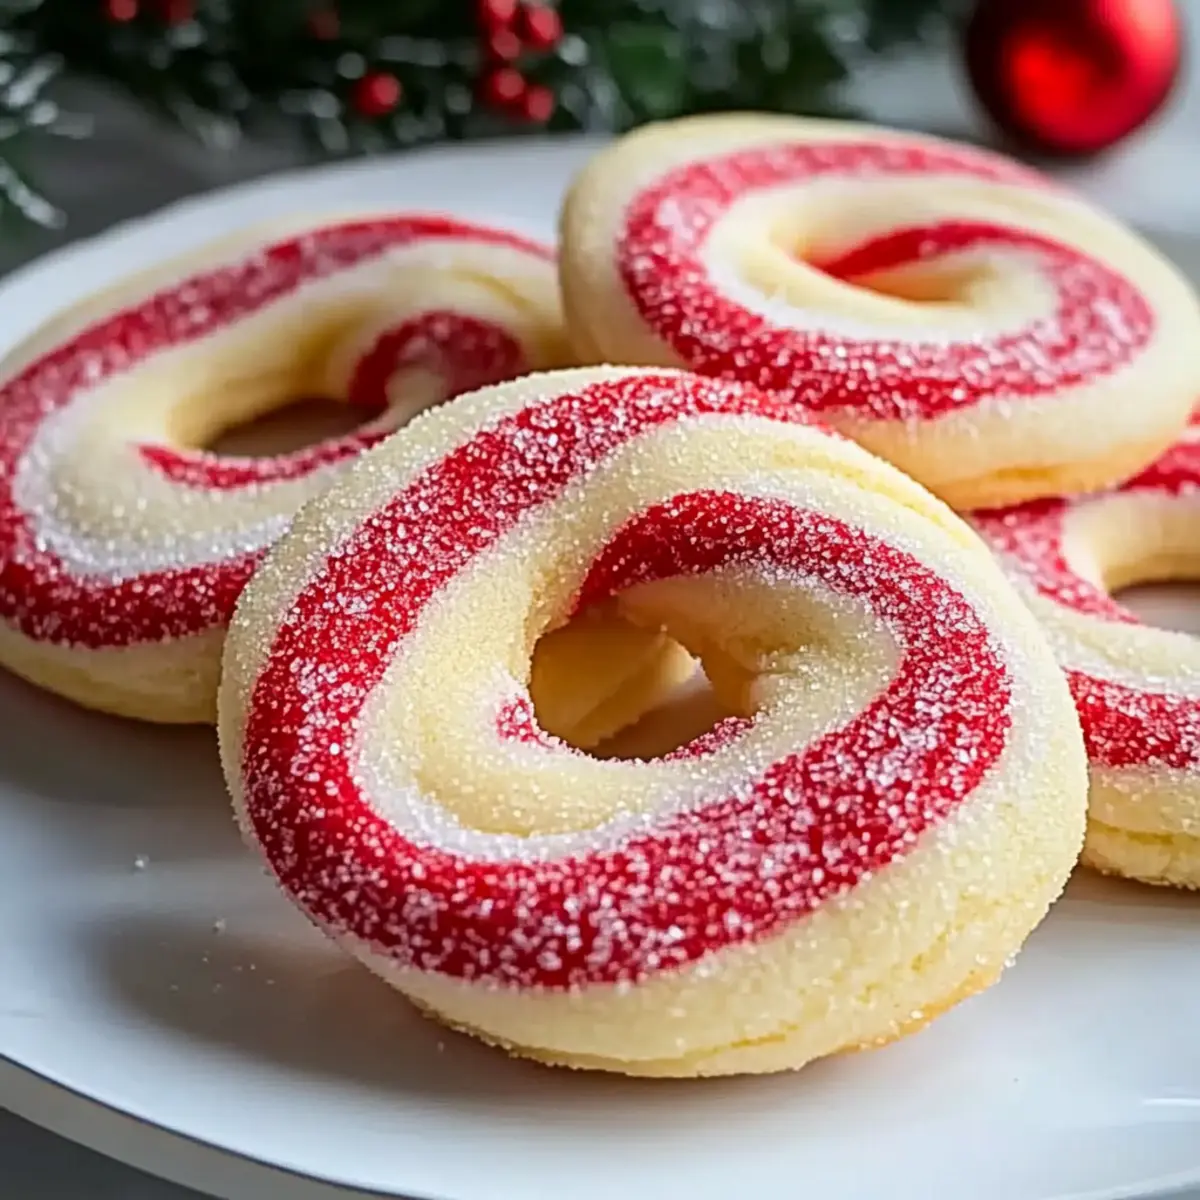
Endless Creativity: Shape them like classic candy canes or experiment with rings—the artistic options are endless!
Easy to Customize: With simple substitutions, you can easily adapt this recipe for vegan or gluten-free diets.
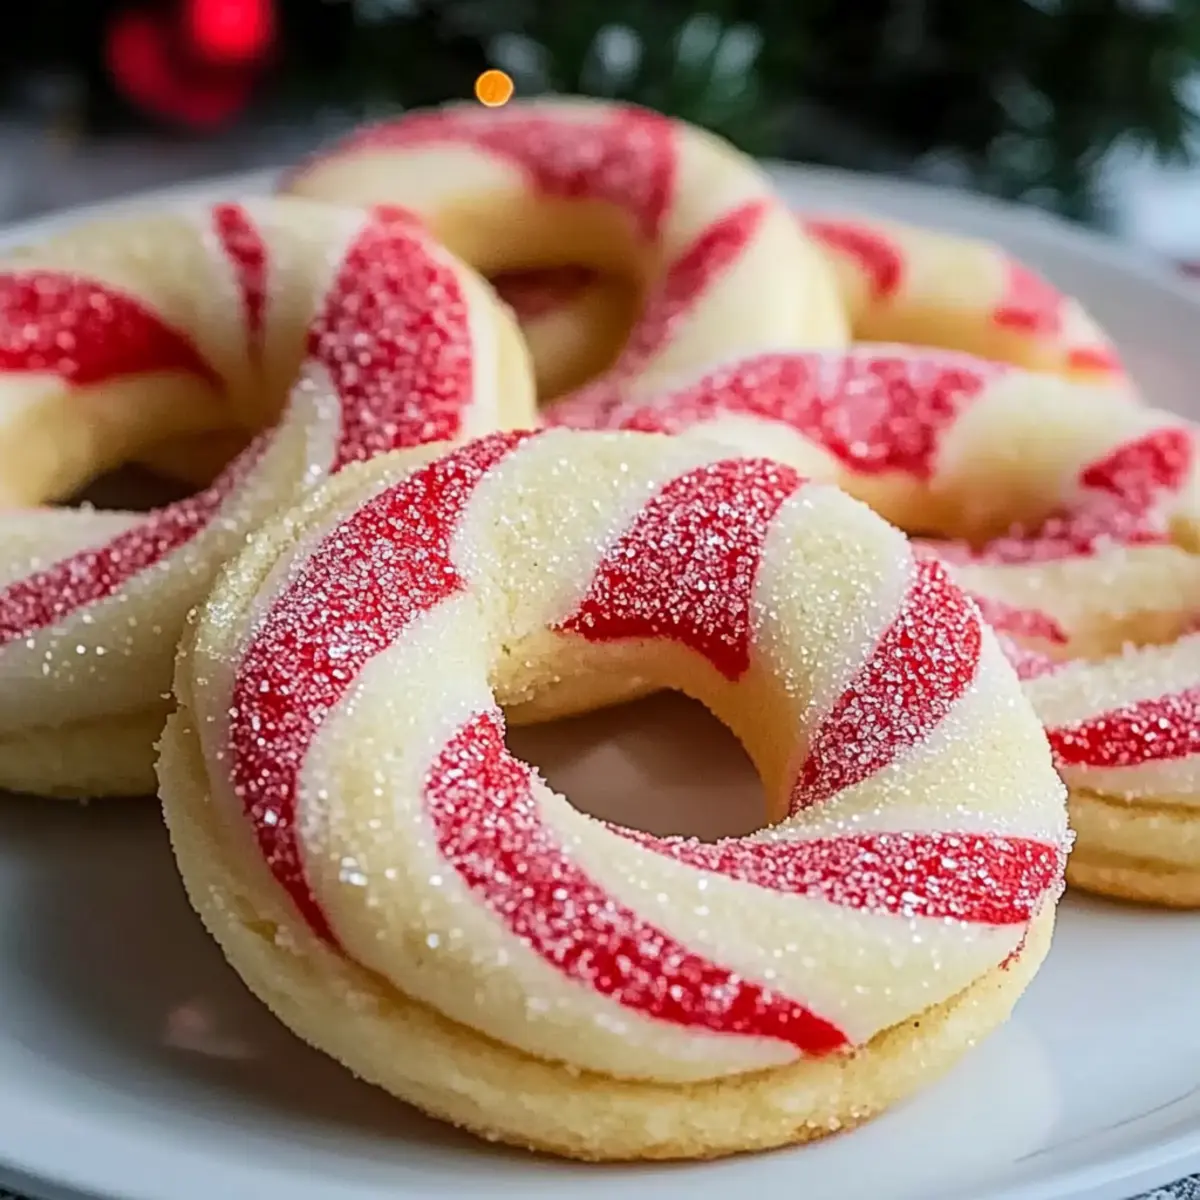
Perfect for Gifting: Not only are they delicious, but their vibrant colors make them ideal for packaging as gifts or sharing at festive gatherings.
Family Fun: Involve the kids in the baking process! Rolling and twisting the dough creates fun memories and delicious results, reminiscent of our favorite Kitchen Sink Cookies.
Quick Treats: Bake a batch and freeze for last-minute holiday guests—because who doesn’t love a fresh, homemade cookie? Enjoy them alongside a mug of hot cocoa or consider pairing with festive treats like Red Velvet Crinkle cookies for a sweet dessert table!
Candy Cane Cookies Ingredients
Get ready to bake these festive delights with a variety of satisfying flavors!
For the Dough
- Unsalted Butter – Provides richness and moisture; substitute with non-dairy butter for a vegan option.
- Granulated Sugar – Adds sweetness and contributes to the perfect texture; no direct substitutes needed.
- Large Egg – Binds the ingredients and adds moisture; for an egg-free version, 1 tablespoon of flaxseed meal mixed with water works wonders.
- Vanilla Extract – Enhances the overall flavor profile; feel free to swap with almond extract for an intriguing variation.
- Peppermint Extract – Essential for that festive flavor; opt for pure extract for the best taste.
- All-Purpose Flour – Provides structure to the cookies; a gluten-free blend with xanthan gum can be a great substitute.
- Salt – Balances flavors and enhances sweetness; no substitutes mentioned.
For the Color
- Red Gel Food Coloring – Adds vibrant color without altering the dough’s moisture; plant-based options are available for a lighter hue.
For Rolling
- Granulated Sugar (for rolling) – Gives the finished cookies a sparkling crunch; no substitutions noted.
Step‑by‑Step Instructions for Candy Cane Cookies
Step 1: Cream the Butter and Sugar
Begin by creaming together 1 cup of softened unsalted butter and 1 ½ cups of granulated sugar using a stand mixer on medium speed. Mix for about 2-3 minutes until the mixture is light, fluffy, and pale in color. This crucial step ensures your Candy Cane Cookies will have that tender texture and delightful sweetness.
Step 2: Add Eggs and Extracts
Next, beat in 1 large egg, followed by 1 teaspoon of vanilla extract and ½ teaspoon of peppermint extract. Continue mixing until well combined, allowing the sweet peppermint aroma to fill your kitchen. This will give the Candy Cane Cookies their signature festive flavor, making them irresistible!
Step 3: Combine Dry Ingredients
Gradually add 3 ½ cups of all-purpose flour and ½ teaspoon of salt to the wet mixture. Mix on low speed until just combined to form a soft dough. Be careful not to overmix, as this can lead to tougher cookies. You want a dough that holds together well without being sticky.
Step 4: Divide and Color the Dough
Once your dough is formed, divide it in half. Leave one half plain while coloring the other half with red gel food coloring. Add a few drops at a time and knead the dough until you achieve a vibrant red hue. This step brings the classic look of Candy Cane Cookies to life!
Step 5: Chill the Dough
Wrap each dough portion in plastic wrap and refrigerate for at least 30 minutes. Chilling the dough is essential for helping it firm up and makes it easier to shape into your desired candy cane or ring forms. This step allows all the flavors to meld beautifully!
Step 6: Preheat the Oven
While the dough chills, preheat your oven to 350°F (175°C). Line a couple of baking sheets with parchment paper to prevent sticking. This ensures your Candy Cane Cookies bake evenly and release easily, ready to showcase their festive appeal.
Step 7: Shape the Cookies
Once chilled, roll 1 teaspoon of each colored dough into ropes about 4 inches long. Twist the red and white ropes together gently and shape them into candy cane or ring forms. Pinch the ends to seal them securely. This whimsical process creates visually stunning Candy Cane Cookies that are as delightful to look at as they are to eat!
Step 8: Roll in Sugar
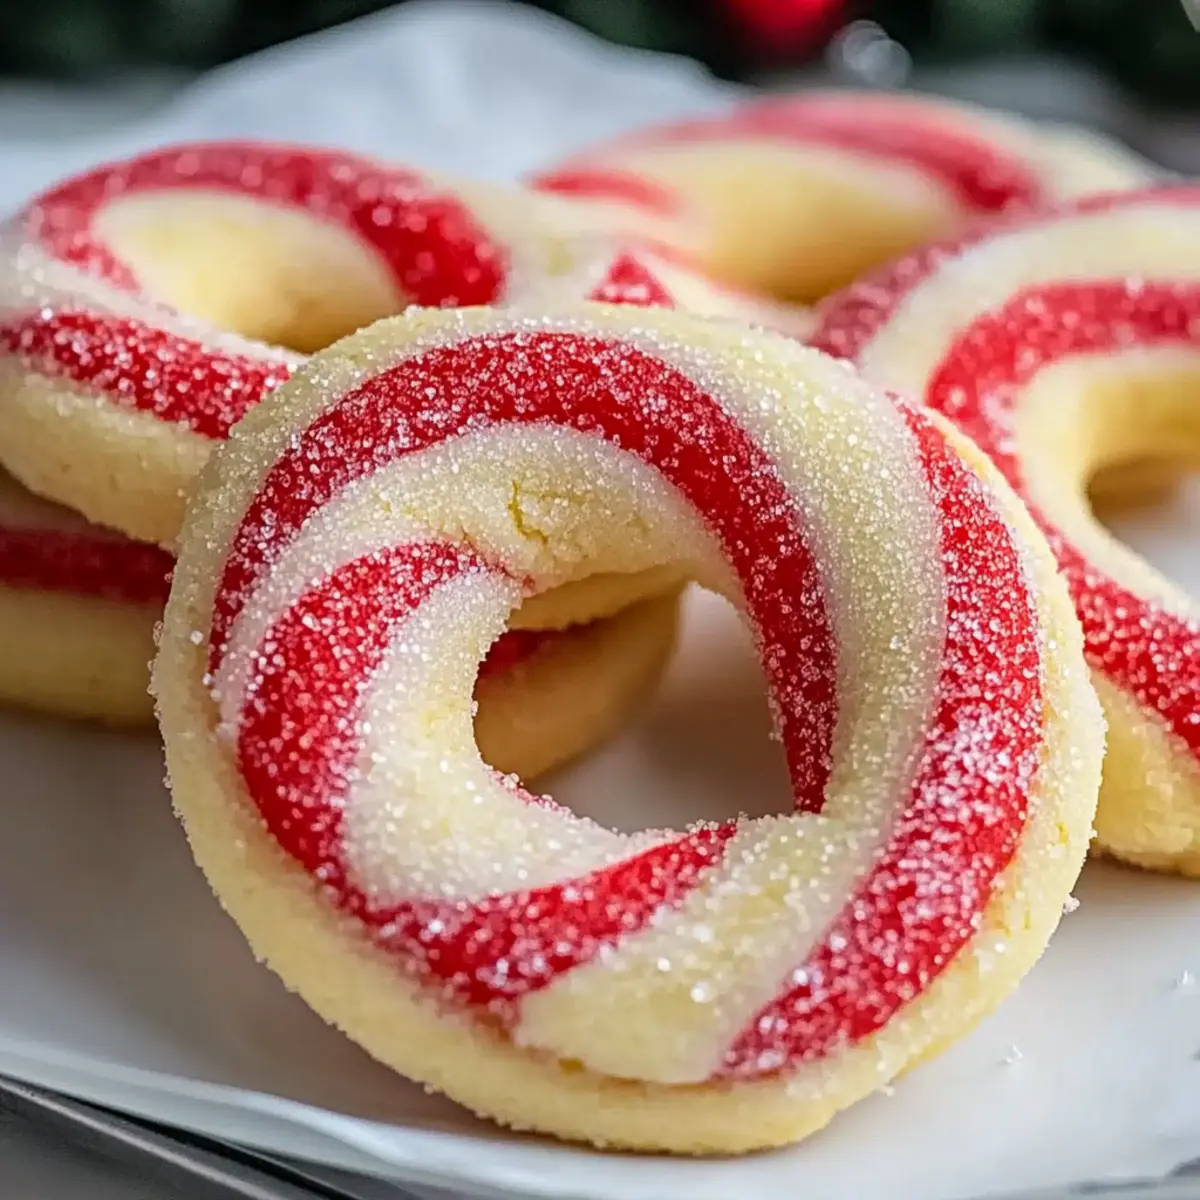
Roll each shaped cookie in granulated sugar before placing them on the prepared baking sheets, giving them a sugary sparkle. Be sure to space the cookies about 2 inches apart, as they will slightly expand while baking. This prepares them for that crunchy exterior that perfectly complements their soft center.
Step 9: Bake the Cookies
Bake the cookies in the preheated oven for 8-10 minutes until just set but not browned. Keep an eye on them, as you want the bottoms to be light golden, maintaining their soft texture. This step is where your Candy Cane Cookies will take shape, filling your space with mouthwatering scents!
Step 10: Cool the Cookies
Let the baked cookies cool on the sheet for about 5 minutes before transferring them to a wire rack to cool completely. This cooling process helps them firm up while retaining their buttery softness, ensuring each bite is delightfully tender and full of holiday cheer!
How to Store and Freeze Candy Cane Cookies
Room Temperature: Keep your Candy Cane Cookies in an airtight container at room temperature for up to 5 days. Layer them with parchment paper to prevent sticking.
Fridge: If you prefer to extend their freshness, store the cookies in the fridge for up to 7 days. Allow them to come to room temperature before enjoying for the best flavor.
Freezer: For longer storage, freeze individually wrapped cookies in plastic wrap or in a freezer-safe container for up to 2 months. This way, you can enjoy a festive treat whenever the craving strikes!
Reheating: To revive the cookies, simply reheat in the oven at 300°F (150°C) for 5-7 minutes. This will bring back their delightful softness while preserving that fresh-baked taste.
Candy Cane Cookies Variations & Substitutions
Embrace creativity and make these Candy Cane Cookies uniquely yours with delightful twists and swaps!
- Vegan Delight: Substitute unsalted butter with a vegan butter or coconut oil for a compassionate treat the whole family can enjoy.
- Gluten-Free Goodness: Use a gluten-free flour blend to suit dietary needs while maintaining the cookie’s delightful flavor and texture.
- Almond Extract: Swap peppermint extract for almond extract for a refreshing spin that still delivers a festive flair.
- Fun Shapes: Explore artistic shapes, such as rings or holiday stars, to surprise your loved ones and add a personal touch.
- Color Variations: Try using natural plant-based food coloring for a softer palette—think pastel hues for a playful twist.
- Add Chocolate: Incorporate mini chocolate chips into the dough for a deliciously rich contrast to the minty freshness.
- Spiced Up: Mix in a dash of cinnamon or nutmeg to enhance the cookie’s warmth, creating a charming, cozy flavor profile.
- Spicy Kick: For those who love heat, add a pinch of cayenne pepper to the dough to elevate your cookies with a surprising twist!
These variations will lift your Candy Cane Cookies from delightful to irresistible! Serve them alongside your favorite festive treats, like Kitchen Sink Cookies or Red Velvet Crinkle cookies, to create a colorful and tasty dessert table that will impress all your holiday guests!
What to Serve with Festive Candy Cane Cookies
Make your holiday gatherings unforgettable by complementing these delightful cookies with the perfect pairings!
- Rich Hot Cocoa: The creamy, chocolatey warmth of hot cocoa brings out the peppermint notes and adds a cozy touch to your dessert experience.
- Vanilla Ice Cream: A scoop of velvety vanilla ice cream creates a delicious contrast to the sweet, buttery cookies, enhancing every bite.
- Peppermint Bark: Add a crunchy texture and similar flavors, making it a fun addition to your festive dessert platter. The combination is simply festive bliss!
- Festive Coffee: Brew a cup of spiced holiday coffee to balance the sweetness of the cookies. The aromatic flavors create a lovely, warming experience.
- Melted White Chocolate: A bowl of velvety white chocolate for dipping invites your guests to enjoy the cookies with a luscious twist.
- Holiday Fruit Salad: A refreshing mix of seasonal fruits offers a light contrast to the cookies’ richness while enhancing the overall festive theme.
- Spiced Apple Cider: Warm spiced apple cider not only ties together holiday flavors beautifully but also adds an inviting aromatic touch to your treats.
- Cinnamon Sugar Dusting: Consider rolling the cookies in cinnamon sugar instead of granulated sugar for an extra layer of holiday warmth and spice.
- Sugared Cranberries: These add a pop of tartness and color. Their vibrant look complements the candy cane theme and enhances the visual feast!
- Eggnog: Creamy, spiced, and slightly boozy, eggnog makes a luscious pairing that blends joy and nostalgia into your holiday dining experience.
Make Ahead Options
These Candy Cane Cookies are perfect for busy bakers looking to streamline their holiday preparations! You can prepare the dough up to 24 hours in advance by mixing it, dividing it, and wrapping each portion tightly in plastic wrap. Store in the refrigerator to maintain freshness. If you’re planning ahead for even longer, the unbaked dough can be frozen for up to 2 months; just thaw it in the fridge overnight before shaping. Additionally, you can roll the cookies into their twisted shapes and chill them before baking. When you’re ready to enjoy these festive treats, simply bake them as directed and relish in the holiday magic with minimal fuss!
Expert Tips for Candy Cane Cookies
- Chill the Dough: Always chill your dough for at least 30 minutes to prevent excess spreading and make shaping easier. It’s key for perfect Candy Cane Cookies.
- Don’t Overmix: When combining dry ingredients, mix just until combined. Overmixing can lead to tough cookies, which we definitely want to avoid!
- Watch the Baking Time: Keep a close eye on the cookies while baking; they should be set but not browned. Overbaking can make them dry instead of soft and buttery.
- Use Gel Coloring: Opt for gel food coloring for a vibrant red without changing the dough’s consistency. Liquid dyes can make the dough too wet.
- Creative Shapes: Don’t be afraid to get creative with shapes! Experimenting with rings, sticks, or braids can add a fun twist to your Candy Cane Cookies.
Candy Cane Cookies Recipe FAQs
What kind of peppermint extract should I use?
Absolutely! For the best flavor, I recommend using pure peppermint extract rather than imitation. Pure extract has a richer, more authentic taste that truly enhances the festive essence of your Candy Cane Cookies.
How do I store Candy Cane Cookies?
To keep your delightful Candy Cane Cookies fresh, store them in an airtight container at room temperature for up to 5 days. I like to layer them with parchment paper to prevent sticking. If you want to extend their shelf life, they can be refrigerated for up to 7 days!
Can I freeze the dough for later use?
Very! Freezing the dough is a fantastic way to always have something festive on hand. Simply divide the dough and wrap each portion tightly in plastic wrap, then place in a freezer-safe container or bag. You can freeze the unbaked dough for up to 2 months. When you’re ready to bake, let it thaw in the fridge overnight, then roll and shape as directed.
Why are my cookies spreading too much?
If your Candy Cane Cookies are spreading excessively, it’s often due to not chilling the dough long enough. Chilling is crucial as it firms up the butter, preventing them from spreading too much while baking. Additionally, make sure to measure your flour accurately, as too little can cause issues.
Can I make these cookies gluten-free?
Absolutely! To make your Candy Cane Cookies gluten-free, you can substitute all-purpose flour with a gluten-free flour blend that contains xanthan gum. I often suggest using a 1:1 gluten-free blend for the best results, which keeps the texture soft and delightful.
Are these cookies safe for pets?
No, it’s best to keep these cookies away from pets due to the presence of butter and sugar, which can upset their stomachs. Always ensure any baked goods you share stay with human family members!
Delicious Candy Cane Cookies for a Festive Holiday Treat
Ingredients
Equipment
Method
- Cream together butter and sugar in a stand mixer on medium speed for 2-3 minutes until light and fluffy.
- Beat in the egg, vanilla extract, and peppermint extract until well combined.
- Gradually add flour and salt; mix on low speed until just combined to form dough.
- Divide the dough in half; color one half with red gel food coloring.
- Wrap each portion in plastic wrap and refrigerate for at least 30 minutes.
- Preheat oven to 350°F (175°C) and line baking sheets with parchment paper.
- Roll 1 teaspoon of each colored dough into 4-inch ropes, twist together, and shape into candy canes or rings.
- Roll shaped cookies in granulated sugar before placing them on the baking sheets, spaced 2 inches apart.
- Bake for 8-10 minutes until just set, taking care they do not brown.
- Let cookies cool on the sheet for 5 minutes before transferring to a wire rack to cool completely.
Leave a Reply