
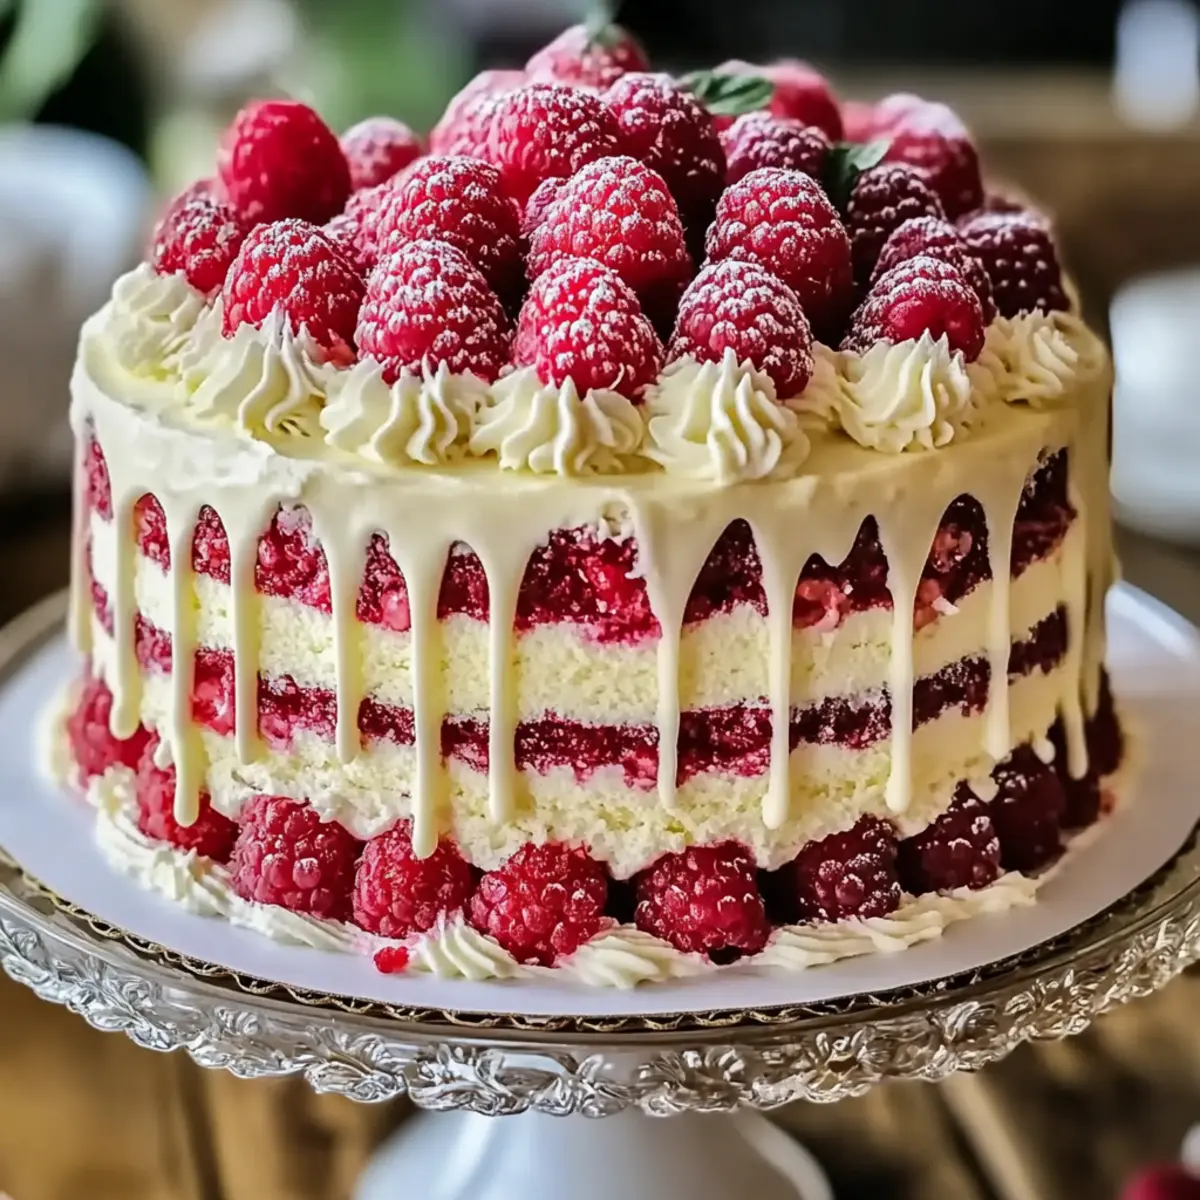
As I stood in my kitchen, the delightful aroma of melting white chocolate wafted around me, whisking me away to a cozy café in Paris. Today, I’m excited to share my secret weapon for any special occasion: the White Chocolate Raspberry Dream Cake. This elegant dessert balances the rich creaminess of white chocolate with the bright tartness of raspberries, creating a stunning centerpiece that’s surprisingly simple to make. Perfect for impressing guests or treating yourself, this cake is both a crowd-pleaser and a delightful way to savor homemade goodness. Plus, you can whip it up quickly using frozen raspberries if fresh ones aren’t available. Are you ready to bring a touch of luxury to your next dessert table? Let’s dive into the recipe!
Why Is This Cake a Celebration Essential?
Elegant presentation: This White Chocolate Raspberry Dream Cake is a showstopper, easily becoming the centerpiece of any gathering.
Flavor balance: The lush white chocolate pairs perfectly with the tartness of raspberries, creating a flavor harmony that leaves everyone craving more.
Simple yet sophisticated: Impress guests without the stress—this cake is easy to make yet looks like it came from a top-tier bakery.
Versatile ingredients: You can use frozen raspberries, making this recipe accessible all year round; perfect for spontaneous baking!
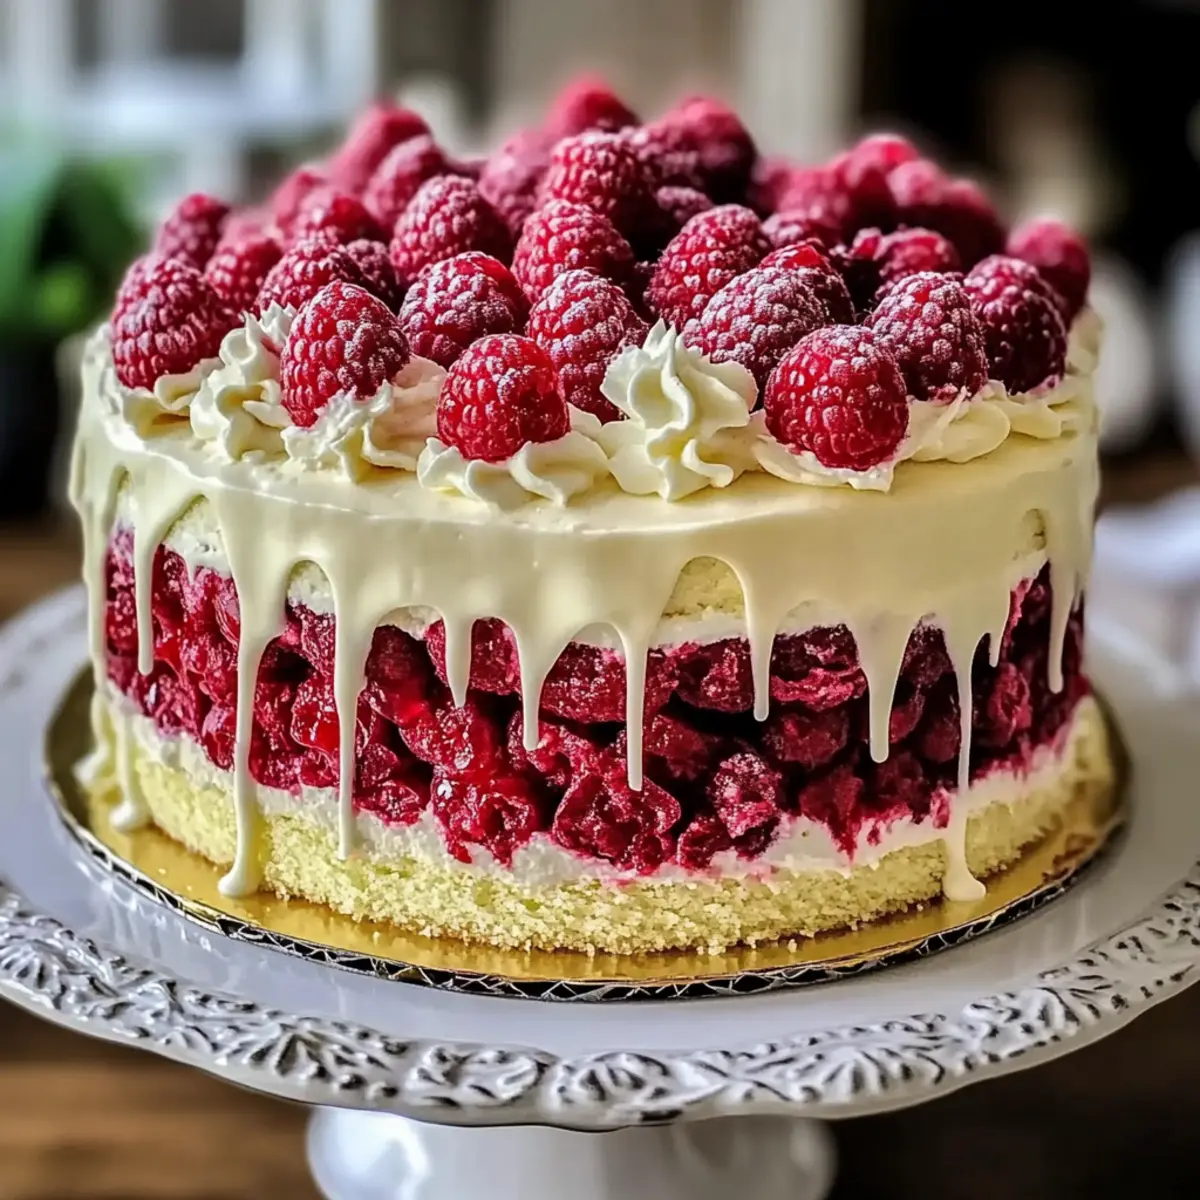
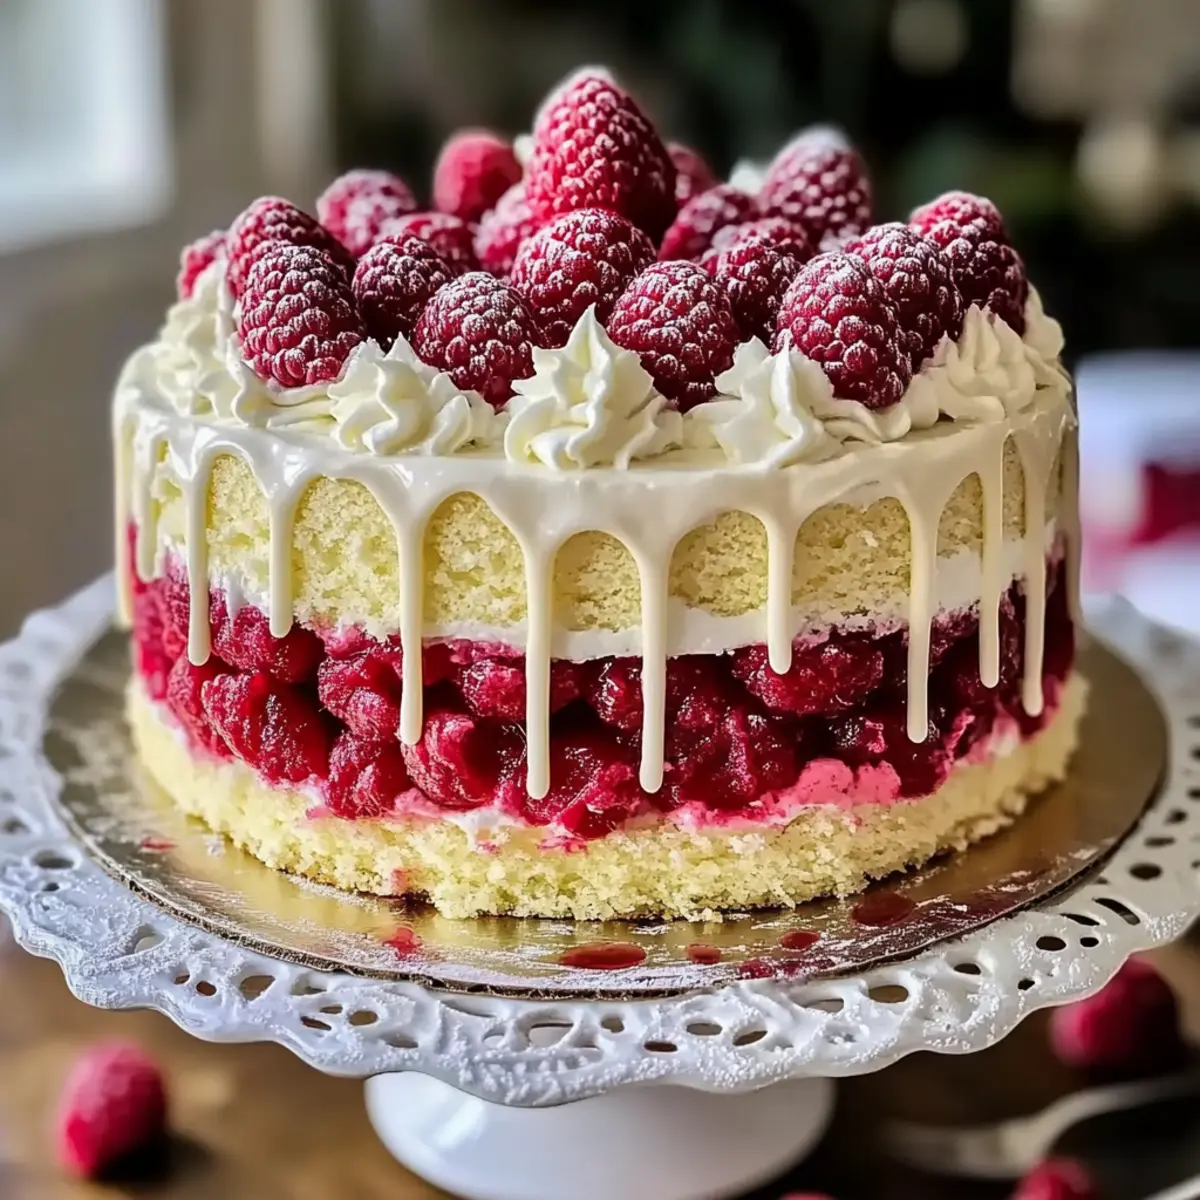
Perfect for sharing: Each slice reveals stunning layers, making it ideal for sharing with family or friends, ensuring everyone gets a taste of delight.
For more dessert inspiration, check out my Chocolate Cheesecake Decadent or try creating delightful Chocolate Chip Zucchini muffins.
White Chocolate Raspberry Dream Cake Ingredients
• The key components for your showstopping dessert.
For the Cake Layers
- All-purpose flour – Provides structure for the cake layers; substitute with a gluten-free blend for a gluten-free version.
- Baking powder – A leavening agent that ensures fluffiness; make sure it’s fresh for the best rise.
- Salt – Enhances the overall flavor; using sea salt can add a delightful twist.
- Unsalted butter (softened) – Adds moisture and richness; can be replaced with vegan butter for a dairy-free treat.
- Granulated sugar – Brings sweetness and moisture; consider brown sugar for a more caramel-like flavor.
- Eggs – Acts as a binder to add moisture; flax eggs can be used as a vegan alternative.
- Vanilla extract – Infuses warmth and depth of flavor; opt for pure vanilla extract for the best results.
- White chocolate chips (melted) – Imparts richness and sweetness into the batter; high-quality baking chocolate works best.
- Whole milk – Contributes moisture and richness; non-dairy milk is a great substitution for lactose-intolerance.
For the Raspberry Filling
- Raspberries (fresh or frozen) – Provide bright tartness and luscious flavor; if using frozen, thaw and drain them slightly first.
- Sugar (for raspberry filling) – Sweetens the filling and balances the tartness; adjust according to the sweetness of your berries.
- Lemon juice – Brightens flavors in the raspberry filling; can be swapped with orange juice for a different zest.
- Cornstarch (mixed with water) – Thickens the raspberry filling; arrowroot can be used as a substitute if needed.
For the Frosting
- Unsalted butter (for frosting) – Forms the base for a creamy texture; make sure it’s softened at room temperature.
- Powdered sugar – Provides sweetness and structure; adjust based on your desired frosting consistency.
- Melted white chocolate (cooled) – Adds an extra layer of richness and flavor to the frosting; opt for high-quality chocolate for best results.
- Milk (for frosting) – Helps adjust frosting consistency; using heavy cream will yield a richer frosting.
- Vanilla extract – Acts as a flavor enhancer in the frosting; consider clear vanilla for a more vibrant white frosting.
Optional Garnishes
- Fresh raspberries – For that added touch of freshness and color.
- White chocolate curls – An elegant decoration that enhances the cake’s charm.
- Mint leaves – Adds a delightful pop of color and refreshing flavor.
This White Chocolate Raspberry Dream Cake is sure to bring smiles and compliments to your table!
Step‑by‑Step Instructions for White Chocolate Raspberry Dream Cake
Step 1: Preheat and Prepare Pans
Begin by preheating your oven to 350°F (175°C). While it heats, grease and flour three 8-inch round cake pans to ensure easy release after baking. Set them aside, ready to hold the luscious batter of your White Chocolate Raspberry Dream Cake.
Step 2: Mix Dry Ingredients
In a mixing bowl, whisk together 2 cups of all-purpose flour, 2 teaspoons of baking powder, and ½ teaspoon of salt. This dry mixture will provide essential structure to your cake layers. Set the bowl aside, allowing the flavors to mingle while you prepare the wet ingredients.
Step 3: Cream Butter and Sugar
In a separate large bowl, beat ½ cup of softened unsalted butter and 1 cup of granulated sugar using an electric mixer on medium speed until light and fluffy, about 3-4 minutes. This process incorporates air, making your cake light and tender. Next, add 3 large eggs one at a time, ensuring each is fully incorporated, followed by 1 teaspoon of vanilla extract and the melted white chocolate.
Step 4: Combine Wet and Dry Ingredients
With a spatula, alternate adding the dry flour mixture and 1 cup of whole milk to the butter mixture. Start with the flour and finish with milk, mixing on low speed until just combined. Avoid overmixing to maintain the airy texture that is characteristic of your delightful White Chocolate Raspberry Dream Cake.
Step 5: Bake the Cake Layers
Divide the batter evenly among the prepared pans. Smooth the tops with a spatula for even baking. Place them in the oven and bake for 25-30 minutes. The cakes are done when a toothpick inserted in the center comes out clean and the edges are lightly golden. Allow them to cool in the pans for 10 minutes.
Step 6: Cool and Prepare Filling
After cooling slightly, gently turn the cake layers out onto wire racks to cool completely. While the cakes cool, prepare your raspberry filling by combining 2 cups of raspberries, ½ cup of sugar, and 1 tablespoon of lemon juice in a saucepan over medium heat. Cook until the berries soften, about 5-7 minutes.
Step 7: Thicken Raspberry Filling
In a small bowl, mix 2 tablespoons of cornstarch with 2 tablespoons of water to create a slurry. Gradually stir this into the raspberry mixture and cook for another 2-3 minutes until thickened. Remove from heat and let the filling cool completely before using.
Step 8: Make the Frosting
For the frosting, beat 1 cup of softened unsalted butter in a clean bowl until creamy. Gradually add 3-4 cups of powdered sugar, mixing well after each addition. Blend in ½ cup of cooled melted white chocolate, 2-4 tablespoons of milk, and 1 teaspoon of vanilla extract, adjusting the milk until you achieve a smooth, spreadable consistency.
Step 9: Assemble the Cake
To build your White Chocolate Raspberry Dream Cake, start by leveling the tops of your cooled cake layers if needed. Place one layer on a cake board, spreading a generous layer of frosting on top, then add a layer of raspberry filling. Repeat this with the second layer, ensuring each layer is evenly filled.
Step 10: Frost the Entire Cake
Once assembled, use frosting to cover the entire cake smoothly, creating a beautiful, elegant finish. Once frosted, chill the cake in the refrigerator for 20-30 minutes to set the frosting.
Step 11: Add Final Touches
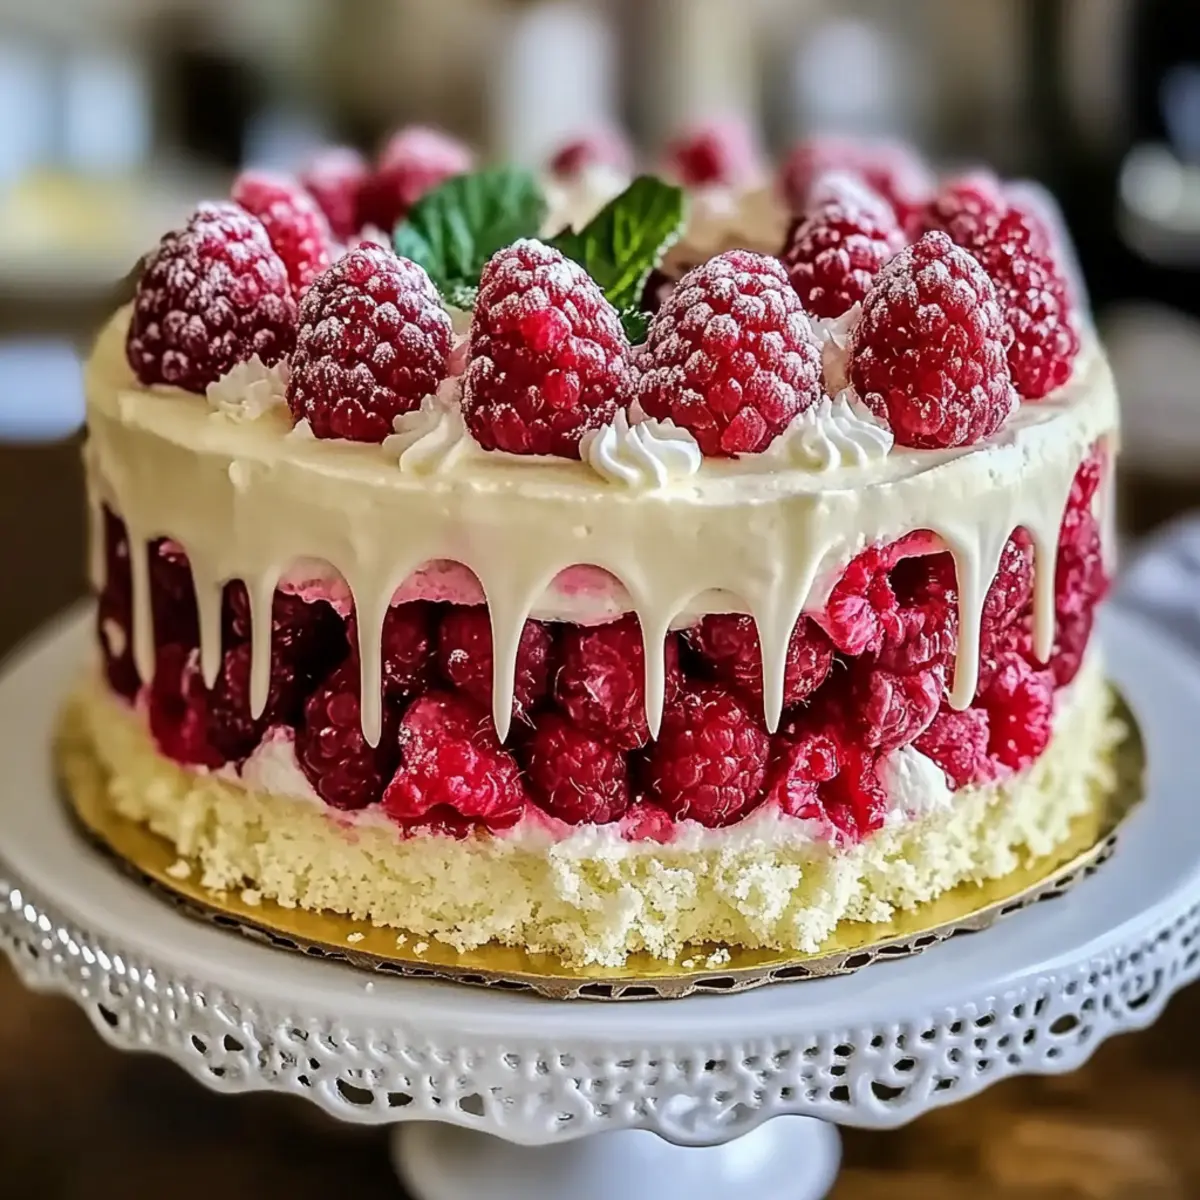
When ready to serve, decorate your stunning White Chocolate Raspberry Dream Cake with fresh raspberries, white chocolate curls, or mint leaves for an exquisite touch. These final garnishes will enhance the beauty and flavor of your cake, making it truly irresistible.
Make Ahead Options
These White Chocolate Raspberry Dream Cake preparations are perfect for busy home cooks looking to save time! You can bake the cake layers and store them wrapped in plastic wrap in the refrigerator up to 3 days in advance, ensuring they remain fresh. Additionally, the raspberry filling can be prepared and kept in an airtight container in the fridge for up to 2 days, allowing the flavors to meld beautifully. When you’re ready to serve, simply frost the chilled cake layers with the prepared white chocolate frosting and assemble with the raspberry filling. This way, you’ll enjoy a stunning dessert with minimal effort, keeping the cake just as delightful as if made fresh that day!
White Chocolate Raspberry Dream Cake Variations
Feel free to get creative and customize this lovely cake to suit your taste buds!
- Gluten-Free: Substitute all-purpose flour with a gluten-free flour blend for a cake that everyone can enjoy.
- Dairy-Free: Swap out the butter and milk for vegan alternatives to craft a cake that’s equally dreamy and dairy-free.
- Flavor Boost: Add almond extract instead of vanilla for a nutty, aromatic twist that enhances the cake’s sweetness.
- Cupcake Transformation: Use the same batter to create cupcakes filled with raspberry and topped with the delightful frosting for easy serving.
- Simplified Version: Bake the batter in a single 9×13 pan for a simpler cake style that’s easy to slice and serve.
- Exotic Fruit: Incorporate pureed mango or passion fruit in place of raspberries for a tropical flavor explosion.
- Layered Surprise: Add a layer of lemon curd between the raspberry filling for a zesty surprise that brightens each bite.
- Chocolate Lovers: Fold in dark chocolate chips into the batter for added richness that complements the white chocolate beautifully.
With so many delightful options, you can turn your White Chocolate Raspberry Dream Cake into something truly special! And if you’re looking for more sweet ideas, try making a Chocolate Cheesecake Decadent or some scrumptious Chocolate Chip Zucchini muffins.
Expert Tips for White Chocolate Raspberry Dream Cake
- Room Temperature Ingredients: Ensure all ingredients are at room temperature to help them blend smoothly, achieving a light and tender cake.
- Avoid Overmixing: Stop mixing as soon as the batter is combined; overmixing can lead to a dense texture in your White Chocolate Raspberry Dream Cake.
- Cooling Time: Let the raspberry filling cool completely before spreading it between the layers; this prevents the frosting from melting.
- Chill Before Slicing: Chill the assembled cake for at least 30 minutes before slicing to maintain clean cuts and layers.
- Quality Matters: Use high-quality white chocolate chips and baking ingredients to elevate the flavors and texture of your cake.
Storage Tips for White Chocolate Raspberry Dream Cake
Fridge: Store the cake in an airtight container for up to 4 days. This keeps the layers moist and the flavors intact, ensuring each slice remains delightful.
Freezer: Freeze individual slices in airtight freezer-safe containers for up to 2 months. Wrap each slice in plastic wrap before placing it in the container to prevent freezer burn.
Reheating: Thaw slices in the refrigerator overnight before enjoying. For a warm treat, microwave on low power for about 10-15 seconds. Enjoy your White Chocolate Raspberry Dream Cake at its best!
What to Serve with White Chocolate Raspberry Dream Cake
Elevate your dessert experience by pairing this sumptuous cake with complementary flavors and textures that will delight every palate.
- Fresh Berries: The vibrant tartness of mixed berries brightens the cake’s flavors, offering a refreshing contrast to the creamy white chocolate and raspberry layers.
- Vanilla Ice Cream: A scoop of velvety vanilla ice cream creates a delightful melting effect, enhancing each bite with its creamy softness.
- Whipped Cream: Lightly sweetened whipped cream adds a fluffy texture, providing a lovely balance to the rich cake, making it feel indulgent yet airy.
- Coffee or Espresso: A bold cup of coffee or a shot of espresso cuts through the sweetness, bringing depth and enhancing your overall dessert experience.
- Mint Leaves: Garnishing the cake with fresh mint leaves not only adds a vibrant pop of color but also brings a refreshing herbaceous note that brightens each slice.
- Chocolate Ganache: Drizzling a rich chocolate ganache over the cake amplifies the luxurious experience, making every bite feel like a decadent celebration.
Each of these suggestions will enhance your enjoyment of the White Chocolate Raspberry Dream Cake, creating a truly memorable dessert experience.
White Chocolate Raspberry Dream Cake Recipe FAQs
How do I select ripe raspberries for my cake?
Absolutely! Look for fresh raspberries that are plump, firm, and vibrant in color. Avoid any that are mushy or have dark spots all over. If you’re using frozen raspberries, ensure they’re thawed and drained before incorporating them into your cake.
What is the best way to store leftover White Chocolate Raspberry Dream Cake?
To keep your cake fresh, store it in an airtight container in the refrigerator for up to 4 days. This helps maintain moisture and flavor. If you’d like to enjoy it later, you can also freeze individual slices in freezer-safe containers for up to 2 months—just wrap each slice in plastic wrap to prevent freezer burn!
Can I freeze the White Chocolate Raspberry Dream Cake? If so, how?
Yes, indeed! To freeze your cake, first, make sure it is completely cooled and frosted. Then, cut the cake into individual slices. Wrap each slice tightly in plastic wrap, followed by aluminum foil for extra protection. Place the wrapped slices in a freezer-safe container or bag. They can stay good in the freezer for up to 2 months. When ready to enjoy, simply thaw overnight in the refrigerator or microwave on low for 10-15 seconds.
What should I do if my cake layers are domed or uneven?
Very good question! If your cake layers rise unevenly or form a dome, simply level them with a serrated knife once they have cooled. This ensures a neat stacking process and a beautiful finished cake. If you’d prefer flat layers to begin with, you can reduce your baking temperature by 25°F and bake them a bit longer to allow for even cooking.
Can I make this cake dairy-free or gluten-free?
Absolutely! For a dairy-free version, substitute unsalted butter with vegan butter and use non-dairy milk. To make it gluten-free, swap the all-purpose flour for a gluten-free flour blend. Both options work beautifully, allowing everyone to enjoy this delightful White Chocolate Raspberry Dream Cake!
Is this cake suitable for pets?
It’s important to note that this cake contains ingredients like chocolate and sugar, which are not suitable for pets. Keep the cake out of reach of dogs and cats to ensure their safety. Always stick to treats made specifically for them!
White Chocolate Raspberry Dream Cake: A Must-Bake Delight
Ingredients
Equipment
Method
- Preheat your oven to 350°F (175°C) and grease and flour three 8-inch round cake pans.
- In a mixing bowl, whisk together 2 cups of all-purpose flour, 2 teaspoons of baking powder, and ½ teaspoon of salt.
- Beat ½ cup of softened unsalted butter and 1 cup of granulated sugar until light and fluffy. Add 3 eggs, 1 teaspoon of vanilla extract, and melted white chocolate.
- Alternate adding the dry flour mixture and 1 cup of whole milk to the butter mixture until just combined.
- Divide the batter evenly among the prepared pans and bake for 25-30 minutes.
- Cool the cakes in the pans for 10 minutes, then turn out onto wire racks.
- Prepare the raspberry filling by cooking 2 cups of raspberries, ½ cup of sugar, and 1 tablespoon of lemon juice until softened.
- Mix 2 tablespoons of cornstarch with 2 tablespoons of water and stir into the raspberry mixture. Cook until thickened.
- Beat 1 cup of softened butter until creamy, then add 3-4 cups of powdered sugar, ½ cup of cooled melted white chocolate, 2-4 tablespoons of milk, and 1 teaspoon of vanilla extract.
- Assemble the cake by leveling the tops of the cooled layers, adding frosting and raspberry filling between layers.
- Cover the cake with frosting and chill in the refrigerator for 20-30 minutes to set.
- Decorate your cake with fresh raspberries, white chocolate curls, or mint leaves before serving.
Leave a Reply