
Walking into my kitchen, I was greeted by the irresistible aroma of fresh lemons mingling with the creamy allure of cheesecake. That’s when I decided to whip up a batch of Elegant Lemon Marbled Cheesecake Bars. These delightful bars combine tangy lemon swirls with a smooth cream cheese filling nestled in a buttery graham cracker crust—definitely a breath of fresh air compared to mundane desserts! What I love most about this recipe is not only how effortlessly it comes together but also the impressive look it brings to the table, turning any gathering into a special occasion. Plus, they’re meal prep-friendly, meaning you can enjoy these beautiful bars whenever the craving strikes, without spending hours in the kitchen. Curious about how these bars can become your next favorite treat? Let’s dive into the recipe!
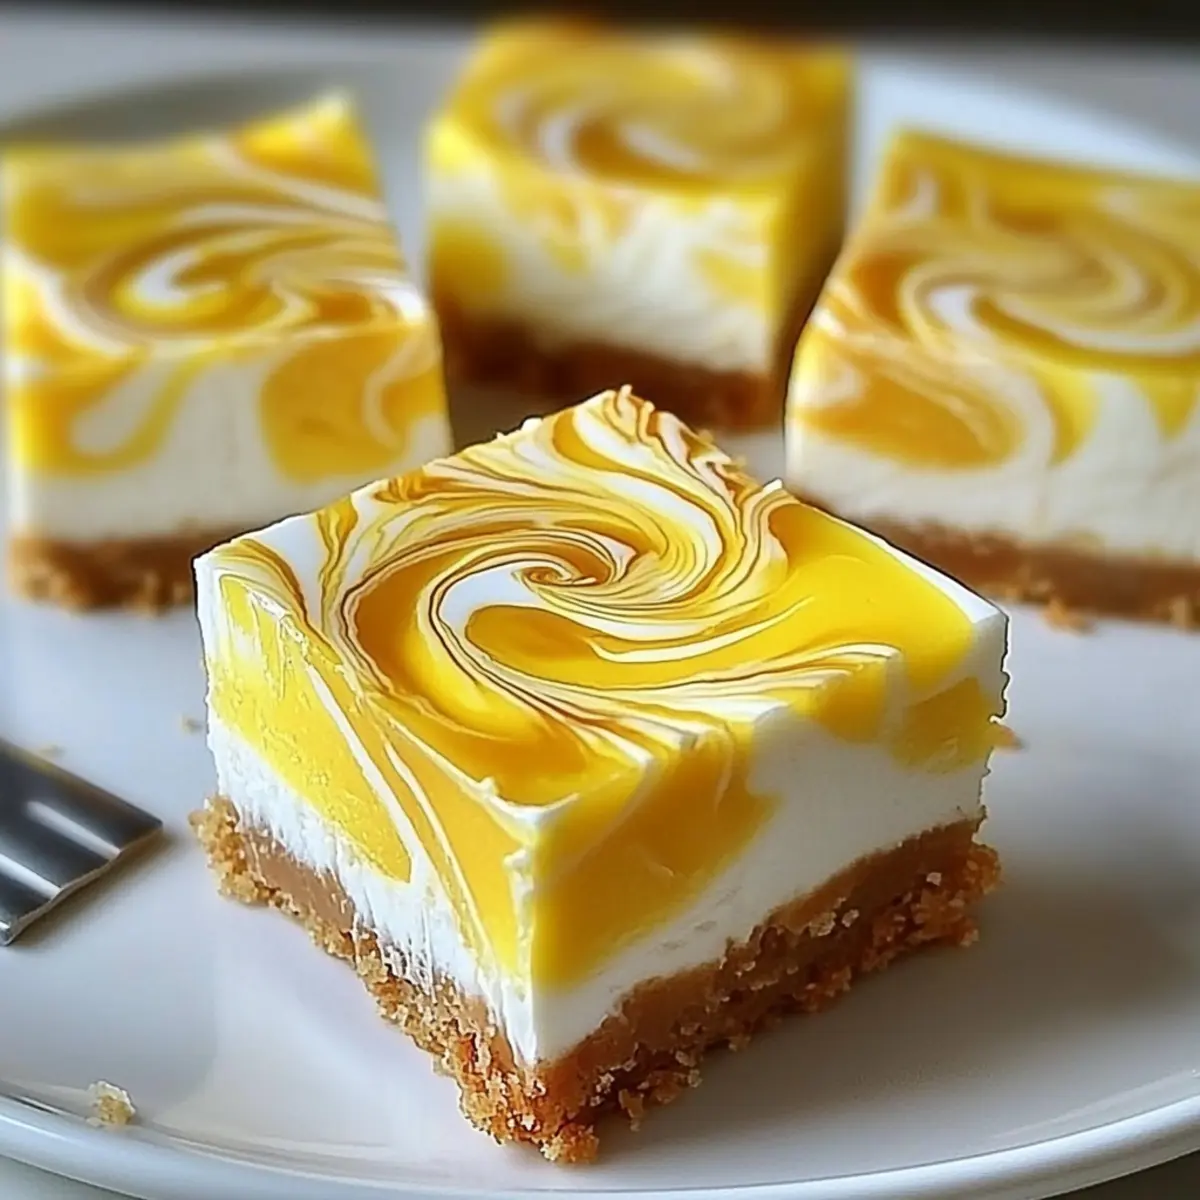
Why are Lemon Marbled Cheesecake Bars a Must-Try?
Simplicity: Whipping up these bars requires minimal effort while delivering maximum flavor, making them perfect for bakers of all skill levels.
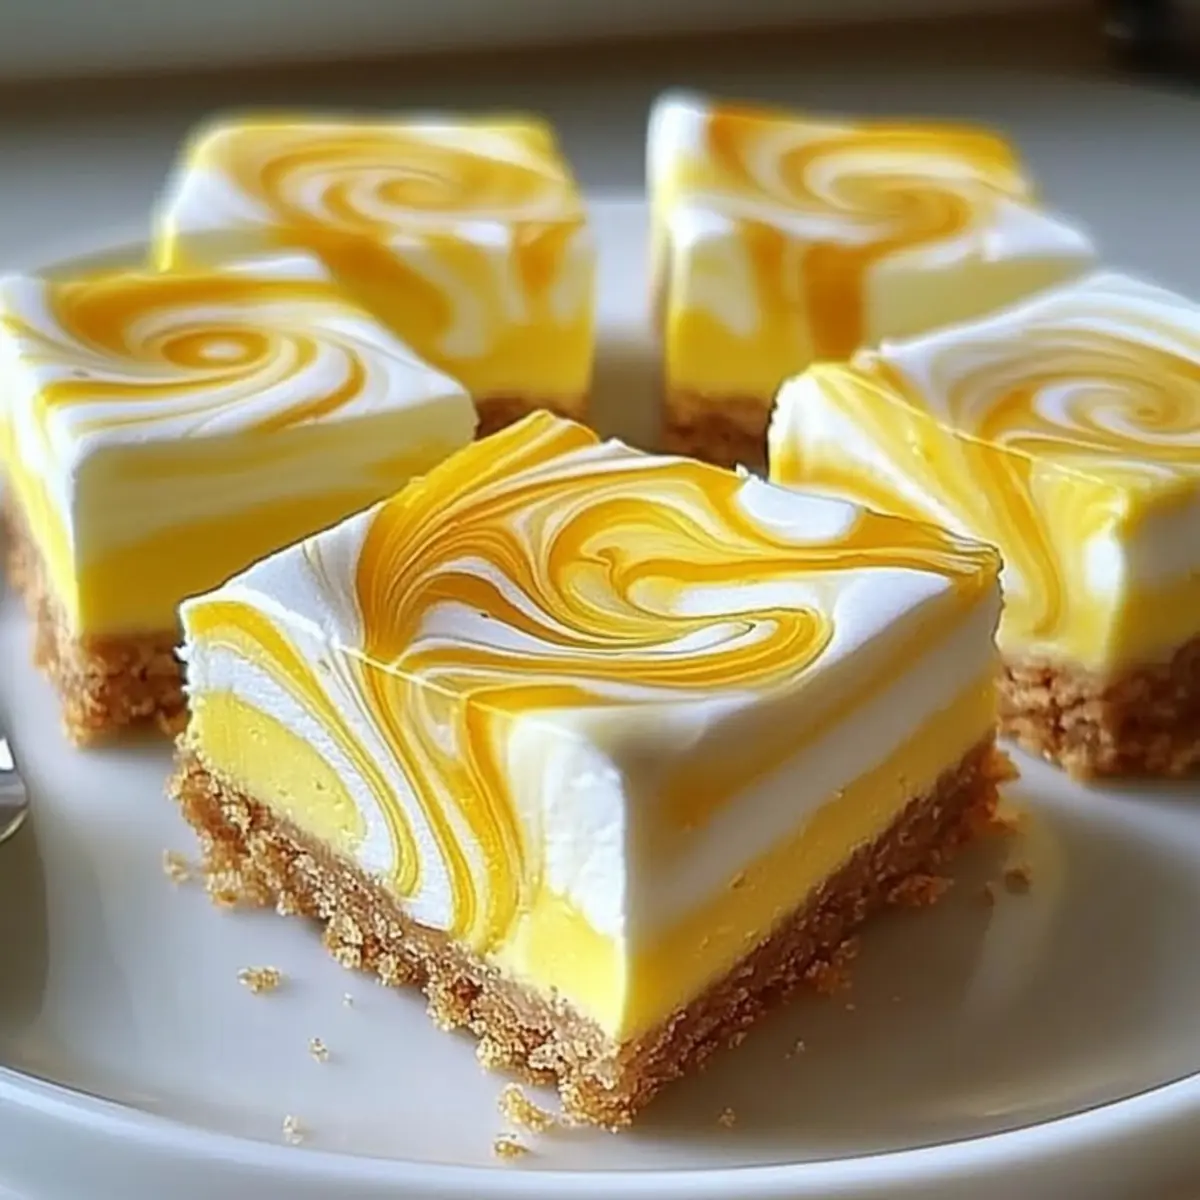
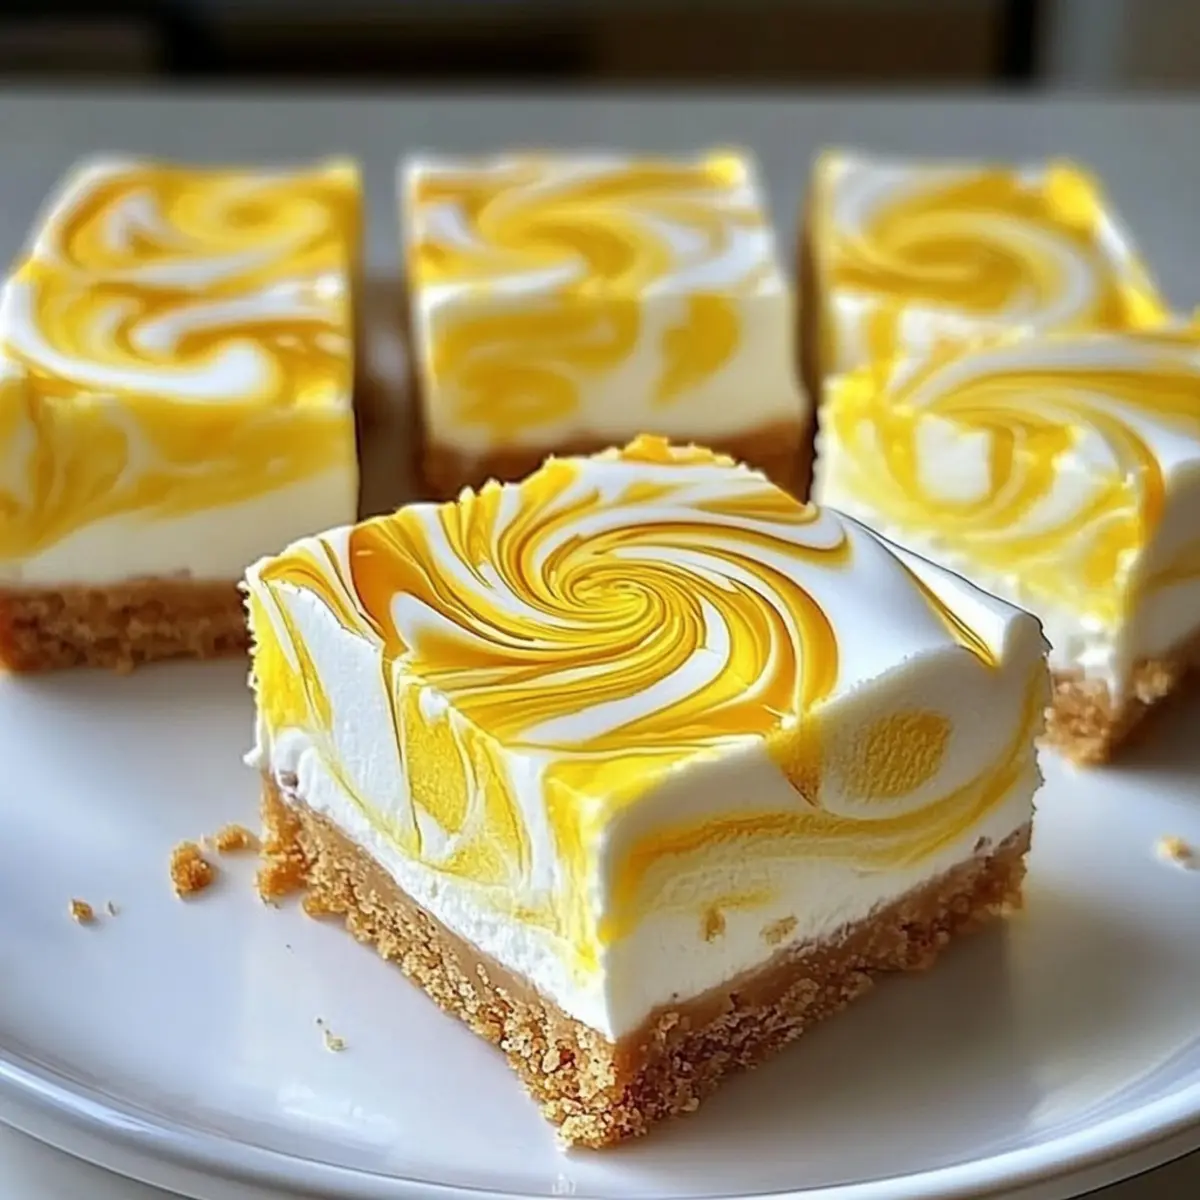
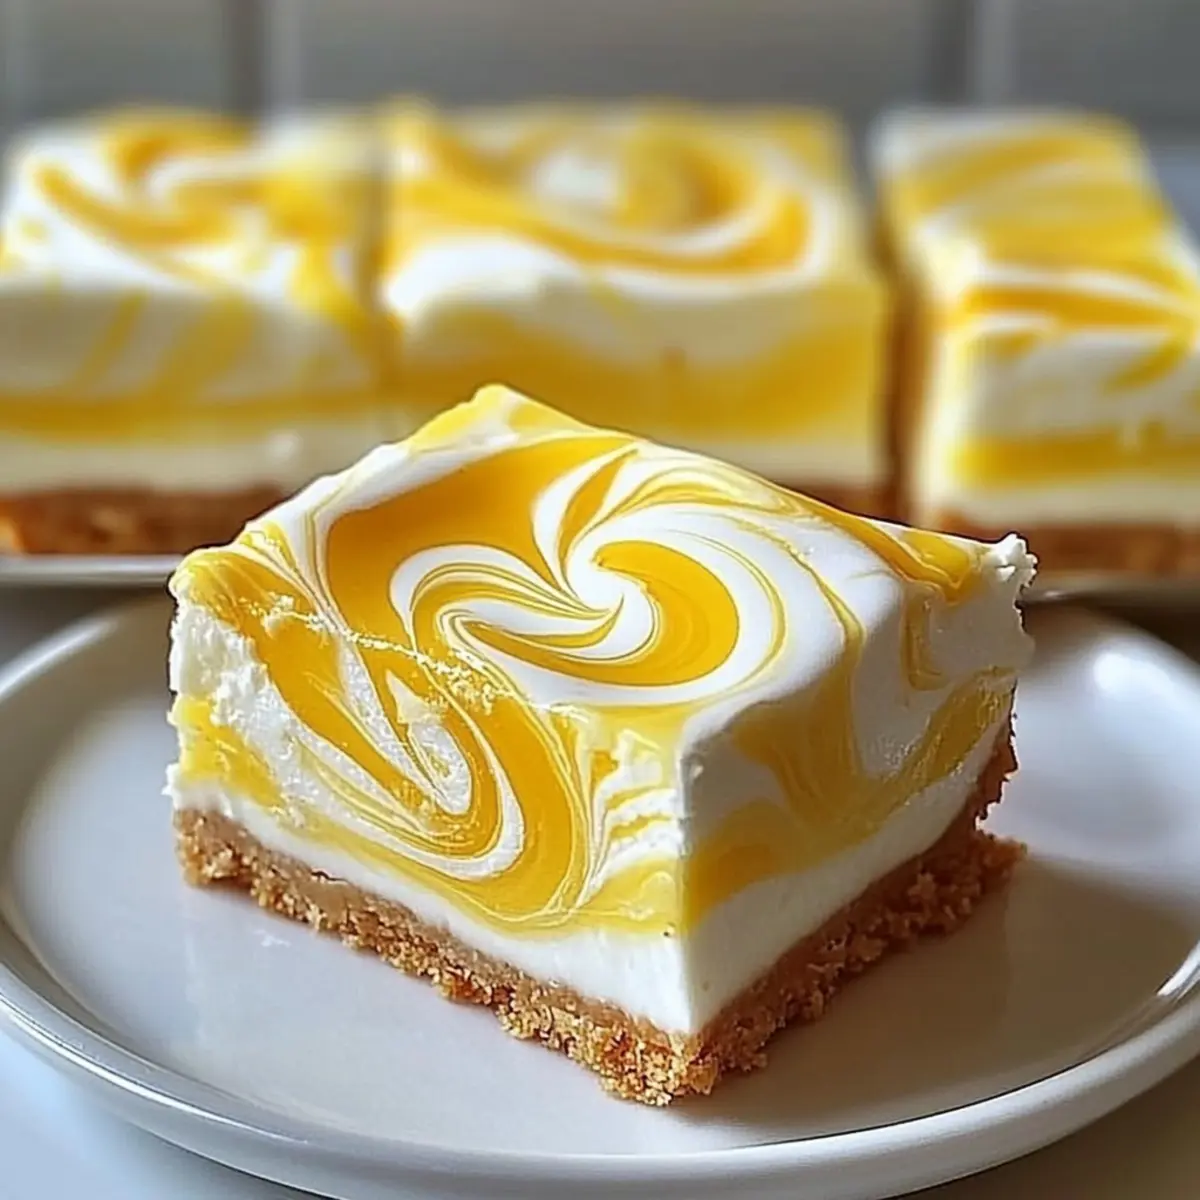
Eye-Catching Presentation: Their stunning marbled design is not just beautiful; it adds a festive touch to any meal, ensuring they’re a hit at gatherings.
Versatility: Feel free to experiment with different crusts and flavors, like swapping in ginger snap for an exciting twist or making them gluten-free with almond flour.
Crowd-Pleasing Delight: With their zesty lemon flavor and creamy texture, these bars appeal to everyone—from dessert aficionados to the occasional sweet treat seekers.
Meal Prep Friendly: Prep a batch ahead of time, and you’ll always have a delicious dessert ready to satisfy your cravings or impress your guests. Whether paired with fresh berries or a cup of Earl Grey, each bite is a beautiful experience!
Lemon Marbled Cheesecake Bars Ingredients
Here’s everything you’ll need to create these delightful bars!
For the Crust
- Graham Crackers – A classic base that provides crunch and sweetness; swap with almond flour for a gluten-free option.
- Butter – Binds the crust together and adds rich flavor; opt for unsalted butter for better control over salt levels.
For the Filling
- Cream Cheese – This creamy essential forms the decadent filling; make sure it’s at room temperature for a smooth blend.
- Sugar – Sweetens the cheesecake filling; you can reduce this for a lower sugar option without losing flavor.
- Eggs – Provide structure and richness; ensure they are fresh and at room temperature for a lump-free mixture.
- Vanilla Extract – Enhances the overall flavor; feel free to substitute it with almond extract for a unique twist.
- Lemon Zest – Adds aromatic, citrusy notes; for best results, use fresh zest from a ripe lemon.
- Lemon Juice – Brings the essential tanginess; freshly squeezed juice is ideal, but bottled can work in a pinch.
For the Marbling
- Yellow Food Coloring (optional) – Brightens the appearance; omit for a more natural look if desired.
Step‑by‑Step Instructions for Lemon Marbled Cheesecake Bars
Step 1: Preheat and Prepare the Pan
Begin by preheating your oven to 325°F (160°C). While it heats, line an 8×8-inch baking pan with parchment paper, ensuring the paper hangs over the edges—this will help with easy removal later. This initial preparation sets the stage for your delicious Lemon Marbled Cheesecake Bars.
Step 2: Make the Crust
In a mixing bowl, combine crushed graham crackers with melted unsalted butter until the mixture resembles wet sand. Press this mixture evenly into the bottom of the prepared pan, creating a firm crust. Bake in the preheated oven for about 10 minutes, or until lightly golden. Once baked, allow it to cool slightly while you prepare the filling.
Step 3: Blend the Filling
In a large mixing bowl, beat the room-temperature cream cheese until smooth, using an electric mixer on medium speed. Gradually add in sugar, mixing well to combine. Next, add in the room-temperature eggs one at a time, mixing gently after each addition. Stir in vanilla extract and lemon zest until your filling is creamy and free of lumps.
Step 4: Prepare the Marbled Batter
Carefully reserve half of the cheesecake batter into a separate bowl. In the remaining batter, mix in the freshly squeezed lemon juice and a few drops of yellow food coloring if desired, stirring until well blended. This lemon mixture will create the beautiful marbled effect in your Lemon Marbled Cheesecake Bars.
Step 5: Assemble the Bars
Pour the plain cheesecake batter over the cooled crust, spreading it evenly with a spatula. Drizzle the lemon-infused batter on top in various spots. With a knife or a toothpick, gently swirl the two batters together to create a marbled effect. Be cautious not to over-swirl, as you want to maintain distinct lemon swirls within the creamy filling.
Step 6: Bake to Perfection
Place the assembled cheesecake bars in the oven and bake for 30-35 minutes. You’ll know they are done when the edges are set, and the center has a slight jiggle—this indicates the perfect creamy consistency. The top may be slightly puffed but will settle as it cools.
Step 7: Cool and Chill
Once baked, remove the pan from the oven and allow the bars to cool completely at room temperature. After cooling, cover and refrigerate the bars for at least 4 hours, or overnight if time permits. Chilling helps the bars firm up and enhances the flavors, resulting in delicious Lemon Marbled Cheesecake Bars ready for slicing.
Expert Tips for Lemon Marbled Cheesecake Bars
• Avoid Overmixing: After adding eggs, mix just until incorporated to prevent cracks in your Lemon Marbled Cheesecake Bars.
• Chill the Crust: Take the time to chill your crust slightly before pouring in the filling. This ensures it stays crisp and doesn’t get soggy.
• Use Parchment Paper: Line your pan with parchment paper, leaving overhang on the sides. This allows for easy removal and clean cuts of the bars.
• Swirl Lightly: For beautiful marbling, swirl the batters together gently. Less is often more, maintaining that striking marbled effect!
• Consider a Water Bath: Using a water bath while baking can help prevent cracks, yielding beautifully smooth-top cheesecake bars.
What to Serve with Elegant Lemon Marbled Cheesecake Bars
Indulging in a slice of creamy delight opens the door to a world of complementary flavors that can elevate your dessert experience.
-
Fresh Berries: Bright, juicy strawberries or blueberries add a pop of color and a refreshing burst of flavor that pairs beautifully with the tangy cheesecake.
-
Powdered Sugar Dusting: A light sprinkle just before serving enhances the presentation and adds a touch of sweetness without overwhelming the dessert.
-
Whipped Cream: A dollop of fluffy whipped cream softens the bar’s richness, creating a luscious balance with each bite, perfect for a decadent treat.
-
Spiced Chai Tea: The warm spices in chai tea harmonize with the citrus notes of the cheesecake, making for a comforting and aromatic pairing.
-
Lemon Zest Garnish: A few strands of fresh lemon zest on top not only brighten the plate visually but also elevate the flavor profile with an extra citrus punch.
-
Earl Grey Tea: The bergamot essence in Earl Grey beautifully complements the lemon, enhancing the overall experience while offering a sophisticated touch to your dessert.
-
Shortbread Cookies: Serve alongside buttery shortbread for a delightful crunch that contrasts wonderfully with the creamy texture of the cheesecake bars.
-
Mint Leaves: Fresh mint adds a vibrant color and a cool, aromatic finish, refreshing the palate after enjoying a rich bar.
These pairings not only enhance the flavors of your Lemon Marbled Cheesecake Bars but also create a memorable occasion for every gathering!
How to Store and Freeze Lemon Marbled Cheesecake Bars
Fridge: Keep the Lemon Marbled Cheesecake Bars in an airtight container in the refrigerator for up to 3 days. This helps maintain their creamy texture and freshness.
Freezer: For longer storage, wrap the bars tightly in plastic wrap and aluminum foil before placing them in the freezer. They can last for up to 2 months.
Thawing: When ready to enjoy, thaw the bars overnight in the fridge. This keeps them deliciously chilled and ready for serving.
Reheating: If you prefer them slightly warmed, microwave individual slices on low power for about 10-15 seconds. Enjoy!
Make Ahead Options
These Lemon Marbled Cheesecake Bars are a fantastic option for meal prep! You can prepare the crust and filling up to 24 hours in advance. To do this, prepare the crust and bake it as directed, then allow it to cool. While the crust cools, mix the cheesecake filling, reserving half for marbling. Store the crust covered at room temperature and the filling in the refrigerator to keep it fresh. When you’re ready to serve, simply pour the filling over the cooled crust, drizzle and swirl the reserved marbled batter, and bake as instructed. This way, you save time and still enjoy those enticing flavors just as delicious as when freshly made!
Lemon Marbled Cheesecake Bars Variations & Substitutions
Feel free to adjust these delightful bars to suit your taste or dietary needs!
-
Gluten-Free: Use almond flour or gluten-free graham crackers to create a delicious gluten-free crust option.
-
Flavor Boldness: Swap vanilla extract for almond extract for a delightful twist that adds depth to your creamy filling.
-
Fruity Accents: Incorporate seasonal fruits, like fresh raspberries or blueberries, swirled into the filling for added color and flavor.
-
Herb Infusion: Experiment with fresh herbs such as thyme or lavender for a unique spring twist. This will elevate the lemon flavor to a whole new level.
-
Low-Carb Option: Replace sugar with a low-carb sweetener like erythritol to enjoy a guilt-free dessert while keeping the sweetness intact.
-
Chocolate Lovers: Add cacao powder to reserve half the batter to transform it into a rich chocolate marbled cheesecake bar.
-
Additional Toppings: Drizzle with a lemon glaze or serve with a dollop of whipped cream to enhance every bite!
-
Cashew Cream: For a creamy vegan alternative, use soaked cashew cream mixed with lemon juice and zest. It makes for a lusciously smooth filling.
For more delicious dessert inspirations, you may want to check out my Strawberry Cheesecake Cinnabon or try an indulgent Chocolate Cheesecake Decadent for a sweet change. Happy baking!
Lemon Marbled Cheesecake Bars Recipe FAQs
How do I choose the best lemons for the filling?
Absolutely! When selecting lemons, look for ones that are firm with smooth, shiny skin, which indicates freshness. They should feel heavy for their size, signaling they contain more juice. Avoid lemons with dark spots or wrinkles, as they may be overripe. Freshly squeezed lemon juice significantly enhances flavor, so pick ripe lemons that smell fragrant and zesty!
What’s the best way to store the cheesecake bars?
Very simply! Keep your Lemon Marbled Cheesecake Bars in an airtight container in the refrigerator for up to 3 days. Make sure they’re completely cooled before storing to retain their creamy texture. If you want to keep them longer, they freeze beautifully, wrapped tightly. This will prolong their freshness for up to 2 months!
Can I freeze the cheesecake bars? If so, how?
Absolutely! To freeze your Lemon Marbled Cheesecake Bars, first, let them cool completely after baking. Then, wrap each bar individually in plastic wrap, followed by aluminum foil to prevent freezer burn. Place them in an airtight container or a freezer-safe bag. When you’re ready to enjoy, simply thaw them in the fridge overnight or for several hours at room temperature.
What can I do if the cheesecake cracks while baking?
Don’t worry; it happens to the best of us! To avoid cracks, it’s important to avoid overmixing your batter after adding the eggs. Also, consider using a water bath while baking: wrap the outside of your baking pan in foil and place it in a larger pan filled with water. This creates a gentle heat environment, reducing the risk of cracks and helping your bars bake evenly.
Are there alternatives for those with dietary restrictions?
Absolutely! If you’re looking for gluten-free options, almond flour can replace graham crackers for the crust. For a lower-sugar alternative, you can reduce the sugar in the filling and try using a natural sweetener like honey or maple syrup instead. Tofu can also substitute the cream cheese for a vegan version, making these Lemon Marbled Cheesecake Bars adaptable for various dietary needs.
Can I use bottled lemon juice instead of fresh?
While fresh lemon juice is always preferred for its vibrant flavor, you can use bottled lemon juice in a pinch. However, be aware that it may lack the bright, aromatic zestiness fresh lemons provide. If you must use bottled juice, choose a brand with no added preservatives for the best flavor.
Lemon Marbled Cheesecake Bars: Light, Creamy, and Irresistible
Ingredients
Equipment
Method
- Preheat your oven to 325°F (160°C) and line an 8×8-inch baking pan with parchment paper.
- In a mixing bowl, combine crushed graham crackers with melted unsalted butter. Press this mixture into the prepared pan.
- Bake in the oven for about 10 minutes until lightly golden and allow to cool.
- In a large bowl, beat the cream cheese with an electric mixer until smooth.
- Gradually add sugar, then add in eggs one at a time, mixing gently after each addition.
- Stir in vanilla extract and lemon zest until creamy and free of lumps.
- Reserve half of the cheesecake batter in a separate bowl. Mix in lemon juice and yellow food coloring in the remaining batter.
- Pour the plain batter over the cooled crust and drizzle the lemon-infused batter on top. Swirl gently to create a marbled effect.
- Bake for 30-35 minutes until the edges are set and the center has a slight jiggle.
- Let the bars cool completely, then refrigerate for at least 4 hours before slicing.
Leave a Reply