
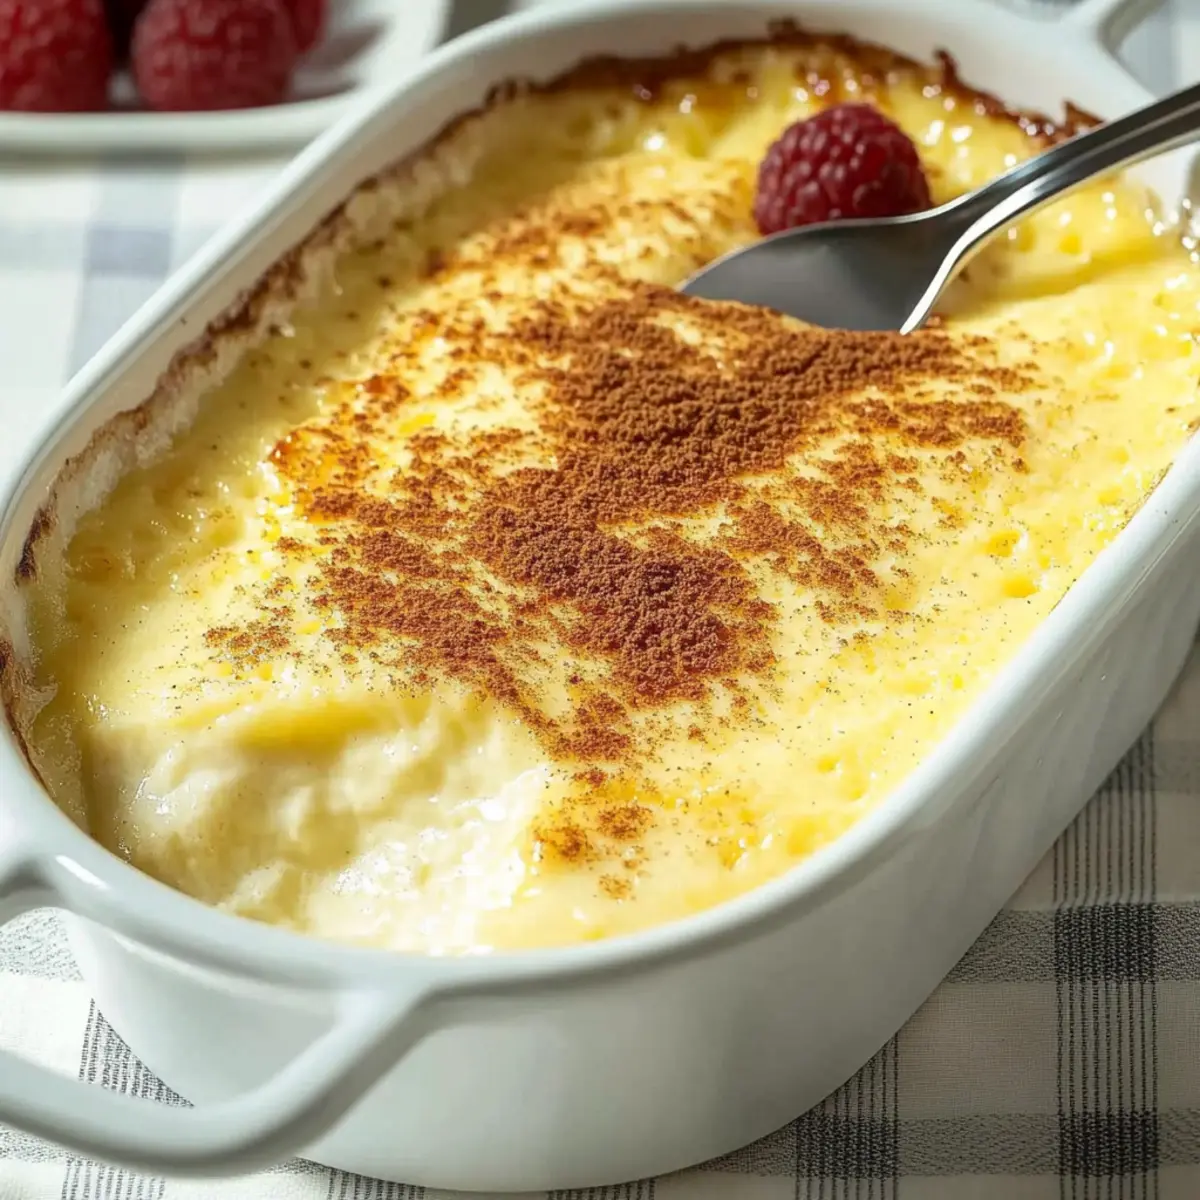
As I pulled the warm, fragrant custard from the oven, I was instantly transported to my grandmother’s kitchen, where laughter mingled with the sweet aroma of baked treats. This Dreamy Warm Baked Custard is a cozy dessert that wraps you in nostalgia, with its creamy texture and hints of rich vanilla and nutmeg. Not only is it incredibly easy to prepare, but it’s also a gluten-free delight that serves as an elegant ending to any meal. Whether you enjoy it plain or with vibrant fresh berries, this comforting dish is bound to become a favorite in your home. Curious about how to recreate this timeless classic? Let’s dive into the step-by-step process!

Why Is This Custard So Irresistible?
Comforting and nostalgic, this Dreamy Warm Baked Custard brings back memories of cherished family gatherings. Versatile enough for any occasion, it can be enjoyed on its own or enhanced with your favorite fresh berries. Effortless to make, this recipe is perfect for both novice and experienced cooks. Plus, it’s gluten-free and meat-free, catering to various dietary needs while satisfying sweet cravings. Don’t forget to explore how easy it is to customize this dish, perhaps with a hint of almond extract or fragrant citrus zest!
Dreamy Warm Baked Custard Ingredients
For the Custard Base
- Whole Milk – The primary liquid providing creaminess; swap for 2% milk if desired, but whole milk is best for texture.
- Sugar – Sweetens the custard; for a twist, try brown sugar for a richer flavor.
- Eggs – Essential for structure and creaminess; be sure to use large eggs for optimal results.
- Salt – Balances the sweet flavor; no substitutions necessary here.
- Vanilla Extract – Adds warmth and classic flavor; consider almond extract or citrus zest for a unique variation.
For the Topping
- Ground Nutmeg – Adds warmth and character; freshly grated nutmeg elevates the flavor experience.
- Fresh Berries (optional) – Adds a refreshing burst of flavor and visual appeal; seasonal options like raspberries or strawberries work wonderfully.
Indulge in this Dreamy Warm Baked Custard that’s incredibly satisfying and perfect for any dessert lover!
Step‑by‑Step Instructions for Dreamy Warm Baked Custard
Step 1: Preheat the Oven
Begin by preheating your oven to 350°F (175°C). This temperature will ensure your custard bakes evenly and achieves that perfectly creamy texture. Grab a baking dish large enough to accommodate a 1.5-quart round dish that you’ll use for the custard. As the oven warms, the comforting anticipation builds for your Dreamy Warm Baked Custard!
Step 2: Whisk the Egg Mixture
In a large bowl, whisk together four large eggs, ¾ cup of sugar, and a pinch of salt until they are just combined. This step is crucial for incorporating air into the eggs, which will contribute to the custard’s delightful creaminess. Aim for a pale mixture with a smooth consistency; your arm may feel the burn, but trust me, it’s worth it!
Step 3: Heat the Milk
Pour 3 cups of whole milk into a saucepan and gently heat it over medium-low heat. Keep an eye on it as you wait for tiny bubbles to form around the edges, a gentle reminder that it’s almost ready. Be careful not to let it boil, as that can alter the comforting creaminess of your Dreamy Warm Baked Custard.
Step 4: Combine Milk and Eggs
Once the milk reaches the desired warmth, gradually whisk it into the egg mixture. This slow incorporation ensures that the eggs don’t scramble, resulting in a smooth custard base. Continue whisking until everything is well-blended, enjoying the fragrant hints of vanilla and nutmeg as you go.
Step 5: Strain the Mixture
To achieve that velvety-smooth texture, strain the custard mixture through a fine wire sieve into your prepared round dish. This step eliminates any lumps or curdled bits, ensuring every bite of your Dreamy Warm Baked Custard is pure delight. You’ll appreciate how silky it looks as it flows into the dish!
Step 6: Add the Nutmeg
After pouring the custard into the dish, dust the top generously with freshly grated nutmeg. The nutmeg not only enhances the flavor but adds a charming visual appeal to your custard as well. This fragrant spice promises to elevate your cozy dessert experience, making it even more inviting.
Step 7: Prepare the Water Bath
To prevent the custard from cracking as it bakes, create a water bath. Place the dish in a larger baking pan and carefully fill it with hot water until it reaches halfway up the sides of the custard dish. This gentle heat distribution keeps your Dreamy Warm Baked Custard soft and creamy throughout the baking process.
Step 8: Bake the Custard
Now it’s time to slide your custard-filled dish into the oven. Bake for approximately 55 minutes, but start checking for doneness at around 50 minutes. The custard is ready when it has a slight jiggle in the center but appears set around the edges. A clean knife inserted into the center will confirm it’s just right!
Step 9: Cool and Chill
Allow your baked custard to cool in the water bath for about 30 minutes after removing it from the oven. This cooling period helps prevent any drastic temperature changes that might crack your custard. Once cooled, refrigerate it for a few hours, allowing the flavors to meld and the texture to set perfectly.
Step 10: Serve and Enjoy
Once your Dreamy Warm Baked Custard has chilled, it’s time to serve! Optionally, top your custard with fresh berries for a burst of color and flavor. Alternatively, savor it plain to enjoy its delicious simplicity, all the while reminiscing about those treasured family gatherings.

Expert Tips for Dreamy Warm Baked Custard
-
Perfect Water Bath: Ensure the water bath is at the right level, covering the custard halfway to prevent cracking and promote even baking.
-
Gentle Milk Heating: Heat the milk until tiny bubbles appear, but do not boil. Boiling can alter the custard’s creamy texture, resulting in a less desirable finish.
-
Lumpy Custard Warning: If your custard turns lumpy, it may be due to adding milk too quickly. Always incorporate the warm milk gradually to avoid scrambling the eggs.
-
Chilling for Flavor: Allow the custard to chill overnight for the best flavor and texture. This extra time makes it even more delicious!
-
Nutmeg Consideration: Use freshly grated nutmeg for a more vibrant flavor. Pre-ground nutmeg lacks the depth necessary for a truly cozy dessert experience.
-
Proper Oven Temperature: Make sure your oven is properly calibrated. An oven that runs too hot can lead to overcooking, resulting in a custard that isn’t as silky smooth as your Dreamy Warm Baked Custard should be!
Make Ahead Options
These Dreamy Warm Baked Custard desserts are perfect for busy home cooks looking to save time! You can prepare the custard base up to 3 days in advance. Simply follow the recipe instructions, bake the custard, and then allow it to cool completely before refrigerating in an airtight container. To maintain that silky texture, be sure to let it chill overnight for the best flavor development. When it’s time to serve, just take it out of the fridge, let it come to room temperature for about 20 minutes, and optionally top with fresh berries for a delightful presentation. Enjoy restaurant-quality results with minimal effort!
How to Store and Freeze Dreamy Warm Baked Custard
Fridge: Store your baked custard in an airtight container for up to 3 days. This will help maintain its creamy texture and prevent it from absorbing any unwanted odors from the fridge.
Freezer: If you have leftovers, you can freeze your custard for up to 2 months. Wrap it tightly in plastic wrap, then place it in a freezer-safe container for best results.
Reheating: To enjoy your frozen custard, allow it to thaw overnight in the fridge and gently reheat in a microwave or oven. Check to ensure it’s warmed through without losing its delightful texture.
Serving Tip: When serving after storage, consider topping with fresh berries or a drizzle of caramel sauce to brighten up the dessert!
What to Serve with Dreamy Warm Baked Custard
As the luscious, velvety custard cools, your mind wanders to delightful pairings that will elevate this cozy dessert into a full meal experience.
-
Fresh Berries: Top your custard with a mix of seasonal berries for a burst of color and a refreshing counterbalance to the creamy texture. Raspberries, strawberries, or blueberries add a delightful tartness that complements the custard’s sweetness beautifully.
-
Whipped Cream: Light and airy, a dollop of freshly whipped cream enhances the richness of your custard. The contrasting texture creates a luxurious mouthfeel that’s utterly indulgent and makes each bite feel special.
-
Shortbread Cookies: These crumbly, buttery cookies provide a perfect crunch alongside the smooth custard. Their subtle sweetness is a delightful contrast, making them an ideal accompaniment for dipping or as a side treat.
-
Caramel Sauce: A drizzle of warm caramel sauce transforms your dessert into a decadent treat. The sweet, buttery flavor melds perfectly with the nutmeg, adding another layer of richness to every spoonful.
-
Espresso or Coffee: A warm cup of freshly brewed espresso or coffee pairs exceptionally well with your baked custard, balancing its sweetness. The bold flavors of the coffee will enhance the overall dessert experience and provide a comforting finish to your meal.
-
Chocolate Mousse: For a more sumptuous affair, serve a light chocolate mousse beside your custard. The rich chocolate flavor adds depth and pairs beautifully with the creamy notes of the custard, creating a sublime dessert duo that will leave everyone swooning.
These pairings will not only enhance your Dreamy Warm Baked Custard but also create a delightful and satisfying experience for you and your guests, turning an already cozy dessert into a delightful occasion!
Dreamy Warm Baked Custard Variations
Feel free to explore these delicious twists to make the Dreamy Warm Baked Custard even more personal and flavorful!
- Almond Extract: Swap vanilla extract for almond for a nutty and aromatic twist that tantalizes your taste buds.
- Citrus Zest: Add a teaspoon of lemon or orange zest to brighten the flavors and infuse a fresh, vibrant note.
- Brown Sugar: Instead of white sugar, use brown sugar for deeper, caramel-like sweetness that enhances the custard’s character.
- Seasonal Fruits: Top with sliced peaches in the summer or baked apples in the fall; their sweetness complements the custard beautifully.
- Spiced Chai: Incorporate a dash of chai spices like cinnamon and cardamom for a warm, exotic flair in every bite.
- Coconut Milk: For a dairy-free version, use coconut milk instead of whole milk for a tropical twist and creamy consistency.
- Salted Caramel Drizzle: Add a touch of decadent salted caramel on top before serving; it will elevate your custard to a whole new level.
- Raspberry Sauce: Serve with a homemade raspberry sauce for a sweet-tart contrast, making your custard both elegant and delightful.
Don’t forget to check out our delicious Wholesome Baked Oatmeal for a cozy breakfast option or the rich flavors of our Greek Moussaka Warm for a hearty meal. And for dessert lovers, consider the delightful Matcha Basque Cheesecake to complement your custard experience!
Dreamy Warm Baked Custard Recipe FAQs
How do I choose the right eggs for this custard?
Absolutely! For the best results, I recommend using large, fresh eggs. They provide the necessary structure and richness that make your Dreamy Warm Baked Custard a true delight. If you’re ever in doubt, look for eggs that have clean, uncracked shells and a recent expiration date—this will ensure maximum flavor and quality!
What’s the best way to store leftovers?
To keep your custard fresh, simply transfer it to an airtight container and store it in the fridge for up to 3 days. Make sure it’s completely cooled before sealing the container to avoid condensation, which can alter its creamy texture. Trust me, it’s worth savoring the leftovers!
Can I freeze baked custard?
Yes, you can! To freeze your Dreamy Warm Baked Custard, start by wrapping it tightly with plastic wrap, ensuring no air can reach it. Then place it in a freezer-safe container. It can last up to 2 months in the freezer. When you’re ready to indulge again, thaw it overnight in the fridge and gently reheat for the best texture.
What if my custard comes out lumpy?
If your custard turns out lumpy, fear not! This usually happens if the warm milk was added too quickly to the egg mixture, causing the eggs to scramble. To prevent this in future batches, always whisk the warm milk gradually into the eggs. If you find lumps, you can strain the mixture this time or blend it gently to smooth it out.
Is this custard suitable for people with dietary restrictions?
Absolutely! This Dreamy Warm Baked Custard is not only gluten-free and meat-free, but it’s also easily adaptable for many dietary needs. If you’re concerned about allergies, simply check labels on your milk and any other ingredients. You can also make it dairy-free by using almond milk or coconut milk instead of whole milk, but be aware that it might alter the final texture slightly.
How long will it take for the custard to chill after baking?
After baking, allow your custard to cool in the water bath for about 30 minutes. Then, refrigerate it for at least a few hours, but overnight is best. This way, the custard will set properly, and the flavors will meld beautifully, making each bite simply irresistible!

Dreamy Warm Baked Custard – Comfort in Every Bite
Ingredients
Equipment
Method
- Preheat your oven to 350°F (175°C).
- In a large bowl, whisk together the eggs, sugar, and salt until just combined.
- Pour the milk into a saucepan and gently heat it over medium-low heat until tiny bubbles form.
- Gradually whisk the heated milk into the egg mixture, ensuring the eggs do not scramble.
- Strain the custard mixture through a fine wire sieve into the prepared baking dish.
- Dust the top generously with grated nutmeg.
- Create a water bath by placing the dish in a larger pan and filling it halfway with hot water.
- Bake for approximately 55 minutes, checking for doneness after 50 minutes.
- Allow the baked custard to cool in the water bath for about 30 minutes, then refrigerate for a few hours.
- Serve chilled, optionally topped with fresh berries.
Leave a Reply