
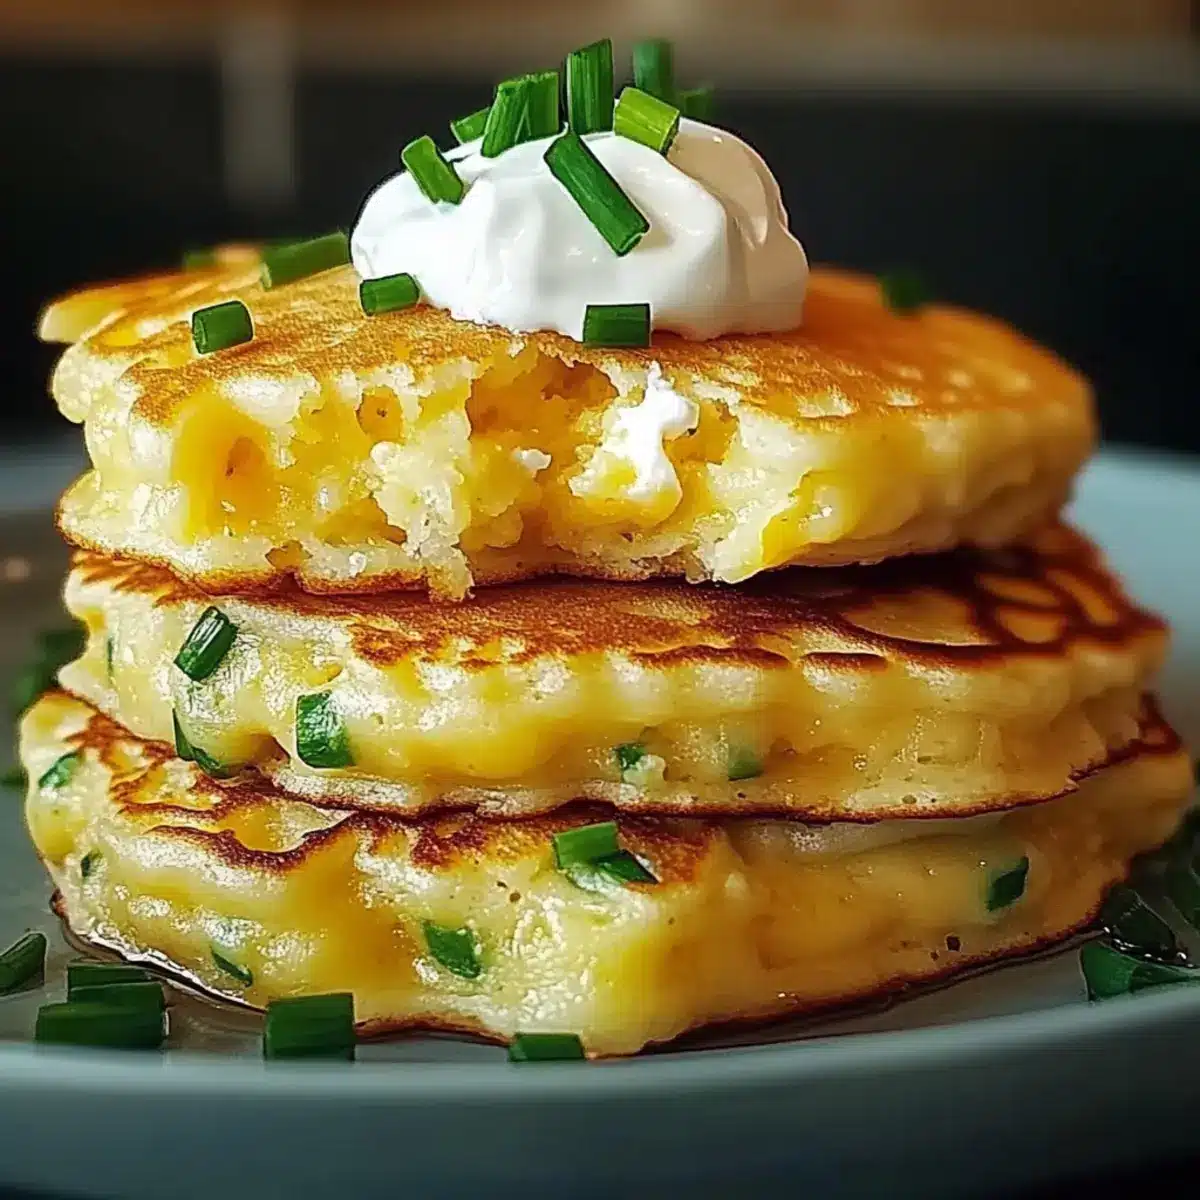
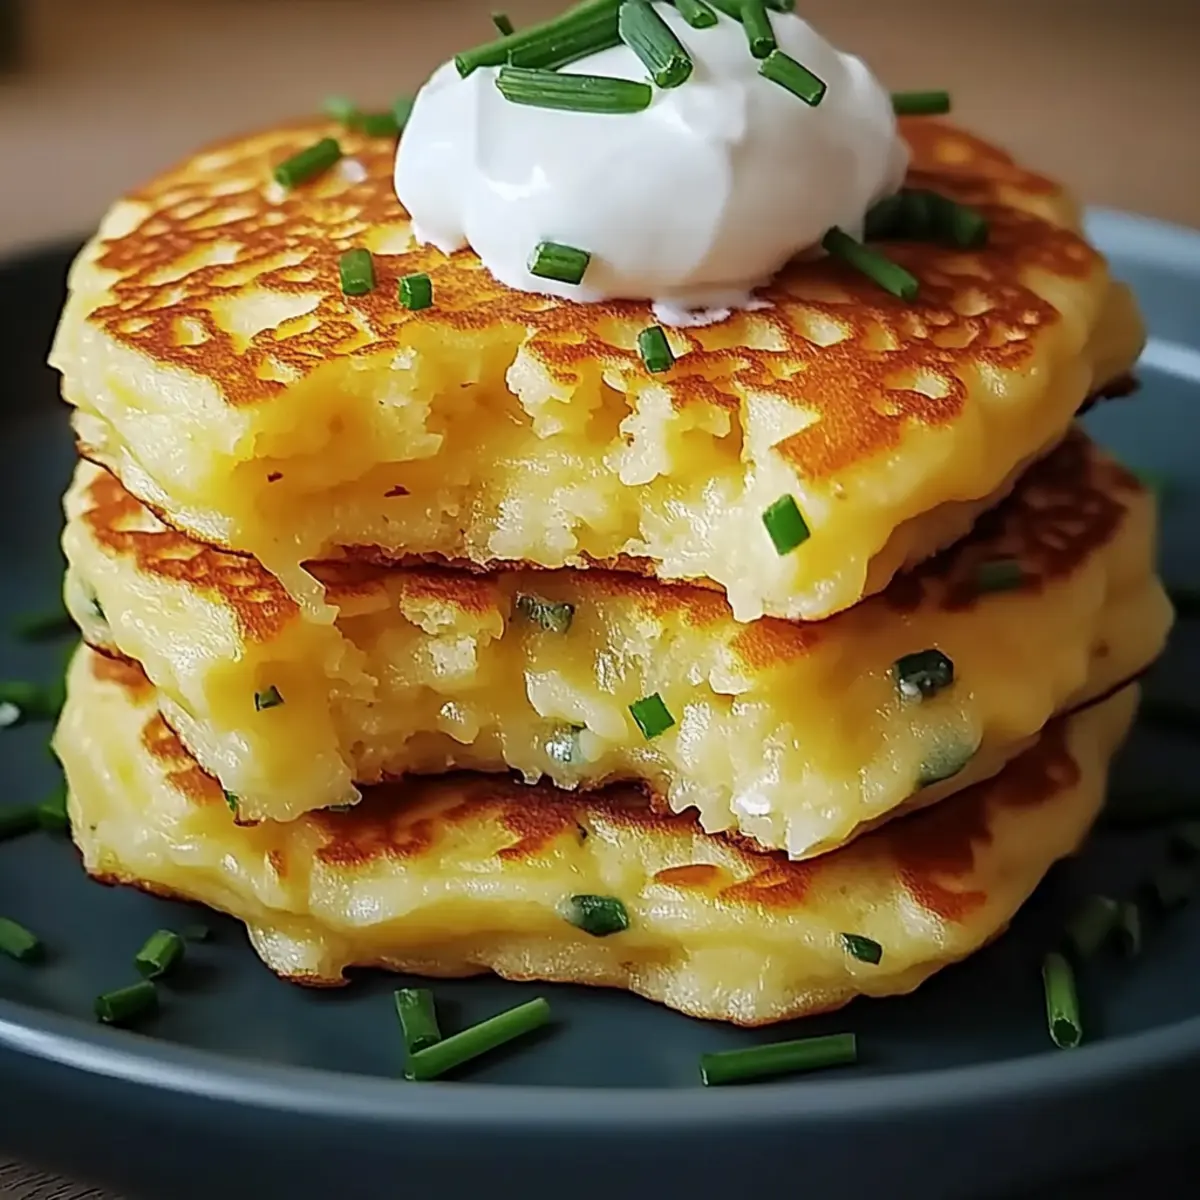
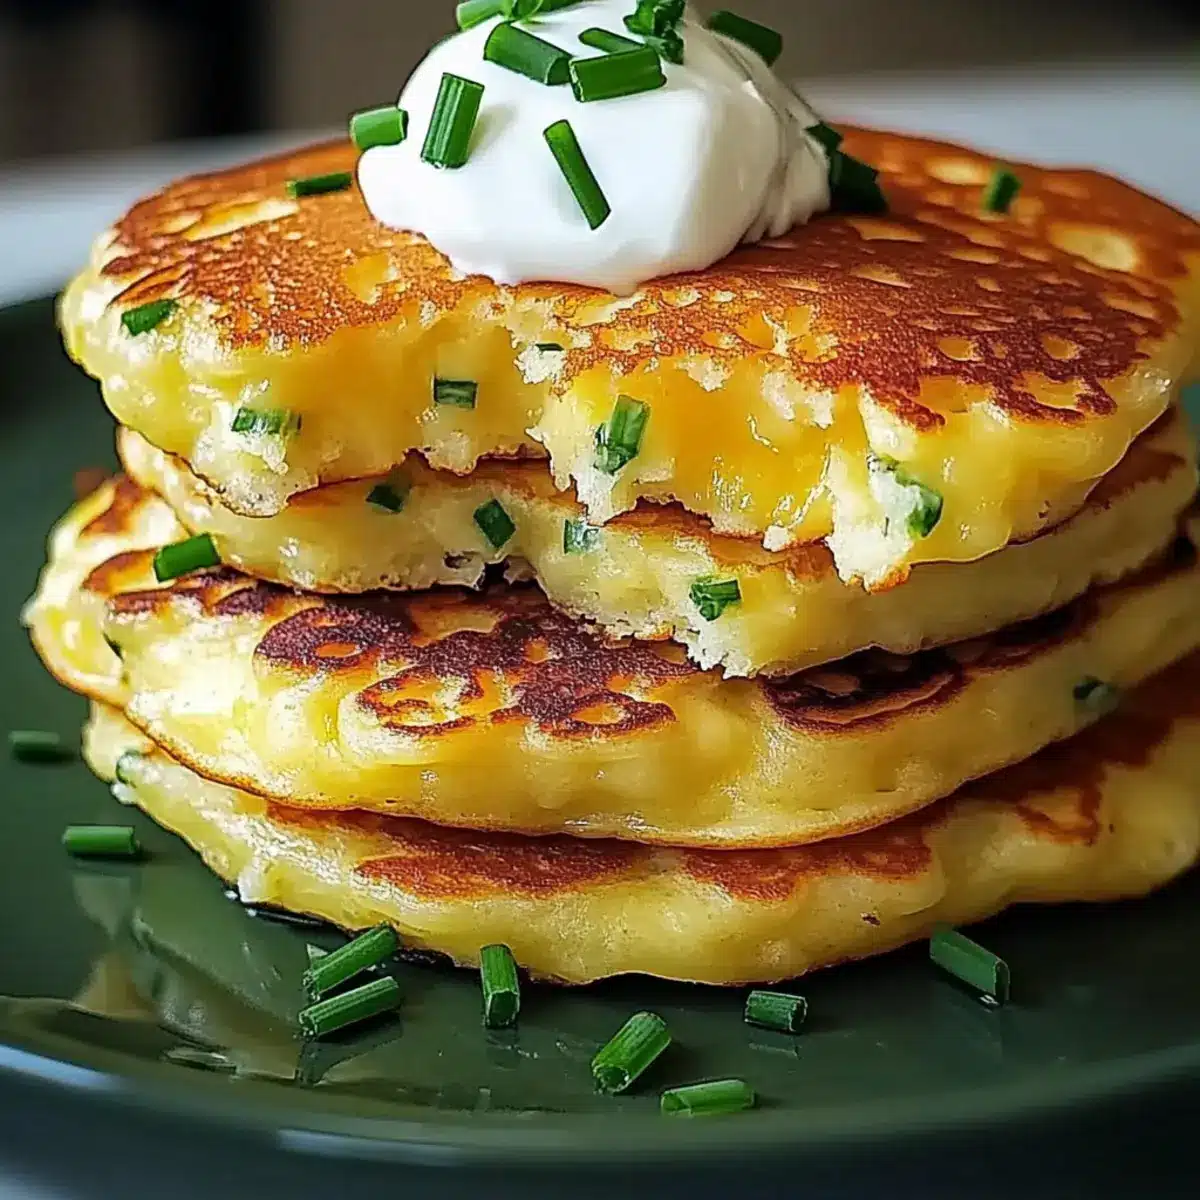
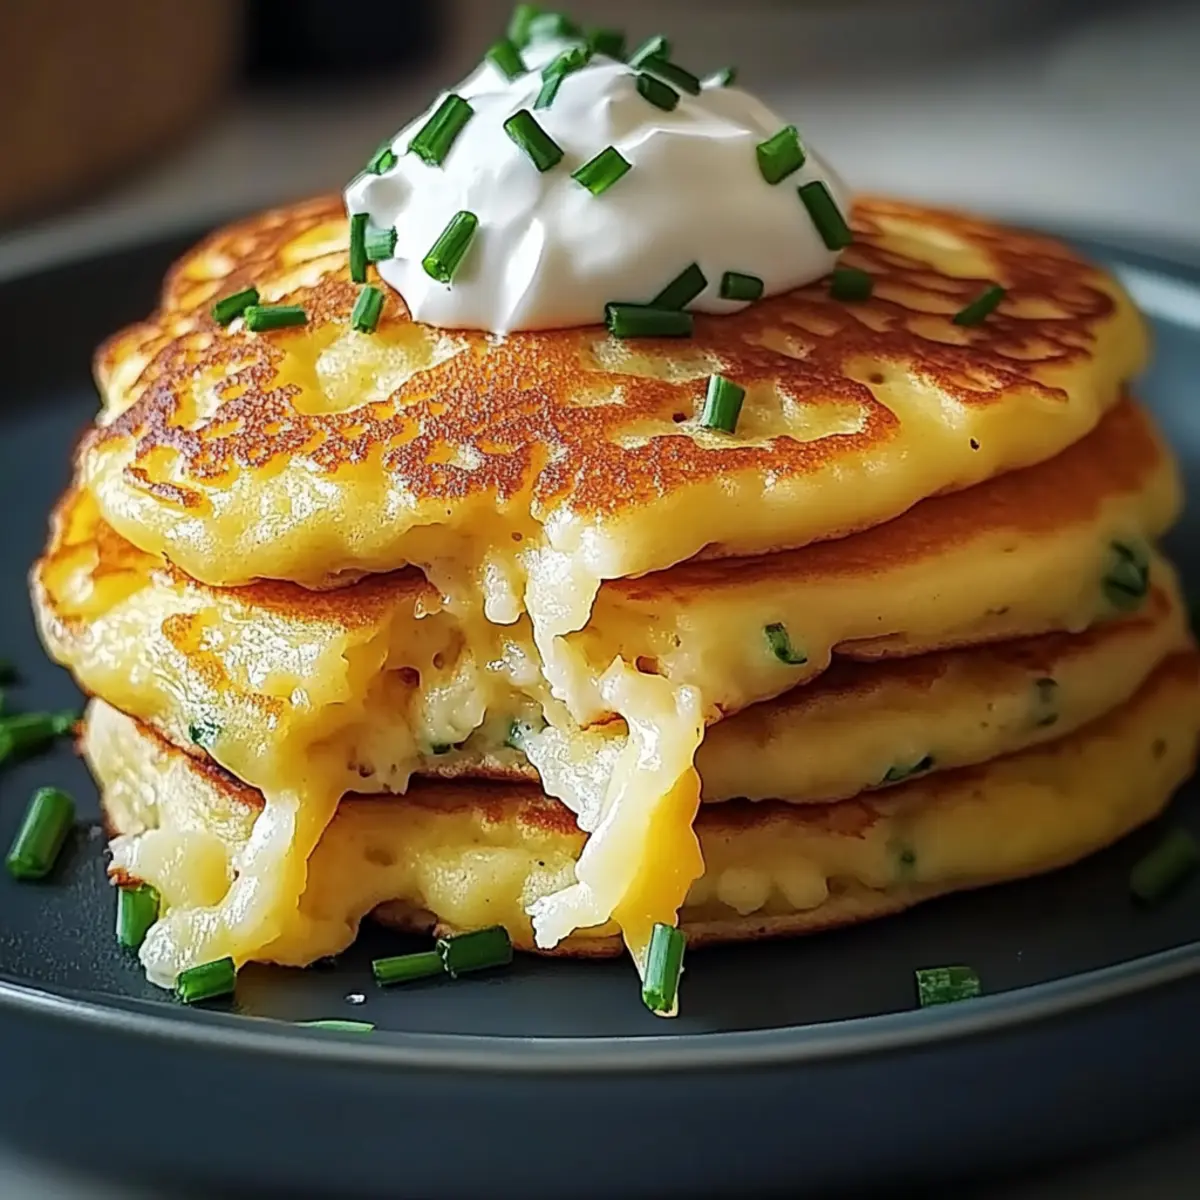
You won’t believe how easily these Cheese & Chive Pancakes can transform your meal routine! With each fluffy bite, you experience a symphony of mature cheddar and nutty Parmesan, perfectly complemented by fresh chives. These savory pancakes are your new go-to—ideal for a quick breakfast, a satisfying lunch, or even a delightful snack. They’re simple to whip up, making them perfect for busy days when you crave something homemade yet indulgent. Plus, they can be made gluten-free with a quick swap, catering to dietary needs without compromising on taste. So, are you ready to elevate your pancake game and impress your friends and family with this delicious twist? Let’s dive into this savory sensation!
Why Are Cheese & Chive Pancakes Amazing?
Irresistible Flavor: Each bite bursts with the rich taste of mature cheddar and nutty Parmesan, paired with the brightness of fresh chives.
Versatile Dish: Perfect for breakfast, lunch, or a snack, these pancakes easily adapt to any meal of the day.
Quick & Easy: Whipping up these fluffy delights requires minimal effort, making them a time-saving hero for busy cooks.
Diet-Friendly Options: You can easily swap in gluten-free flour, ensuring that everyone can enjoy this savory treat.
Crowd-Pleasing: Whether you’re hosting brunch or just need a quick meal, these pancakes are sure to impress! Try serving them with sour cream or alongside smoked salmon for an elevated experience, reminiscent of Strawberry Cheesecake Cinnabon Rolls or Chocolate Cheesecake Decadent.
Cheese & Chive Pancake Ingredients
For the Batter
- Self-raising Flour – Provides structure and lightness in the batter; sifted for an airy texture.
- Salt – Enhances the flavor of the cheese; use fine salt to ensure even distribution.
- Milk – Moistens the batter; whole milk is preferred for best texture, but almond or oat milk can substitute for dairy allergies.
- Egg – Acts as a binder, holding the ingredients together; ensure it’s at room temperature for even mixing.
For the Cheese
- Mature Cheddar Cheese – Coarsely grated for a rich, cheesy flavor; substitute with Gouda or Gruyère for variation.
- Parmesan Cheese – Finely grated to add nutty and sharp notes; can replace with Pecorino for a different taste.
For the Freshness
- Chives – Finely chopped, providing a mild onion-like flavor that freshens the dish; green onions can be used as a substitute.
Step‑by‑Step Instructions for Cheese & Chive Pancakes
Step 1: Prepare the Batter
In a large mixing bowl, sift together the self-raising flour and salt, creating a light base for your Cheese & Chive Pancakes. In a separate jug, whisk together the milk and egg until well combined—this mixture should look smooth and homogenous.
Step 2: Combine Ingredients
Make a well in the center of your flour mixture and pour in the milk-egg concoction. With a whisk, gently combine the ingredients until you achieve a smooth batter, free of lumps. Avoid over-mixing to keep your pancakes fluffy, and prepare for the next delicious step.
Step 3: Add Cheese & Chives
Fold in the coarsely grated mature cheddar, finely grated Parmesan, and chopped chives with a spatula. This action should gently incorporate these flavorful additions throughout the batter, ensuring that each bite of your Cheese & Chive Pancakes is packed with cheesy goodness and aromatic chives.
Step 4: Heat the Pan
Place a frying pan over medium heat and add a teaspoon of oil along with a small pat of butter. Wait until the butter has melted and is bubbling, signaling that your pan is hot and ready for the next step.
Step 5: Cook the Pancakes
Using a tablespoon, drop spoonfuls of batter into the hot pan, giving enough space between each dollop. Cook for 2-3 minutes, or until bubbles rise to the surface—this indicates it’s time to flip. Turn each pancake and cook for an additional 2 minutes, allowing them to turn a lovely golden brown.
Step 6: Keep Warm
Once cooked, carefully wrap the finished Cheese & Chive Pancakes in a clean tea towel to keep warm. As you continue cooking the remaining batter, this simple step ensures that every pancake stays fluffy, hot, and ready to serve as a delightful addition to any meal.
Cheese & Chive Pancakes Variations
Feel free to make these scrumptious pancakes your own by exploring these delightful variations!
-
Gluten-Free: Substitute self-raising flour with a gluten-free blend to cater to dietary needs.
-
Cheese Swap: Experiment with different cheeses such as Gouda or Gruyère for unique flavor profiles. Each cheese adds a distinct twist, keeping every batch exciting!
-
Veggie Boost: Mix in diced bell peppers or cooked spinach to pack in extra nutrition and color. These additions can elevate your pancakes while giving a vibrant touch!
-
Herb Infusion: Try adding fresh herbs like parsley or dill for an aromatic burst that complements the cheese beautifully. Herbs bring freshness that transforms the ordinary into the extraordinary!
-
Spicy Kick: Add a pinch of cayenne pepper or a dash of hot sauce for those who love a bit of heat. This fiery touch can awaken your taste buds in the most pleasant way.
-
Creamy Topping: Serve with a dollop of Greek yogurt or sour cream on the side. This creamy accompaniment contrasts the pancakes’ fluffiness while adding a refreshing zing.
-
Savory Medley: Incorporate sautéed mushrooms or caramelized onions into the batter for a hearty flavor boost. These ingredients introduce an earthy richness that takes these pancakes to the next level.
Enhance your cooking experience with these tips, and consider pairing your creations with a refreshing side salad for a complete meal. If you’re a fan of decadence, don’t miss out on delicious desserts like Chocolate Cheesecake Decadent to end your meal on a sweet note!
How to Store and Freeze Cheese & Chive Pancakes
Fridge: Place any leftover Cheese & Chive Pancakes in an airtight container and refrigerate for up to 3 days to maintain their freshness and flavor.
Freezer: For longer storage, freeze the pancakes in a single layer on a baking sheet. Once frozen, transfer them to a freezer bag and store for up to 2 months.
Reheating: Reheat frozen pancakes directly from the freezer in the microwave for about 1-2 minutes or toast them in a pan over low heat until warm throughout.
Keeping Warm: When needed, wrap in a clean tea towel to keep pancakes warm between batches, ensuring they stay fluffy and ready to enjoy!
Make Ahead Options
These Cheese & Chive Pancakes are perfect for meal prep enthusiasts! You can prepare the batter up to 24 hours in advance; just mix the dry ingredients and store them in an airtight container while keeping the wet ingredients refrigerated. Additionally, you can chop the chives and grate the cheese to save time on busy mornings. When you’re ready to cook, simply combine the wet and dry ingredients, and cook as per the recipe. If there are any leftovers, refrigerate them in an airtight container for up to 3 days. Reheat gently in a pan over low heat or in the microwave, and enjoy these pancakes just as delicious as when they were freshly made!
Expert Tips for Cheese & Chive Pancakes
-
Rest the Batter: Allow the batter to sit for 5–10 minutes before cooking. This helps achieve fluffier Cheese & Chive Pancakes.
-
Heat Management: Use medium heat for cooking. Too high, and you risk burning; too low, and they may turn out soggy.
-
Don’t Overcrowd: Cook pancakes in batches without crowding the pan. This ensures even cooking and a perfect golden color.
-
Experiment with Cheese: While cheddar and Parmesan are delicious, feel free to explore other cheeses for unique flavors in your Cheese & Chive Pancakes.
-
Freshness Matters: Use fresh chives for optimal flavor. Dried chives won’t provide the same vibrant taste and texture.
What to Serve with Cheese & Chive Pancakes
Elevate your savory pancake experience with delightful side dishes that complement their rich, cheesy goodness.
-
Sour Cream: A dollop adds creaminess and tang, perfectly balancing the pancake’s savory flavors.
-
Smoked Salmon: This luxurious pairing brings a gourmet touch, adding depth and a delightful contrast to the fluffy pancakes.
-
Fresh Arugula Salad: The peppery freshness of arugula enhances the dish, providing a bright counterpoint to the richness of the pancakes. Toss in a light lemon vinaigrette for added zest.
-
Cherry Tomatoes: Roasted or sautéed, their sweetness cuts through the savory elements, creating a beautiful flavor complexity.
-
Crispy Bacon: The smoky, salty crunch of bacon is a classic complement, adding texture and depth to your meal.
-
Herbed Yogurt Dip: Whip up a light dip with Greek yogurt, fresh herbs, and garlic for an extra layer of flavor that pairs seamlessly.
-
Fizzy Lemonade: A refreshing, bubbly drink helps cleanse the palate between bites, enhancing the overall dining experience.
-
Fruit Chutney: Sweet and tangy chutney pairs beautifully, elevating the dish with a burst of fruity flavor that complements the cheese.
Indulging in these pairings will turn your Cheese & Chive Pancakes into a memorable, satisfying meal for any occasion!
Cheese & Chive Pancakes Recipe FAQs
What type of chives should I use for the Cheese & Chive Pancakes?
Fresh chives are ideal for this recipe, as they provide a mild onion-like flavor that perfectly complements the cheese. If fresh chives aren’t available, you can substitute them with green onions for a similar taste and texture.
How should I store leftover Cheese & Chive Pancakes?
Store any leftover pancakes in an airtight container in the fridge for up to 3 days. To prevent them from sticking together, layer them with parchment paper. They can be reheated in the microwave or on a low heat in a frying pan for the best flavor.
Can I freeze Cheese & Chive Pancakes? How?
Absolutely! To freeze, spread the pancakes in a single layer on a baking sheet and freeze for about 2 hours until firm. Then, transfer them to a freezer-safe bag or container, stacking them with parchment paper in between. They can remain frozen for up to 2 months. When you’re ready to enjoy, simply reheat directly from the freezer.
What should I do if my pancakes turn out dense?
If your Cheese & Chive Pancakes are dense, it may be due to overmixing the batter or using cold ingredients. Make sure to mix just until combined, as overmixing can develop gluten in the flour. Additionally, ensure your egg and milk are at room temperature before mixing.
Are Cheese & Chive Pancakes suitable for a gluten-free diet?
Yes! You can easily make these pancakes gluten-free by substituting self-raising flour with a gluten-free flour blend. Just ensure the blend contains a raising agent, or add a teaspoon of baking powder to mimic the rise of traditional pancakes.
How can I enhance the flavor of my Cheese & Chive Pancakes?
To elevate the flavor, consider adding freshly cracked black pepper or a pinch of smoked paprika to the batter. You can also experiment with different cheese varieties like Gouda or Gruyère to create a unique taste experience!
Cheese & Chive Pancakes: Fluffy, Savory Delight Awaits
Ingredients
Equipment
Method
- Sift 1 cup of self-raising flour and a pinch of salt into a large mixing bowl. Whisk together 3/4 cup of whole milk and 1 large egg until smooth.
- Create a well in the flour mixture and pour in the milk and egg blend. Whisk gently until smooth, then set aside for a few minutes.
- Fold in 1 cup of coarsely grated mature cheddar cheese, 1/2 cup of finely grated Parmesan cheese, and 1/4 cup of finely chopped chives.
- Heat a non-stick frying pan over medium heat with 1 tablespoon of butter and 1 teaspoon of oil until melted and bubbling.
- Drop a tablespoon of batter into the pan for each pancake, and cook for about 2-3 minutes until bubbles form. Flip and cook the other side for another 2-3 minutes.
- Transfer cooked pancakes to a clean tea towel to keep warm while cooking the remaining batter.
Leave a Reply