
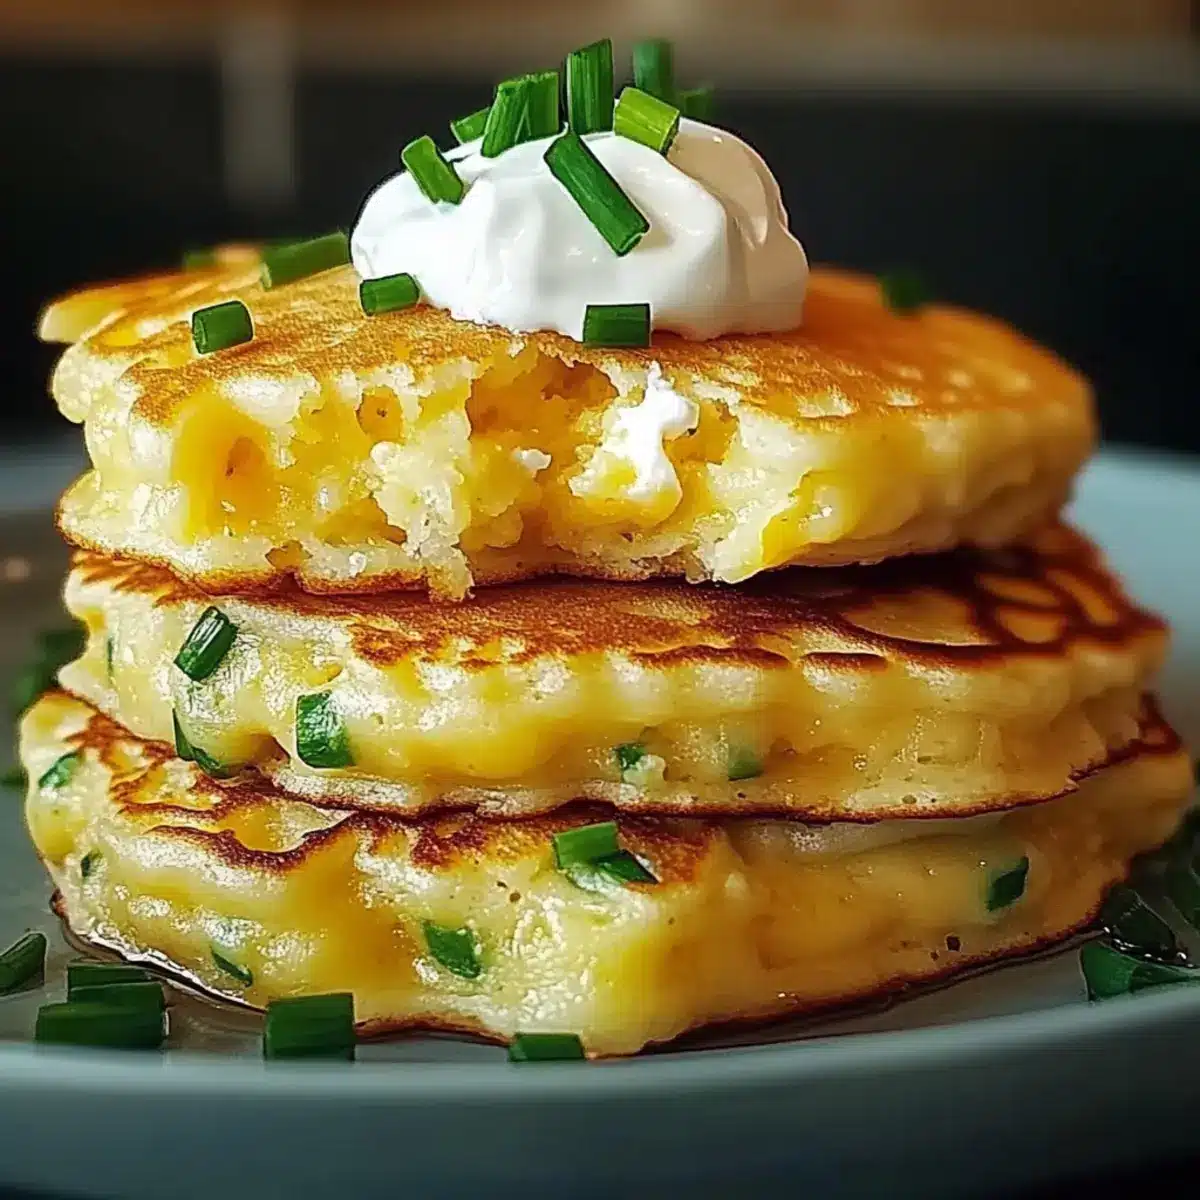
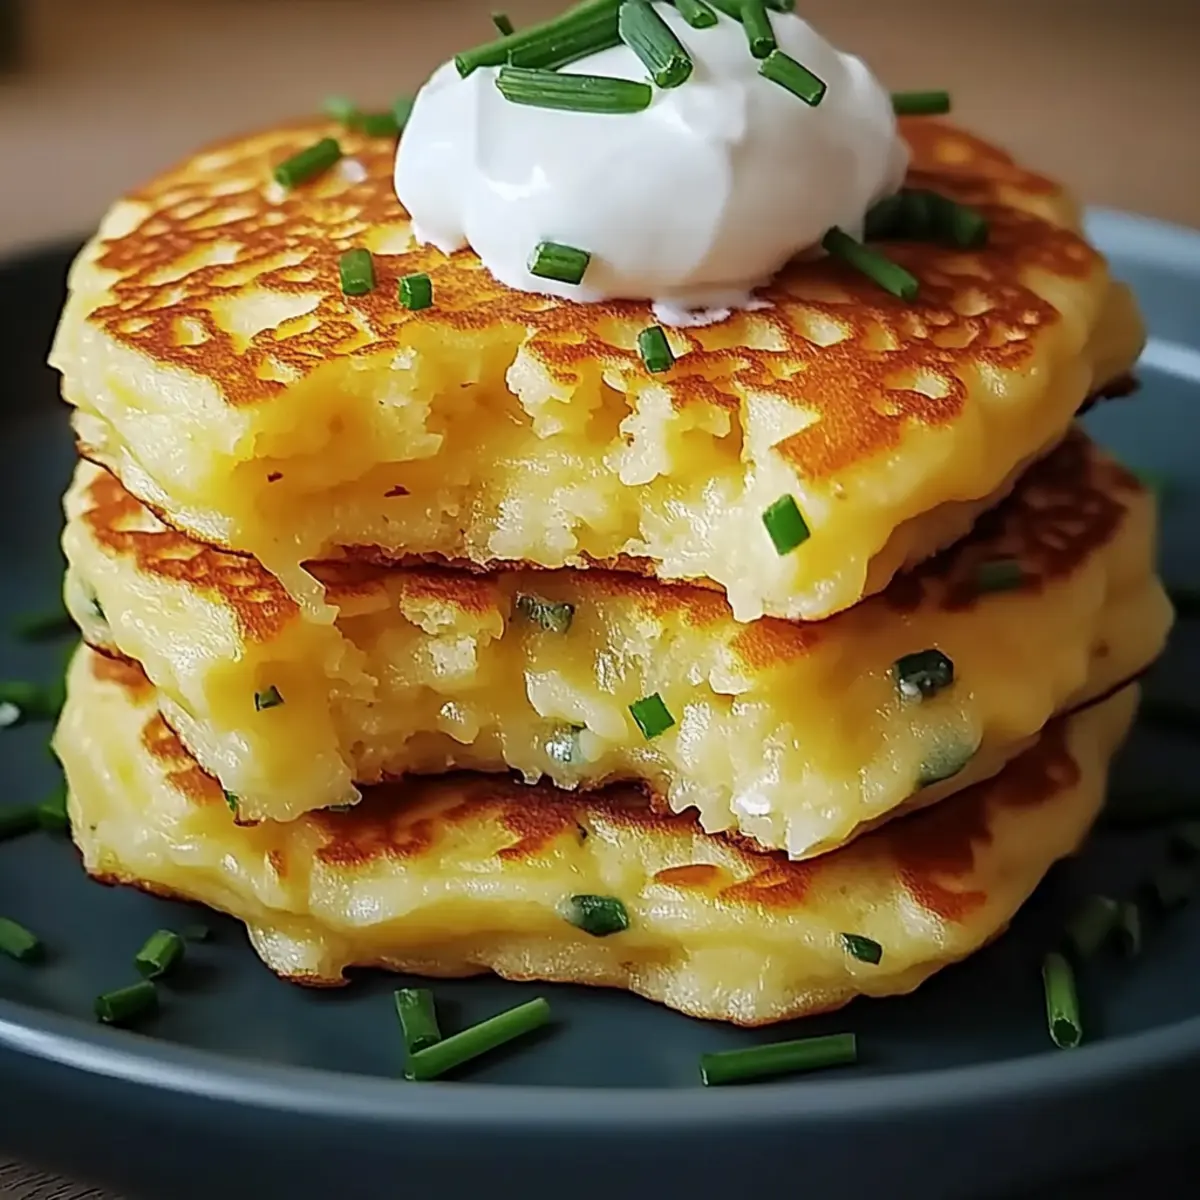
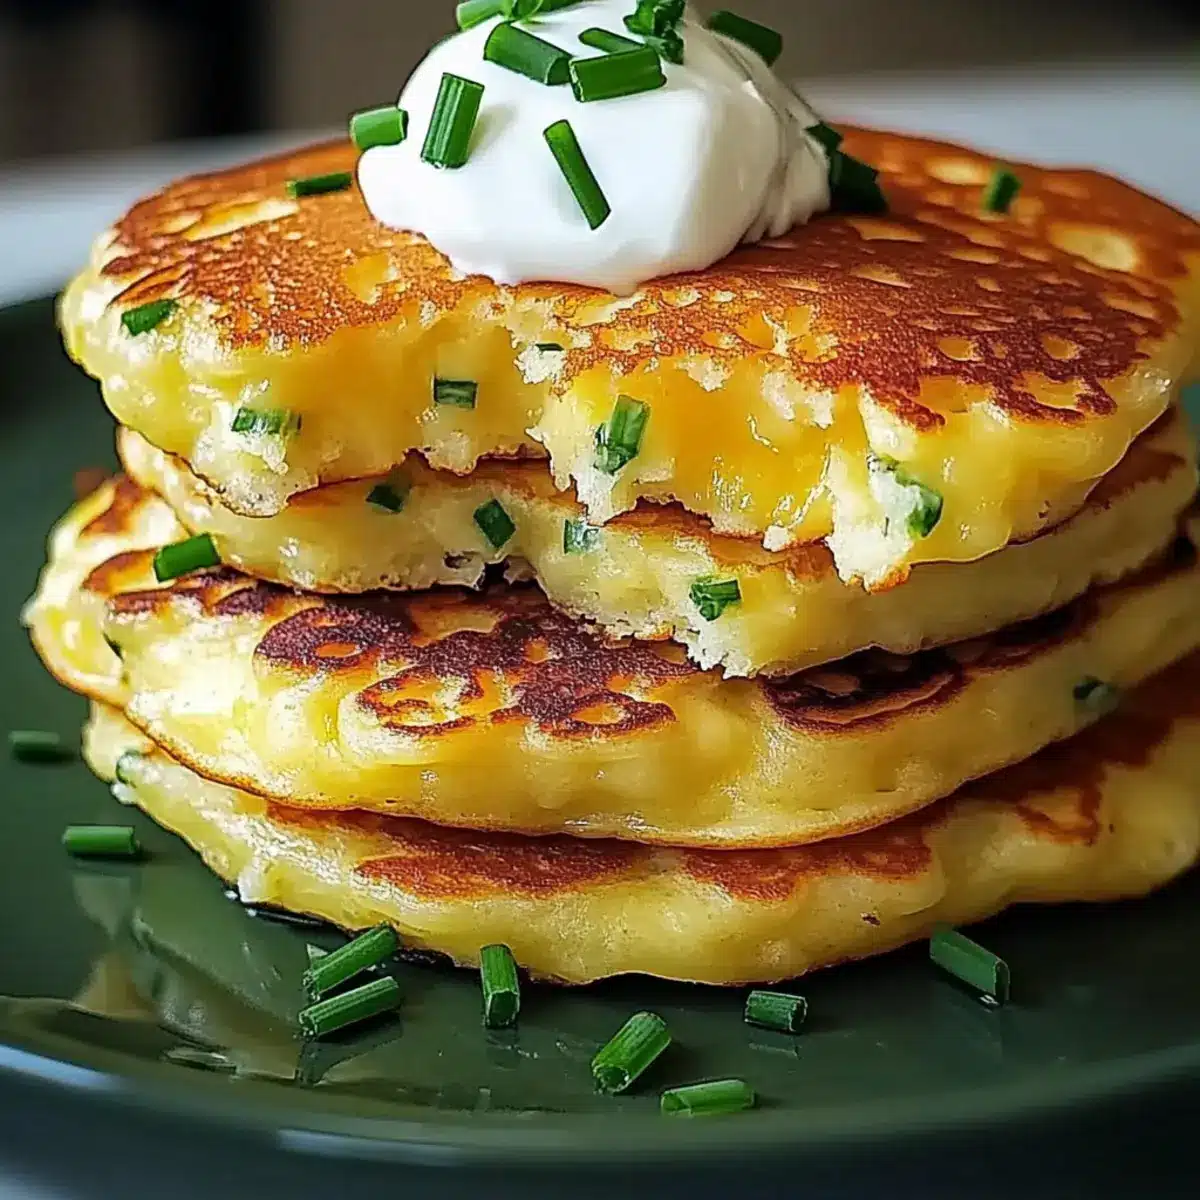
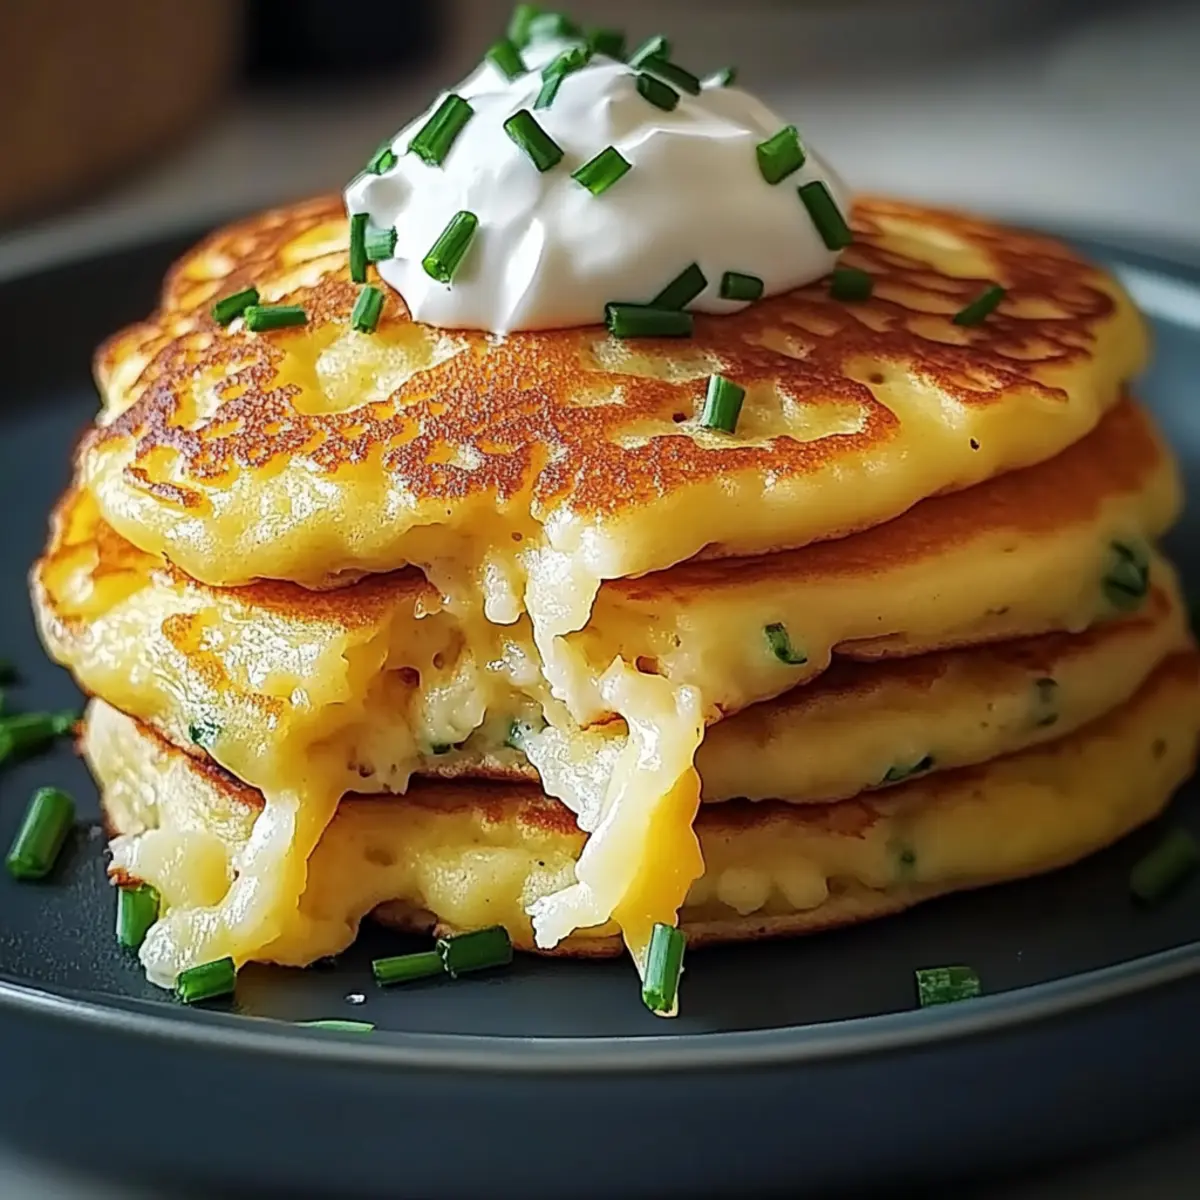
You won’t believe how easily these Cheese & Chive Pancakes can transform your meal routine! With each fluffy bite, you experience a symphony of mature cheddar and nutty Parmesan, perfectly complemented by fresh chives. These savory pancakes are your new go-to—ideal for a quick breakfast, a satisfying lunch, or even a delightful snack. They’re simple to whip up, making them perfect for busy days when you crave something homemade yet indulgent. Plus, they can be made gluten-free with a quick swap, catering to dietary needs without compromising on taste. So, are you ready to elevate your pancake game and impress your friends and family with this delicious twist? Let’s dive into this savory sensation!
Why Are Cheese & Chive Pancakes Amazing?
Irresistible Flavor: Each bite bursts with the rich taste of mature cheddar and nutty Parmesan, paired with the brightness of fresh chives.
Versatile Dish: Perfect for breakfast, lunch, or a snack, these pancakes easily adapt to any meal of the day.
Quick & Easy: Whipping up these fluffy delights requires minimal effort, making them a time-saving hero for busy cooks.
Diet-Friendly Options: You can easily swap in gluten-free flour, ensuring that everyone can enjoy this savory treat.
Crowd-Pleasing: Whether you’re hosting brunch or just need a quick meal, these pancakes are sure to impress! Try serving them with sour cream or alongside smoked salmon for an elevated experience, reminiscent of Strawberry Cheesecake Cinnabon Rolls or Chocolate Cheesecake Decadent.
Cheese & Chive Pancake Ingredients
For the Batter
- Self-raising Flour – Provides structure and lightness in the batter; sifted for an airy texture.
- Salt – Enhances the flavor of the cheese; use fine salt to ensure even distribution.
- Milk – Moistens the batter; whole milk is preferred for best texture, but almond or oat milk can substitute for dairy allergies.
- Egg – Acts as a binder, holding the ingredients together; ensure it’s at room temperature for even mixing.
For the Cheese
- Mature Cheddar Cheese – Coarsely grated for a rich, cheesy flavor; substitute with Gouda or Gruyère for variation.
- Parmesan Cheese – Finely grated to add nutty and sharp notes; can replace with Pecorino for a different taste.
For the Freshness
- Chives – Finely chopped, providing a mild onion-like flavor that freshens the dish; green onions can be used as a substitute.
Step‑by‑Step Instructions for Cheese & Chive Pancakes
Step 1: Prepare the Batter
In a large mixing bowl, sift together the self-raising flour and salt, creating a light base for your Cheese & Chive Pancakes. In a separate jug, whisk together the milk and egg until well combined—this mixture should look smooth and homogenous.
Step 2: Combine Ingredients
Make a well in the center of your flour mixture and pour in the milk-egg concoction. With a whisk, gently combine the ingredients until you achieve a smooth batter, free of lumps. Avoid over-mixing to keep your pancakes fluffy, and prepare for the next delicious step.
Step 3: Add Cheese & Chives
Fold in the coarsely grated mature cheddar, finely grated Parmesan, and chopped chives with a spatula. This action should gently incorporate these flavorful additions throughout the batter, ensuring that each bite of your Cheese & Chive Pancakes is packed with cheesy goodness and aromatic chives.
Step 4: Heat the Pan
Place a frying pan over medium heat and add a teaspoon of oil along with a small pat of butter. Wait until the butter has melted and is bubbling, signaling that your pan is hot and ready for the next step.
Step 5: Cook the Pancakes
Using a tablespoon, drop spoonfuls of batter into the hot pan, giving enough space between each dollop. Cook for 2-3 minutes, or until bubbles rise to the surface—this indicates it’s time to flip. Turn each pancake and cook for an additional 2 minutes, allowing them to turn a lovely golden brown.
Step 6: Keep Warm
Once cooked, carefully wrap the finished Cheese & Chive Pancakes in a clean tea towel to keep warm. As you continue cooking the remaining batter, this simple step ensures that every pancake stays fluffy, hot, and ready to serve as a delightful addition to any meal.
Expert Tips for Cheese & Chive Pancakes
-
Rest the Batter: Allow the batter to sit for 5–10 minutes before cooking. This helps achieve fluffier Cheese & Chive Pancakes.
-
Heat Management: Use medium heat for cooking. Too high, and you risk burning; too low, and they may turn out soggy.
-
Don’t Overcrowd: Cook pancakes in batches without crowding the pan. This ensures even cooking and a perfect golden color.
-
Experiment with Cheese: While cheddar and Parmesan are delicious, feel free to explore other cheeses for unique flavors in your Cheese & Chive Pancakes.
-
Freshness Matters: Use fresh chives for optimal flavor. Dried chives won’t provide the same vibrant taste and texture.
Cheese & Chive Pancakes Variations
Feel free to let your creativity shine and make these Cheese & Chive Pancakes your own while keeping that deliciousness intact!
-
Gluten-Free: Use a gluten-free flour blend to make this recipe suitable for those with dietary restrictions. The flavor and texture remain intact, allowing everyone to enjoy these delightful pancakes.
-
Spicy Kick: Add a pinch of chili flakes or finely chopped jalapeños into the batter for a delightful heat that elevates these savory pancakes even further. Your taste buds are in for a treat!
-
Herbaceous Twist: Swap out chives for fresh herbs like basil or dill for a fresh flavor profile. Each bite will surprise you with a new aromatic touch.
-
Vegetable Boost: Stir in diced bell peppers or cooked spinach to the batter for an extra dose of nutrients and color. These additions make your pancakes not only heartier but also visually appealing.
-
Creamy Accents: Serve with a dollop of sour cream, Greek yogurt, or herbed cream cheese on top to add a rich creaminess that elevates the flavors of the pancakes. It’s like a savory dip right on your pancake!
-
Cheddar Explosion: Try a mix of cheeses by adding mozzarella or feta for a different cheesy experience. The burst of flavors will certainly keep everyone coming back for more!
-
Savory Delight: Enhance with cooked bacon bits or sausage crumbles folded into the batter for a filling option that’s sure to satisfy. It’s a great way to enjoy brunch like never before!
-
Elegant Pairings: Serve them alongside smoked salmon, a salad, or even as a side with a brunch spread featuring Matcha Basque Cheesecake for an elevated dining experience.
Customization is key, so have fun experimenting with these variations, and don’t forget to share your delicious discoveries!
Make Ahead Options
These Cheese & Chive Pancakes are perfect for meal prep enthusiasts! You can prepare the batter up to 24 hours in advance and store it in the refrigerator, which allows the flavors to meld beautifully. Just whisk the cheese and chives in before cooking to maintain their freshness. Alternatively, fully cooked pancakes can be refrigerated in an airtight container for up to 3 days; simply reheat them in the microwave or a pan over low heat before serving. To preserve their fluffy texture, avoid stacking them directly on top of each other when storing. With these make-ahead tips, you’ll enjoy delicious, homemade pancakes with minimal effort on busy mornings or any time you crave a savory treat!
What to Serve with Cheese & Chive Pancakes
Elevate your savory pancake experience with delightful side dishes that complement their rich, cheesy goodness.
-
Sour Cream: A dollop adds creaminess and tang, perfectly balancing the pancake’s savory flavors.
-
Smoked Salmon: This luxurious pairing brings a gourmet touch, adding depth and a delightful contrast to the fluffy pancakes.
-
Fresh Arugula Salad: The peppery freshness of arugula enhances the dish, providing a bright counterpoint to the richness of the pancakes. Toss in a light lemon vinaigrette for added zest.
-
Cherry Tomatoes: Roasted or sautéed, their sweetness cuts through the savory elements, creating a beautiful flavor complexity.
-
Crispy Bacon: The smoky, salty crunch of bacon is a classic complement, adding texture and depth to your meal.
-
Herbed Yogurt Dip: Whip up a light dip with Greek yogurt, fresh herbs, and garlic for an extra layer of flavor that pairs seamlessly.
-
Fizzy Lemonade: A refreshing, bubbly drink helps cleanse the palate between bites, enhancing the overall dining experience.
-
Fruit Chutney: Sweet and tangy chutney pairs beautifully, elevating the dish with a burst of fruity flavor that complements the cheese.
Indulging in these pairings will turn your Cheese & Chive Pancakes into a memorable, satisfying meal for any occasion!
How to Store and Freeze Cheese & Chive Pancakes
Fridge: Place any leftover Cheese & Chive Pancakes in an airtight container and refrigerate for up to 3 days to maintain their freshness and flavor.
Freezer: For longer storage, freeze the pancakes in a single layer on a baking sheet. Once frozen, transfer them to a freezer bag and store for up to 2 months.
Reheating: Reheat frozen pancakes directly from the freezer in the microwave for about 1-2 minutes or toast them in a pan over low heat until warm throughout.
Keeping Warm: When needed, wrap in a clean tea towel to keep pancakes warm between batches, ensuring they stay fluffy and ready to enjoy!
Cheese & Chive Pancakes Recipe FAQs
How do I select ripe ingredients for Cheese & Chive Pancakes?
Absolutely! For the best results, use fresh chives that are vibrant and green, as they will offer a robust flavor. When choosing cheese, look for mature cheddar with a slight crumble for optimal melting, and Parmesan that’s finely grated to blend seamlessly into the batter.
What’s the best way to store leftover Cheese & Chive Pancakes?
For sure! Place any leftover pancakes in an airtight container and refrigerate them. They will stay fresh for up to 3 days. Just remember, when reheating, use the microwave for about 1-2 minutes or warm them in a pan over low heat for the best texture enjoyment!
Can I freeze Cheese & Chive Pancakes?
Yes, indeed! To freeze, lay the pancakes in a single layer on a baking sheet and put them in the freezer until fully frozen. After about 1-2 hours, transfer the frozen pancakes to a freezer bag, making sure to squeeze out any excess air. They can be stored this way for up to 2 months. When you’re ready to indulge, reheat them directly from the freezer.
What should I do if my batter is too thick?
Very good question! If you find your batter is thicker than expected, simply add a splash of milk to loosen it up. Mix gently to incorporate; the right texture should be pourable but not runny, similar to a loose pancake batter. Remember, achieving the right consistency is key to fluffy pancakes!
Are Cheese & Chive Pancakes suitable for gluten-free diets?
Absolutely! To make them gluten-free, you can substitute the self-raising flour with a gluten-free flour blend. Be sure to check that the baking powder (in the flour blend) is also gluten-free. Your pancakes will still be fluffy and delicious, accommodating dietary needs without sacrificing flavor!
Cheese & Chive Pancakes: Fluffy, Savory Delight Awaits
Ingredients
Equipment
Method
- In a large mixing bowl, sift together the self-raising flour and salt.
- In a separate jug, whisk together the milk and egg until smooth.
- Make a well in the center of your flour mixture and pour in the milk-egg concoction.
- Gently combine until you achieve a smooth batter, free of lumps.
- Fold in the coarsely grated mature cheddar, finely grated Parmesan, and chopped chives.
- Heat a frying pan over medium heat and add oil and butter until bubbling.
- Drop spoonfuls of batter into the hot pan, cooking for 2-3 minutes until bubbles rise.
- Flip each pancake and cook for an additional 2 minutes until golden brown.
- Wrap the finished pancakes in a clean tea towel to keep warm.
Leave a Reply