
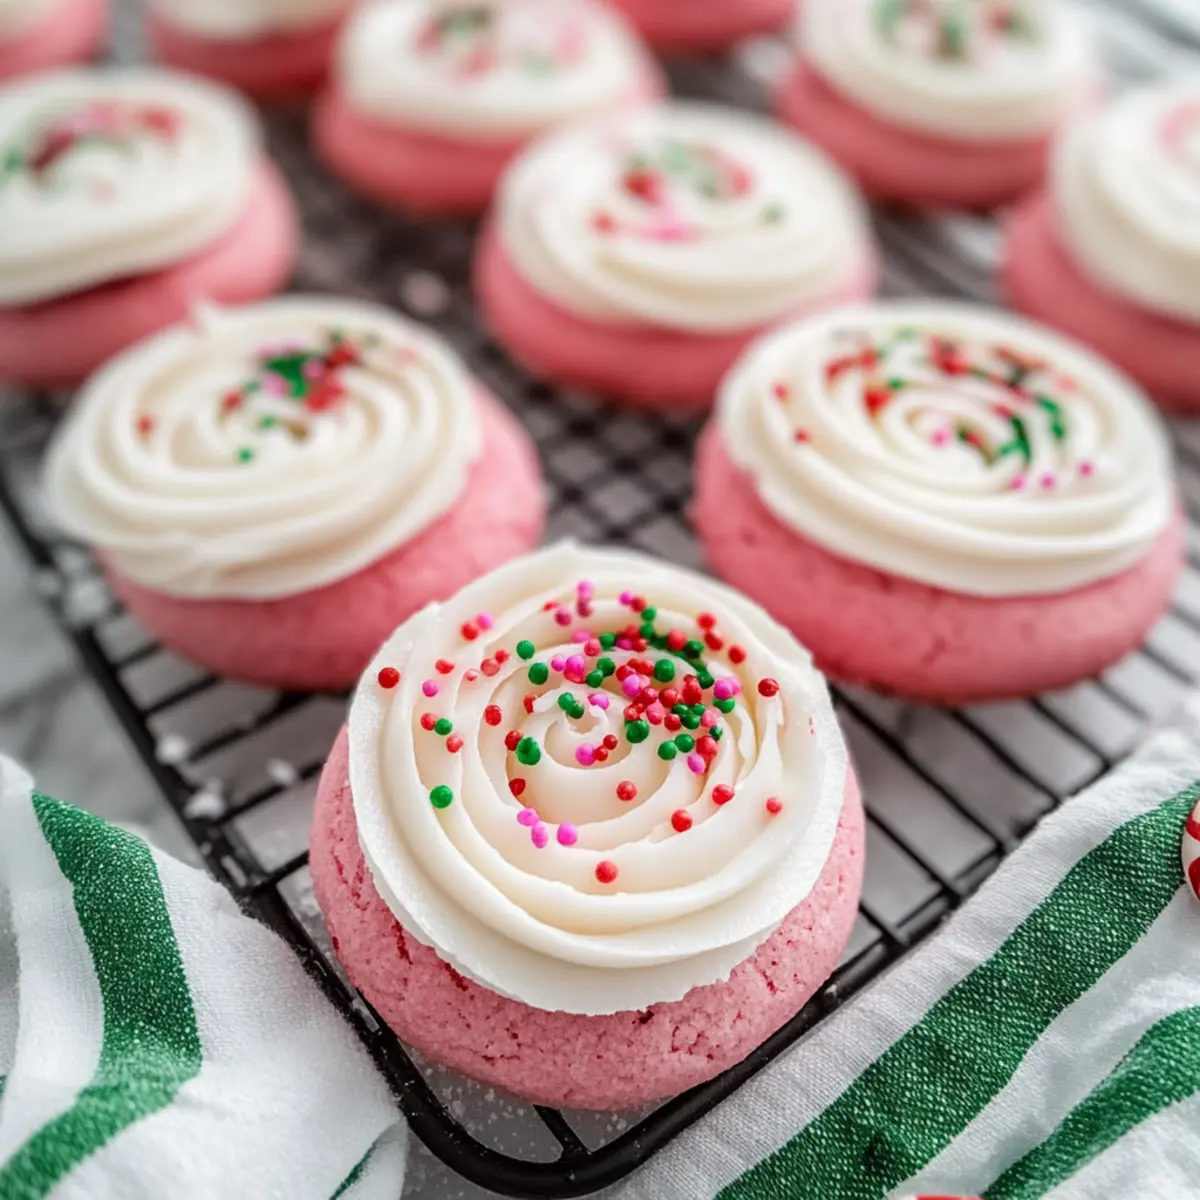
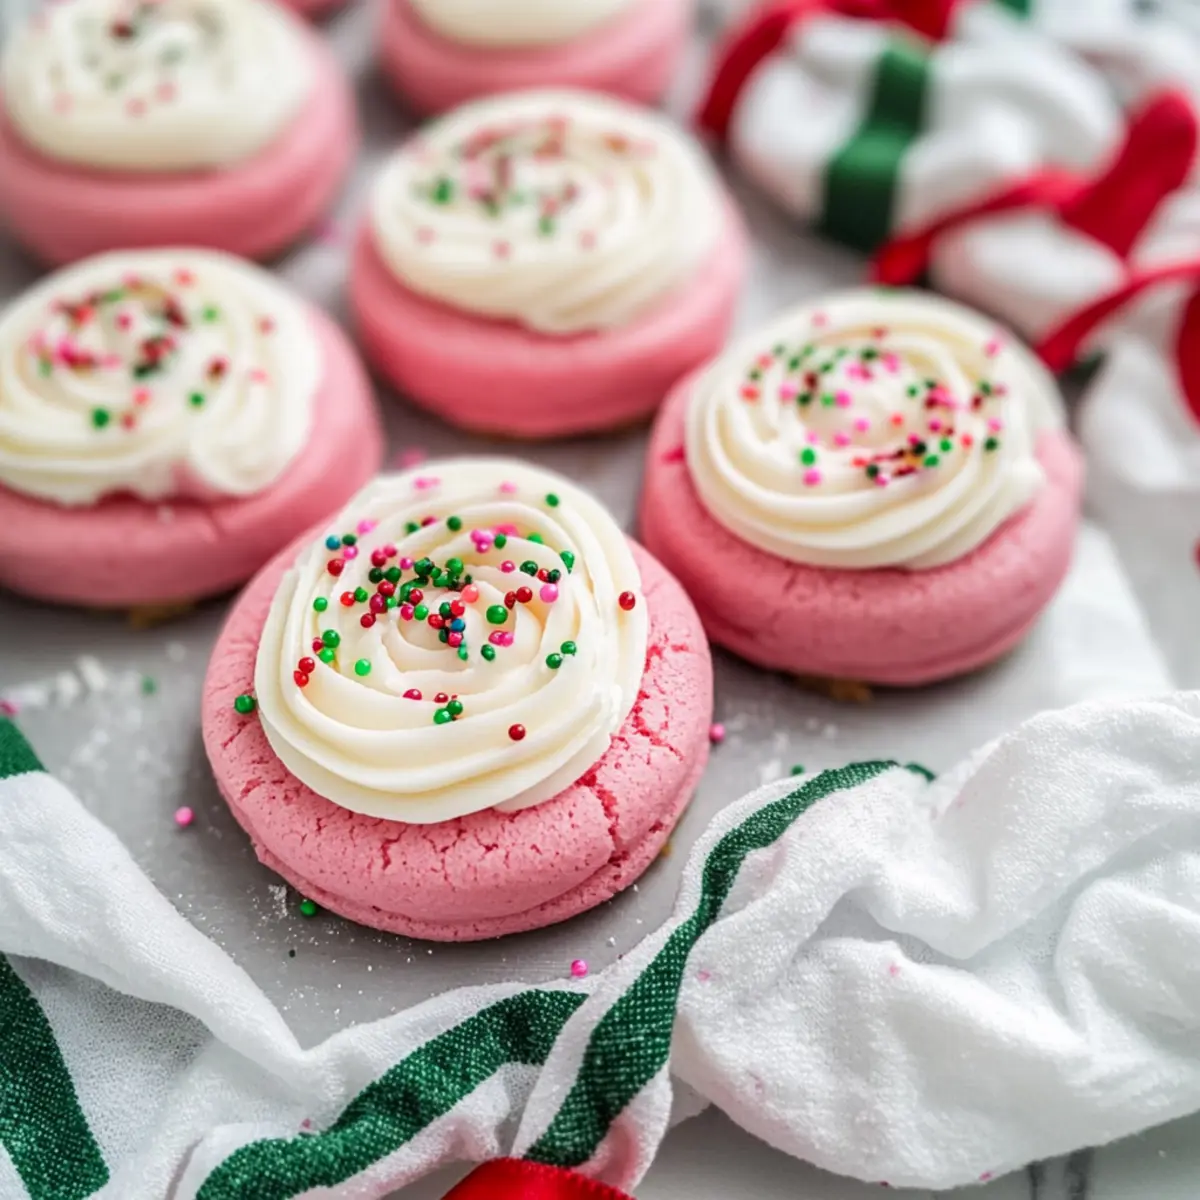
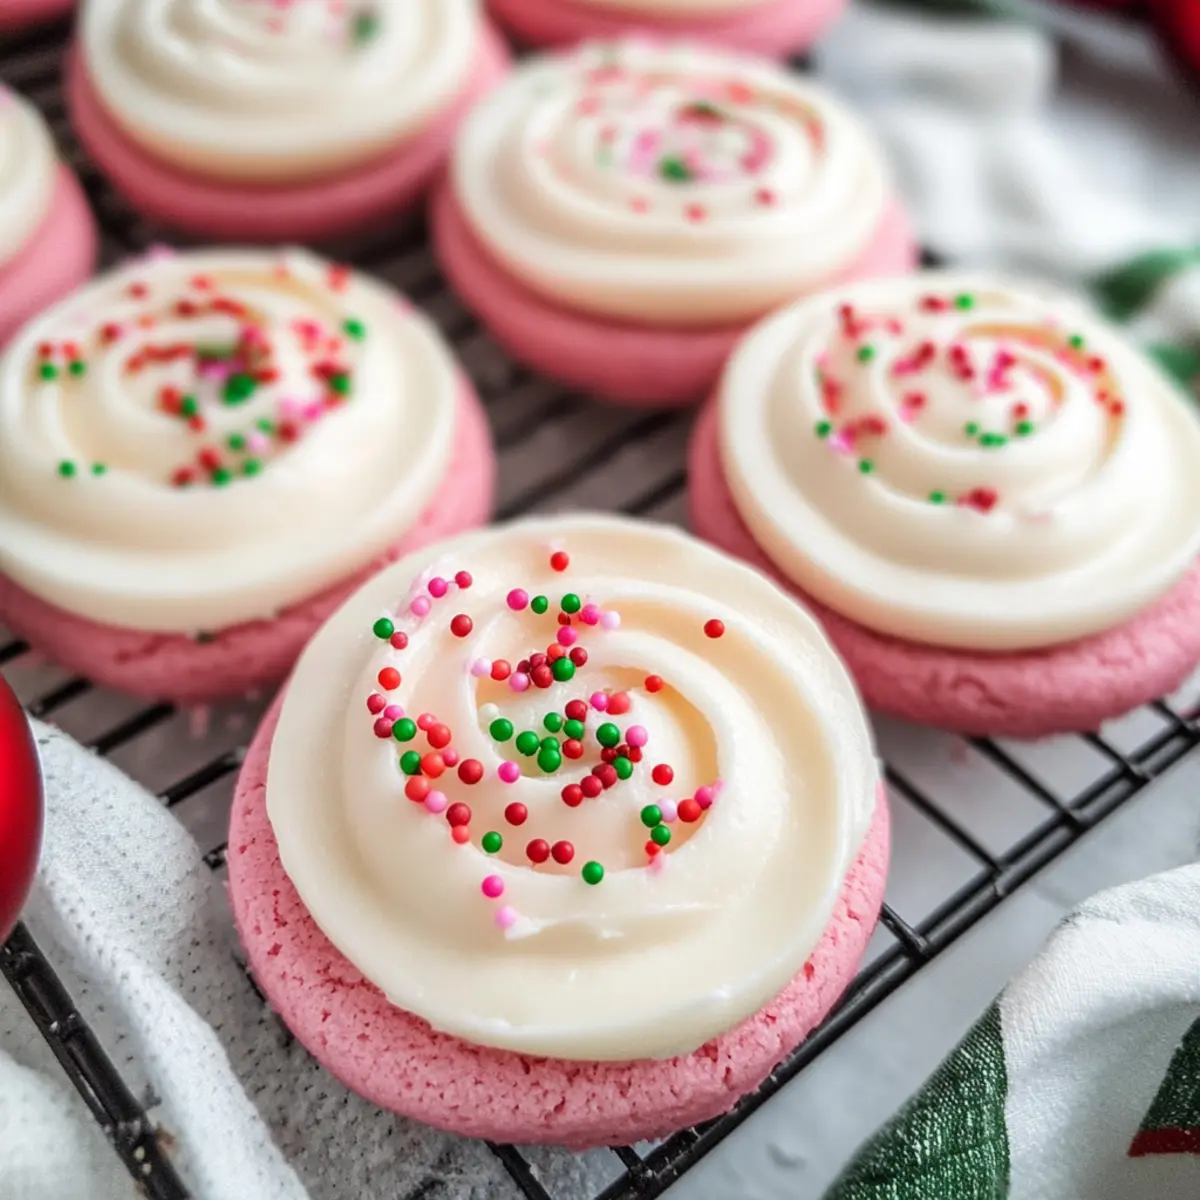
As I stood in my kitchen surrounded by the warmth of holiday cheer, a soft pink haze filled the air with the promise of something delightful. These Christmas Pink Velvet Cookies are not just a treat; they’re a celebration of the season, capturing the essence of festive baking with their cake batter flavor and fluffy texture. Whipping up a batch is a breeze, making them an excellent choice for both seasoned bakers and those new to the holiday kitchen hustle. Topped with luscious cream cheese frosting and playful sprinkles, they add a pop of color to any dessert table, making them perfect for gifting or casual gatherings. Who wouldn’t want to surprise their loved ones with these cheerful bites? Ready to dive in and sprinkle some joy into your holiday?
Why are these cookies a festive favorite?
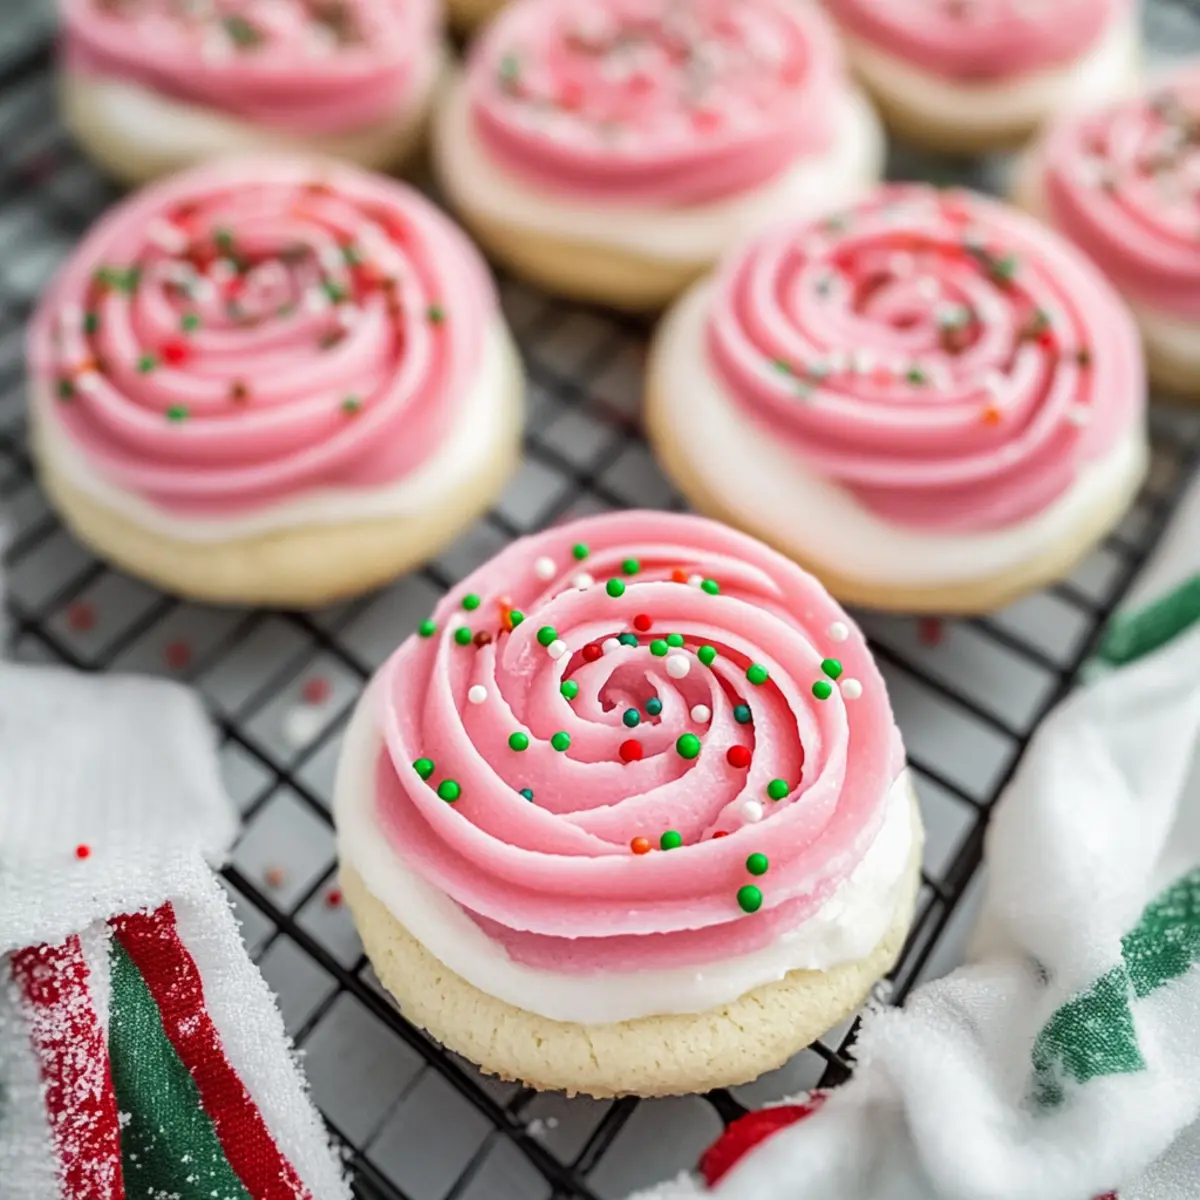
Irresistible, these Christmas Pink Velvet Cookies are sure to be the highlight of any holiday gathering! Soft and fluffy, their cake batter flavor brings a delightful twist to traditional cookie recipes. Quick to prepare, even novice bakers can whip them up in no time! Versatile, feel free to mix in chocolate chips or nuts for a fun surprise. Visually stunning, the vibrant pink hue topped with creamy frosting makes them an eye-catching treat that both kids and adults will adore. Serve these with a warm mug of cocoa and check out our Christmas Kitchen Sink cookies as an equally festive addition!
Christmas Pink Velvet Cookies Ingredients
• Get ready to bake a festive treat!
For the Cookies
- Salted Butter – Adds richness and flavor; can substitute with unsalted butter, adjusting added salt as needed.
- Granulated Sugar – Provides essential sweetness and texture; avoid substitutions for best results.
- Eggs – Binds the ingredients and adds moisture; consider flax eggs or applesauce for a vegan option.
- Cake Batter Flavoring – Infuses delicious cake-like taste; vanilla extract works as a suitable substitute if needed.
- Pink Food Coloring – Gives these cookies their signature vibrancy; gel food coloring is recommended for more striking results.
- All-Purpose Flour – Forms the cookies’ structure; gluten-free flour blends can be used for accommodating dietary needs.
- Baking Powder – Helps the cookies rise to fluffy perfection; check freshness for optimal baking results.
For the Cream Cheese Frosting
- Cream Cheese – Delivers a smooth, tangy frosting; mascarpone can be a great alternative with a different flavor dimension.
- Vanilla Extract – Enhances the flavor of the frosting; no substitutions needed unless you want to try new flavors.
- Powdered Sugar – Creates a sweet, smooth frosting; consider sugar alternatives for a lower-sugar option.
- Milk/Heavy Cream – Thins the frosting for easy spreading; plant-based milk can be a suitable dairy-free substitute.
For Decoration
- Christmas Sprinkles – Adds festive charm; feel free to use any colorful sprinkles you have on hand.
These Christmas Pink Velvet Cookies are not just a treat, but a beautiful expression of holiday joy!
Step‑by‑Step Instructions for Christmas Pink Velvet Cookies
Step 1: Preheat the Oven
Begin by preheating your oven to 350°F (180°C). This ensures that the Christmas Pink Velvet Cookies bake evenly and achieve a soft, fluffy texture. While the oven warms up, prepare your baking sheet by lining it with parchment paper to prevent sticking and make cleanup a breeze.
Step 2: Cream the Butter and Sugar
In a mixing bowl, combine softened salted butter and granulated sugar. Using an electric mixer, beat the mixture on medium speed for about 2 minutes, or until it becomes light and fluffy. This crucial step incorporates air into the batter, helping your cookies rise beautifully.
Step 3: Add the Wet Ingredients
Next, add in the eggs, cake batter flavoring, and pink food coloring to the creamed mixture. Mix on medium-low speed until all ingredients are well combined, creating a vibrant pink batter. This step adds moisture and the signature cake batter flavor that makes these cookies truly festive.
Step 4: Mix in Dry Ingredients
Gradually sift in the all-purpose flour and baking powder. Using a spatula or wooden spoon, gently fold the dry ingredients into the batter until a soft dough forms. Be careful not to overmix; you want your Christmas Pink Velvet Cookies to remain tender and fluffy.
Step 5: Shape the Cookies
Divide the dough into 3-tablespoon portions and roll them into balls. Slightly flatten each ball and carefully place them on the prepared baking sheet, leaving space for spreading. The flattened cookies will bake evenly and create that perfect soft texture that’s irresistible.
Step 6: Bake the Cookies
Slide the baking sheet into the preheated oven and bake for 9-11 minutes. Keep an eye on them; they’ll be ready once puffed up with glossy centers that have just set. Remove from the oven and allow the cookies to cool on the baking sheet for a few minutes before transferring them to a wire rack.
Step 7: Prepare the Cream Cheese Frosting
While the cookies cool, prepare the cream cheese frosting. In a clean mixing bowl, blend together cream cheese, softened butter, vanilla extract, and powdered sugar. Mix until smooth and creamy, ensuring the frosting is well combined without any lumps.
Step 8: Thin the Frosting
If needed, add milk or heavy cream a little at a time to the frosting, mixing until you reach your desired consistency. You want it thick enough to hold its shape when piped but smooth enough to spread easily on your cooled cookies.
Step 9: Frost the Cookies
Once the Christmas Pink Velvet Cookies have cooled completely, it’s time to add the frosting. Use a piping bag or a knife to spread the cream cheese frosting generously over each cookie. The creamy frosting is essential for enhancing that tender cake batter flavor.
Step 10: Add Festive Sprinkles
Finally, to make your cookies truly festive, sprinkle the top of each frosted cookie with colorful Christmas sprinkles. This final touch adds a delightful crunch and visual appeal, making your Christmas Pink Velvet Cookies as beautiful as they are delicious!
Christmas Pink Velvet Cookies Variations
Feel free to explore these delightful ideas to customize your Christmas Pink Velvet Cookies, adding your personal touch to each batch!
- Vegan Version: Replace eggs with flax eggs or applesauce to make a delicious vegan cookie without sacrificing flavor.
- Chocolate Chips: Stir in semi-sweet or white chocolate chips for added richness and indulgence in every bite.
- Nutty Twist: Fold in chopped walnuts or pecans for a delightful crunch that contrasts beautifully with the soft cookie texture.
- Cocoa Swirl: Substitute some flour with cocoa powder to create a stunning pink and chocolate swirl cookie that’s visually captivating.
- Different Flavoring: Try orange or almond extract instead of cake batter flavoring for a unique twist that complements the holiday spirit.
- Dairy-Free Frosting: Use a plant-based cream cheese alternative to prepare a luscious dairy-free frosting option for your cookies.
- Sprinkle Variation: Change out the sprinkles for seasonal themes, such as red and green for Christmas or pastel colors for springtime festivities.
- Lemon Zest: Add a teaspoon of lemon zest to the batter for a refreshing citrus twist that brightens the sweet, rich flavor.
Every variation brings its own charm and excitement, making these cookies perfect for any celebration. And while you’re at it, you might enjoy our Red Velvet Crinkle cookies or add a festive touch by baking up some Christmas Kitchen Sink cookies as well!
What to Serve with Christmas Pink Velvet Cookies
Bring the festive cheer to your table by pairing these delightful cookies with complementary treats and beverages.
- Hot Cocoa: The rich chocolate flavor of hot cocoa elevates the sweet, fluffy cookies, creating a cozy dessert experience.
- Spiced Apple Cider: Warming spices in apple cider contrast beautifully with the sweetness of the cookies, perfect for holiday gatherings.
- Vanilla Ice Cream: A scoop of creamy vanilla ice cream adds a rich, smooth element to the delightful pink velvet texture, balancing flavors perfectly.
- Chocolate-Dipped Strawberries: The freshness of strawberries brings a burst of flavor that enhances the cookies’ cake batter essence while adding elegance to your dessert spread.
- Sweet Cheese Platter: A selection of soft cheeses, dried fruits, and nuts creates a stunning contrast, enriching the holiday table with savory notes alongside sweetness.
- Gingerbread Men: These classic cookies introduce a spicy kick that’s a delightful play against the sweet softness of the pink velvet treats.
- Festive Spritz Cookies: These buttery cookies make a lovely addition, providing a different texture and flavor while maintaining the holiday spirit.
- Eggnog: A creamy glass of eggnog offers a festive, spiced drink option that pairs wonderfully with the sweet and tangy cream cheese frosting.
- Sugar Cookies: Classic sugar cookies add a nostalgic touch and a delightful sweetness that complements the holiday charm of your pink velvet cookies.
- Mint Chocolate Chip Milkshake: This cool, refreshing shake brings a unique twist that contrasts nicely with the warmth and sweetness of the cookies.
How to Store and Freeze Christmas Pink Velvet Cookies
Fridge: Store your frosted Christmas Pink Velvet Cookies in an airtight container in the refrigerator for up to 5 days. This keeps them fresh and delicious for your holiday gatherings.
Freezer: For longer storage, freeze unfrosted cookies on a baking sheet until solid, then transfer to an airtight container. They can be stored in the freezer for up to 3 months, ensuring you always have a festive treat ready.
Thawing: To enjoy frozen cookies, simply thaw them in the fridge overnight. Frost with cream cheese frosting and add sprinkles just before serving for the best taste and presentation.
Reheating: If you prefer warm cookies, gently reheat them in the microwave for about 10-15 seconds. This brings back their delightful softness, making every bite feel like a freshly baked treat.
Expert Tips for Christmas Pink Velvet Cookies
- Beat Properly: Ensure to beat the butter and sugar for at least 2 minutes until light and fluffy. This creates a tender texture for your cookies.
- Cool Before Frosting: Allow the cookies to cool completely before adding the cream cheese frosting to prevent it from melting.
- Rest for Flavor: Let the frosted cookies sit for a few hours. This resting period allows the flavors of the Christmas Pink Velvet Cookies to mingle beautifully.
- Check Your Baking Powder: Always use fresh baking powder to ensure your cookies rise properly. Old baking powder can lead to dense cookies.
- Add to Your Mix: Consider mixing in chocolate chips or chopped nuts for extra texture and flavor surprises!
Make Ahead Options
These Christmas Pink Velvet Cookies are perfect for busy home cooks looking to save time during the holiday season! You can prepare the cookie dough up to 24 hours in advance by mixing all ingredients and storing the uncooked dough in an airtight container in the fridge. Alternatively, roll and shape the dough into balls, then freeze them for up to 3 months; just bake straight from the freezer, adding an extra minute or two to the baking time. For the cream cheese frosting, prepare it ahead and refrigerate it in a sealed container for up to 3 days. When ready to frost, simply re-mix the frosting until smooth. With these tips, your Christmas Pink Velvet Cookies will be just as delightful, saving you precious time for holiday festivities!
Christmas Pink Velvet Cookies Recipe FAQs
How do I choose ripe ingredients for my Christmas Pink Velvet Cookies?
Absolutely! For the best flavor, use room temperature eggs and softened butter, which should be soft enough to leave a slight indentation when pressed, but not melted. When selecting powdered sugar, ensure there are no lumps by sifting it before use, ensuring a smooth frosting experience.
What is the best way to store my Christmas Pink Velvet Cookies?
Very! Store your frosted cookies in an airtight container in the refrigerator for up to 5 days. This maintains their soft texture and flavor. If you want to keep them fresh for a longer period, freeze the unfrosted cookies by laying them out on a baking sheet until solid, then transfer them to an airtight container where they’ll last up to 3 months.
Can I freeze my Christmas Pink Velvet Cookies? If so, how?
Of course! To freeze your cookies, place the unfrosted cookies on a baking sheet in a single layer and pop them in the freezer until they’re firm. After about 2-3 hours, transfer them into a freezer-safe bag or container. Just remember to label them with the date! When you’re ready to enjoy them, simply thaw in the refrigerator overnight and frost just before serving.
What should I do if my cookies turn out too flat?
That can happen! If your cookies flatten out, it may be due to softened butter being too melty. To fix it, ensure your butter is just softened before creaming it with the sugar. Also, check that your baking powder is fresh and hasn’t expired, as this is crucial for the rising action. If you find your dough too wet, try chilling it for about 30 minutes before baking to help them hold their shape.
Are there any dietary considerations I should keep in mind?
Absolutely! For those with allergies, remember these cookies contain gluten, dairy, and eggs. For vegan options, substitute eggs for flax eggs or applesauce, use plant-based butter, and choose a dairy-free cream cheese alternative. Also, if anyone has a sugar sensitivity, feel free to use a sugar substitute in the frosting without affecting the overall texture.
Can I adjust the sweetness of the cream cheese frosting?
Very much! If you find the frosting too sweet for your taste, simply reduce the amount of powdered sugar by a quarter cup or add a pinch of salt to balance out the sweetness. You can also adjust the thickness by adding more milk, allowing you to customize it to your preference without losing its creamy texture.
Irresistible Christmas Pink Velvet Cookies with Creamy Frosting
Ingredients
Equipment
Method
- Preheat your oven to 350°F (180°C) and prepare a baking sheet lined with parchment paper.
- In a mixing bowl, cream together softened salted butter and granulated sugar until light and fluffy.
- Add eggs, cake batter flavoring, and pink food coloring, mixing until well combined.
- Gradually sift in the all-purpose flour and baking powder, folding gently until a soft dough forms.
- Divide the dough into 3-tablespoon portions, roll into balls, and slightly flatten before placing on the baking sheet.
- Bake for 9-11 minutes until puffed with glossy centers, then cool on the baking sheet.
- Prepare the cream cheese frosting by blending cream cheese, softened butter, vanilla extract, and powdered sugar.
- If necessary, add milk or heavy cream to achieve the desired frosting consistency.
- Frost the cooled cookies generously with cream cheese frosting.
- Sprinkle with colorful Christmas sprinkles for a festive touch.
Leave a Reply