
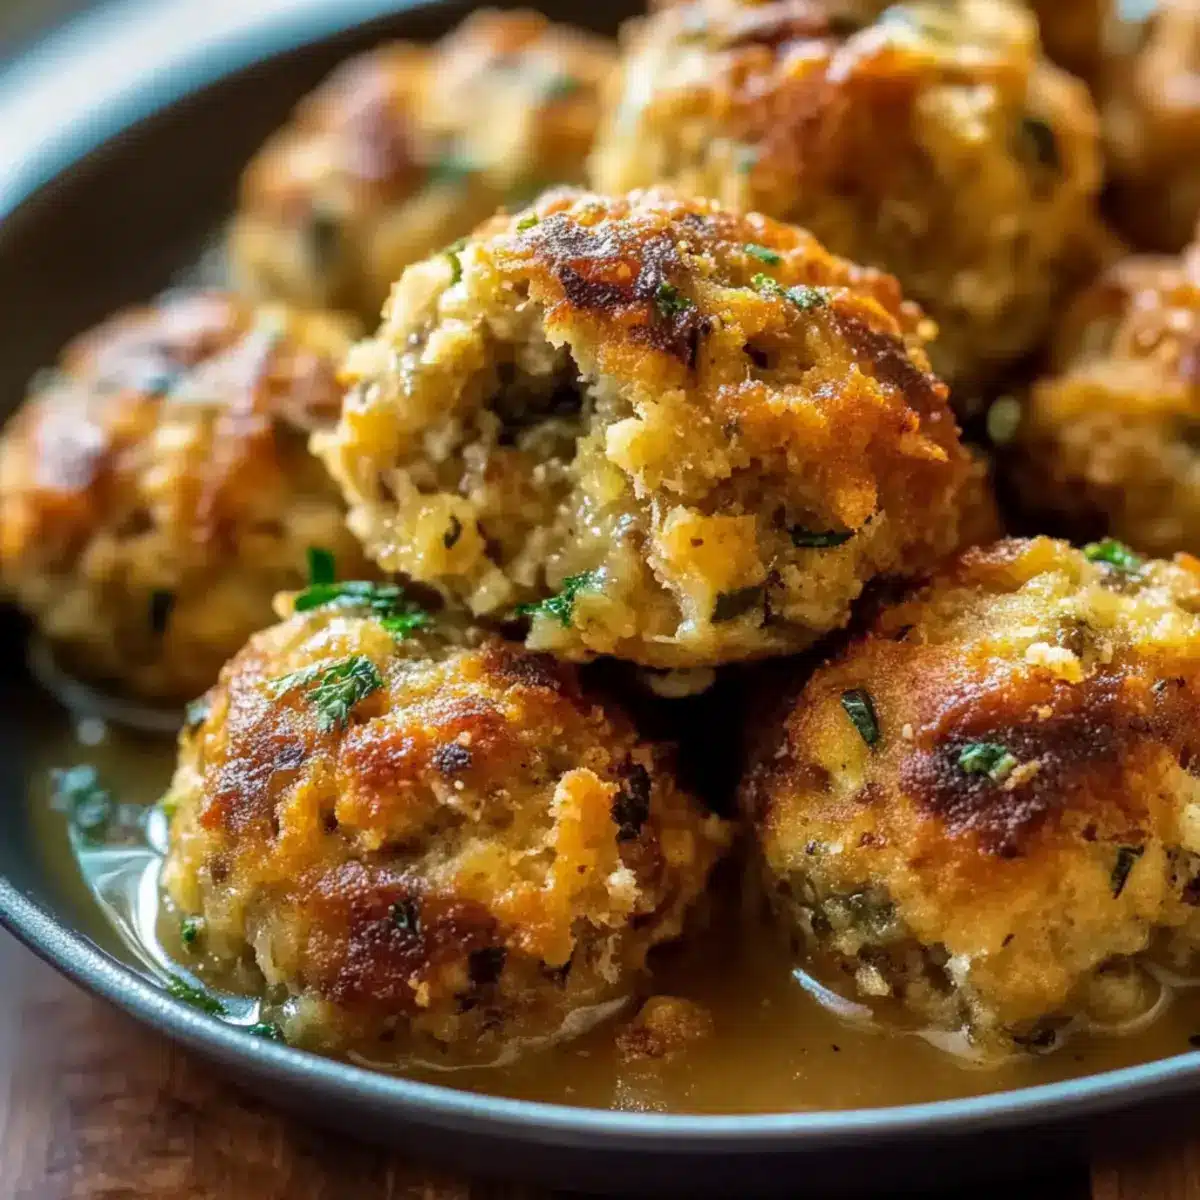
When the first hints of fall touch the air, I can’t help but think of family gatherings and the warmth they bring. One dish that always finds its way to our holiday table is Grandma Dot’s Stuffing Balls. With a perfect blend of crispy exteriors and tender centers, these savory bites not only serve as the ultimate side dish for Thanksgiving and Christmas feasts but also as a tangible connection to cherished memories. They’re quick to whip up, can be made ahead of time, and invite endless customization—think adding sausage or a hint of cheese! As you prepare to fill your kitchen with delightful aromas and cozy moments, are you ready to discover the secret recipe that will bring your loved ones together?
Why are Grandma Dot’s Stuffing Balls special?
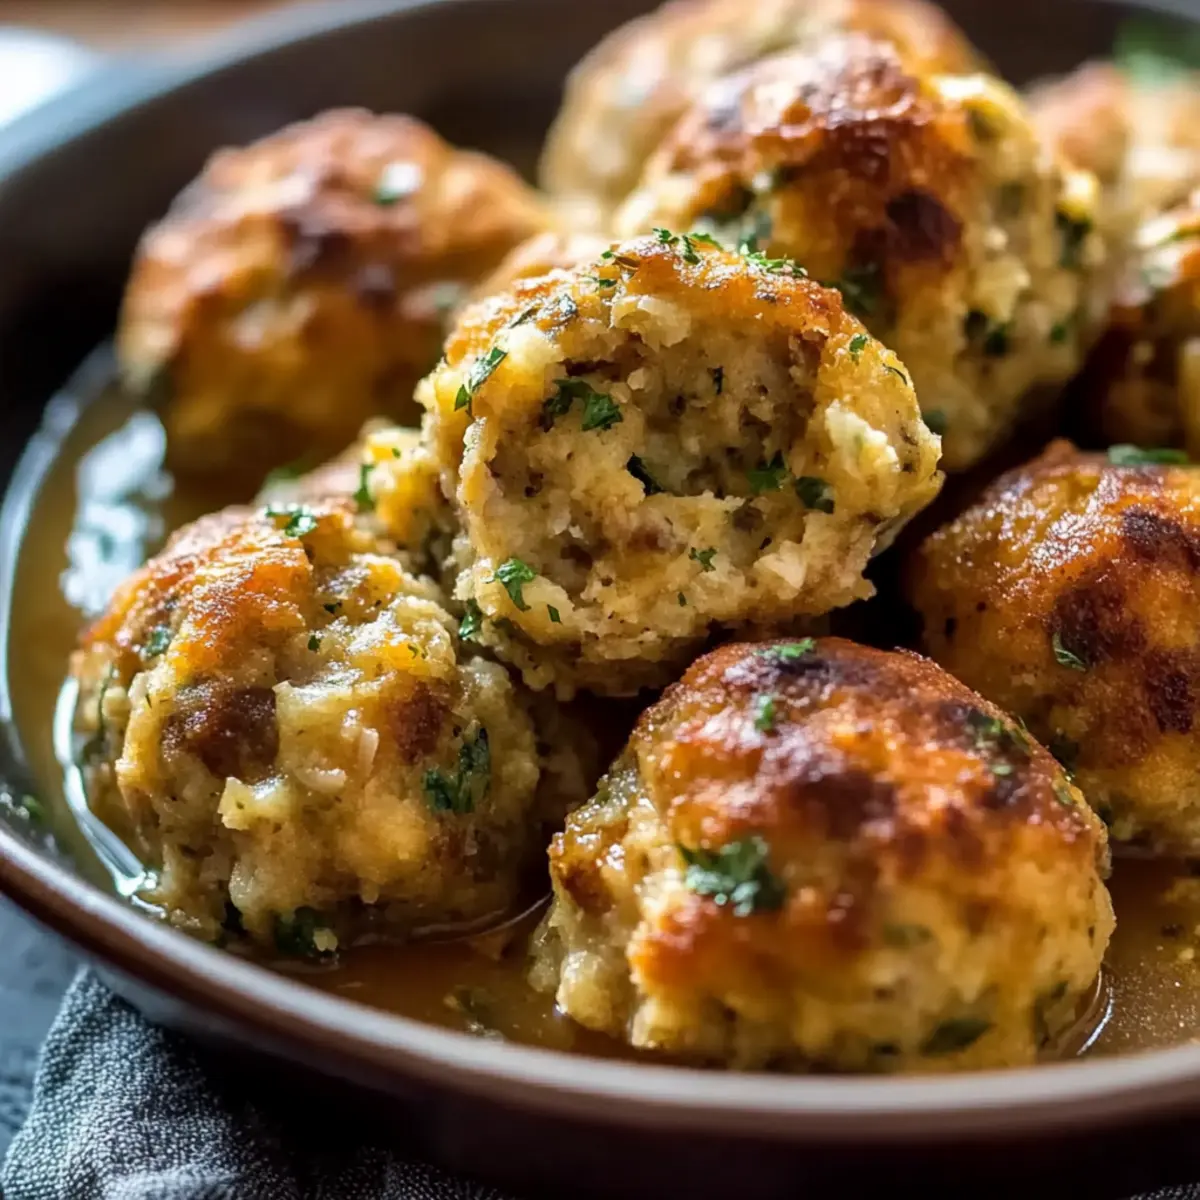
Irresistible Flavor: Packed with a savory punch, these stuffing balls combine crispy and tender textures, making each bite a delightful experience.
Make-Ahead Magic: Prepare them in advance, freezing or refrigerating until ready to bake, which saves precious time during busy holiday feasts.
Crowd-Pleasing Appeal: Perfect for gatherings, they complement roast turkey or holiday ham seamlessly and will be a hit with family and friends.
Endless Customization: Feel free to play around—add cheese for creaminess or herbs for freshness, just like some of our other favorites like Greek Turkey Meatballs with Tzatziki!
Nostalgic Touch: This recipe is steeped in tradition and love, offering not just food, but bonding moments around the dinner table that evoke warmth, family, and cherished memories.
Grandma Dot’s Stuffing Balls Ingredients
For the Base
- Dry Seasoned Bread Cubes – Provides structure and texture; day-old bread is best to prevent sogginess.
- Large Eggs – Binds the mixture together; remember to beat them lightly before adding.
- Chicken Broth – Moistens the stuffing; substitute with vegetable broth for a vegetarian option.
For the Vegetables
- Onion – Adds sweetness and depth of flavor; finely chop for even cooking.
- Celery – Contributes crunch and freshness; be sure to finely chop to match onion.
For Cooking & Flavor
- Unsalted Butter – Adds richness and is essential for cooking; olive oil works as a dairy-free substitute.
- Poultry Seasoning – Enhances the classic stuffing flavor; can use fresh herbs like sage or thyme as a substitute.
- Garlic Powder – Provides aromatic flavor; it’s optional but highly recommended for extra depth.
- Salt & Pepper – Crucial for seasoning to taste; adjust based on the broth you choose.
For Garnish (Optional)
- Fresh Parsley – Adds brightness and color; feel free to omit if not available.
Step‑by‑Step Instructions for Grandma Dot’s Stuffing Balls
Step 1: Prepare Bread
Begin by cutting dry seasoned bread cubes into uniform pieces. Spread these cubes on a baking sheet and place them in a preheated oven at 300°F for 10–15 minutes. Keep an eye on them until they become slightly crisp but not browned; this will help create the perfect texture for your Grandma Dot’s Stuffing Balls.
Step 2: Cook Vegetables
In a large skillet, melt unsalted butter over medium heat. Add finely chopped onion and celery, sautéing for about 6–7 minutes until they turn soft and fragrant. Once cooked, stir in the fresh parsley and poultry seasoning, allowing the flavors to meld together. This aromatic mixture will serve as a delicious base for your stuffing balls.
Step 3: Mix Base
In a large mixing bowl, combine the baked bread cubes with the sautéed vegetable mixture, tossing gently to ensure even distribution. The warmth of the bread will absorb the flavors from the vegetables. This step is crucial as it forms the hearty base of Grandma Dot’s Stuffing Balls, giving them that delightful taste you’ll love.
Step 4: Bind Mixture
In a separate bowl, whisk together the lightly beaten eggs and chicken broth until well combined. Gradually pour this mixture over the bread and vegetable blend, stirring as you go. Stop when the stuffing is moist but not soggy; you want it to hold together well. This binding step is essential for creating the perfect stuffing balls.
Step 5: Shape Balls
Using oiled hands, scoop about ½ cup of the stuffing mixture and shape it into a ball, making sure it holds together nicely. Place the formed balls onto a greased baking sheet, spacing them evenly apart to allow for even cooking. This hands-on step is fun and will lead to the delicious Grandma Dot’s Stuffing Balls that are prized at your holiday table.
Step 6: Bake
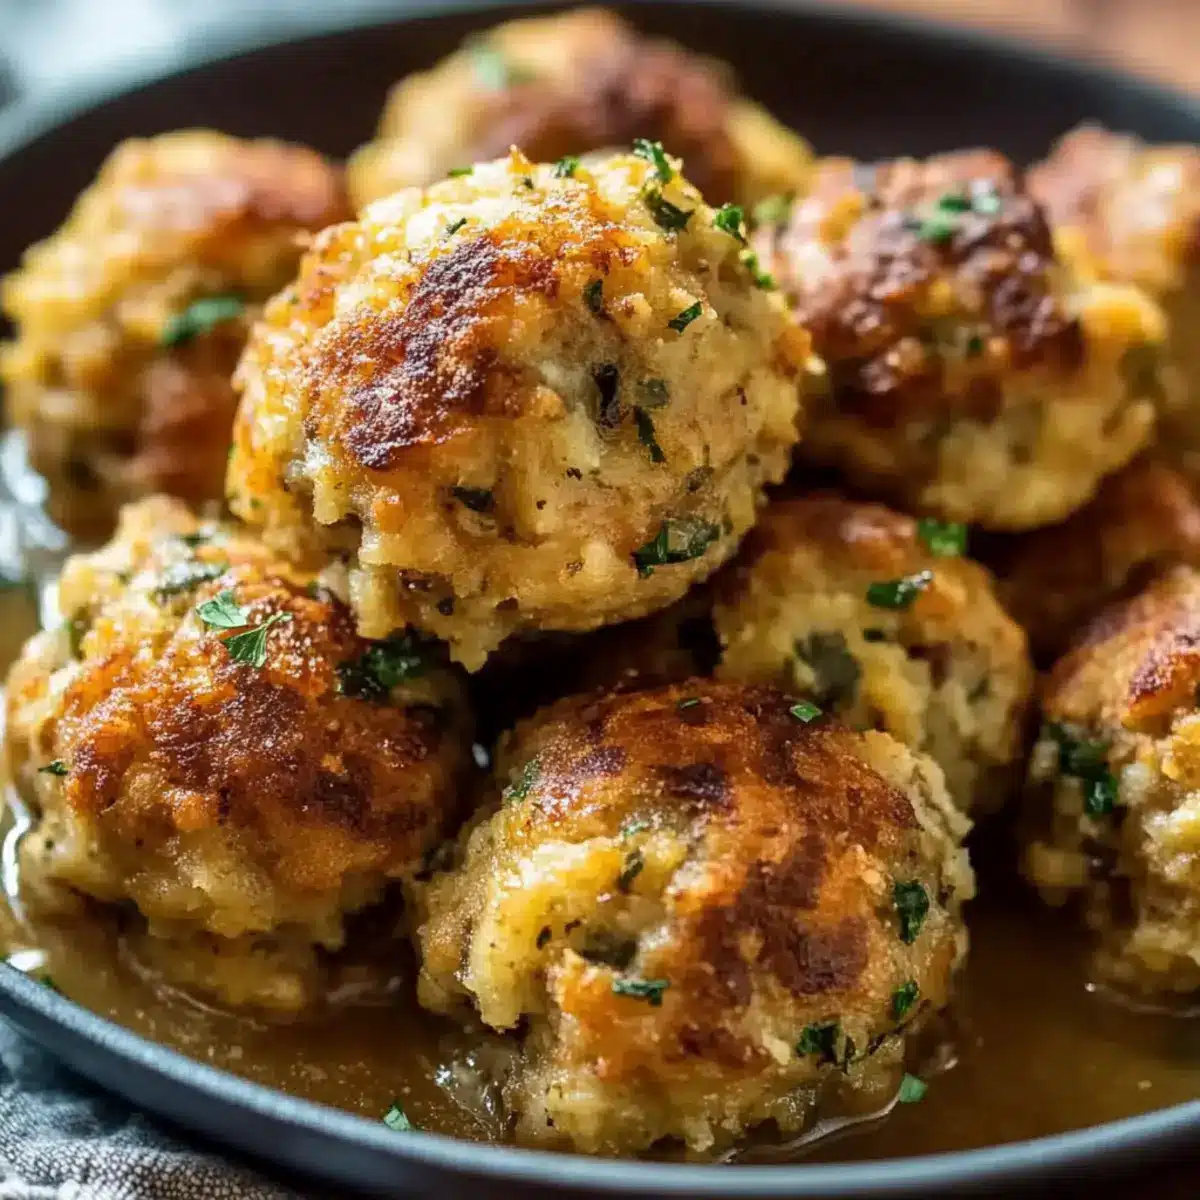
Preheat your oven to 375°F. Bake the formed stuffing balls for 25–30 minutes, turning them halfway through to ensure even browning. Look for a golden-brown exterior as the final visual cue that indicates they are ready. Remove from the oven and let them cool slightly before serving for the ultimate combination of crispy and tender textures.
Step 7: Serve
These warm and delightful Grandma Dot’s Stuffing Balls make a perfect side dish, whether served with gravy or alongside your favorite roast. Arrange them on a serving platter and watch how they quickly become the highlight of your meal. Their inviting aroma and golden color will undoubtedly win over your family and friends!
Storage Tips for Grandma Dot’s Stuffing Balls
Fridge: Store leftovers in an airtight container for up to 4 days. Let them cool completely before sealing to maintain texture.
Freezer: Freeze unbaked or baked Grandma Dot’s Stuffing Balls for up to 2 months. Place them in a single layer on a baking sheet to freeze first, then transfer to a freezer bag for space-saving.
Reheating: To enjoy, reheat baked balls by placing them in a preheated oven at 350°F for about 10-15 minutes, or until warmed through. This will help restore their crispy exterior.
Make Ahead: You can also shape and refrigerate the mixture for up to 24 hours before baking, which makes holiday meal prep seamless.
Make Ahead Options
These Grandma Dot’s Stuffing Balls are perfect for meal prep enthusiasts! You can shape them into balls and refrigerate for up to 24 hours in advance, allowing you to focus on other holiday dishes. To ensure they maintain their delightful texture, cover them with plastic wrap to prevent drying out. Alternatively, you can freeze the unbaked balls for up to 2 months. When you’re ready to bake, just place them directly from the freezer onto a greased baking sheet and increase the baking time by about 5-10 minutes. This way, you’ll enjoy delicious, homemade stuffing balls with minimal effort on the day of your gathering!
What to Serve with Grandma Dot’s Stuffing Balls
There’s nothing quite like the aroma of home-cooked food wafting through the kitchen, creating an irresistible invitation to gather around the table.
- Roast Turkey: A classic pairing, the juicy turkey complements the savory stuffing balls beautifully and enhances the holiday spirit.
- Homemade Gravy: Pour rich, flavorful gravy over your stuffing balls, adding a luxurious touch and amplifying the comforting flavors.
- Cranberry Sauce: The tartness of cranberry sauce contrasts perfectly with the savory stuffing, bringing balance and brightness to your plate.
- Garlic Mashed Potatoes: Creamy and smooth, these potatoes provide a velvety texture that pairs wonderfully with the crunchy exterior of the stuffing balls.
- Sautéed Green Beans: Lightly seasoned green beans add freshness, color, and a delightful crunch that rounds out this comforting meal.
- Buttery Dinner Rolls: Soft, fluffy rolls are perfect for mopping up gravy, while their warm, buttery flavor plays nicely with the stuffing.
- Apple Cider: This warm, spiced beverage not only soothes the soul but also pairs beautifully with both savory and sweet elements of your meal.
- Pumpkin Pie: End your feast on a sweet note with a slice of pumpkin pie, bridging the flavors of fall and sweet nostalgia.
Expert Tips for Grandma Dot’s Stuffing Balls
-
Avoid Sogginess: Use day-old bread cubes to maintain the structure and prevent sogginess in your Grandma Dot’s Stuffing Balls.
-
Proper Binding: If your mixture falls apart, mixing in extra eggs or broth will help bind it better, ensuring the balls hold their shape during baking.
-
Crispy Perfection: For the best texture, do not cover the baking sheet. This allows the air to circulate, creating that delightful crispy exterior everyone loves.
-
Make Ahead: Shape your stuffing balls and refrigerate them for up to 24 hours. You can also freeze unbaked balls for later use, making preparation a breeze.
-
Flavor Variations: Feel free to experiment with flavor! Adding cooked sausage or cheese can give your Grandma Dot’s Stuffing Balls a unique twist.
Grandma Dot’s Stuffing Balls Variations
Feel free to sprinkle a bit of your culinary creativity into Grandma Dot’s Stuffing Balls with these delightful variations!
-
Sausage Stuffing Balls: Incorporate browned Italian sausage for an irresistible meaty twist that adds heartiness to each bite.
-
Cheesy Stuffing Balls: Mix in shredded cheddar or parmesan cheese for an extra creamy and flavorful experience that will make cheese lovers rejoice.
-
Cranberry Twist: Fold in dried cranberries for a surprising sweet contrast that brightens the classic stuffing flavor—perfect for a festive touch!
-
Mushroom Version: Sauté diced mushrooms with onions and celery for an earthier taste that enhances the savory profile of the stuffing balls.
-
Gluten-Free Option: Use gluten-free bread and broth to accommodate those with gluten sensitivities without sacrificing taste or texture.
-
Herb-Infused Stuffing Balls: Swap regular poultry seasoning for fresh herbs like thyme or sage to bring a garden-fresh flavor that’s truly aromatic.
-
Spicy Kick: Add a pinch of cayenne or diced jalapeños for those who crave a touch of heat—just enough to set your taste buds dancing.
-
Veggie Delight: Introduce finely chopped bell peppers or carrots to the veggie mix for added color and nutrition, creating a vibrant stuffing ball full of life.
These options can take your Grandma Dot’s Stuffing Balls in exciting new directions, making them a versatile recipe for any occasion! Pair them with classics like Korean BBQ Meatballs or add them to charming meals alongside Grandma’s Holiday Pears for a delightful feast!
Grandma Dot’s Stuffing Balls Recipe FAQs
How do I choose the right bread for Grandma Dot’s Stuffing Balls?
Absolutely! Using day-old or lightly toasted bread cubes prevents sogginess, giving your stuffing balls the perfect structure. Look for a bread that’s dry yet soft, like sourdough or French bread, as these types soak up the flavors beautifully without falling apart.
How can I store leftovers from Grandma Dot’s Stuffing Balls?
Once you’ve enjoyed your stuffing balls, store any leftovers in an airtight container in the refrigerator. They will keep well for up to 4 days. To maintain their delicious texture, make sure they cool completely before sealing. I often make a big batch just to enjoy the leftovers throughout the week!
Can I freeze Grandma Dot’s Stuffing Balls? If so, how?
Very! You can freeze both baked and unbaked stuffing balls for up to 2 months. To freeze unbaked, shape the balls and place them in a single layer on a baking sheet to freeze first. Once frozen, transfer to a freezer bag. For baked balls, allow them to cool before freezing. When you’re ready to enjoy, simply reheat baked balls in a preheated oven at 350°F for about 10-15 minutes until warm and crispy!
What should I do if my stuffing mixture falls apart?
Don’t worry! If you find your stuffing mixture isn’t holding together well, you can easily fix it. Add more lightly beaten egg or chicken broth, one tablespoon at a time, mixing gently until you achieve a bind that holds the mixture together. This usually helps the balls maintain their shape while baking!
Are there any dietary considerations I should be aware of?
Absolutely! If you’re cooking for guests with dietary restrictions, consider substitutes like using vegetable broth instead of chicken broth for a vegetarian option, or replacing unsalted butter with olive oil for a dairy-free version. Always check for allergies, especially with ingredients like eggs and certain breads. I recommend using gluten-free bread to make them gluten-free!
Can Grandma Dot’s Stuffing Balls be made ahead of time?
Yes, indeed! You can shape and refrigerate the stuffing balls for up to 24 hours before baking them. This makes for seamless holiday meal prep. Just cover them well to avoid drying out and bake them fresh when you’re ready!
Grandma Dot's Stuffing Balls: Crispy Comfort for Any Feast
Ingredients
Equipment
Method
- Begin by cutting dry seasoned bread cubes into uniform pieces. Spread these cubes on a baking sheet and place them in a preheated oven at 300°F for 10–15 minutes.
- In a large skillet, melt unsalted butter over medium heat. Add finely chopped onion and celery, sautéing for about 6–7 minutes until they turn soft and fragrant.
- In a large mixing bowl, combine the baked bread cubes with the sautéed vegetable mixture, tossing gently to ensure even distribution.
- In a separate bowl, whisk together the lightly beaten eggs and chicken broth until well combined. Gradually pour this mixture over the bread and vegetable blend, stirring as you go.
- Using oiled hands, scoop about ½ cup of the stuffing mixture and shape it into a ball, placing them onto a greased baking sheet.
- Preheat your oven to 375°F. Bake the formed stuffing balls for 25–30 minutes, turning them halfway through to ensure even browning.
- Once golden-brown, let them cool slightly before serving for the ultimate combination of crispy and tender textures.
Leave a Reply