
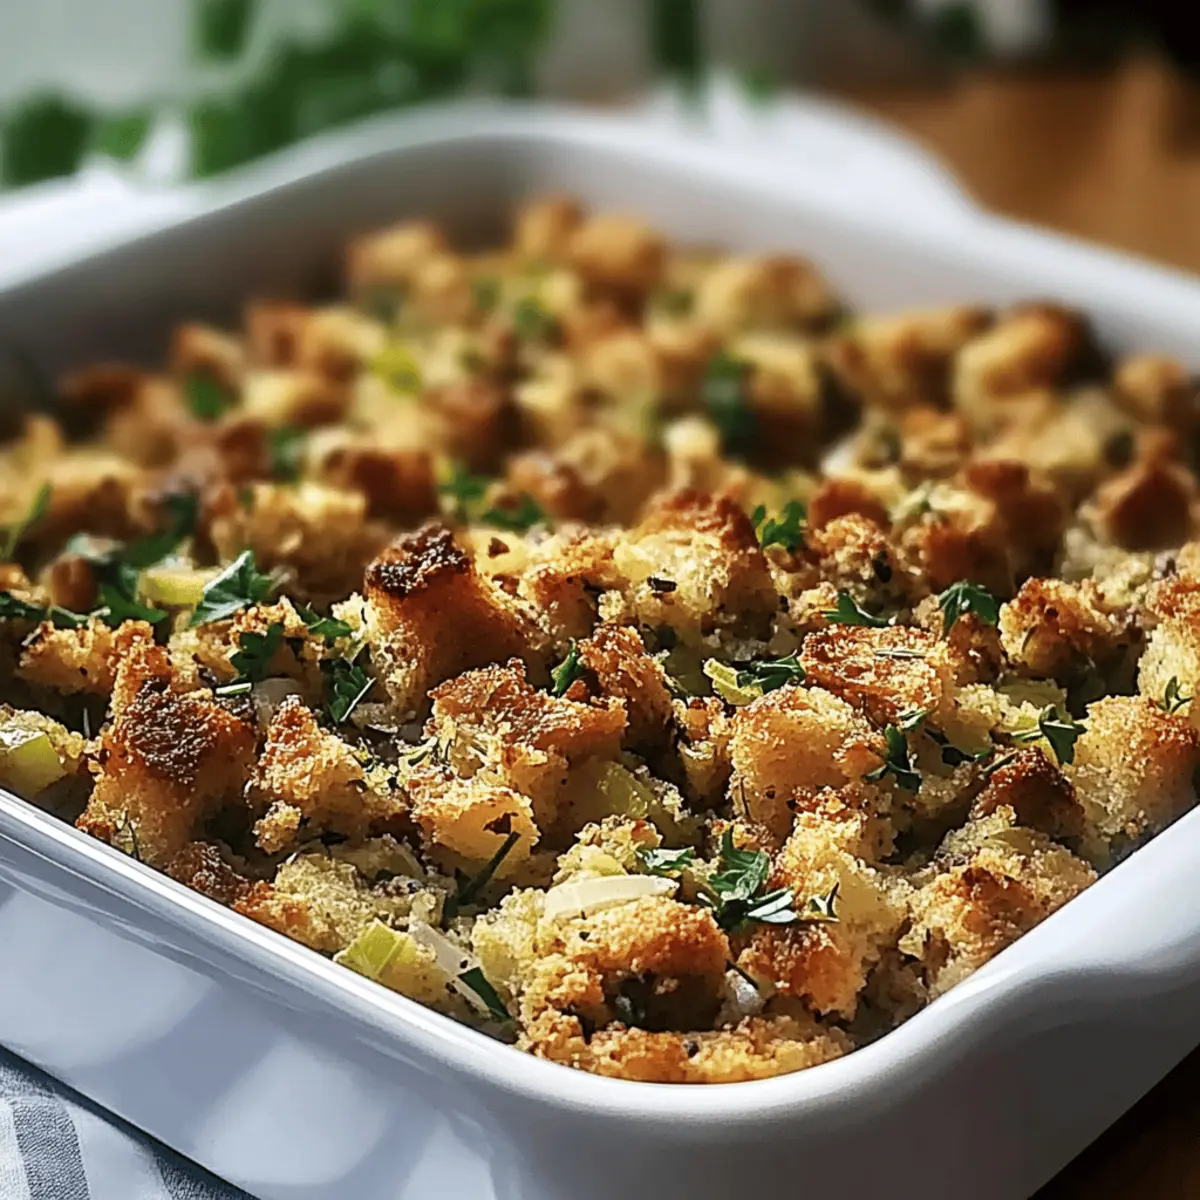
As the aroma of savory herbs fills the kitchen, I can’t help but feel transported back to childhood Thanksgivings where Grandma’s stuffing graced the table, reminding us what true comfort food tastes like. Grandma’s Thanksgiving Stuffing is a warm, nostalgic blend of tender bread, sautéed onions, and aromatic herbs, perfect for evoking cherished family memories. Not only is this dish a classic side that pairs beautifully with turkey, but it also offers a customizable twist; whether you prefer the richness of sausage or a hint of sweetness from dried fruits, there’s a version for every palate. Plus, with easy adaptations for gluten-free and vegan diets, everyone can indulge in this heartwarming dish. So, how do you like your stuffing?
Why is This Stuffing Recipe Special?
Nostalgic Flavor: Every bite of Grandma’s Thanksgiving stuffing is like a warm hug; the tender bread and savory herbs evoke cherished family memories.
Customizable Options: Whether you crave a traditional blend or want to add sausage, nuts, or dried fruits, this recipe allows you to make it uniquely yours.
Versatile Adaptations: With simple adjustments, you can enjoy this dish gluten-free or vegan, ensuring no one misses out on the deliciousness.
Easy Preparation: Forget complicated recipes! This stuffing is straightforward to make, making it perfect for even the busiest holiday chef.
Crowd-Pleasing Dish: Suitable for any gathering, this stuffing pairs beautifully with roasted turkey, green beans, and all your favorite sides for a complete meal.
Grandma’s Thanksgiving Stuffing Ingredients
For the Base
• Crusty Bread (10 cups, cubed) – Use stale or dried bread for the best absorbency; fresh bread should be dried overnight.
• Yellow Onion (1 large, finely diced) – Sauté until translucent to bring out its depth and sweetness.
• Celery (2 cups, finely chopped) – This adds freshness and a crunchy texture; sauté alongside the onion until tender.
For the Herbs
• Fresh Sage (2 tablespoons) – Essential for infusing that traditional holiday flavor into Grandma’s Thanksgiving stuffing.
• Fresh Thyme (2 tablespoons) – Complements the other herbs, contributing an earthy note to the dish.
• Fresh Rosemary (1 tablespoon, chopped) – Adds a distinct, aromatic quality, enhancing the overall flavor profile.
For Moisture and Flavor
• Low-Sodium Broth (4 cups) – Adjust the amount for your desired moistness; homemade broth is always preferable.
• Unsalted Butter (1/2 cup, melted) – Provides richness and helps in flavor development, elevating the dish.
Optional Ingredients for Variations
• Cooked Sausage or Bacon – Introduces a savory layer of flavor that complements the stuffing beautifully.
• Dried Fruits (like cranberries) – Add a sweet-savory contrast that brings a delightful twist to the stuffing experience.
• Gluten-Free Bread – For a gluten-free adaptation, substitute with your favorite gluten-free option.
• Vegetable Broth and Olive Oil – Perfect choices for crafting a delicious vegan version while keeping flavors vibrant.
Step‑by‑Step Instructions for Grandma’s Thanksgiving Stuffing
Step 1: Preheat the Oven
Begin by preheating your oven to 350°F (175°C). This ensures a perfectly baked stuffing with a crisp top and a moist interior. While the oven heats up, gather all your ingredients, including the crusty bread and fresh herbs, to have everything easily accessible for a smooth cooking process.
Step 2: Prepare the Vegetables
Dice one large yellow onion and finely chop two cups of celery. Set these aside, as they will add layers of flavor to Grandma’s Thanksgiving stuffing. The aroma released during cooking will evoke a warm, nostalgic atmosphere, bringing you closer to the heart of the holiday spirit.
Step 3: Sauté the Onions
In a large skillet over medium heat, melt half a cup of unsalted butter. Add the diced onions and sauté until they become translucent, about 5-7 minutes. Add a pinch of salt and pepper for flavor enhancement. The softened onions will become sweet and fragrant, creating a wonderful base for the stuffing.
Step 4: Add the Celery
Now, stir in the finely chopped celery and continue cooking until it becomes tender, another 3-4 minutes. This step adds freshness and a delightful crunch to Grandma’s Thanksgiving stuffing. Once ready, remove the skillet from heat and allow the mixture to cool slightly before combining with the bread.
Step 5: Combine with Bread
In a large mixing bowl, combine the sautéed onion and celery mixture with 10 cups of cubed, stale bread. Gently toss them together, allowing the bread to soak up the rich flavors. This mixture will serve as the heart of your stuffing, bringing together all the aromatic herbs and seasoning for a delightful experience.
Step 6: Mix in the Herbs
Sprinkle two tablespoons of fresh sage, two tablespoons of fresh thyme, and one tablespoon of chopped fresh rosemary over the bread mixture. This step is crucial in infusing Grandma’s Thanksgiving stuffing with traditional holiday flavors. Gently toss everything together to ensure the herbs are evenly distributed, creating a fragrant medley.
Step 7: Add Broth
Gradually pour in 4 cups of low-sodium broth while stirring the mixture gently. Aim for an even consistency, ensuring the bread has absorbed the moisture, but avoid making it too soggy. The goal is a perfectly balanced stuffing that is moist yet retains its structure, ready to be transformed in the oven.
Step 8: Prepare the Baking Dish
Transfer the stuffing mixture into a greased baking dish, spreading it out evenly. Cover it with foil to retain moisture during the initial baking. This is crucial for achieving the ideal texture—crisp on top and soft inside. It’s time to put this delightful creation into the oven.
Step 9: Bake the Stuffing
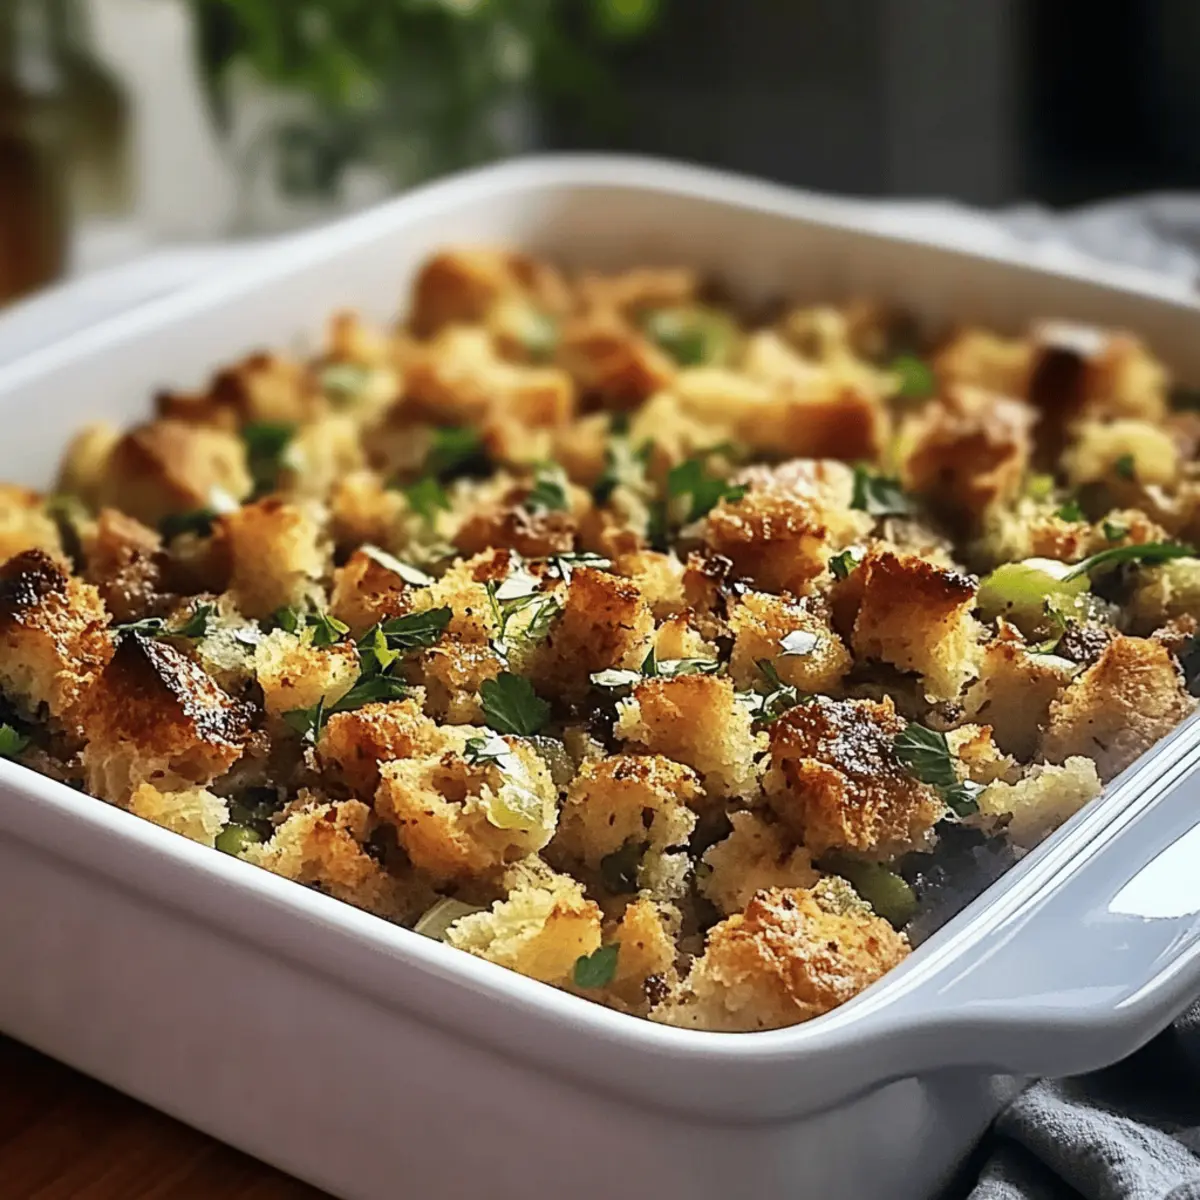
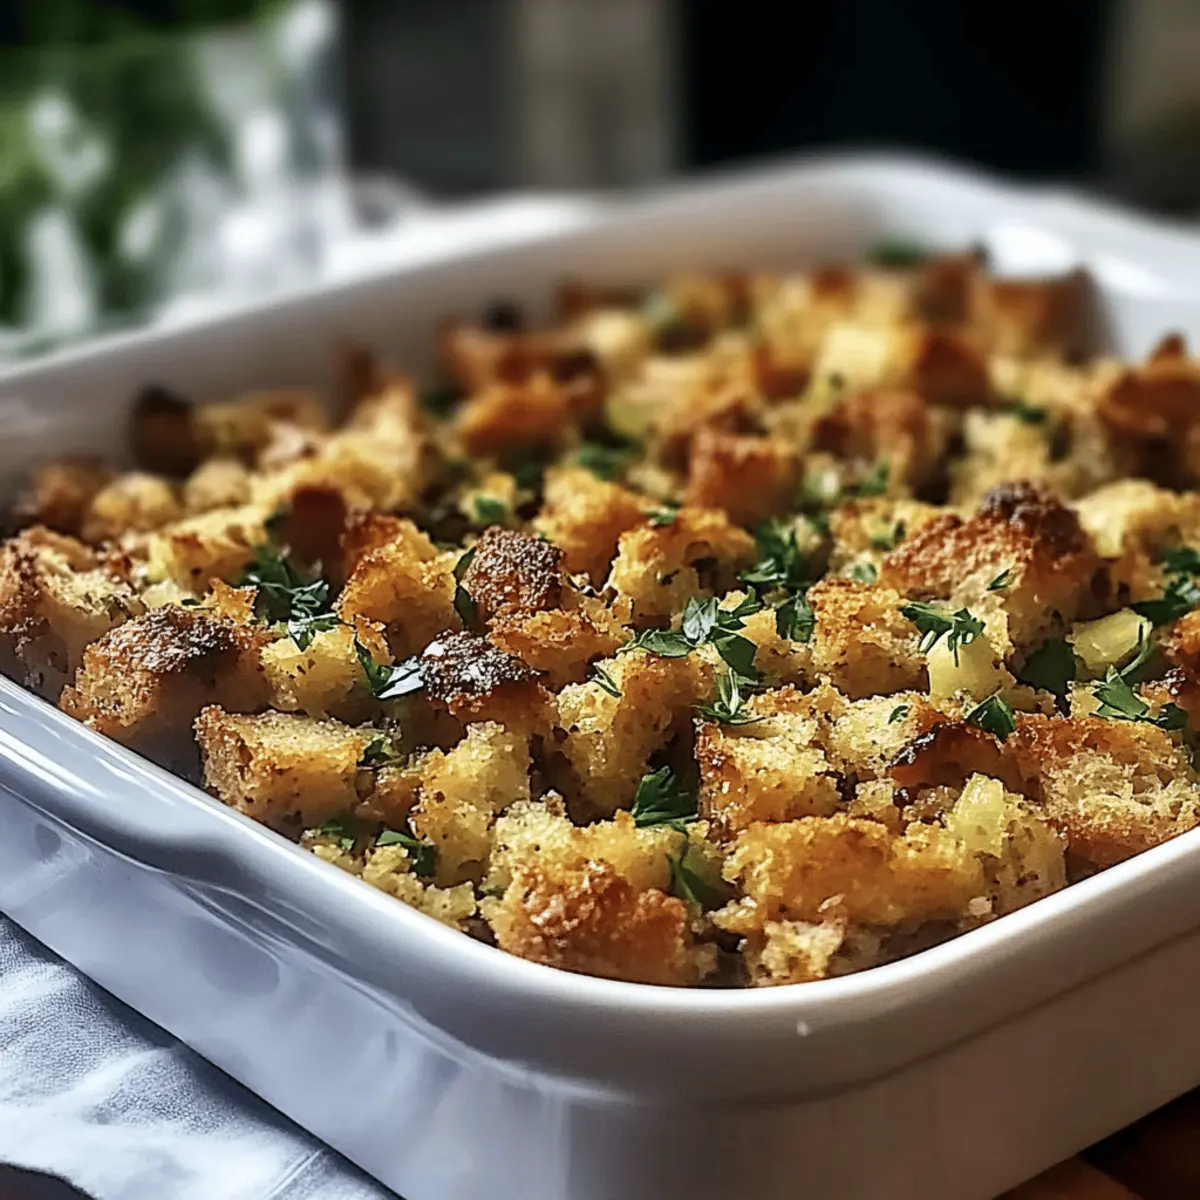
Place the covered baking dish in the preheated oven and bake for 30 minutes. This allows the flavors to meld together beautifully. Once the time is up, carefully remove the foil and return the dish to the oven for an additional 15 minutes. Keep an eye on the stuffing as it bakes, until the top is golden brown and crispy, creating a perfect crust.
Step 10: Final Touches and Serve
After an hour total in the oven, once the stuffing has reached a golden hue, it is ready to be served. Let it cool slightly before plating. Enjoy Grandma’s Thanksgiving stuffing alongside turkey and your favorite holiday sides, creating warmth and nostalgia around your family table.
Make Ahead Options
Grandma’s Thanksgiving stuffing is perfect for busy cooks looking to save time during the holiday rush! You can prepare the stuffing mixture up to 24 hours in advance by combining the sautéed onion and celery with the cubed bread and herbs, then refrigerating it in a tightly sealed container. This step enhances flavor as it melds overnight. Just before baking, pour in the broth and gently combine, ensuring the mixture remains moist (but not soggy). When ready to serve, transfer to a greased baking dish and bake as directed for a delicious side with minimal effort, allowing you to enjoy time with family instead of being tied to the kitchen.
Grandma’s Thanksgiving Stuffing Variations
Feel free to get creative and make this stuffing your own with these delightful twists!
-
Sausage Addition: Enhance flavor by adding cooked sausage or bacon for a savory richness that complements the herbs beautifully.
-
Sweet Touch: Incorporate dried fruits like cranberries or apricots for a sweet-savory contrast that brings a delightful surprise to each bite.
-
Nutty Crunch: Toss in some toasted pecans or walnuts for an added crunch, which contributes a lovely texture variation and earthy flavor.
-
Gluten-Free: Substitute the crusty bread with your favorite gluten-free bread to make this dish suitable for gluten-sensitive guests.
-
Vegan-Friendly: Use vegetable broth and olive oil instead of butter to prepare a delicious vegan variation that doesn’t skimp on flavor.
-
Herb Explosion: For a burst of freshness, experiment by adding parsley or dill along with the traditional herbs to brighten the stuffing.
-
Spiced Up: If you enjoy a little heat, add red pepper flakes or diced jalapeños to the mix for a spicy kick that will awaken your taste buds.
-
Mushroom Love: Sauté mushrooms with the onions to add an earthy depth that balances the bread perfectly and enhances the overall mouthfeel.
These variations not only expand your culinary horizons but also bring a personal touch to this classic dish, making it a cherished part of every holiday table. For even more exciting dishes, consider adding a side of green beans or a luscious pumpkin pie for dessert to complete your festive meal!
How to Store and Freeze Grandma’s Thanksgiving Stuffing
Fridge: Allow any leftover Grandma’s Thanksgiving stuffing to cool completely, then store it in an airtight container in the fridge for up to 3 days to maintain freshness.
Freezer: If you want to enjoy the stuffing later, freeze it for up to 2 months. Pack it tightly in a freezer-safe container, ensuring there’s minimal air inside.
Reheating: When ready to serve, thaw overnight in the fridge and reheat in the oven at 350°F (175°C) for about 20-25 minutes, adding a splash of broth to keep it moist.
Airtight Guidance: To prevent freezer burn, wrap the container with plastic wrap before sealing it. This will help preserve the moist, flavorful essence of Grandma’s Thanksgiving stuffing!
Expert Tips for Grandma’s Thanksgiving Stuffing
Quality Ingredients: Make sure to use fresh herbs and high-quality bread to elevate the flavors of Grandma’s Thanksgiving stuffing for a truly delicious experience.
Taste as You Go: Before baking, taste the mixture and adjust the seasoning—this is key to ensuring the stuffing is bursting with flavor.
Watch the Moisture: Make sure to add enough broth to keep the stuffing moist but not soggy; adding too little can lead to dryness.
Gentle Mixing: Avoid compressing the stuffing tightly in the baking dish. This helps to maintain that desired fluffy texture rather than running the risk of it becoming dense.
Make-Ahead Convenience: Assemble Grandma’s Thanksgiving stuffing a day ahead and refrigerate overnight to enhance the flavors. Just pop it in the oven before serving!
What to Serve with Grandma’s Thanksgiving Stuffing?
Creating a cozy, festive meal requires the right accompaniments to enhance those comforting flavors.
-
Roasted Turkey: The classic pairing for stuffing, the juicy turkey complements the savory flavors perfectly while soaking up all that delicious gravy.
-
Cranberry Sauce: Its tart sweetness balances the savory stuffing beautifully, adding a refreshing burst that brightens each bite.
-
Green Beans Almondine: The crunch from sautéed almonds and tender green beans provides a delightful texture contrast, along with a hint of earthiness that ties the meal together.
-
Garlic Mashed Potatoes: Creamy and buttery, they are the ideal backdrop for the stuffing, offering a comforting, smooth texture that melds case with every bite.
-
Gravy: A luscious, rich gravy enhances the stuffing, making it even more indulgent as it binds all elements of the meal.
-
Buttery Dinner Rolls: Soft and warm, these inviting rolls soak up any leftover goodness on the plate, adding a comforting touch to your Thanksgiving feast.
-
Pumpkin Pie: End your meal on a sweet note with this classic dessert; its spices echo the flavors of the stuffing, creating a warm and nostalgic finish.
-
Sparkling Cider: A refreshing, bubbly drink option that adds a festive touch and complements the flavors of the meal without overwhelming the palate.
Grandma’s Thanksgiving Stuffing Recipe FAQs
What type of bread should I use for Grandma’s Thanksgiving stuffing?
Using crusty bread is essential! I recommend stale or dried bread for optimal absorbency. If using fresh bread, be sure to let it dry out overnight to achieve the best texture. This gives the stuffing a sturdy base while ensuring it soaks up all the delicious flavors.
How long can I store Grandma’s Thanksgiving stuffing in the fridge?
Once your delicious stuffing has cooled completely, store it in an airtight container in the fridge for up to 3 days. This keeps it fresh and tasty for those cozy post-holiday meals! Just remember to add a splash of broth when reheating to maintain that moist, flavorful goodness.
Can I freeze Grandma’s Thanksgiving stuffing?
Absolutely! You can freeze Grandma’s Thanksgiving stuffing for up to 2 months. Pack it tightly in a freezer-safe container, ensuring minimal air exposure to prevent freezer burn. When you’re ready to enjoy it again, thaw it in the fridge overnight and reheat covered in the oven at 350°F (175°C) for about 20-25 minutes, adding broth as needed.
What should I do if my stuffing turns out too dry?
If you find your stuffing is dry, don’t fret! You can add a little more broth while reheating. I often splash in a couple of tablespoons and toss gently before placing it back in the oven. This trick helps restore moisture and revives that delicious, fluffy texture!
Can I make Grandma’s Thanksgiving stuffing vegan or gluten-free?
Yes! For a vegan version, simply use vegetable broth and olive oil instead of butter. If you need a gluten-free option, swap in gluten-free bread; just make sure it’s stale or dried so it holds up well in the dish. Both adaptations will allow everyone to enjoy this comforting classic.
How can I enhance the flavor of my stuffing?
There are many ways to elevate the flavor! Consider adding cooked sausage or bacon for a savory kick, or mix in dried fruits like cranberries for a sweet twist. Experimenting with these options will create a stuffing that’s uniquely yours while still honoring Grandma’s cherished recipe!

Grandma’s Thanksgiving Stuffing: The Heartwarming Family Classic
Ingredients
Equipment
Method
- Preheat your oven to 350°F (175°C).
- Dice one large yellow onion and finely chop two cups of celery. Set aside.
- In a skillet, melt half a cup of unsalted butter over medium heat. Add the diced onions and sauté until translucent, about 5-7 minutes.
- Stir in the finely chopped celery and continue cooking until tender, another 3-4 minutes. Remove from heat and cool slightly.
- In a mixing bowl, combine the sautéed onion and celery mixture with 10 cups of cubed, stale bread. Toss gently to allow bread to soak up flavors.
- Sprinkle two tablespoons of fresh sage, two tablespoons of fresh thyme, and one tablespoon of chopped fresh rosemary over the bread mixture. Toss to evenly distribute.
- Gradually pour in 4 cups of low-sodium broth while stirring gently to ensure even consistency.
- Transfer the mixture into a greased baking dish, cover with foil, and bake for 30 minutes.
- Remove the foil and return to the oven for an additional 15 minutes until the top is golden brown and crispy.
- Let it cool slightly before serving alongside turkey and your favorite holiday sides.
Leave a Reply