
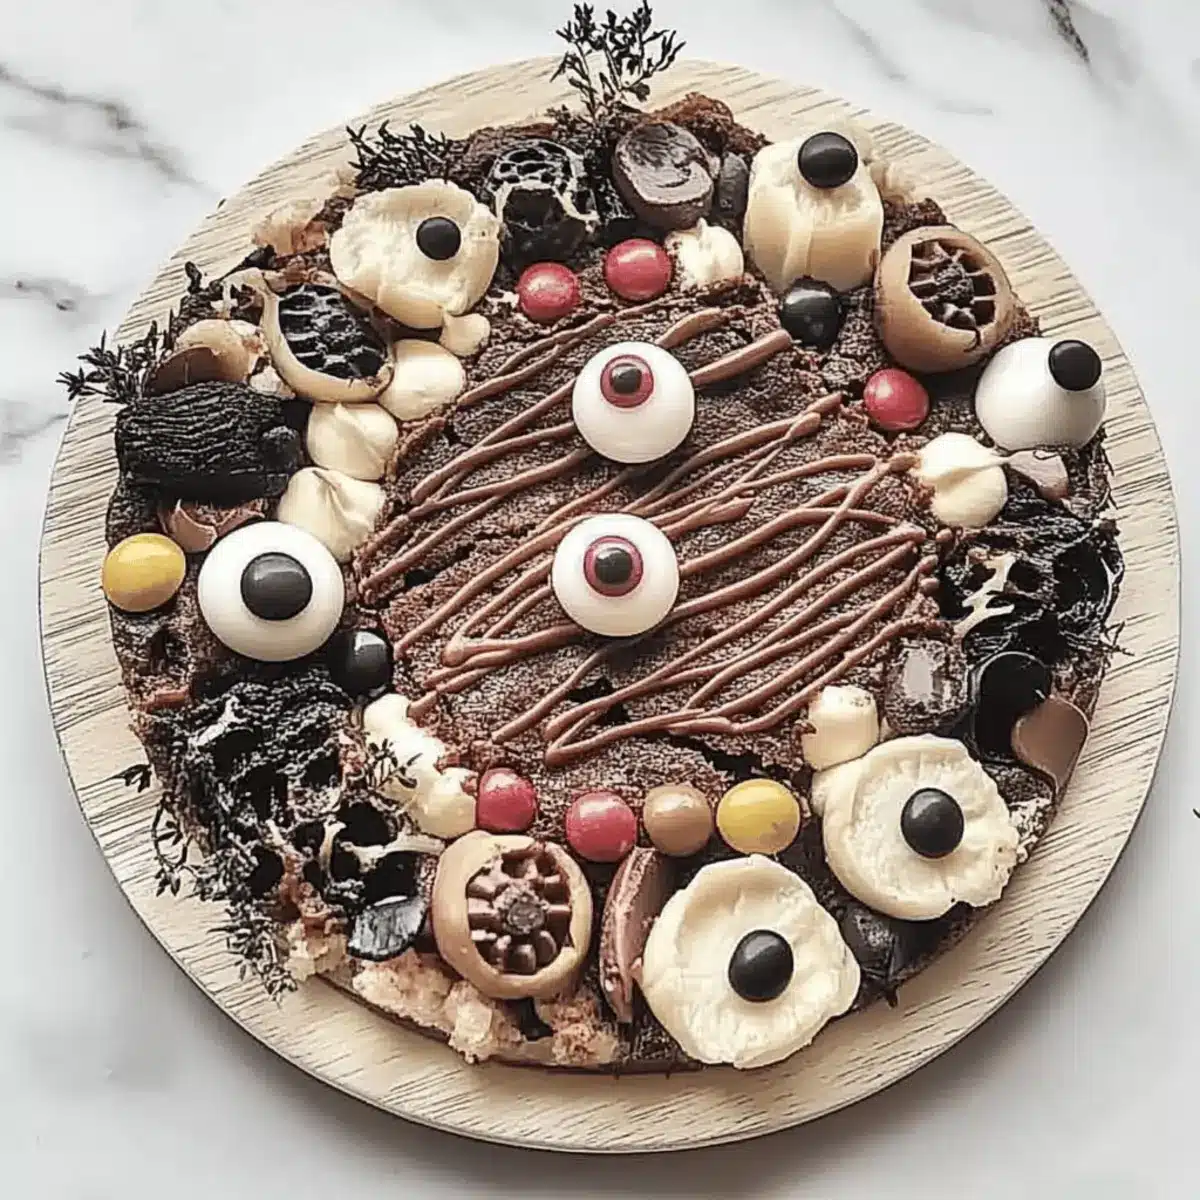
As I arranged the final pieces of the Halloween charcuterie board, a spine-tingling delight crept over me. This isn’t just any board; this is a playful explosion of flavors that transforms simple ingredients into spooky masterpieces! With vibrant fruits, a variety of savory cheeses, and cunningly crafted meats, it’s an inviting centerpiece that will capture the hearts of your guests. What I love most about this Halloween charcuterie board is how easy it is to customize—add your favorite elements and make it uniquely yours. Plus, it’s a fantastic way to serve a crowd while keeping the stress to a minimum. Whether you’re hosting a spirited gathering or enjoying a cozy night in, this festive Halloween party food is bound to impress. So, are you ready to create some spine-chilling snacking magic? Let’s dive into the ghoulish fun!
How to Create a Spooky Charcuterie Board?
Customization Made Easy: With endless ways to personalize your charcuterie board, you can mix and match your favorite cheeses, fruits, and meats for a unique creation.
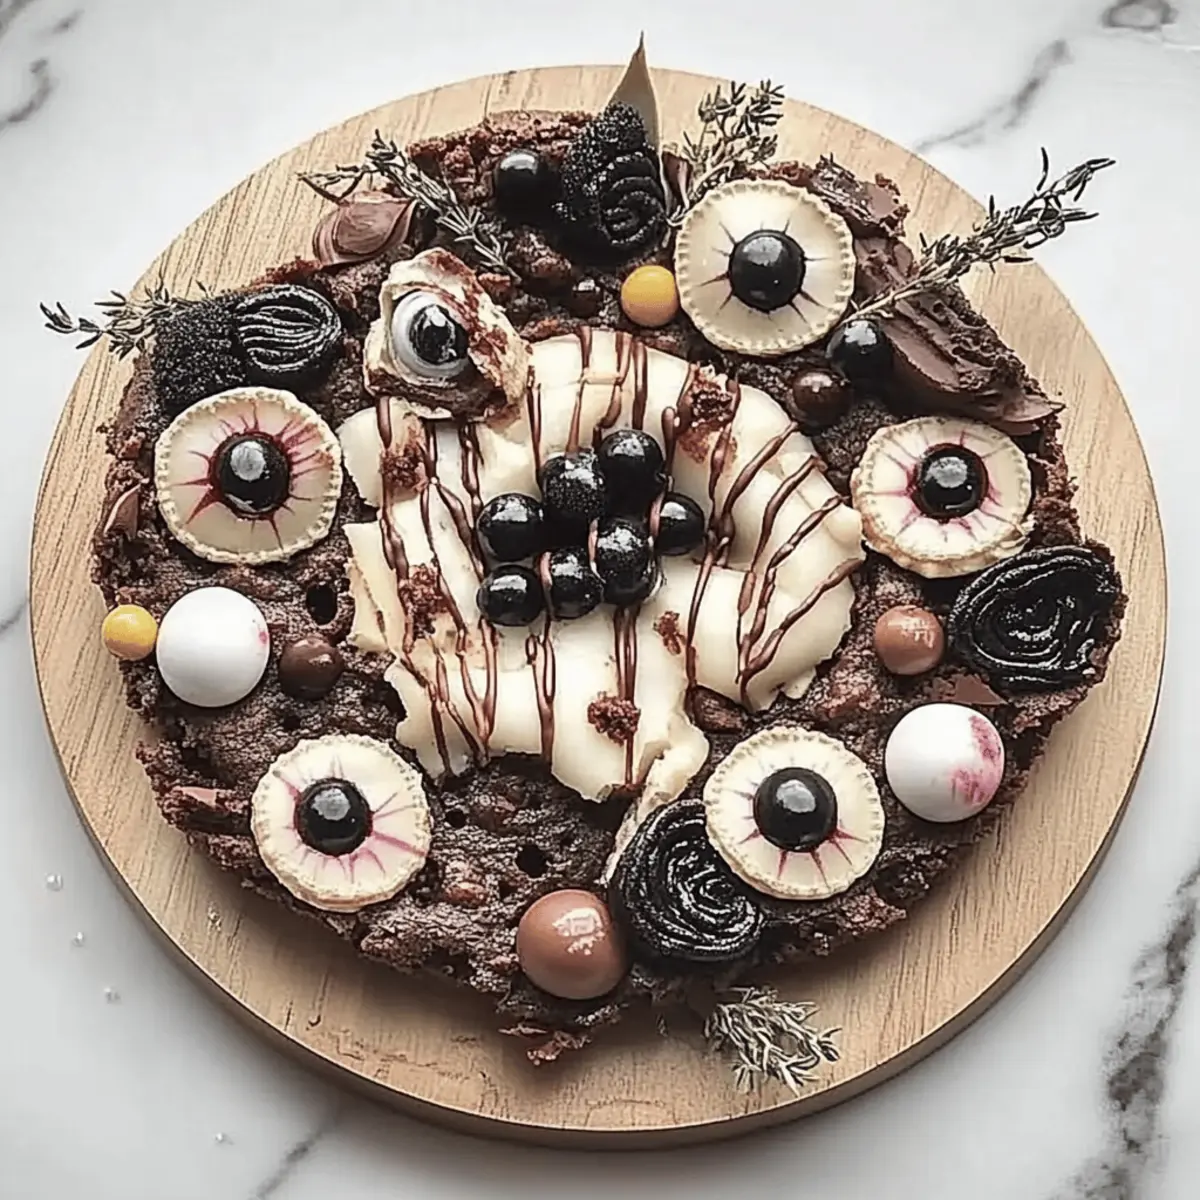
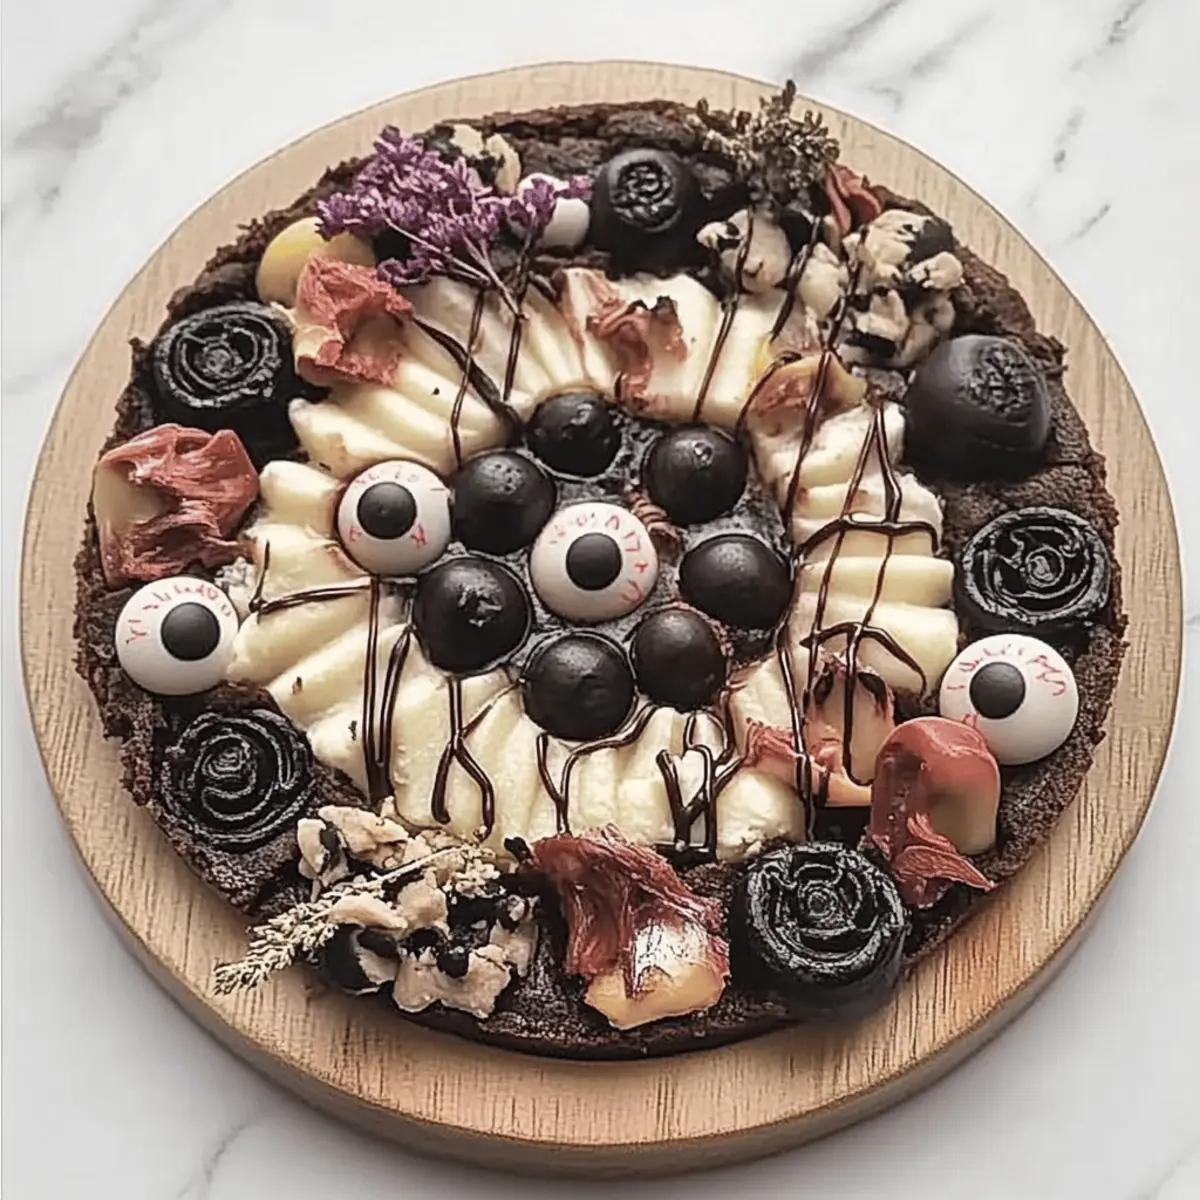
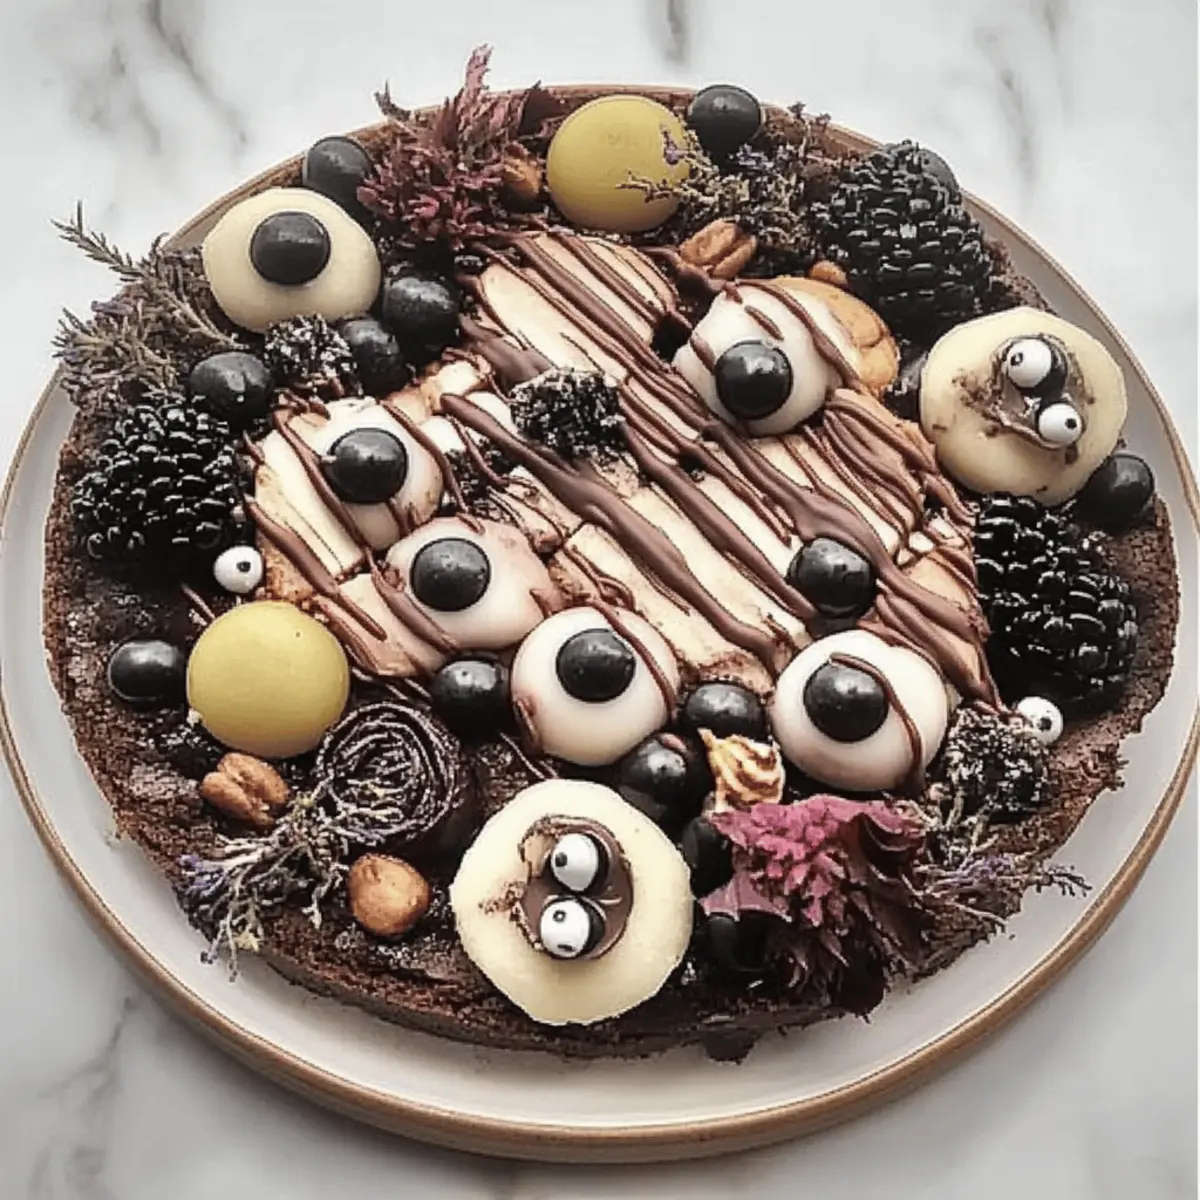
Eye-Catching Presentation: Vibrant colors and creative shapes make this board an inviting centerpiece that will surely grab your guests’ attention.
Serve a Crowd: Perfect for any gathering, this setup allows you to feed many while minimizing kitchen chaos—ideal for Halloween parties!
Mix of Flavors: Balance savory meats with sweet fruits and creamy cheeses to create a delightful contrast that tantalizes the taste buds.
Stress-Free Hosting: Assemble everything ahead of time, so you can enjoy the festivities alongside your guests—no last-minute scrambles!
For more festive ideas, don’t forget to check out my Spooky Spiderweb Brownies and get inspired for your Halloween gathering!
Halloween Charcuterie Board Ingredients
For the Cheese Section
- Cheddar Cheese – A classic that complements many flavors while adding heartiness.
- Brie Cheese – Creamy and rich, it pairs well with fruits for a delightful contrast.
- Goat Cheese – Its tangy touch adds a unique twist to your spooky board.
For the Meats
- Salami – Slice into spooky shapes to enhance the Halloween theme.
- Prosciutto – Add elegance and a savory kick that guests will adore.
- Pepperoni – A favorite that kids and adults alike will enjoy; use mini shapes for added fun.
For the Fruits
- Grapes – Use green grapes for a ghostly appearance and easy snacking.
- Apple Slices – These can be drizzled with lemon juice to prevent browning and add brightness.
- Dried Apricots – Their cheery orange color adds a pop of festivity while offering sweetness.
For the Add-Ons
- Olives – Use black olives to create ‘spiders’ or add an intriguing flavor.
- Nuts – Almonds or walnuts add crunch and variety; consider seasoning for extra flair.
- Crackers – Choose an assortment of flavors and shapes to layer in texture and taste.
For Garnish
- Fresh Herbs – Rosemary or thyme sprigs can double as ‘creepy trees’ on your board.
- Pumpkin Seeds – Use these for an additional crunchy element and a seasonal touch.
- Candy Corn – Scatter a few for that traditional Halloween sweetness and a splash of color.
Elevate your festive Halloween party food by creating this Halloween charcuterie board that perfectly balances flavors and visuals!
Step‑by‑Step Instructions for HALLOWEEN CHARCUTERIE BOARD
Step 1: Gather Your Ingredients
Begin by assembling all your ingredients for the HALLOWEEN CHARCUTERIE BOARD. This includes selecting a variety of cheeses like cheddar, brie, and goat cheese, along with assorted meats such as salami, prosciutto, and pepperoni. Don’t forget your colorful fruits—green grapes, apple slices, and dried apricots. This preparation will streamline your assembly process and ensure a visually appealing board.
Step 2: Prepare the Cheeses and Meats
Slice the cheeses into bite-sized pieces or fun Halloween shapes using cookie cutters if desired. Arrange them on your serving board, focusing on creating a balanced look. Next, slice the meats into various shapes, and artfully position them alongside the cheeses. This combination of textures and flavors will set the foundation for your festive HALLOWEEN CHARCUTERIE BOARD.
Step 3: Add the Fruits
Now, it’s time to incorporate the fruits! Lay out the green grapes in clusters for a ghostly vibe, and place the apple slices nearby, drizzled with lemon juice to maintain their freshness. Scatter the dried apricots around the board for a cheerful pop of color. These fruity elements not only enhance the visual appeal but also add a touch of sweetness to balance the savory flavors.
Step 4: Include the Add-Ons
Enhance your HALLOWEEN CHARCUTERIE BOARD by adding olives, nuts, and crackers. Create creepy “spiders” using black olives by placing them alongside or on top of the meats. Nestle handfuls of almonds or walnuts between the cheese and fruit, and layer an assortment of crackers around the edge for guests to enjoy. This variety brings delightful crunch and interest to your board.
Step 5: Garnish Creatively
For that final festive touch, garnish your charcuterie board with fresh herbs, pumpkin seeds, and a sprinkle of candy corn. Use rosemary or thyme sprigs as whimsical “creepy trees” and scatter pumpkin seeds around for crunch. Lastly, the candy corn adds a splash of color and a hint of nostalgic sweetness. Your HALLOWEEN CHARCUTERIE BOARD will now be a centerpiece bursting with life!
Step 6: Arrange and Serve
As you finish assembling, take a step back and ensure that everything is arranged aesthetically. Fill in any gaps with extra elements, like herbs or candies, for a cohesive look. Before serving, let your HALLOWEEN CHARCUTERIE BOARD sit for a few minutes to allow the flavors to meld together while your guests marvel at this spooky creation. Now you’re ready to celebrate with style!
Make Ahead Options
These Halloween charcuterie board elements are perfect for busy hosts looking to save time! You can prepare all your cheeses and meats by slicing and arranging them up to 24 hours in advance—simply wrap them tightly in plastic wrap or store them in airtight containers to keep them fresh. Additionally, prep your fruits, like apple slices and grapes, by drizzling lemon juice over the apple slices to prevent browning. On the day of your gathering, all you’ll need to do is add the fruits, nuts, and any fun garnishes. This advanced preparation allows you to enjoy the festivities without last-minute stress, ensuring that your Halloween charcuterie board remains just as delightful and fresh for your guests!
Expert Tips for Halloween Charcuterie Board
-
Balance Flavors: Aim for a mix of sweet, savory, and tangy items. Combining flavors enhances the overall taste of your HALLOWEEN CHARCUTERIE BOARD for diverse palates.
-
Creative Shapes: Use cookie cutters to create spooky shapes for cheeses and meats. This fun presentation will delight guests and encourage them to dig in!
-
Seasonal Fruits: Incorporate seasonal fruits such as pomegranate or pears to add variety and freshness. They also add a splash of color that fits the Halloween theme.
-
Layer Textures: Vary the textures on your board by including crunchy nuts and soft cheeses. Layering textures keeps it interesting for your guests.
-
Prep Ahead: Assemble the HALLOWEEN CHARCUTERIE BOARD a few hours in advance to allow flavors to meld. This reduces stress, letting you enjoy the festivities!
Halloween Charcuterie Board Variations
Feel free to get creative with your Halloween charcuterie board; the possibilities are endless and fun!
-
Ghoulish Vegetables: Swap out fruits for a frightening array of colorful veggies like bell peppers and carrots. Add spooky faces with dips for a fresh twist!
-
Plant-Based: Use vegan cheeses and deli slices for a delicious plant-based board. Pair with hummus and fresh veggies to keep it hearty and festive.
-
Sweet Delights: Incorporate mini cupcakes or Halloween-themed cookies for a sweeter option. These treats add a fun dessert aspect that will delight guests!
-
Add Some Spice: Include spicy meats like chorizo or jalapeño-stuffed olives for those who crave a kick. A touch of heat will balance beautifully with the creamy cheeses.
-
Cheese Alternatives: Experiment with smoked cheeses or flavored spreads like pumpkin spice cream cheese for a seasonal flavor explosion. It’s a true taste of autumn!
-
Savory Dippers: Swap crackers for crunchy breadsticks or savory biscotti to change up the texture and add an exciting dipping experience.
-
Add Sweet Nuts: Consider candied nuts to mix sweetness with crunch, providing a delightful contrast to the savory elements on your board.
-
Mini Treats: Create mini sliders or appetizer-sized portions alongside your board. These bite-sized treats will give guests even more to enjoy while mingling.
For festive inspiration, don’t forget to check out my Spooky Spiderweb Brownies or create fun pairings that bring some extra ghoulish fun to your gathering!
What to Serve with Spooktacular Halloween Party Snack Ideas?
As your guests indulge in these whimsical treats, complement their experience with delightful pairings that evoke the spirit of the season.
- Witches Brew Punch: A vibrant, fruity concoction that perfectly aligns with the Halloween theme, adding a touch of mystique to every sip.
- Ghostly Green Salad: Crisp romaine with spooky ghost-shaped croutons creates a refreshing contrast to rich snacks, keeping the flavors lively and balanced.
- Creepy Cheesecake Bites: Mini desserts with a hint of chocolate can satisfy any sweet tooth while maintaining the festive charm. These decadent bites are a delightful way to end the night!
- Fizzy Spider Drinks: Carbonated beverages with a touch of black food coloring bring an eerie effect, charmingly enchanting those who dare to sip it.
- Pumpkin Spice Latte: A warm, inviting drink that captures the essence of fall, creating a comforting balance alongside savory snacks.
- Charming Charcuterie Pairing: Elevate the snack table with an assortment of meats and cheeses that echo the flavors of your spooky selections, enhancing the overall experience.
Storage Tips for Halloween Charcuterie Board
Room Temperature: Keep your Halloween charcuterie board at room temperature for up to 2 hours. After that, it’s best to refrigerate any leftovers to ensure food safety.
Fridge: Store any leftover meats, cheeses, and fruits in airtight containers in the fridge. They can be kept fresh for up to 3 days, maintaining their delightful flavors.
Reassembly Tips: When ready to serve leftovers, allow the charcuterie ingredients to come to room temperature for enhanced flavor. Recreate the festive setup for another spooky gathering or a movie night!
Freezer: Avoid freezing most components, as this can compromise their texture. However, you can freeze nuts for up to 6 months without losing their crunch, planning ahead for your next Halloween party food adventure!
Halloween Charcuterie Board Recipe FAQs
How do I choose the right ingredients for my Halloween charcuterie board?
Absolutely! When selecting ingredients, focus on a balance of flavors and textures. Choose a variety of cheeses like cheddar, brie, and goat cheese for creaminess, alongside savory meats such as salami, prosciutto, and pepperoni. Fresh fruits like green grapes and apple slices contribute vibrant color and sweetness, while nuts, olives, and seasonal garnishes like pumpkin seeds add crunch and interest.
How long can I store leftover components from the Halloween charcuterie board?
You can store leftover meats, cheeses, and fruits in airtight containers in the fridge for up to 3 days. Remember to refrigerate any leftovers after 2 hours at room temperature to ensure food safety. To maintain freshness, allow them to come to room temperature before serving again for the best flavor experience.
Can I prepare the Halloween charcuterie board in advance?
Very! You can assemble the board a few hours before your event. This not only allows the flavors to meld together but also reduces last-minute stress. Just be sure to keep it covered to avoid drying out and add any garnishes or crunchy elements just before serving for the best presentation.
What if I want to customize the board for specific dietary needs?
The more the merrier! For vegetarian options, load up on extra fruits, nuts, and veggies. If allergies are a concern, always ensure to label items and swap common allergens like nuts with seeds or alternative snacks. Also, explore non-dairy cheeses and gluten-free crackers to accommodate various dietary restrictions.
Can I freeze the Halloween charcuterie board ingredients?
While most elements shouldn’t be frozen due to texture change—like cheeses and fruits—nuts can be frozen for up to 6 months without losing their crunch. If you want to save some meats, wrap and freeze them carefully, but keep in mind they taste best freshly served.
Create a Spooky Halloween Charcuterie Board to Impress Guests
Ingredients
Equipment
Method
- Gather all ingredients for the HALLOWEEN CHARCUTERIE BOARD including cheeses, meats, fruits, and add-ons.
- Slice cheeses into bite-sized pieces or fun Halloween shapes using cookie cutters. Arrange them on the serving board.
- Incorporate fruits by laying out grapes, apple slices drizzled with lemon juice, and scatter dried apricots.
- Add olives, nuts, and crackers for crunch and interest. Create creepy 'spiders' using black olives.
- Garnish with fresh herbs, pumpkin seeds, and candy corn to add festive touch and color.
- Ensure everything is arranged aesthetically and let sit for a few minutes before serving.
Leave a Reply