
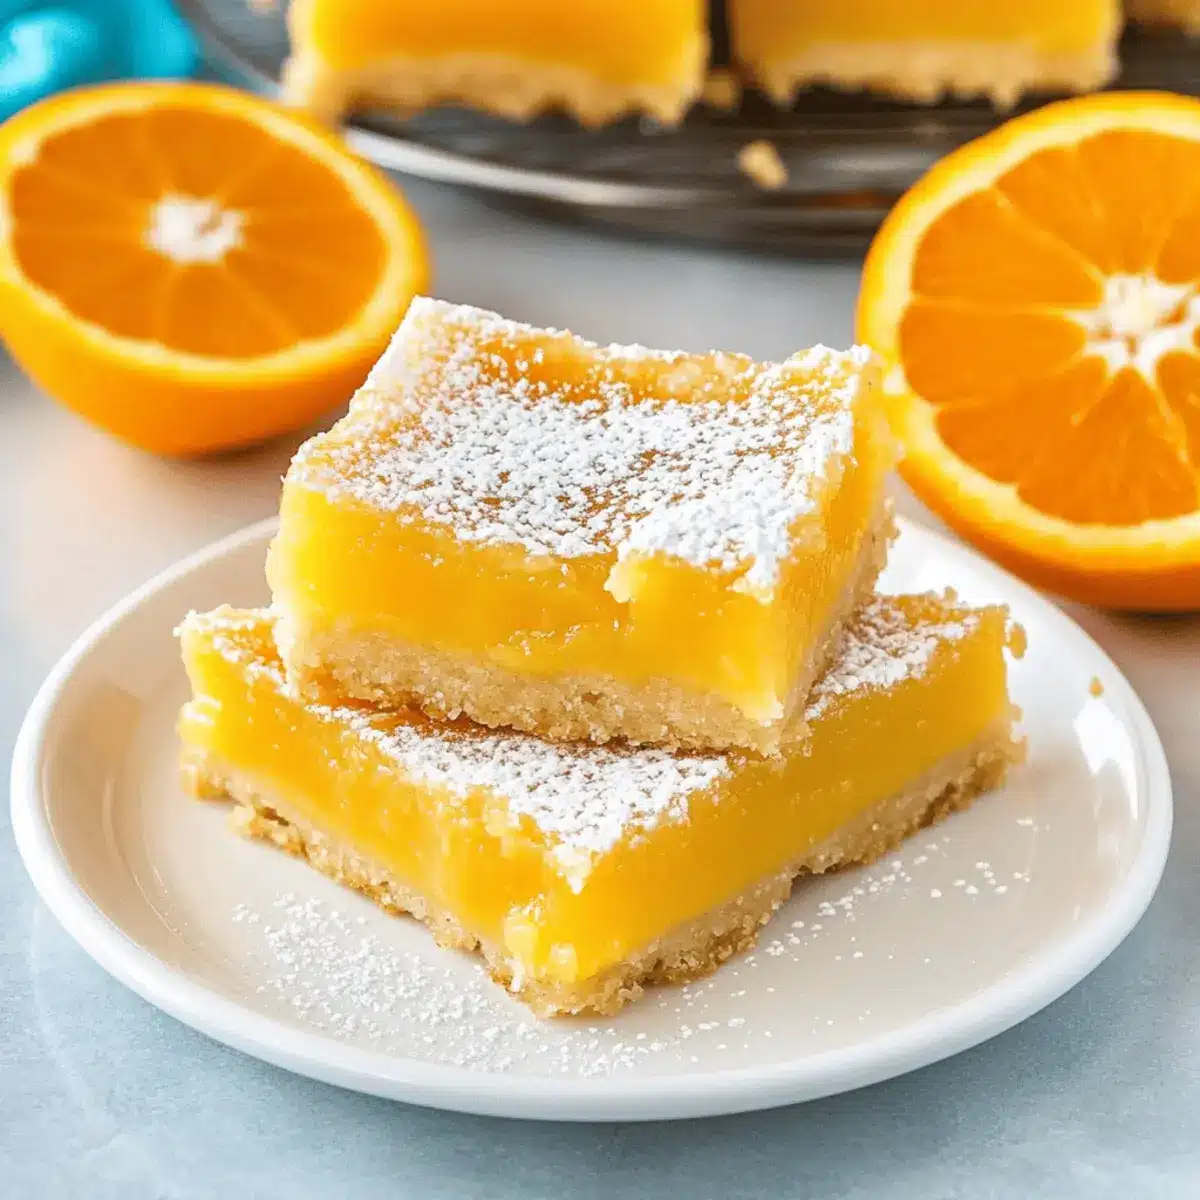
As I savored the last bite of an Orange Dream Bar, I couldn’t help but reminisce about sunlit afternoons spent devouring citrusy treats. These delightful bars, with their thick buttery shortbread crust and rich orange curd filling, bring that nostalgic sweetness back to life. The beauty of these Orange Bars lies in their perfect balance of sweet and tart, delivering a vibrant burst of flavor that brightens any dessert table. Plus, they’re a breeze to whip up, making them an ideal choice for both casual snacking and festive gatherings. Whether you’re celebrating a special occasion or simply indulging in something homemade, these bars are a refreshing twist on the classic lemon bars we all love. Ready to dive into this zesty adventure and delight your taste buds? Let’s get baking!
Why Are Orange Bars So Irresistible?
Bright, Refreshing Flavor: The vibrant citrus profile adds a unique twist that lifts your spirits.
Easy Preparation: With simple ingredients and straightforward steps, these bars are perfect for any home cook.
Crowd-Pleasing Treat: Serve them at parties or family gatherings, and watch them disappear in minutes!
Versatile Enjoyment: Enjoy them chilled, warm, or with a scoop of ice cream for an indulgent dessert experience.
Nostalgic Delight: These bars evoke memories of sunny days and sweet indulgence, reminding you of classic treats. If you love citrus desserts as much as I do, don’t miss out on these tasty options like Bake Chocolate Bars or consider variations such as blood orange bars for a different flavor profile!
Orange Bars Ingredients
For the Crust
- Unsalted Butter – Provides richness and moisture; can substitute with salted butter but reduce added salt.
- All-Purpose Flour – Acts as the structural backbone of the crust; no substitutions needed unless opting for gluten-free flour.
- Granulated Sugar – Sweetens the crust while balancing the tartness; finer sugar can be used if needed.
- Salt – Enhances flavor; adjust quantity if using salted butter.
For the Filling
- Fresh Squeezed Orange Juice – Essential for the filling, providing fresh citrus flavor; always use fresh for the best taste.
- Orange Zest – Intensifies the citrus aroma; consider adding more if your oranges are particularly large.
- Orange Extract – Amplifies the orange flavor; crucial for achieving a bright, full-bodied taste.
- Baking Powder – Adds a slight lift to the filling; important for a pleasing texture.
- Eggs – Key to providing structure and creaminess in the filling; they cannot be substituted without affecting consistency.
For the Topping
- Powdered Sugar – Optional but perfect for dusting atop the bars, adding a beautiful finish and a touch of sweetness.
These Orange Bars will surely become a favorite in your dessert repertoire!
Step‑by‑Step Instructions for Orange Dream Bars
Step 1: Preheat the Oven
Begin by preheating your oven to 350°F (175°C). While the oven warms, prepare a 9×13-inch baking pan by lining it with foil or parchment paper, leaving some overhang for easy removal later. Grease the lining generously with butter to ensure the crust does not stick, so you’ll have perfect Orange Dream Bars.
Step 2: Make the Crust
In a mixing bowl, beat 1 cup of unsalted butter until creamy and smooth, approximately 2-3 minutes. Gradually add 2 cups of all-purpose flour, 1/2 cup of granulated sugar, and a pinch of salt, mixing until a soft dough forms. Press this dough evenly into the prepared pan, making sure to spread it to the corners. Bake for about 18 minutes or until it’s lightly golden and just set.
Step 3: Prepare the Filling
While the crust is baking, combine the filling ingredients in a large mixing bowl. Whisk together 1 cup of fresh-squeezed orange juice, the zest of 2 oranges, 1 teaspoon of orange extract, 1 cup of granulated sugar, 1/4 cup of all-purpose flour, 1 teaspoon of baking powder, and 3 large eggs. Blend all ingredients until smooth, ensuring there are no lumps, which will contribute to the creamy texture of your Orange Dream Bars.
Step 4: Bake the Filling
Once your crust is ready, remove it from the oven and immediately pour the smooth filling over the hot crust. Return the pan to the oven and bake for an additional 20-23 minutes. The filling should be set but still slightly jiggly in the center; it will continue to firm up as it cools. Watch closely to avoid overbaking, as you want a creamy texture for the Orange Dream Bars.
Step 5: Cool and Slice
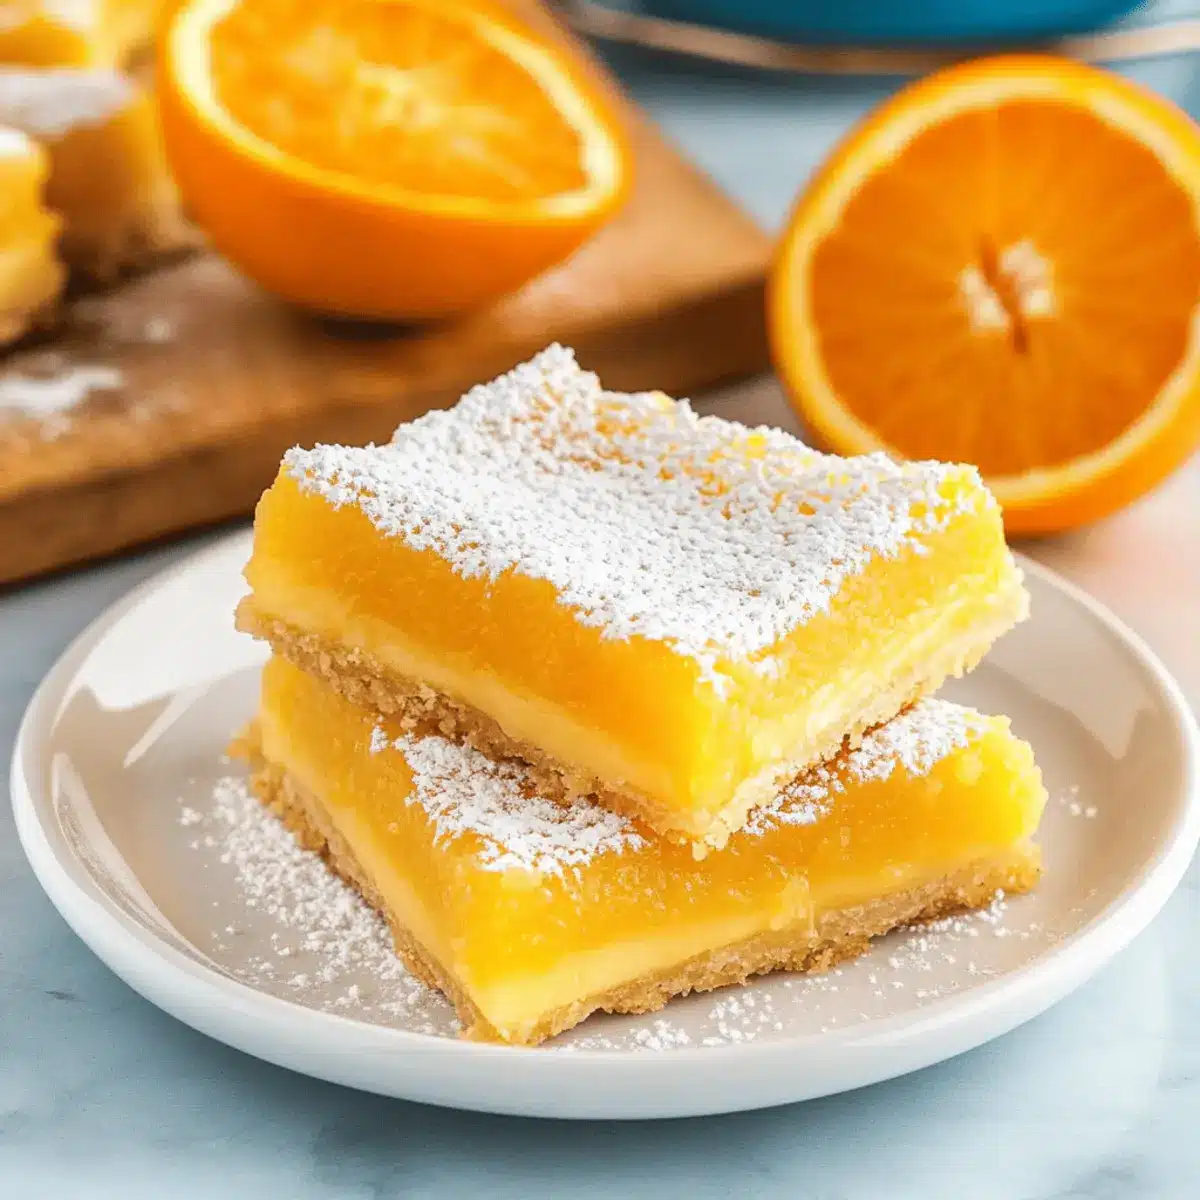
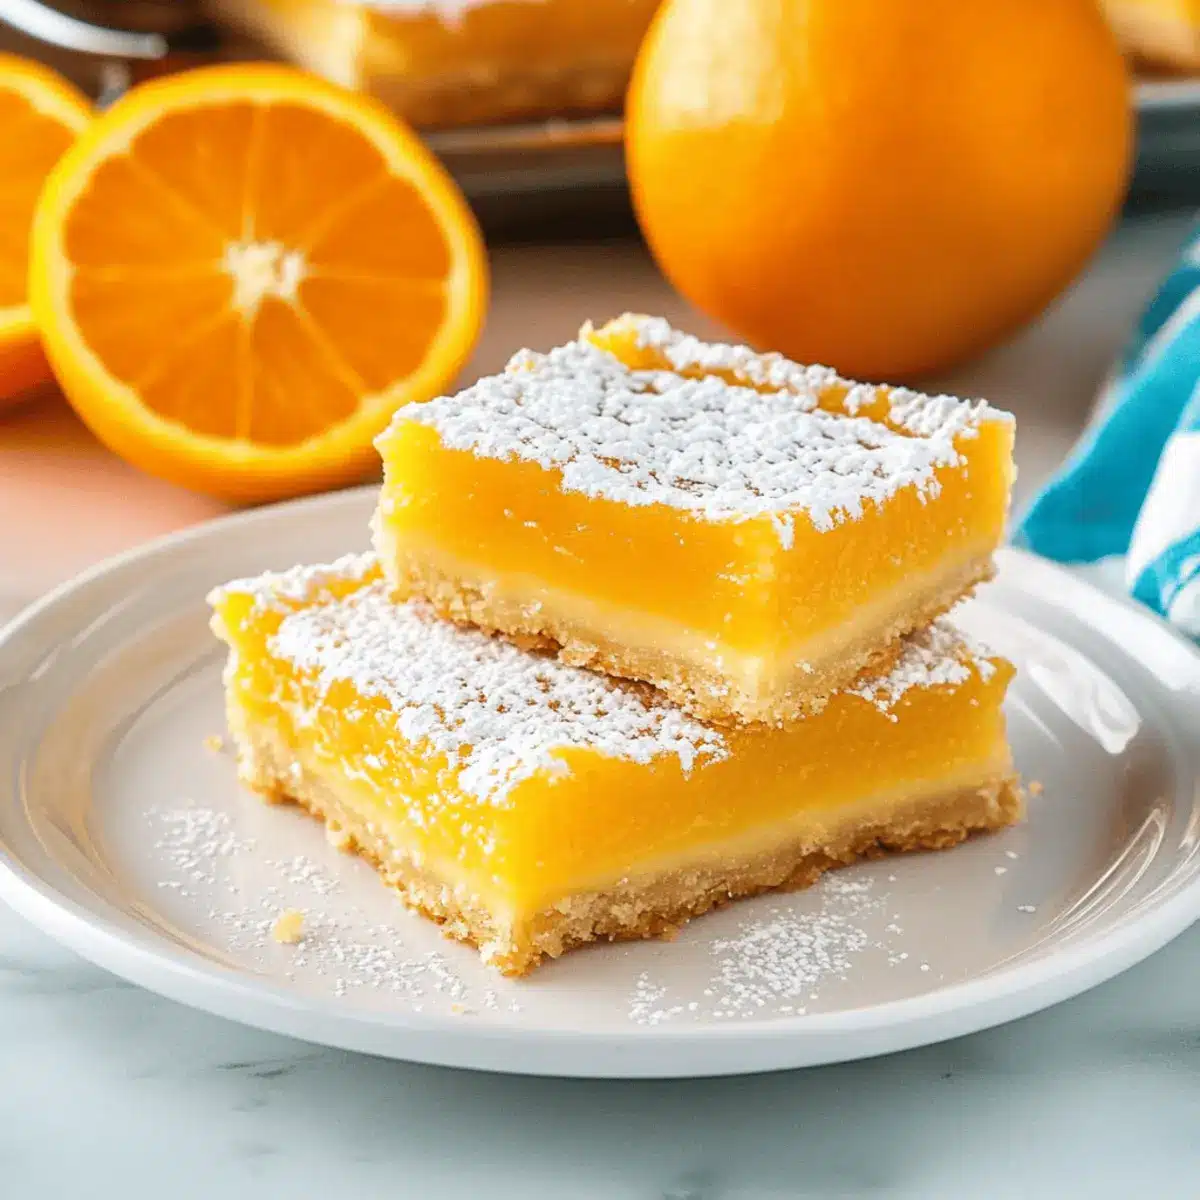
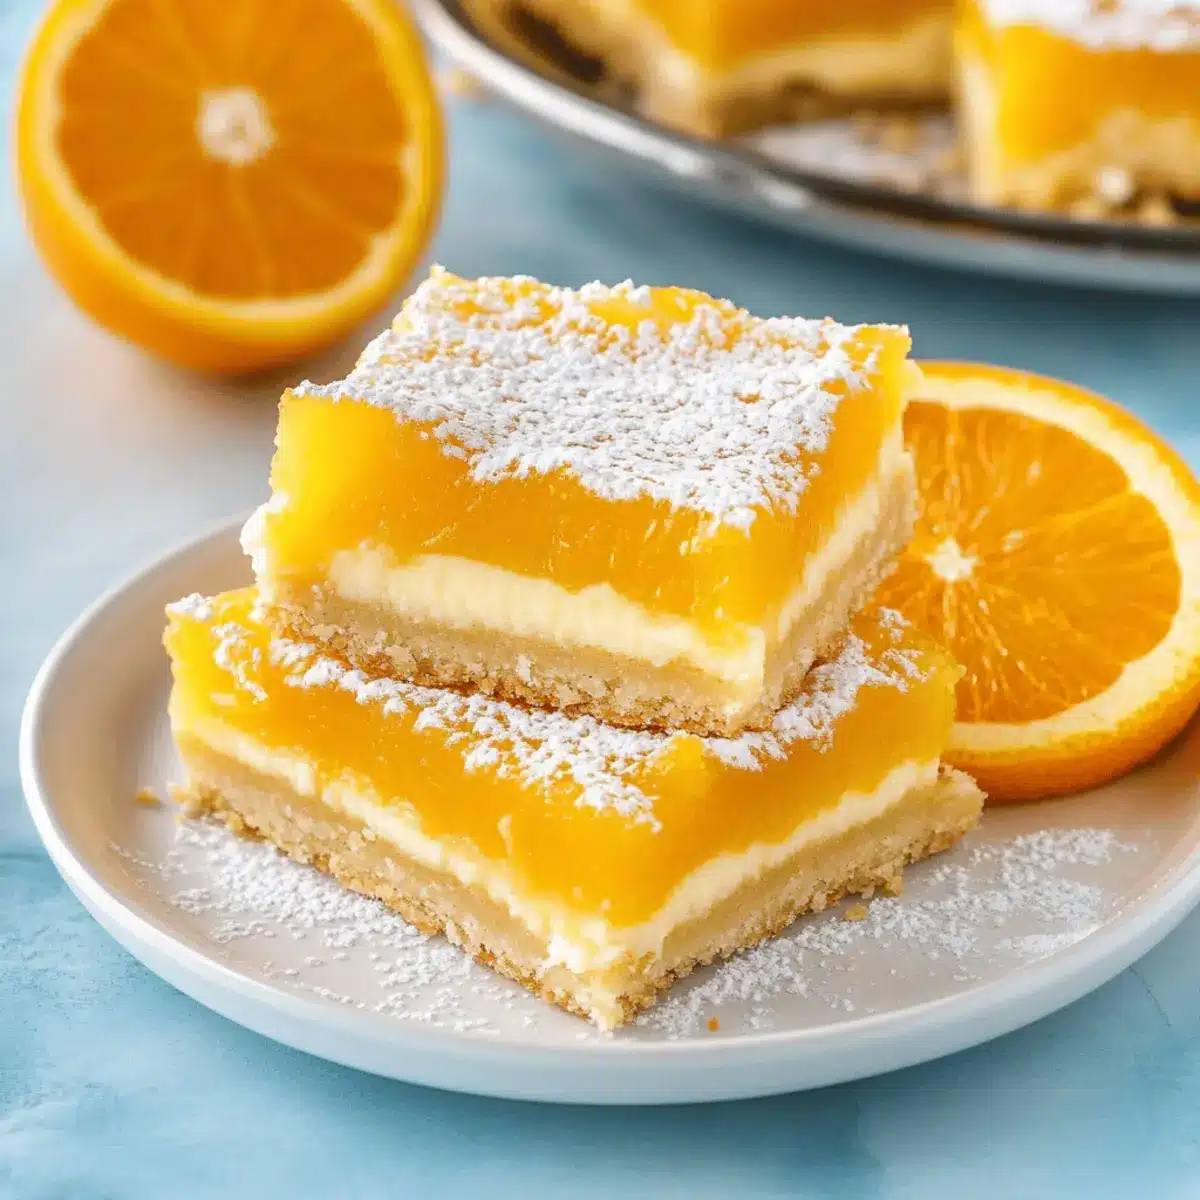
After baking, allow the Orange Dream Bars to cool completely in the pan at room temperature. This cooling period is essential for the filling to firm up nicely. Once cool, gently lift the bars out of the pan using the overhanging foil or parchment paper. Dust the top with powdered sugar for a beautiful finish, then slice into squares for serving. Enjoy your delightful citrusy treat!
Orange Bars Variations & Substitutions
Feel free to explore these delightful modifications and make this recipe your own!
-
Blood Orange Twist: Substitute blood oranges for a beautiful crimson hue and a deeper, richer flavor profile.
-
Almond Extract: Add 1 teaspoon of almond extract to the filling for a unique, nutty flavor that complements the orange beautifully. It’s a delightful surprise!
-
Coconut Crust: Mix in 1/2 cup of shredded coconut with your crust for added texture and a tropical flair. This will make each bite a crunchy delight!
-
Vegan Option: Replace eggs with flaxseed meal (1 tablespoon mixed with 3 tablespoons water per egg) and use coconut oil instead of butter for a plant-based version. The bars will still be creamy and tangy!
-
Spicy Kick: Incorporate a pinch of cayenne pepper into the filling for an unexpected heat that contrasts nicely with the sweet and tart flavors. It adds a fun twist!
-
Cream Cheese Layer: Blend 8 ounces of cream cheese into the filling for an extra creamy texture and a subtle tang that enhances the orange flavor. Perfect for cream cheese lovers!
-
Candied Orange Peel: Top the bars with chopped candied orange peel for a flavorful and sophisticated garnish. It adds a touch of elegance to your dessert!
-
Alternate Sweeteners: For a healthier alternative, consider using honey or maple syrup instead of sugar. Just be mindful to adjust the amounts, as these are sweeter than granulated sugar.
For more tempting treats, why not check out how to Bake Chocolate Bars or get inspired by tantalizing blood orange variations? Enjoy your baking journey!
Expert Tips for Orange Dream Bars
-
Taste Check: Before adding the filling, taste the orange juice. The sweetness of the oranges varies, so adjust the sugar as needed for well-balanced Orange Bars.
-
Crust Consistency: Ensure the crust dough is evenly packed. If it’s too loose, the filling might seep through during baking, creating a soggy base.
-
Fresh Ingredients: Always use fresh squeezed orange juice and zest for the best flavor. Bottled juice doesn’t have the same bright, vibrant taste.
-
Oven Watch: Keep a close eye on the filling as it bakes. Overbaking can lead to a rubbery texture; it should be set but creamy.
-
Cooling Time: Let the bars cool completely before cutting. This allows the filling to firm up, making it easier to slice into neat squares.
Make Ahead Options
These Orange Dream Bars are perfect for meal prep enthusiasts looking to streamline their dessert game! You can prepare the buttery crust up to 24 hours in advance; simply bake it, let it cool, and store it in an airtight container at room temperature. The filling can be mixed ahead as well—just keep it refrigerated for up to 3 days. To finish, pour the chilled filling over the crust and bake as directed. Remember, for the best flavor and texture, bake the filling directly after combining the ingredients. This allows you to enjoy these delightful orange bars with minimal effort on your busy days!
How to Store and Freeze Orange Dream Bars
Room Temperature: Store Orange Dream Bars at room temperature for up to 2 days, covered with foil or plastic wrap to maintain freshness.
Fridge: Store in an airtight container in the refrigerator for up to 1 week. This keeps the bars firm and flavorful, ready for your next craving.
Freezer: For longer storage, freeze Orange Dream Bars wrapped tightly in plastic wrap and then in aluminum foil for up to 3 months. Thaw in the fridge before serving.
Reheating: If you prefer them warm, reheat individual bars in the microwave for 10-15 seconds. Enjoy the delightful citrusy flavor fresh from the oven!
What to Serve with Orange Dream Bars
As you delight in the sweet and tangy nuances of these bars, consider adding pairings that elevate your dessert experience.
-
Fresh Berries: Juicy strawberries or blueberries add a burst of color and freshness, enhancing the citrus notes of the bars. Their natural sweetness complements the tangy filling beautifully.
-
Whipped Cream: A dollop of lightly sweetened whipped cream introduces a creamy texture that balances the tartness of the orange. It’s simple, yet makes a decadent addition!
-
Vanilla Ice Cream: The rich, creamy flavor of vanilla ice cream pairs perfectly with the citrusy bars, creating a delightful contrast that melts in your mouth with each bite. The cold ice cream against the warm bars is pure magic!
-
Mint Sprigs: A sprinkle of fresh mint not only brightens the presentation but also adds a refreshing hint that contrasts beautifully with the zesty flavors. It invigorates your taste buds and is visually appealing!
-
Sparkling Water: A refreshing glass of sparkling water with a twist of lemon or lime provides a light touch that cleanses the palate, highlighting the flavors of the Orange Dream Bars.
-
Nutty Biscotti: Crunchy almond or hazelnut biscotti brings extra crunch and a nutty flavor. Dip them into the filling for a delightful texture contrast alongside the soft bars.
-
Zesty Lemonade: A cool glass of homemade lemonade with a hint of mint creates a lovely citrus symphony when enjoyed alongside the Orange Dream Bars. It’s the perfect refresher on a warm day!
-
Chocolate Drizzle: A drizzle of dark chocolate sauce adds a touch of indulgence, elevating the dessert into a gourmet experience. The rich chocolate balances the bright orange flavor in a unique way.
Orange Dream Bars Recipe FAQs
How do I know when my oranges are ripe?
Absolutely! When selecting oranges for your Orange Dream Bars, look for bright, smooth skin without dark spots or blemishes. They should feel heavy for their size and give slightly when squeezed, indicating juiciness. If they’re too firm, they may not be ripe enough.
What is the best way to store leftover Orange Dream Bars?
You can store your Orange Dream Bars in an airtight container in the refrigerator for up to 1 week. If you’re looking to keep them fresh longer, simply cover them with aluminum foil or plastic wrap. This method retains their flavorful goodness and creamy texture!
Can I freeze Orange Dream Bars?
Very! For freezing, wrap the Orange Dream Bars tightly in plastic wrap, then place them in a freezer-safe container or wrap again in aluminum foil. This will ensure they stay fresh for up to 3 months. To thaw, simply move them to the refrigerator overnight, and they’ll be just as delightful when you’re ready to enjoy them again.
What should I do if my filling is too runny?
If your filling becomes too runny, it may need more baking time. Return the bars to the oven and bake for an additional 2-5 minutes. Keep an eye on the filling; it should be set but still slightly jiggle in the center. When cool, this should firm up for that perfect creamy texture.
Are there any dietary considerations I should be aware of?
Certainly! These Orange Dream Bars contain eggs, which might not be suitable for vegans. If you’re making these for someone with allergies, be cautious as well; this recipe includes gluten from all-purpose flour and can be high in sugar. For a healthier alternative, consider using a gluten-free flour blend or reducing the sugar to suit your dietary needs.
Can I use bottled orange juice instead of fresh?
While you could, I highly recommend sticking with fresh-squeezed orange juice for your Orange Dream Bars. Bottled juice lacks the vibrant, fresh taste that really makes this dessert shine and can lead to a less flavorful filling. Always aim for that bright, zesty flavor!
Zesty Orange Bars with Buttery Crust You’ll Crave
Ingredients
Equipment
Method
- Preheat your oven to 350°F (175°C) and prepare a 9x13-inch baking pan, greasing with butter.
- In a bowl, beat 1 cup of unsalted butter until creamy. Gradually add flour, sugar, and salt, mixing until a dough forms. Press into the pan and bake for 18 minutes.
- In a bowl, whisk together the filling ingredients until smooth. Ensure there are no lumps for a creamy texture.
- Pour smooth filling over the hot crust and bake for 20-23 minutes until set but jiggly in the center.
- Allow the bars to cool completely in the pan before dusting with powdered sugar and slicing into squares.
Leave a Reply