
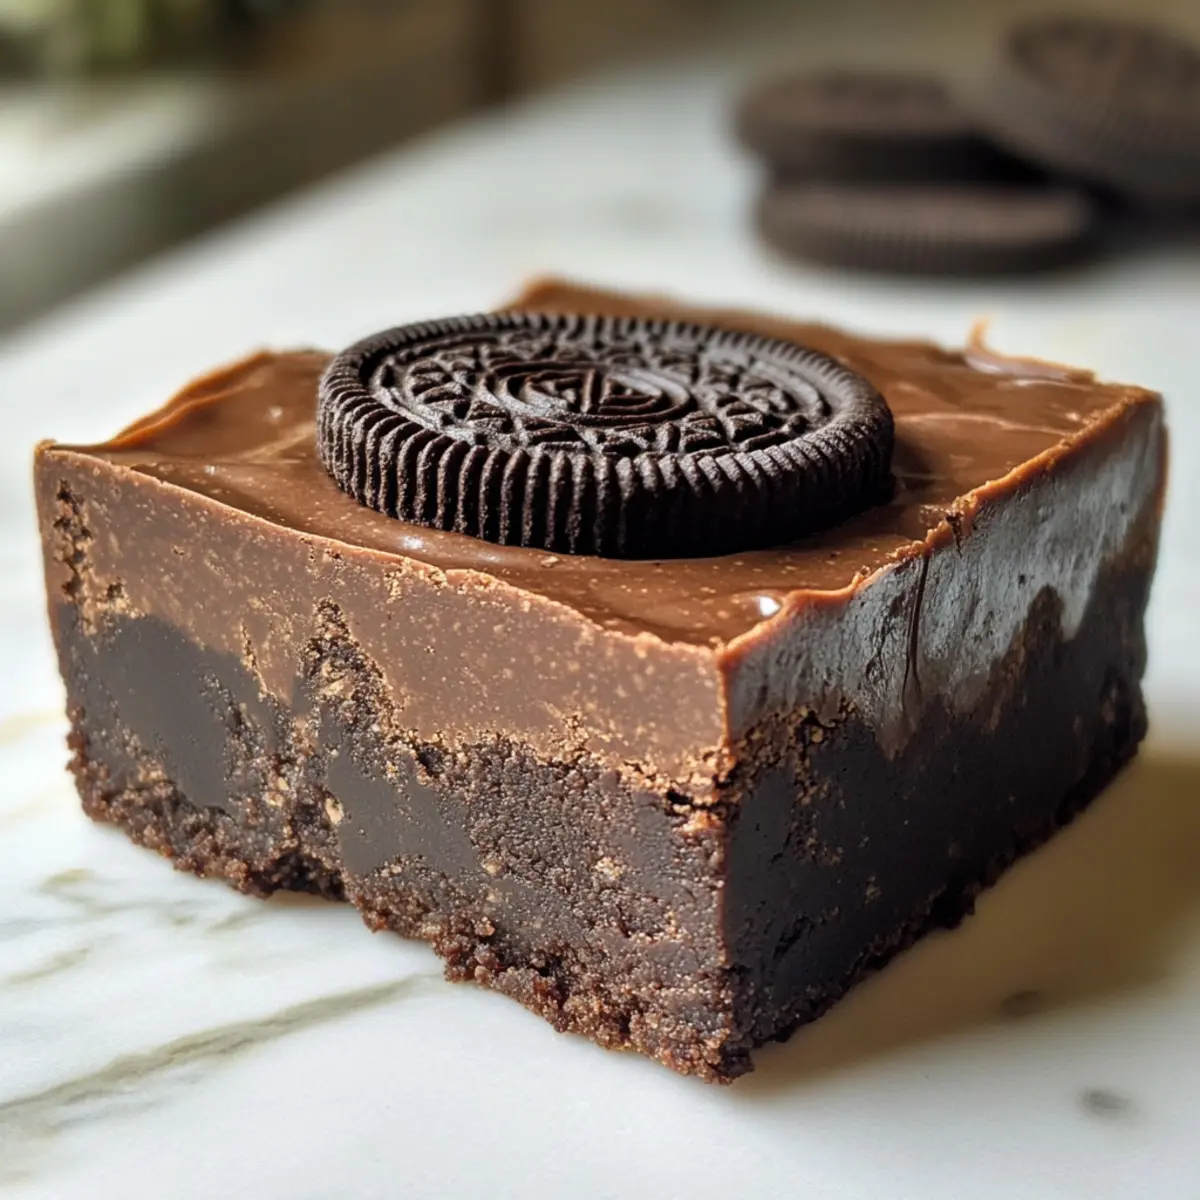
There I was, standing in my kitchen, a craving for something sweet hitting me hard. The idea of whipping up a complicated dessert felt overwhelming, but then I remembered my beloved 3-Ingredient Oreo Fudge. This easy no-bake recipe is a game-changer, transforming three simple ingredients into a rich, velvety delight that’s perfect for any occasion. Not only is it dangerously quick to prepare, but it also packs a flavor punch that will leave your friends and family asking for seconds. Whether you’re hosting a gathering or just need a little pick-me-up, this Oreo fudge is sure to impress without the fuss. Are you ready to indulge in this effortless treat that comes together in a flash? Let’s dive in!
Why Is Oreo Fudge So Irresistible?
Epic simplicity: This delicious Oreo fudge requires just three ingredients, making it perfect for busy home cooks or anyone who wants a sweet treat without the hassle.
Mouthwatering texture: Each bite is a creamy, melt-in-your-mouth experience, accentuated by the delightful crunch of Oreo pieces.
No baking needed: Save time and energy with this easy no-bake recipe; it’s hassle-free and mess-free!
Crowd-pleasing delight: Whether served at parties or gifted to friends, this fudge is guaranteed to wow everyone. Looking for more ways to enjoy Oreos? Check out these Oreo Milkshake Indulgence or Mini Oreo Cheesecakes for additional treats!
Flavor versatility: Experiment with different Oreo flavors to keep things exciting or add toppings like nuts for a unique twist.
Oreo Fudge Ingredients
For the Fudge Base
- White Chocolate – Provides the base sweetness and creamy texture; can be replaced with chocolate bark or chips for similar results.
- Sweetened Condensed Milk – Acts as a binder for the fudge, ensuring a moist consistency; it’s crucial for achieving that rich Oreo fudge texture.
For the Crunch
- Oreo Sandwich Cookies – Adds flavor and texture, creating the signature taste; feel free to try different Oreo flavors for a fun twist!
Step‑by‑Step Instructions for Oreo Fudge
Step 1: Melt the Base
In a medium microwave-safe bowl, combine the white chocolate and sweetened condensed milk. Microwave on high for 1 minute, then remove and stir the mixture. You should see the chocolate starting to soften; if there are still solid pieces, return it to the microwave for additional melting.
Step 2: Complete the Melting
Continue to microwave the mixture in 15-second increments, stirring well after each time, until completely smooth and glossy. This should take about 1-2 minutes total including the initial minute. The melted mixture should be free of lumps, creating a velvety fudge base that will hold all your Oreo goodness.
Step 3: Prepare the Oreos
While the chocolate mixture is melting, take a ziplock bag and add the Oreo sandwich cookies. Using a rolling pin, crush the Oreos until they are finely ground; small pieces can add delightful crunch in the fudge. Aim for a consistent texture that will fold easily into the melted chocolate.
Step 4: Mix in the Oreos
Once the chocolate mixture is smooth, gently fold the crushed Oreos into it using a spatula. Make sure to combine thoroughly, ensuring the Oreo pieces are well-integrated into the fudge base, providing that signature Oreo flavor throughout your fudge.
Step 5: Prepare the Baking Dish
Line an 8×8-inch baking dish with parchment paper, allowing some overhang for easy removal later. Pour the Oreo fudge mixture into the lined dish, spreading it evenly with your spatula. Smooth the top to create a flat, even surface, ready for cooling.
Step 6: Chill to Set
Refrigerate the fudge for at least 8 hours, or until it is fully set and firm to the touch. The fudge should feel solid but slightly soft when you press it gently. Cooling is essential for achieving the perfect texture that makes Oreo fudge so delicious.
Step 7: Cut and Serve
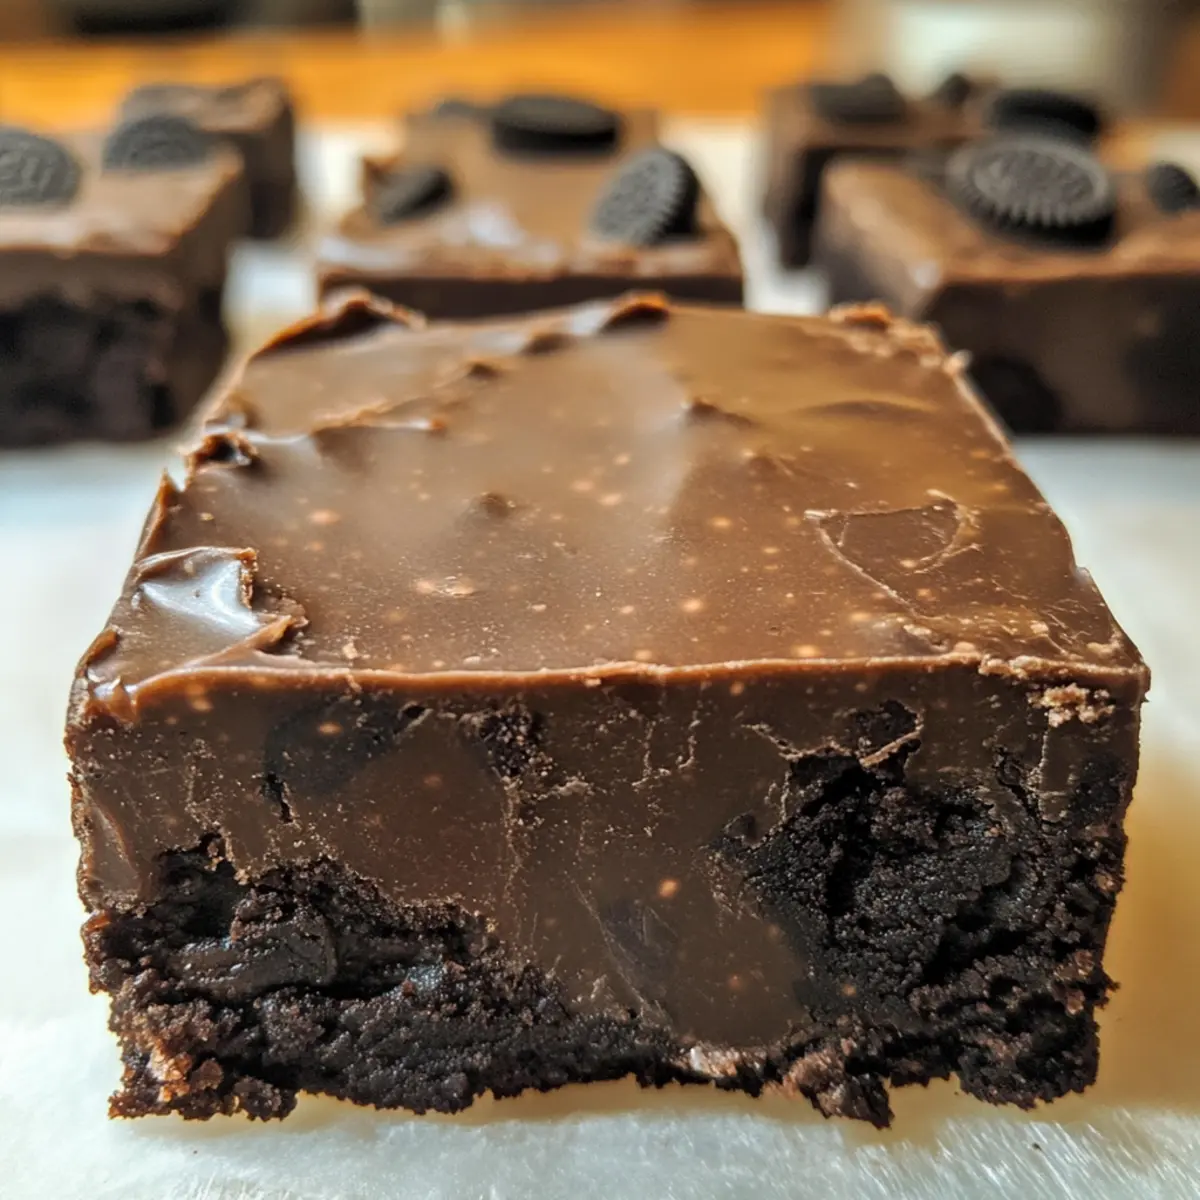
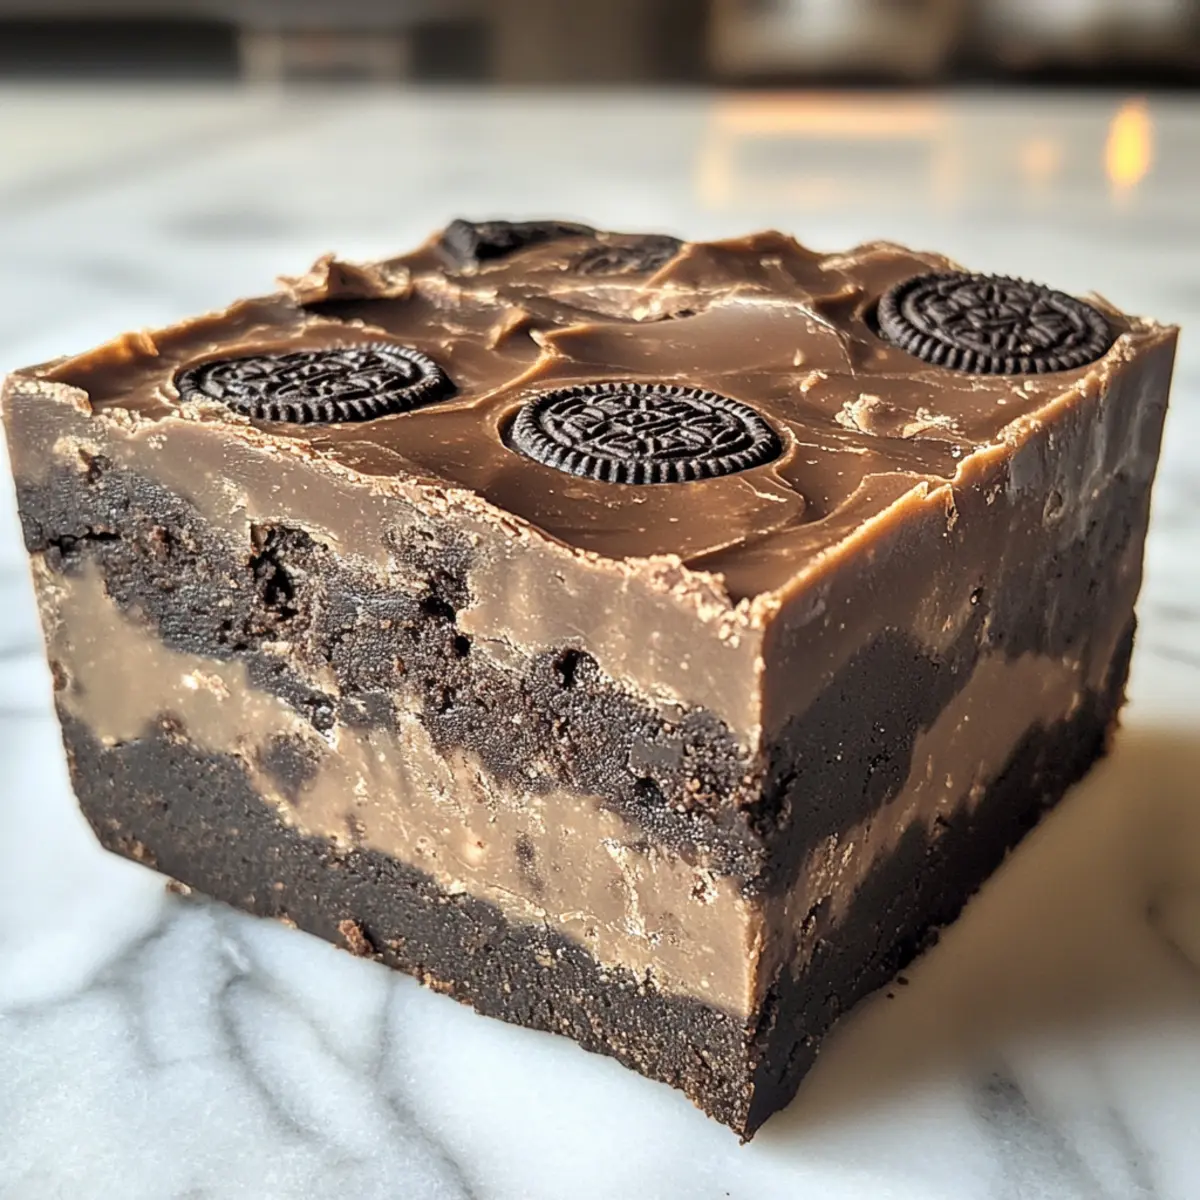
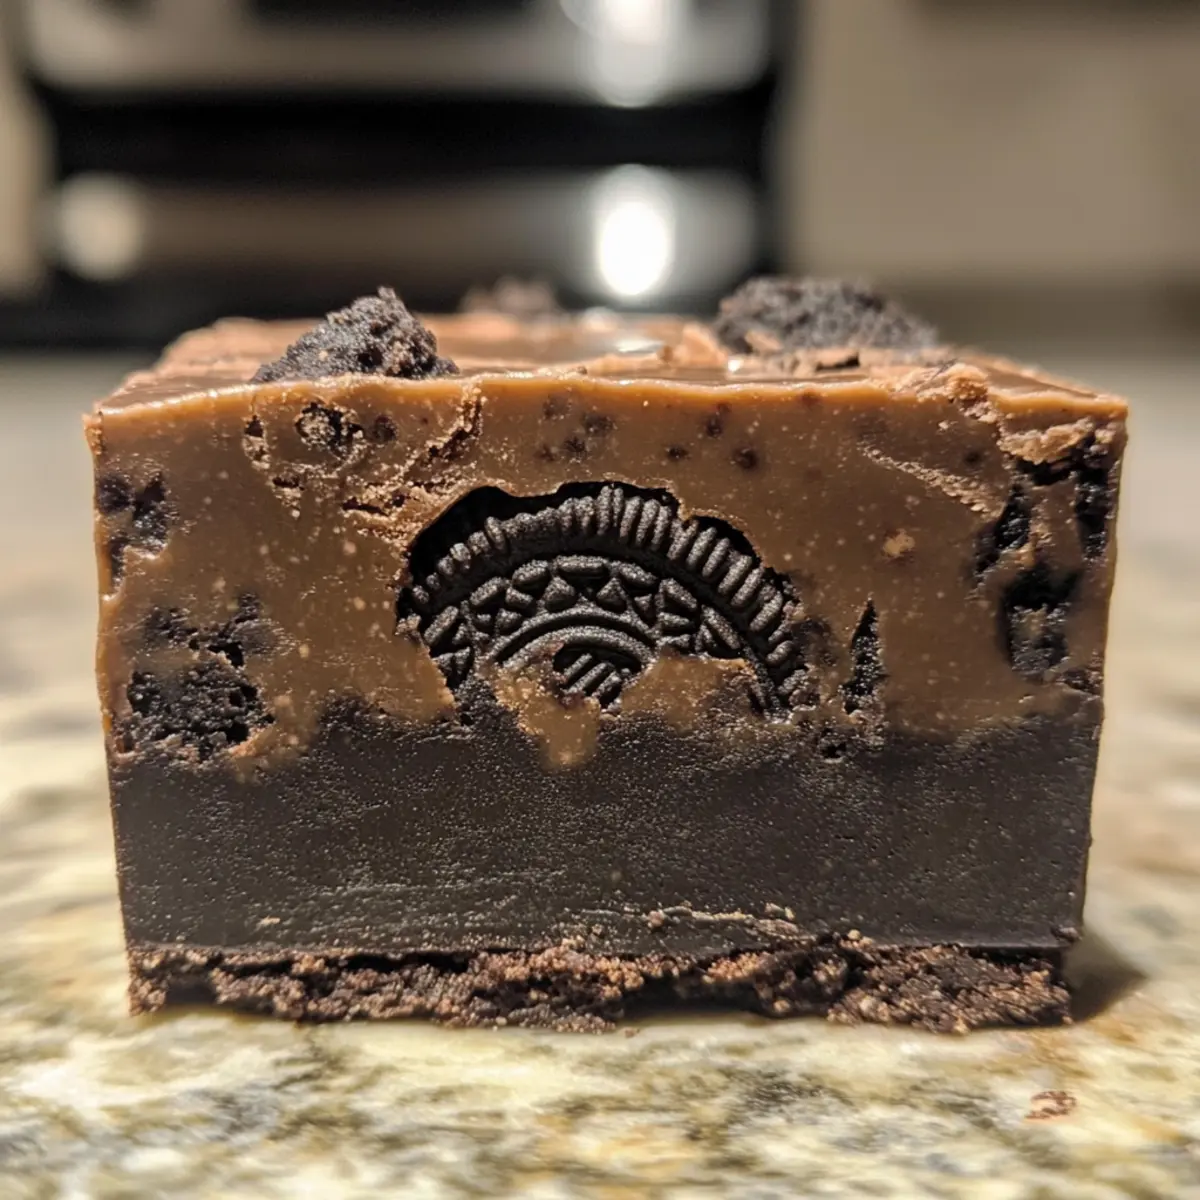
Once set, remove the fudge from the dish using the parchment overhang. Place it on a cutting board and slice it into squares; aim for bite-sized pieces to share with friends and family. Serve at room temperature or chill for a refreshing treat!
What to Serve with 3-Ingredient Oreo Fudge
Treat your taste buds and elevate your dessert experience with these delightful pairings that enhance the rich flavors of this oh-so-easy fudge.
-
Creamy Vanilla Ice Cream: The cold, smoothness of vanilla ice cream perfectly complements the dense texture of Oreo fudge, creating a heavenly dessert duo.
-
Fresh Berries: Juicy strawberries or raspberries add a refreshing tang, cutting through the richness of the fudge and balancing each bite elegantly.
-
Milk or Hot Chocolate: A classic glass of cold milk or a steamy cup of hot chocolate will amplify the chocolate goodness, offering a comforting drink alongside your fudge.
-
Whipped Cream: A dollop of light, fluffy whipped cream on top brings a delicious contrast, enhancing the overall presentation and making it even more indulgent.
-
Chocolate Drizzle: Elevate your fudge by drizzling it with a little melted chocolate. It adds an extra layer of richness and makes it look incredibly tempting.
-
Nutty Crunch: Consider serving with a sprinkle of crushed nuts, like almonds or hazelnuts, for added texture and a nutty flavor that pairs beautifully with the fudge.
-
Coffee or Espresso: A strong cup of coffee or a shot of espresso provides a rich, bitter contrast that enhances the delightful sweetness of the Oreo fudge.
-
Coconut Flakes: Sprinkle some toasted coconut flakes on top or alongside your fudge for a tropical twist and a hint of chewiness to each bite.
How to Store and Freeze Oreo Fudge
Airtight Container: Keep your Oreo fudge in an airtight container at room temperature for up to 3 days to maintain its delightful texture and flavor.
Refrigeration: For longer-lasting freshness, store your fudge in the fridge for up to a week. This helps keep it firm and preserves the creamy goodness.
Freezing: If you want to enjoy your fudge later, wrap individual pieces in plastic wrap and place them in a freezer-safe bag. They will stay fresh for up to 2 months.
Reheating: When ready to enjoy, simply remove from the fridge or freezer and allow to come to room temperature before serving to experience that soft, velvety texture once more.
Make Ahead Options
These delightful Oreo fudge squares are perfect for meal prep enthusiasts looking to save time on busy weeknights! You can prepare the Oreo fudge mixture and refrigerate it up to 24 hours in advance, allowing the flavors to meld beautifully. Simply complete the first five steps of the instructions, and then cover the baking dish tightly with plastic wrap before placing it in the fridge. This keeps the fudge fresh and helps maintain its creamy texture. When you’re ready to serve, just chill for at least 8 hours, then cut into squares and enjoy. This way, you can have a delectable dessert ready with minimal effort!
Expert Tips for Perfect Oreo Fudge
-
Precise Measurements: Ensure all ingredients are measured accurately; even small variances can affect the fudge’s texture and firmness.
-
Melting Technique: Avoid overheating the chocolate mixture; microwave in shorter increments to prevent burning and ensure a smooth finish.
-
Crush Oreos Well: Crumble the Oreo cookies into a fine consistency. Larger pieces may result in uneven texture and less integrated flavor.
-
Parchment Paper Use: Always line your baking dish with parchment paper. It makes removing the fudge hassle-free and preserves its beautiful shape.
-
Chill Time Matters: Be patient and let the fudge set for at least 8 hours. Insufficient chilling can lead to a gooey texture rather than the desired dense fudge.
-
Flavor Experimentation: Don’t hesitate to explore! Try swapping in different Oreo varieties or adding nuts for a delicious twist to your Oreo Fudge.
Oreo Fudge Variations & Substitutions
Feel free to get creative and customize your Oreo fudge to match your taste buds!
-
Minty Twist: Swap regular Oreos for mint-flavored Oreos for a refreshing, festive twist on the classic fudge. The cool mint mixes beautifully with the chocolatey base, creating a delightful holiday treat.
-
Nutty Delight: Add 1/2 cup of chopped nuts, like walnuts or pecans, for an added crunch and depth of flavor. The nuttiness complements the rich chocolate, making every bite a delightful experience.
-
Peanut Butter Lover’s Fudge: Mix in 1/4 cup of creamy peanut butter into the melted chocolate for a rich, nutty flavor that pairs perfectly with the Oreos. It’s a match made in heaven for peanut butter lovers!
-
White Chocolate Version: For a more delicate flavor, swap the white chocolate for dark chocolate. This adds a slightly bittersweet depth, balancing the sweetness of the Oreos and giving a new twist to your fudge.
-
Seasonal Flavors: Try seasonal Oreo flavors, like pumpkin spice in the fall or gingerbread in winter, to create a festive variation for the holidays, making your fudge a seasonal surprise.
-
Topping Extravaganza: Drizzle melted chocolate or caramel over the top for an eye-catching finish. It adds an extra layer of sweetness and makes your fudge look even more festive!
-
Spicy Kick: Add a pinch of cayenne pepper or sea salt mixed into your Oreo fudge for a surprising but delightful heat. The spice enhances the chocolate flavor, giving it a unique edge!
Craving more delicious Oreo-inspired recipes? Don’t miss these tasty options like the indulgent Oreo Milkshake Indulgence or the delightful Oreo Overnight Oats! Enjoy exploring your fudge variations!
Oreo Fudge Recipe FAQs
Which type of white chocolate should I use for Oreo fudge?
Absolutely! I recommend using high-quality white chocolate chips or chocolate bark as they melt smoothly and provide the best flavor. Avoid using cheap substitutes, as they may not melt well and can affect the consistency of your fudge.
How should I store Oreo fudge and for how long?
To keep your Oreo fudge fresh, store it in an airtight container at room temperature for up to 3 days. If you want it to last longer, refrigerating it is best; it will stay good for about a week, maintaining that delicious creamy texture.
Can I freeze Oreo fudge?
Yes, you can! To freeze your Oreo fudge, wrap individual pieces in plastic wrap and place them in a freezer-safe bag or container. This way, you can enjoy your fudge later! It will remain fresh for up to 2 months. Just let it thaw at room temperature for a few minutes before serving.
What if my Oreo fudge doesn’t set properly?
If your fudge hasn’t set, it’s likely due to a mismeasurement in the sweetened condensed milk or white chocolate. Ensure that you use the exact amounts specified in the recipe. If it’s still soft after refrigerating, you can try reheating the mixture gently, adding a bit more crushed Oreo, and then letting it chill again.
Are there any dietary considerations to keep in mind when making Oreo fudge?
Great question! This recipe contains dairy and gluten from the white chocolate and Oreos. If you have allergies, consider using dairy-free chocolate options and gluten-free Oreos for a suitable alternative. Always check labels to ensure they meet your dietary needs.
Decadent Oreo Fudge: Easy 3-Ingredient Delight You’ll Love
Ingredients
Equipment
Method
- In a medium microwave-safe bowl, combine the white chocolate and sweetened condensed milk. Microwave on high for 1 minute, then remove and stir the mixture.
- Continue to microwave the mixture in 15-second increments, stirring well after each time, until completely smooth and glossy.
- While the chocolate mixture is melting, take a ziplock bag and add the Oreo sandwich cookies. Using a rolling pin, crush the Oreos until they are finely ground.
- Once the chocolate mixture is smooth, gently fold the crushed Oreos into it using a spatula.
- Line an 8x8-inch baking dish with parchment paper, then pour the Oreo fudge mixture into the lined dish, spreading it evenly.
- Refrigerate the fudge for at least 8 hours, or until it is fully set and firm to the touch.
- Once set, remove the fudge from the dish using the parchment overhang. Slice it into squares and serve.
Leave a Reply