
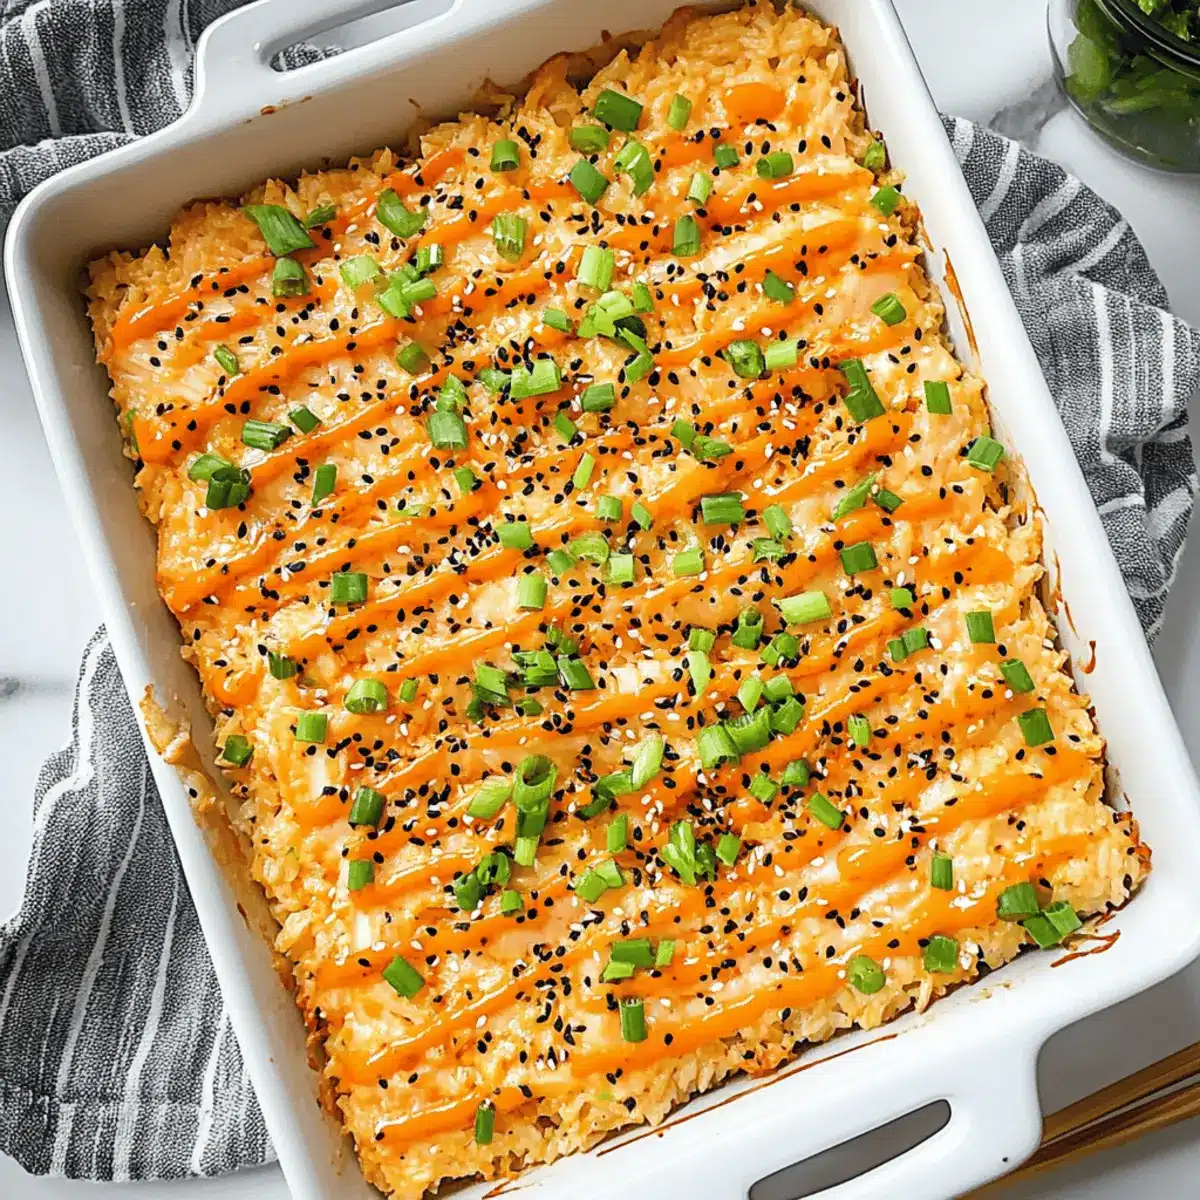
As I stood in my kitchen, the enticing aroma of savory salmon wafted through the air, reminding me why I love cooking so much. This Creamy Salmon Sushi Bake artfully combines spicy and creamy elements, bringing the essence of sushi into an easy-to-share dish that everyone will adore. With its rich texture from cream cheese and delightful flavors of both salmon and imitation crab, it’s a perfect gluten-free dinner option for gatherings or cozy nights in. Not only is this recipe a quicker alternative to crafting individual sushi rolls, but it also allows for casual dining—you can simply scoop and serve! Curious about how to bring this comforting culinary creation to your table? Let’s dive into the recipe!
Why is this Salmon Sushi Bake a must-try?
Elevated flavor: This dish combines creamy, spicy, and umami notes that make every bite irresistible.
Crowd-pleaser: Perfect for gatherings, everyone will appreciate the sushi-inspired flavors without the fuss of traditional rolls.
Quick prep time: Forget hours spent rolling sushi; this bake is ready in just over 30 minutes!
Versatile fillings: Feel free to customize with fresh avocado or extra veggies for added crunch—just like in this California Roll Sushi!
Healthy and gluten-free: Enjoy a delicious seafood meal that caters to various dietary needs, making it a guilt-free indulgence.
Serve it warm with sides like roasted seaweed and cucumber for a truly authentic experience.
Salmon Sushi Bake Ingredients
For the Rice Base
• Sushi Rice – Provides a sticky base; rinse thoroughly to achieve the ideal texture.
• Water – Essential for cooking the sushi rice; adjust based on your rice cooker instructions.
• Seasoned Rice Vinegar – Adds tanginess to the rice; substitute with a mix of plain rice vinegar, sugar, and salt if necessary.
For the Salmon Mixture
• Salmon Fillet – The heart of the dish; opt for farm-raised to ensure safety and flavor.
• Salt & Pepper – Basic seasonings to elevate the dish’s overall taste.
• Garlic Powder – Introduces aromatic depth to the salmon mixture.
• Imitation Crab Meat – Provides that seafood flair; substitute with real crab or shrimp if desired.
• Japanese Mayonnaise – Offers rich creaminess; regular mayonnaise works in a pinch.
• Cream Cheese – Softens easily to blend; adds a delightful creaminess to the bake.
• Sriracha – Provides a kick; adjust according to your spice preference.
• Low Sodium Soy Sauce – Boosts umami flavor without overwhelming saltiness.
For the Toppings
• Furikake – A Japanese seasoning mix for extra flavor; choose your favorite variety.
• Spicy Mayo – A combination of mayonnaise and sriracha that adds creaminess; drizzle on top for added flavor.
• Green Onion – Garnish for a fresh crunch; slice thinly for best presentation.
• Sesame Seeds – Sprinkled on top for nutty flavor and decor.
For Serving
• Roasted Seaweed – A traditional accompaniment that enhances the sushi experience.
• Unagi Sauce (Eel Sauce) – Adds a sweet flavor burst; serve alongside your bake for added richness.
• Cucumber & Avocado – Fresh sides that perfectly complement the creamy salmon sushi bake.
Step‑by‑Step Instructions for Salmon Sushi Bake
Step 1: Rinse and Cook Sushi Rice
Begin by rinsing sushi rice thoroughly under cold water until the water runs clear, removing excess starch for the best texture. Then, transfer the rinsed rice to a rice cooker, add the appropriate amount of water, and cook according to the manufacturer’s instructions. This process takes about 20 minutes, and once finished, your rice should be sticky yet tender.
Step 2: Season and Cool the Rice
Once the rice is cooked, transfer it to a large baking sheet using a rice paddle. Drizzle seasoned rice vinegar over the hot rice and gently fold it in, taking care not to mash the grains. Allow the rice to cool to room temperature, spreading it out in the sheet to speed up the cooling process—this ensures an excellent base for your Salmon Sushi Bake.
Step 3: Prepare the Salmon
While the rice cools, season a fresh salmon fillet with salt, pepper, and garlic powder. Preheat your oven to 400°F (200°C) and place the seasoned salmon on a parchment-lined baking sheet. Bake for 15-20 minutes until the salmon flakes easily with a fork and reaches an internal temperature of 145°F. Remove it from the oven and let it cool for a few minutes.
Step 4: Flake the Salmon
Once the salmon has cooled slightly, use a fork to flake it into a large mixing bowl. Add imitation crab meat, Japanese mayonnaise, softened cream cheese, sriracha, and low sodium soy sauce to the flaked salmon. Mix everything together until fully combined, creating a creamy and flavorful filling for your Salmon Sushi Bake.
Step 5: Assemble the Sushi Bake
Grab a 9×13-inch baking dish and tightly spread the cooled sushi rice evenly across the bottom, pressing it down gently to create a firm base. Sprinkle a generous layer of furikake seasoning on top of the rice, which adds an authentic Japanese touch to your Salmon Sushi Bake.
Step 6: Broil the Bake
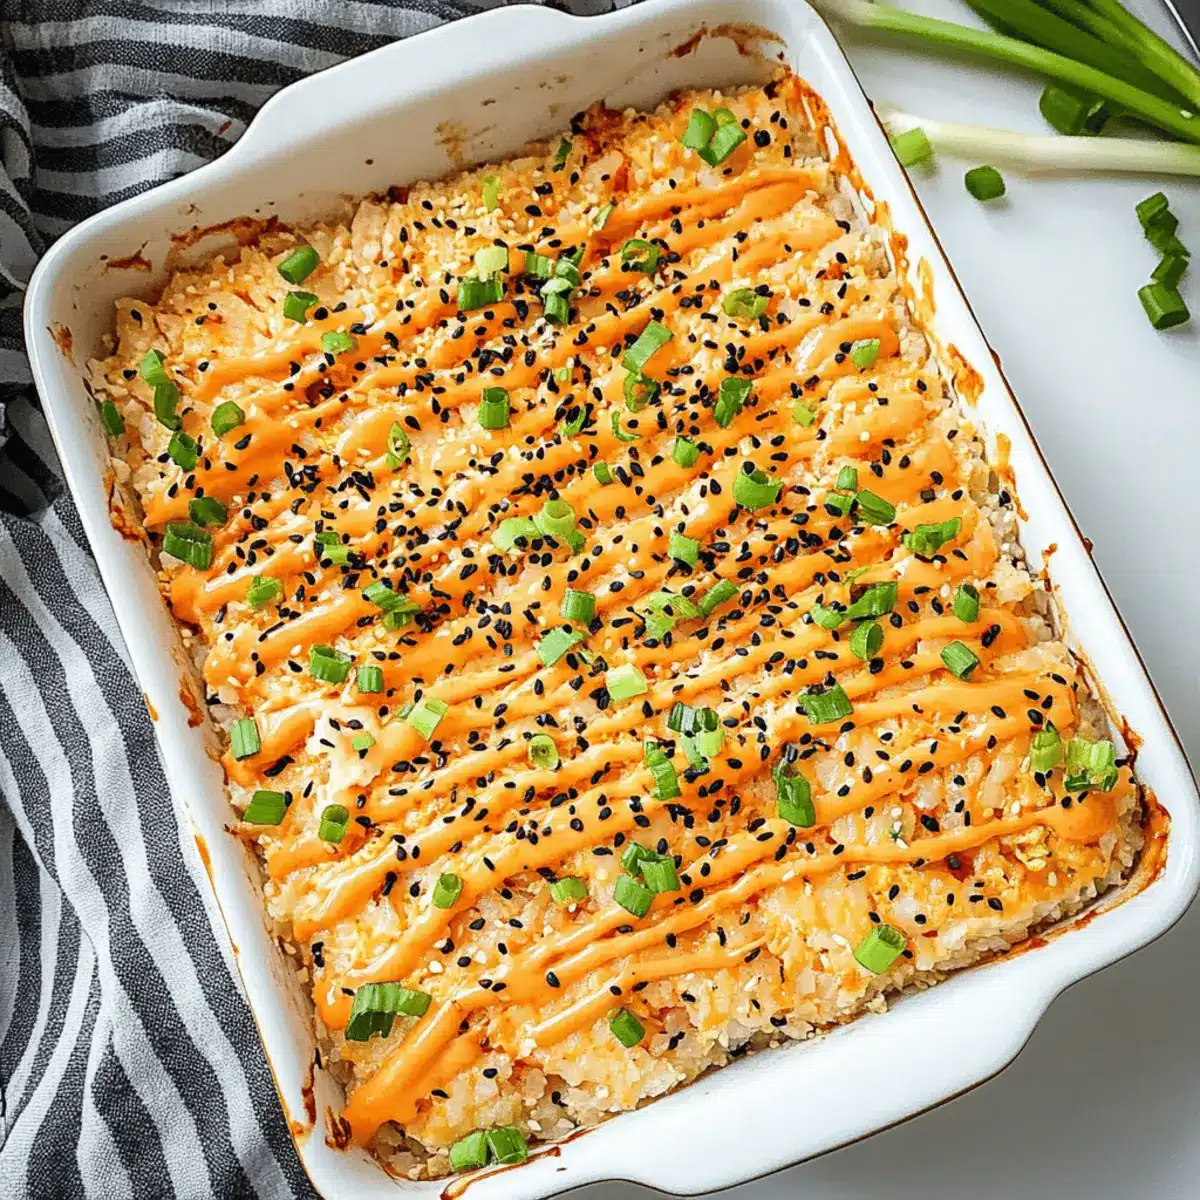
Evenly spread the salmon mixture over the seasoned rice and smooth it out with a spatula. Set your oven to broil and place the baking dish on the top rack. Broil for about 4 minutes, keeping a close eye on it, until the top is lightly browned and bubbling—this creates a delicious crust on your Salmon Sushi Bake.
Step 7: Add Toppings and Serve
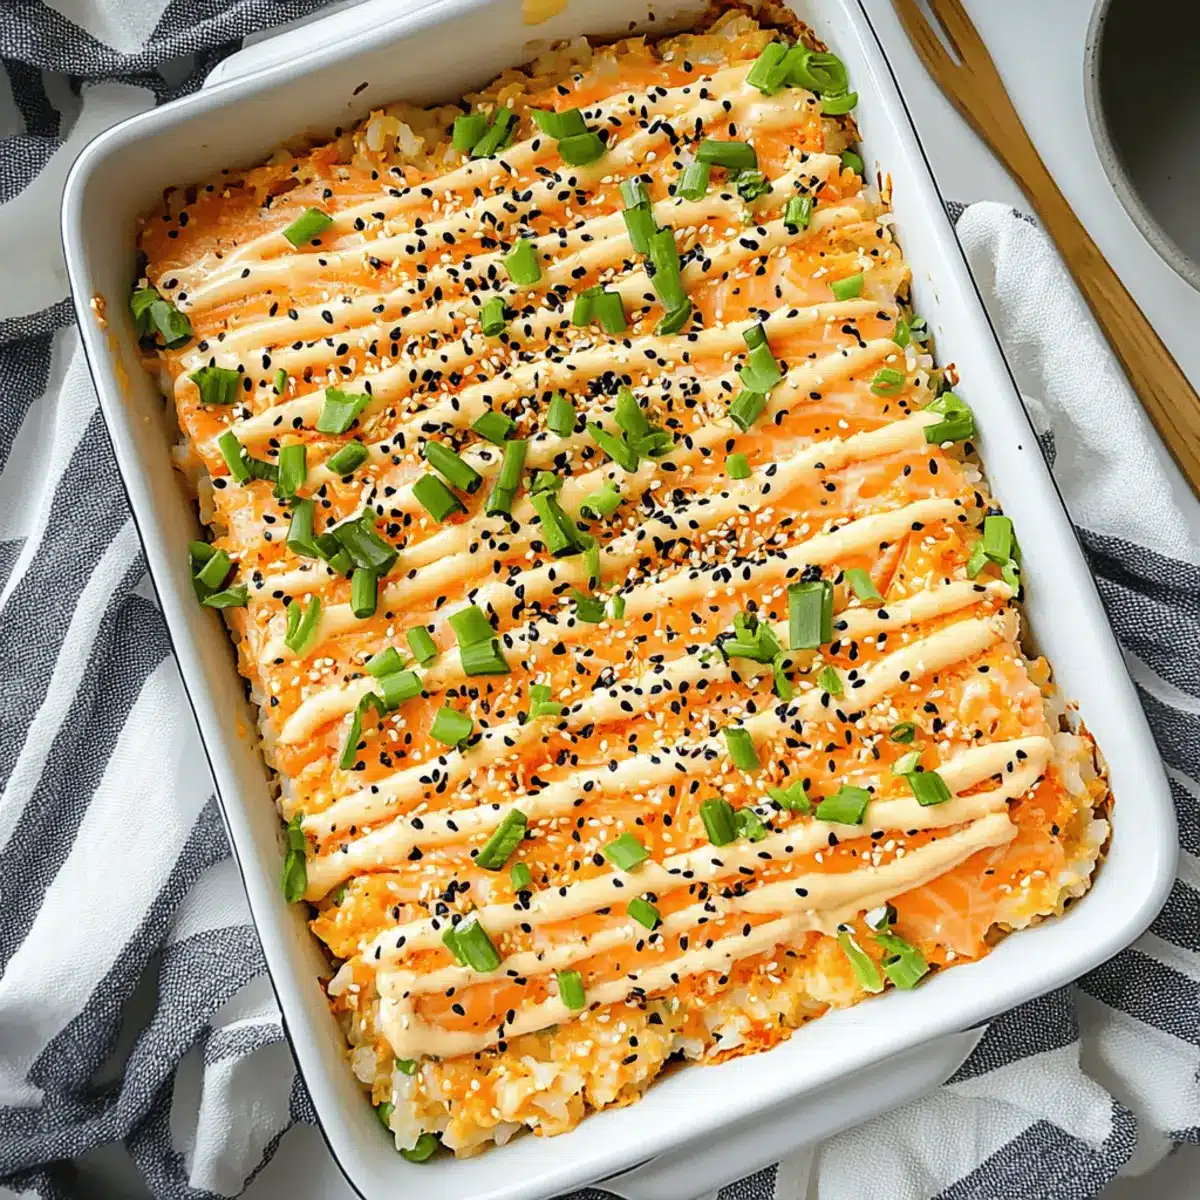
Once broiled, remove the dish from the oven and drizzle spicy mayo over the top. Sprinkle with sliced green onions and sesame seeds for added flavor and texture. Serve your Salmon Sushi Bake warm, alongside roasted seaweed, unagi sauce, cucumber, and avocado for a complete and satisfying meal.
How to Store and Freeze Salmon Sushi Bake
Fridge: Store leftover Salmon Sushi Bake in an airtight container for up to 3 days to preserve freshness and taste.
Reheating: When ready to enjoy leftovers, reheat in the oven at 350°F (175°C) for 10-15 minutes until warmed through. Avoid microwaving for best texture.
Preparation Tip: If making ahead, prepare the sushi rice and salmon mixture separately. Refrigerate them separately until you’re ready to assemble and bake, ensuring optimal freshness.
Avoid Freezing: Do not freeze the baked Salmon Sushi Bake, as the texture may suffer and lose its delightful creamy appeal upon thawing.
Make Ahead Options
This Creamy Salmon Sushi Bake is ideal for those looking to prep in advance, making weeknight meals a breeze! You can prepare the sushi rice up to 24 hours ahead of time. Simply rinse, cook, and cool the rice, then store it at room temperature. The cooked salmon can be refrigerated and is best used within 3 days of cooking. When ready to assemble, mix the prepped salmon with the other ingredients, spread it over the rice, and broil just before serving for that freshly baked taste. This way, you’ll save time without sacrificing any delicious flavors, ensuring your meal is just as delightful as if it were made on the spot!
Expert Tips for Salmon Sushi Bake
-
Rinse Properly: Always rinse sushi rice under cold water until the water runs clear to avoid excess starch, which can make the rice too sticky for your Salmon Sushi Bake.
-
Gentle Mixing: When folding in the seasoned rice vinegar, use a rice paddle and be gentle to avoid mashing the rice grains. This keeps your base light and fluffy.
-
Baking Time Matters: Check the thickness of your salmon fillet; adjust the baking time as necessary to ensure it cooks evenly and remains tender within your delicious bake.
-
Cool Before Assembly: Allow the sushi rice and salmon to cool to room temperature before assembly. This step is crucial for maintaining the ideal texture in your Salmon Sushi Bake.
-
Serve Fresh: This dish is best enjoyed fresh. If you have leftovers, store them in an airtight container and consume within three days to maintain quality.
Salmon Sushi Bake Variations
Feel free to get creative and customize your Salmon Sushi Bake with these delightful substitutions and additions that will bring new life to each bite!
-
Canned Salmon: Swap fresh salmon with canned salmon for a quick and budget-friendly option. Just remember—the flavor will differ slightly.
-
Spicy Kick: Increase the sriracha in both the filling and topping for an extra punch of heat. It’s a fantastic way to make your sushi bake pop!
-
Vegetable Boost: Add diced vegetables like bell peppers or shredded carrots into the salmon mixture for an added crunch. Think of it as an edible garden—more vibrant and nutritious!
-
Cream Cheese Alternatives: Use Greek yogurt instead of cream cheese for a lighter and tangy twist. This keeps the dish creamy while cutting calories.
-
Seafood Variety: Replace imitation crab with real crab or shrimp for an authentic seafood experience. Each option brings its unique flavor that elevates the dish!
-
Gluten-Free Options: For a gluten-free version of unagi sauce, check labels carefully or make your own with soy sauce, sugar, and mirin.
-
Baked Topping Change: Mix panko breadcrumbs with melted butter to sprinkle on top before broiling for a crunchy finish. A lovely textural contrast to the creaminess!
If you’re looking for more delicious recipes that explore different flavor profiles, consider checking out the vibrant flavors of the California Roll Sushi or the mouthwatering experience of Garlic Glazed Salmon. Each of these will add variety to your culinary repertoire!
What to Serve with Creamy Salmon Sushi Bake
The delightful flavors and textures of this dish can truly shine when paired with the right complements.
-
Roasted Seaweed: Crunchy and savory, it provides a traditional sushi experience alongside your bake, enhancing every bite.
-
Cucumber Salad: Light and crisp, a simple salad adds refreshing contrast to the rich and creamy flavors of the sushi bake.
-
Avocado Slices: Creamy and rich, avocado offers an added layer of smoothness that beautifully balances the spice from the sriracha.
-
Unagi Sauce Drizzle: This sweet eel sauce amplifies umami notes and creates an exquisite contrast to the dish’s creamy elements.
Indulge in the layers of flavor while enjoying the vibrant colors on your plate. Pairing these elements not only elevates the meal but creates an inviting dining experience for all.
-
Sparkling Water with Lime: A refreshing drink option that cleanses the palate between bites and keeps the focus on the dish’s delightful flavors.
-
Sesame Noodles: A simple side dish with a nutty flavor can add an interesting texture while harmonizing with the sushi theme.
-
Tempura Vegetables: Crispy, lightly battered veggies provide a crunchy contrast, making your meal more exciting and texturally diverse.
Salmon Sushi Bake Recipe FAQs
What kind of rice is best for making Salmon Sushi Bake?
For an ideal texture, use sushi rice specifically. Rinse it thoroughly under cold water until the water runs clear to remove excess starch, which helps achieve the perfect sticky consistency. If sushi rice isn’t available, short-grain rice can be a suitable alternative, but the flavor and texture may slightly differ.
How should I store leftover Salmon Sushi Bake?
Store any leftover Salmon Sushi Bake in an airtight container in the refrigerator for up to 3 days. To reheat, preheat your oven to 350°F (175°C) and place the dish inside for about 10-15 minutes until warmed through. Avoid microwaving, as this can compromise the delightful creamy texture.
Can I freeze Salmon Sushi Bake?
It’s best to avoid freezing Salmon Sushi Bake after it’s been baked, as the texture may change and become mushy upon thawing. However, you can prepare the sushi rice and salmon mixture separately and freeze them before assembly. When ready to bake, thaw overnight in the fridge and then assemble and bake fresh.
What if I have dietary restrictions or allergies?
If you have allergies or dietary restrictions, there are some easy substitutions! For a seafood allergy, you can experiment with cooked chicken or vegetables as a filling. If gluten is a concern, ensure to use gluten-free soy sauce and check all packaged ingredients for any hidden gluten. Additionally, adjust the spice level according to your taste by altering the sriracha quantity.
How can I prevent the sushi rice from getting too sticky?
To avoid overly sticky sushi rice, rinse it well under cold water until the water runs clear. Use a rice paddle to mix in the seasoned rice vinegar gently, and allow the rice to cool at room temperature instead of refrigerating it before assembly. This method keeps the grains fluffy and separates nicely in your Salmon Sushi Bake.
What does furikake taste like, and can I use a substitute?
Furikake is a Japanese seasoning mix that typically includes seaweed, sesame seeds, and various flavorings, offering a savory umami boost. If you don’t have furikake, you can use a mixture of sesame seeds and finely chopped seaweed as an alternative or even create your own blend with herbs and spices you enjoy!
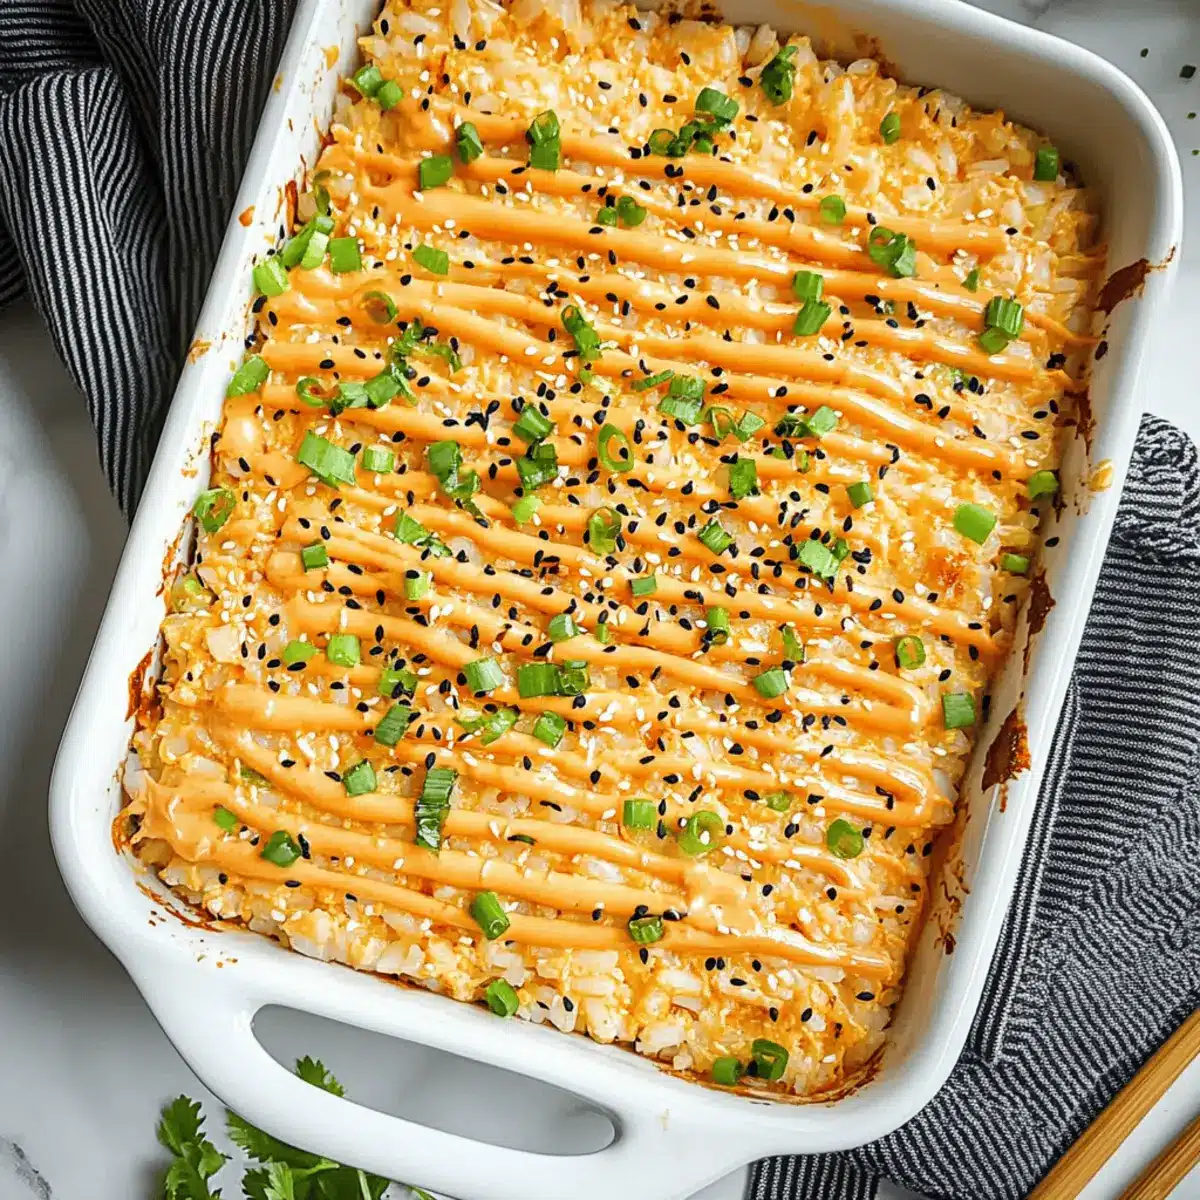
Savory Salmon Sushi Bake That'll Wow Your Dinner Guests
Ingredients
Equipment
Method
- Begin by rinsing sushi rice thoroughly under cold water until the water runs clear. Cook in a rice cooker with the appropriate amount of water.
- Once the rice is cooked, drizzle seasoned rice vinegar over it and gently fold it in, then cool to room temperature.
- Season salmon fillet with salt, pepper, and garlic powder. Preheat oven to 400°F (200°C) and bake salmon for 15-20 minutes.
- Flake the cooked salmon into a bowl and mix with imitation crab, mayonnaise, cream cheese, sriracha, and soy sauce.
- Spread the cooled sushi rice in a baking dish, then layer furikake seasoning on top.
- Spread the salmon mixture evenly over the seasoned rice and broil for about 4 minutes until lightly browned.
- Drizzle spicy mayo over the top, sprinkle with green onions and sesame seeds. Serve warm with accompaniments.
Leave a Reply