
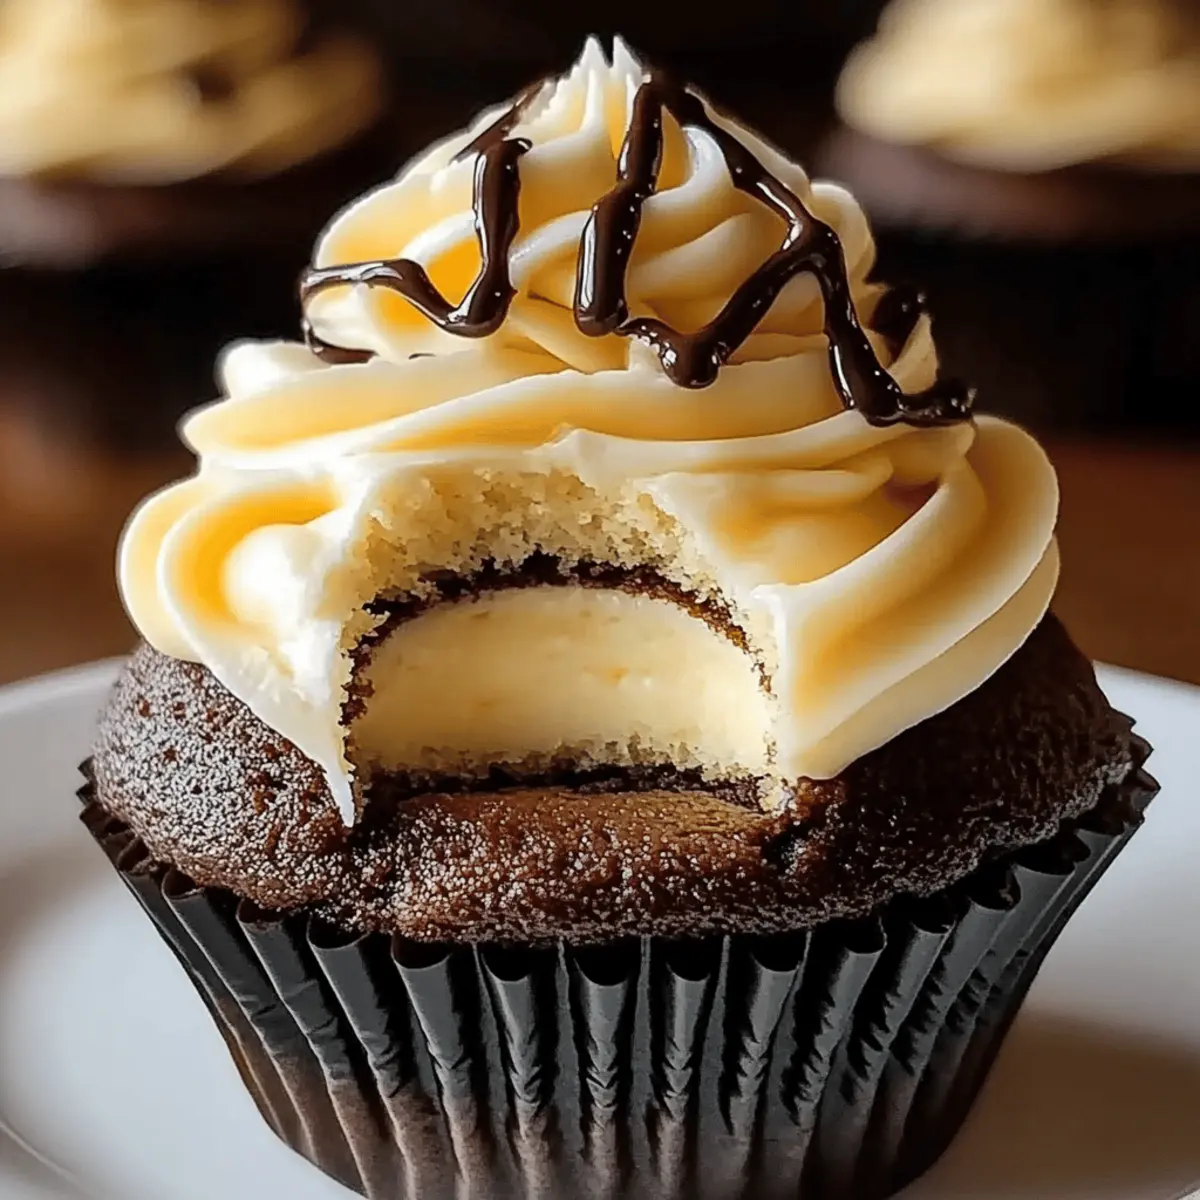
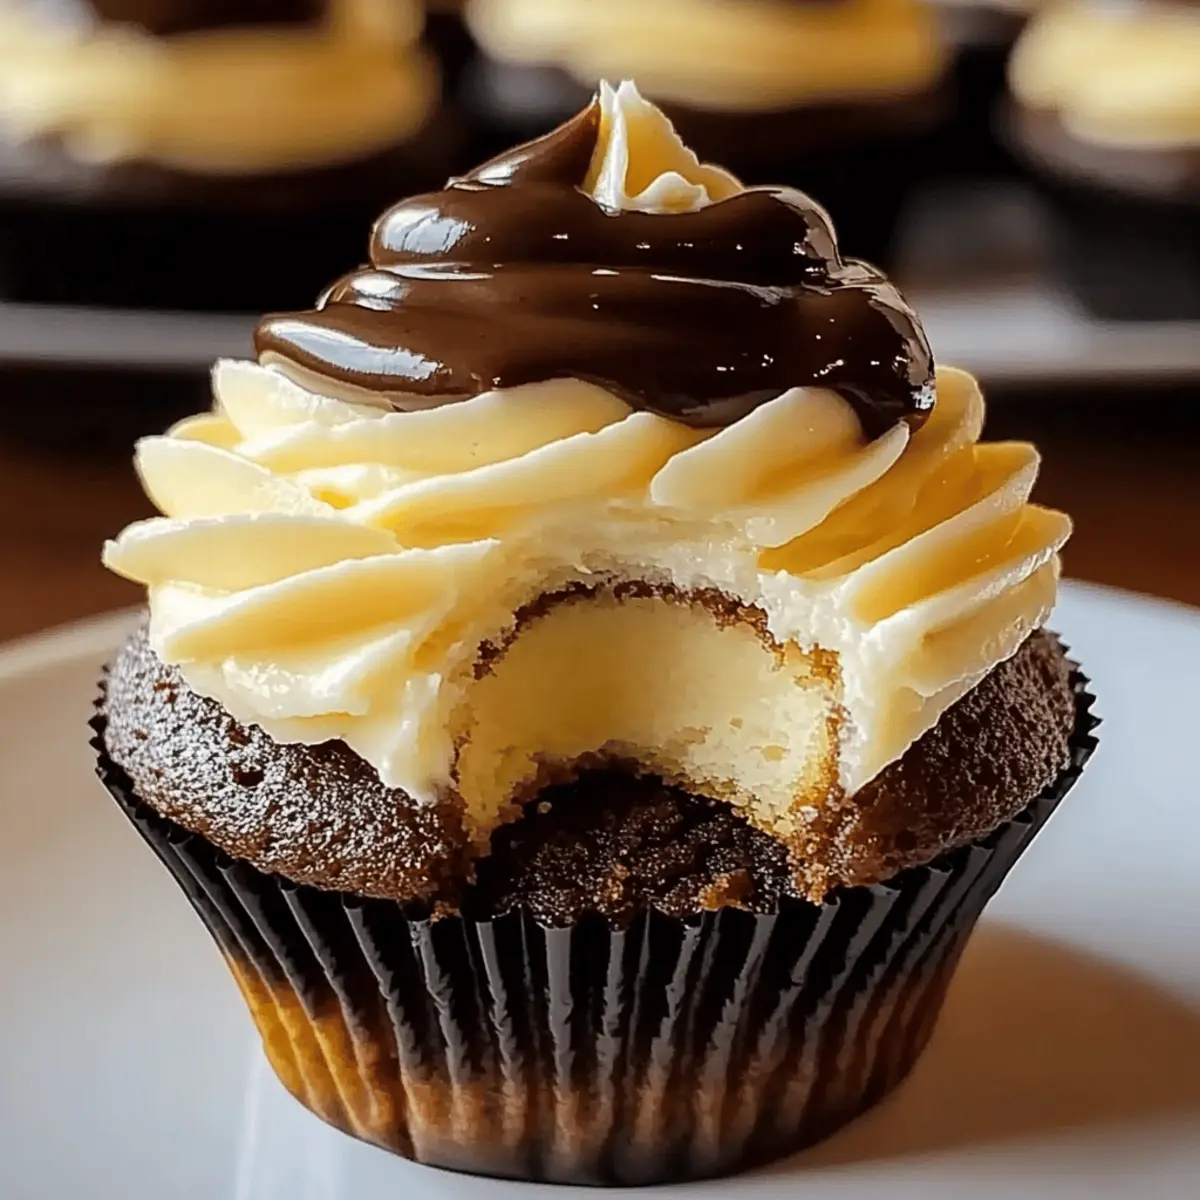
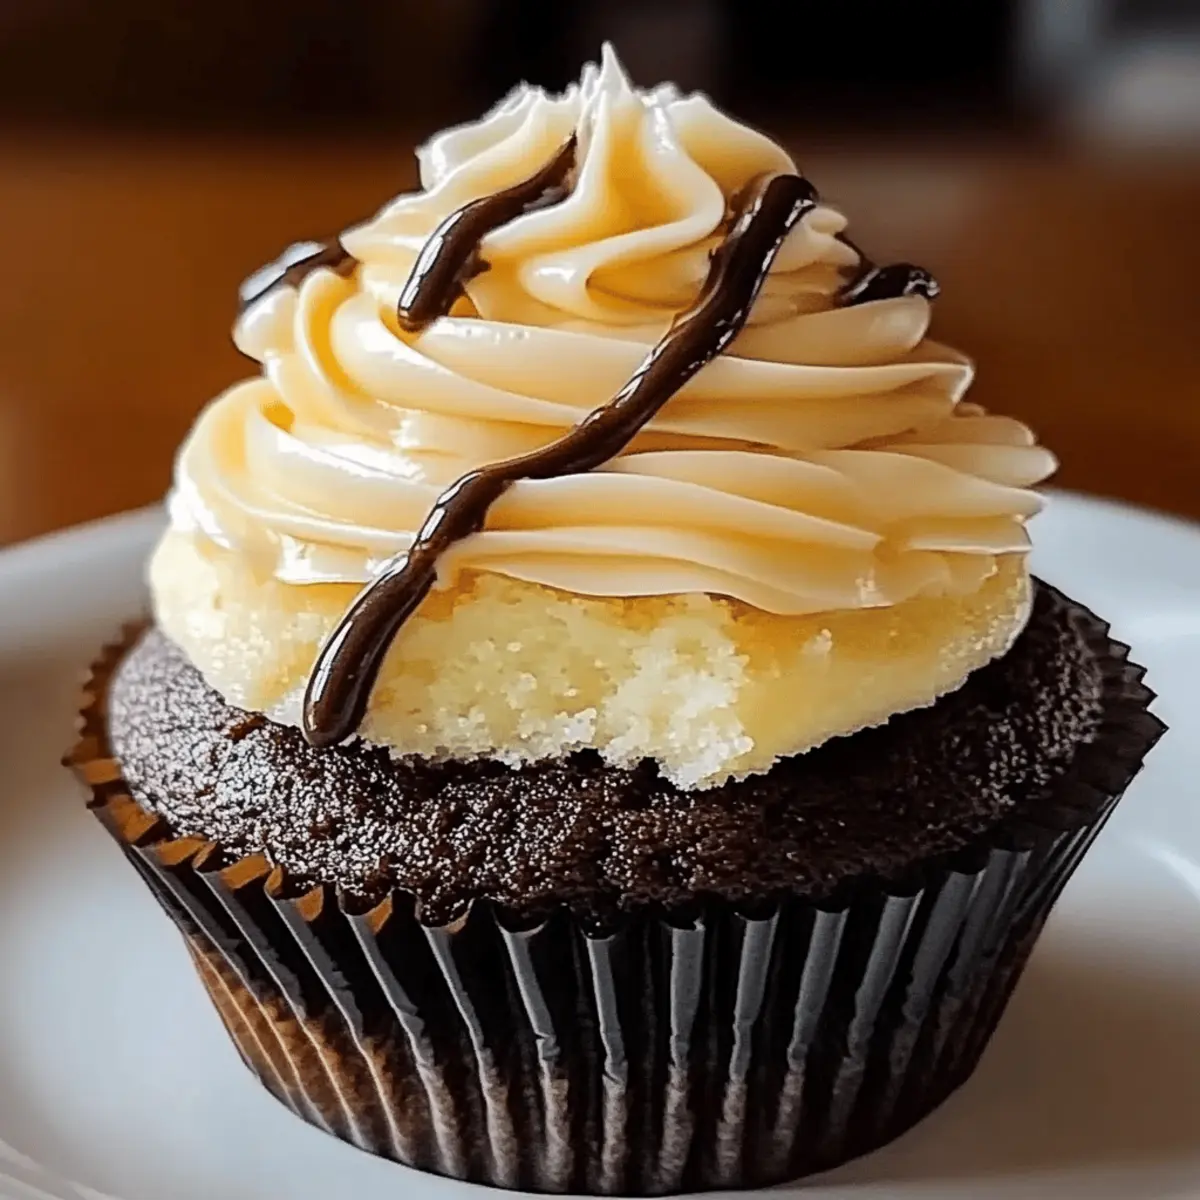
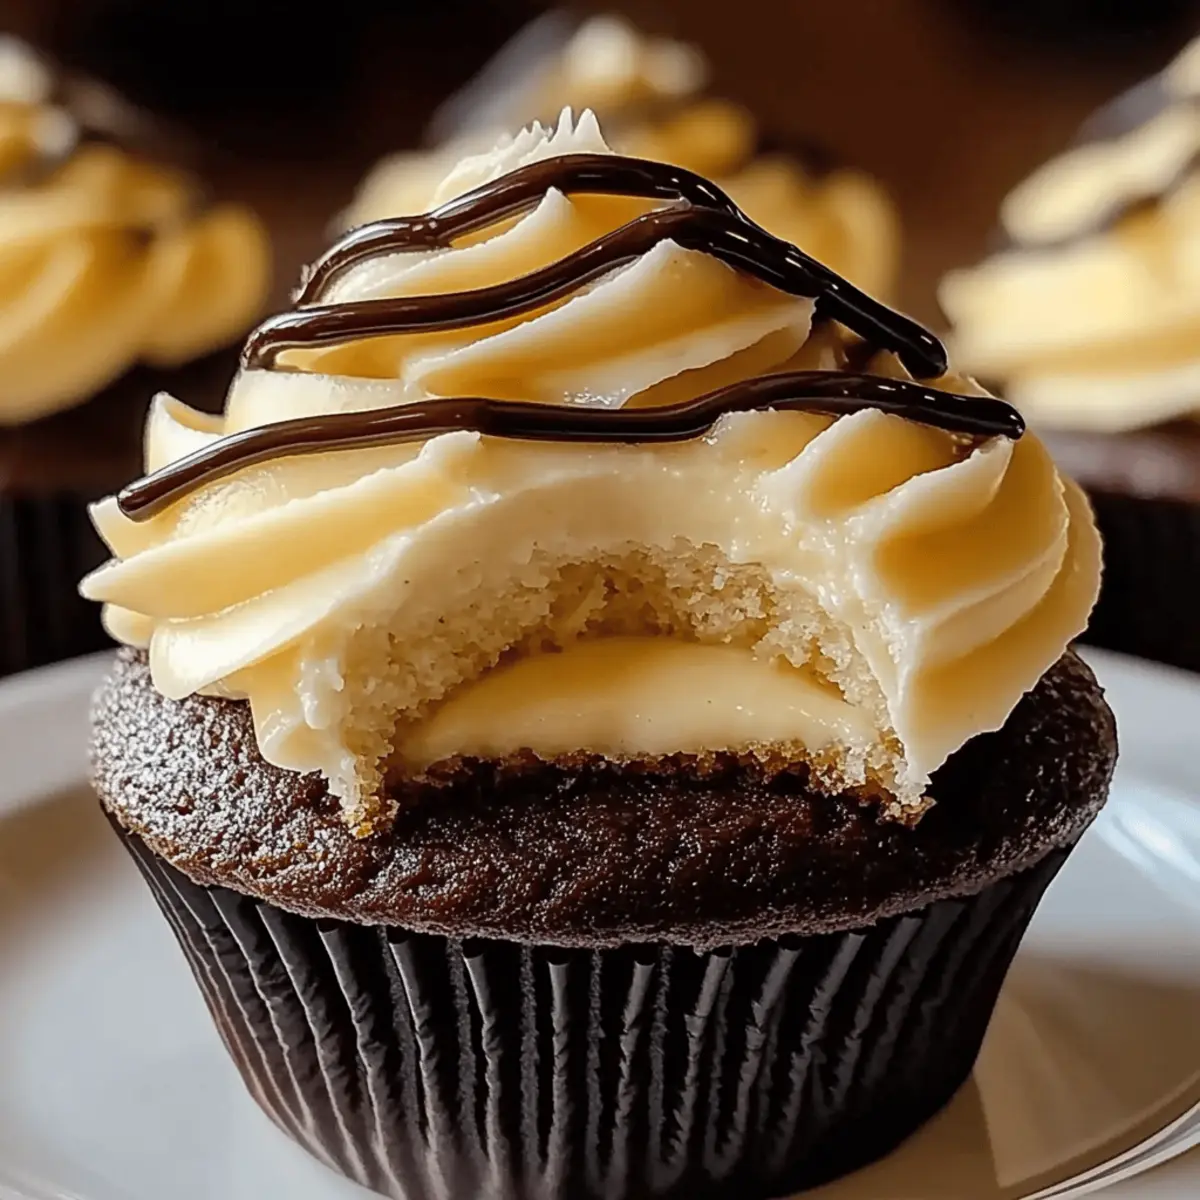
In a cozy kitchen filled with laughter and a hint of chocolatey goodness, I discovered a recipe that turned a simple gathering into a moment of magic—Silky Boston Cream Cupcakes! These delightful treats neatly encapsulate the classic flavors of Boston cream pie, making them a perfect handheld dessert that’s as impressive as it is scrumptious. With their fluffy chocolate base, velvety vanilla custard filling, and rich chocolate ganache topping, these cupcakes not only bring comfort but are also incredibly easy to make, inviting bakers of all skill levels to join in on the fun. Plus, their versatility allows for creative customizations, so you can craft a version that perfectly suits your cravings. Ready to elevate your dessert game? Let’s dive into the glorious world of these cupcakes together!
What makes these cupcakes so irresistible?
Moist, Fluffy Texture: Each bite of these Silky Boston Cream Cupcakes boasts a light and airy chocolate cake that melts in your mouth.
Creamy Custard Center: The rich vanilla custard filling provides a decadent surprise that keeps you coming back for more.
Rich Chocolate Ganache: Topped with glossy ganache, these cupcakes are pure indulgence that elevates the overall flavor profile.
Endless Customization: Feel free to experiment with fillings or toppings, like a delightful lemon custard or nutty finishes, ensuring there’s something for everyone!
Easy to Make: This recipe is approachable for all skill levels, making it a perfect pick for any occasion, whether a family gathering or a casual tea with friends.
Crowd-Pleasing Delight: You’ll impress your guests and loved ones, making these cupcakes a showstopper at any event, just like my Corn Pasta Salad or Fiery Chicken Sauce!
Silky Boston Cream Cupcake Ingredients
For the Cupcakes
- All-purpose flour – Essential for structure; substitute with a gluten-free blend if desired.
- Granulated sugar – Sweetens the cupcake and balances flavors perfectly.
- Cocoa powder – Provides rich chocolate flavor; dark cocoa can give a deeper taste.
- Baking powder and baking soda – These leavening agents help the cupcakes rise and remain fluffy.
- Salt – A pinch enhances the sweetness and overall flavor of the cupcakes.
- Unsalted butter – Adds moisture and richness; can be replaced with vegan butter for a dairy-free spin.
- Eggs – Key for structure and texture; flax eggs can substitute for a vegan option.
- Buttermilk – Keeps the cupcakes moist; can be substituted with milk mixed with vinegar or lemon juice.
- Vanilla extract – Infuses deep flavor; high-quality pure vanilla is highly recommended.
For the Custard Filling
- Whole milk – Used to create the custard; almond milk can be substituted for a dairy-free version.
- Cornstarch – Thickens the custard filling; no substitute can replicate its thickening properties.
- Egg yolks – Enrich the custard with color and creaminess.
For the Ganache Topping
- Semi-sweet chocolate chips – The main ingredient for the ganache, providing indulgent flavor; can be swapped for dark chocolate for richness.
- Heavy cream – Makes the ganache smooth and creamy; coconut cream can replace it for a dairy-free option.
With this enticing lineup of ingredients, your Silky Boston Cream Cupcakes are bound to be a delightful experience!
Step‑by‑Step Instructions for Silky Boston Cream Cupcakes
Step 1: Preheat the Oven
Begin by preheating your oven to 350°F (175°C) to create the ideal baking environment for your Silky Boston Cream Cupcakes. While the oven heats, line a muffin tin with cupcake liners, ensuring each one is secure. Take a moment to gather your ingredients and equipment, as having everything ready will make the process smoother and more enjoyable.
Step 2: Mix the Dry Ingredients
In a large mixing bowl, whisk together the all-purpose flour, granulated sugar, cocoa powder, baking powder, baking soda, and salt. This mixture forms the foundation of your cupcakes, providing the perfect balance of flavors and structure. Ensure there are no lumps in the dry ingredients, as a smooth batter leads to fluffy cupcakes.
Step 3: Cream the Butter and Add Wet Ingredients
In a stand mixer, cream the softened unsalted butter until light and fluffy, about 2-3 minutes. Next, add in the eggs, buttermilk, and vanilla extract, mixing until all the wet ingredients are fully incorporated. This step will create a rich and moist base for your Silky Boston Cream Cupcakes, so take your time to achieve a creamy consistency.
Step 4: Combine Dry and Wet Ingredients
Gradually add the dry ingredient mixture into the wet ingredients, mixing on low speed until just combined. Be careful not to over-mix, as this can lead to dense cupcakes. The batter should be smooth and slightly thick, with a rich chocolate hue that hints at the delicious treat to come.
Step 5: Fill the Cupcake Liners
Using a spoon or a cupcake scoop, divide the batter evenly into the prepared cupcake liners, filling them about two-thirds full. This will allow room for the cupcakes to rise beautifully without overflowing. Practice patience and keep the fillings even to ensure uniformly baked Silky Boston Cream Cupcakes.
Step 6: Bake the Cupcakes
Place the muffin tin in the preheated oven and bake for 20-25 minutes, or until a toothpick inserted into the center comes out clean. Keep an eye on your cupcakes as they bake, enjoying the lovely chocolate aroma that fills the kitchen. Once done, they should be puffed up and set, exuding a hint of sweetness.
Step 7: Cool the Cupcakes
After removing the cupcakes from the oven, let them cool in the pan for about 10 minutes. This step helps them firm up before transferring. Once marginally cool, carefully remove each cupcake from the tin and place them on a wire rack to cool completely. This cooling time is crucial for maintaining their structure before adding the creamy custard filling.
Step 8: Prepare the Custard Filling
For the custard, whisk together the whole milk, sugar, cornstarch, and salt in a saucepan. Cook over medium heat, constantly stirring, until the mixture starts to bubble and thicken, which should take about 5-7 minutes. This custard will provide that luscious center for your Silky Boston Cream Cupcakes, so don’t rush this vital step!
Step 9: Temper the Egg Yolks
Once the custard is bubbling, temper the egg yolks by slowly whisking them into the hot milk mixture. Then, return the entire mixture to the heat and cook until thickened, about 2-3 minutes more. Remove from heat and stir in the vanilla extract and butter until smooth. Set aside to cool completely, thickening further as it chills.
Step 10: Make the Ganache
In a separate saucepan, heat the heavy cream over medium heat until it reaches a gentle boil. Pour the hot cream over the semi-sweet chocolate chips in a bowl. Allow it to sit for a minute, then stir until the chocolate melts and the mixture is silky smooth. This rich ganache will top your Silky Boston Cream Cupcakes, adding an indulgent finish.
Step 11: Fill the Cupcakes
Once the cupcakes have cooled completely, use a sharp knife to cut a cone shape from the top of each cupcake to create space for the custard. With a piping bag, fill each cupcake with the velvety custard, ensuring every bite will be a delightful surprise. Take care to fill each one generously without overfilling.
Step 12: Add the Ganache
Finally, drizzle or dip the filled cupcakes in the chocolate ganache, allowing it to drape beautifully over the tops. Let the ganache set at room temperature for about 15-20 minutes before serving. Your Silky Boston Cream Cupcakes are now ready to be served, bringing a touch of elegance to any occasion!
Expert Tips for Silky Boston Cream Cupcakes
- Room Temperature Ingredients: Ensure your butter and eggs are at room temperature for easier mixing and a fluffier cupcake texture.
- Cool Before Filling: Allow the cupcakes to cool completely before adding custard to prevent it from melting and losing shape.
- Use a Piping Bag: For a clean and professional finish, use a piping bag to fill your cupcakes with custard; it makes the process easier and neater.
- Quality Matters: Always opt for high-quality chocolate and vanilla extract to significantly enhance the flavor of your Silky Boston Cream Cupcakes.
- Don’t Overmix: Combine wet and dry ingredients until just blended to avoid dense cupcakes; overmixing can lead to a tough texture.
- Keep Watch while Baking: Monitor the baking time closely and use a toothpick to check for doneness; this ensures your cupcakes stay moist and fluffy.
What to Serve with Silky Boston Cream Cupcakes
Indulging in these delightful treats opens up a world of mouthwatering pairings that enhance their flavors and charm.
-
Fresh Berries:
Juicy strawberries or raspberries provide a refreshing contrast to the rich cupcakes’ sweetness, complementing each bite beautifully. -
Whipped Cream:
Light and airy, a dollop of homemade whipped cream adds a creamy texture that elevates the dessert experience. -
Espresso or Coffee:
The bold flavors of coffee balance the sweetness of the cupcakes, making it a perfect accompaniment for an after-dinner treat. -
Vanilla Ice Cream:
Creamy vanilla ice cream melts gently over the warm cupcakes, creating a decadent dessert plate that’s pure bliss. -
Chocolate Ganache Drizzle:
For extra indulgence, a warm drizzle of chocolate ganache ties everything together, enhancing the cupcakes’ rich chocolate flavor. -
Mint Leaves Garnish:
Fresh mint leaves add a pop of color and a refreshing flavor, balancing the dessert’s sweetness while inviting visual delight. -
Sparkling Water with Citrus:
A bubbly drink with hints of citrus provides a light and zesty refreshment that cleanses the palate between bites.
These pairings promise to take your dessert table to the next level, making every bite of your Silky Boston Cream Cupcakes even more enjoyable!
Silky Boston Cream Cupcakes Variations
Feel free to explore these delightful twists that elevate your cupcakes and cater to your taste buds!
-
Lemon Custard Filling: Swap the vanilla custard for lemon custard for a refreshing twist. The citrus brightness brings a lively contrast to the chocolate base, making each bite sing!
-
Mini Cupcakes: Scale down the recipe to create bite-sized mini cupcakes. They’re perfect for parties, giving guests a chance to indulge without the guilt!
-
Nutty Toppings: Incorporate finely chopped nuts into the ganache for added texture. The crunch paired with the silky chocolate creates a playful surprise with each bite.
-
Fruit Flavored Ganache: Experiment with fruit purees mixed into chocolate ganache for a fruity flair. Consider raspberry or strawberry for a summery delight that dances on your palate.
-
Gluten-Free Option: Substitute all-purpose flour with a gluten-free blend. Your family and friends will never guess they’re indulging in a gluten-free treat!
-
Dairy-Free Delight: Use coconut cream in place of heavy cream and vegan butter instead of regular butter for the cupcakes. This ensures no one feels left out while still delivering that rich flavor.
-
Spicy Kick: Add a pinch of cayenne pepper to the chocolate ganache for a spicy twist. It might sound bold, but the heat paired with sweetness will leave everyone guessing!
-
Chocolate Chip Surprise: Fold semi-sweet chocolate chips into the cupcake batter for an extra layer of chocolatey goodness. Everyone loves a little unexpected surprise in their dessert!
With these variations, your Silky Boston Cream Cupcakes will always feel new and exciting, making every occasion special! Need more ideas? Check out my delicious Avocado Cream Sauce and the fabulous Vegan Sun Dried Tomato Pasta for more culinary inspiration!
Make Ahead Options
Silky Boston Cream Cupcakes are perfect for meal prep enthusiasts looking to save time during busy weeks! You can bake the cupcakes and allow them to cool, then store them in an airtight container for up to 3 days in the refrigerator. The custard filling can also be prepared a day in advance and kept refrigerated overnight, ensuring it thickens beautifully. When you’re ready to serve, simply fill the cooled cupcakes with custard and drizzle with the ganache, allowing it to set for about 15-20 minutes. This way, you’ll enjoy delicious, homemade cupcakes that retain their delightful flavors and textures, making your dessert planning a breeze!
How to Store and Freeze Silky Boston Cream Cupcakes
Room Temperature: Keep the cupcakes in an airtight container for up to 3 days at room temperature; they taste best when fresh and don’t need refrigeration if consumed quickly.
Fridge: If you have leftover filled cupcakes, store them in the fridge for 2-3 days; be sure to cover them well to maintain moisture and prevent drying out.
Freezer: Unfilled cupcakes can be frozen for up to 3 months; place them in a single layer in an airtight container or freezer bag to avoid freezer burn.
Reheating: To enjoy frozen cupcakes, simply thaw them in the fridge overnight and room temperature for a bit before filling and topping with ganache for the best flavor and texture.
Silky Boston Cream Cupcakes Recipe FAQs
What is the best way to select ripe ingredients for this recipe?
Absolutely! When choosing your ingredients, opt for fresh eggs with a clean shell, and always check your butter for any discolorations. For the milk, ensure it doesn’t have a sour smell. For the chocolate, look for semi-sweet chocolate chips with a glossy finish—this indicates quality. The better your ingredients, the more delicious your Silky Boston Cream Cupcakes will be!
How should I store Silky Boston Cream Cupcakes, and how long do they last?
Certainly! Store your filled Silky Boston Cream Cupcakes in an airtight container at room temperature for up to 2-3 days. If you need to keep them longer, it’s best to refrigerate them for up to 3 days. Just remember to cover them well, as the custard filling can dry out if exposed to air.
Can I freeze Silky Boston Cream Cupcakes? How do I do that?
Very much so! To freeze unfilled cupcakes, let them cool completely, then place them in a single layer in an airtight container or a freezer bag, separating layers with parchment paper to prevent sticking. They can be frozen for up to 3 months. When you’re ready to indulge, simply thaw them overnight in the fridge, then fill and top before serving.
What should I do if my custard filling isn’t thickening properly?
If your custard isn’t thickening, you can try cooking it a bit longer over medium heat while stirring constantly—this usually helps. Make sure the cornstarch is thoroughly mixed in without lumps, and if it still doesn’t set, consider adding a little more cornstarch mixed with a splash of cold milk and re-cooking it briefly. Be patient, as the custard often thickens as it cools!
Are there any dietary considerations when making these cupcakes for pets or individuals with allergies?
Absolutely! If making Silky Boston Cream Cupcakes for someone with allergies, be mindful of common allergens like eggs, dairy, and gluten. Substitute eggs with flax eggs (1 tbsp flaxseed meal + 2.5 tbsp water per egg), use dairy-free options like almond milk and vegan butter, and opt for a gluten-free flour blend. However, remember to keep these treats away from pets, as chocolate can be toxic to them.
Silky Boston Cream Cupcakes That Wow with Every Bite
Ingredients
Equipment
Method
- Preheat your oven to 350°F (175°C) and line a muffin tin with cupcake liners.
- In a large bowl, whisk together flour, sugar, cocoa powder, baking powder, baking soda, and salt.
- Cream the butter until light and fluffy, then add eggs, buttermilk, and vanilla, mixing until combined.
- Gradually add dry ingredients to wet ingredients, mixing on low speed until just combined.
- Fill each cupcake liner about two-thirds full with the batter.
- Bake for 20-25 minutes until a toothpick comes out clean.
- Cool in the pan for 10 minutes before transferring to a wire rack to cool completely.
- Whisk milk, sugar, cornstarch, and salt in a saucepan, cooking until bubbly and thickened for custard.
- Temper the egg yolks, adding to the custard mixture and cooking until thickened, then cool.
- Heat heavy cream until boiling, then pour over chocolate chips, stirring until smooth to make ganache.
- Cut a cone from the top of each cupcake and fill with custard using a piping bag.
- Drizzle or dip cupcakes in ganache, allowing it to set at room temperature.
Leave a Reply