
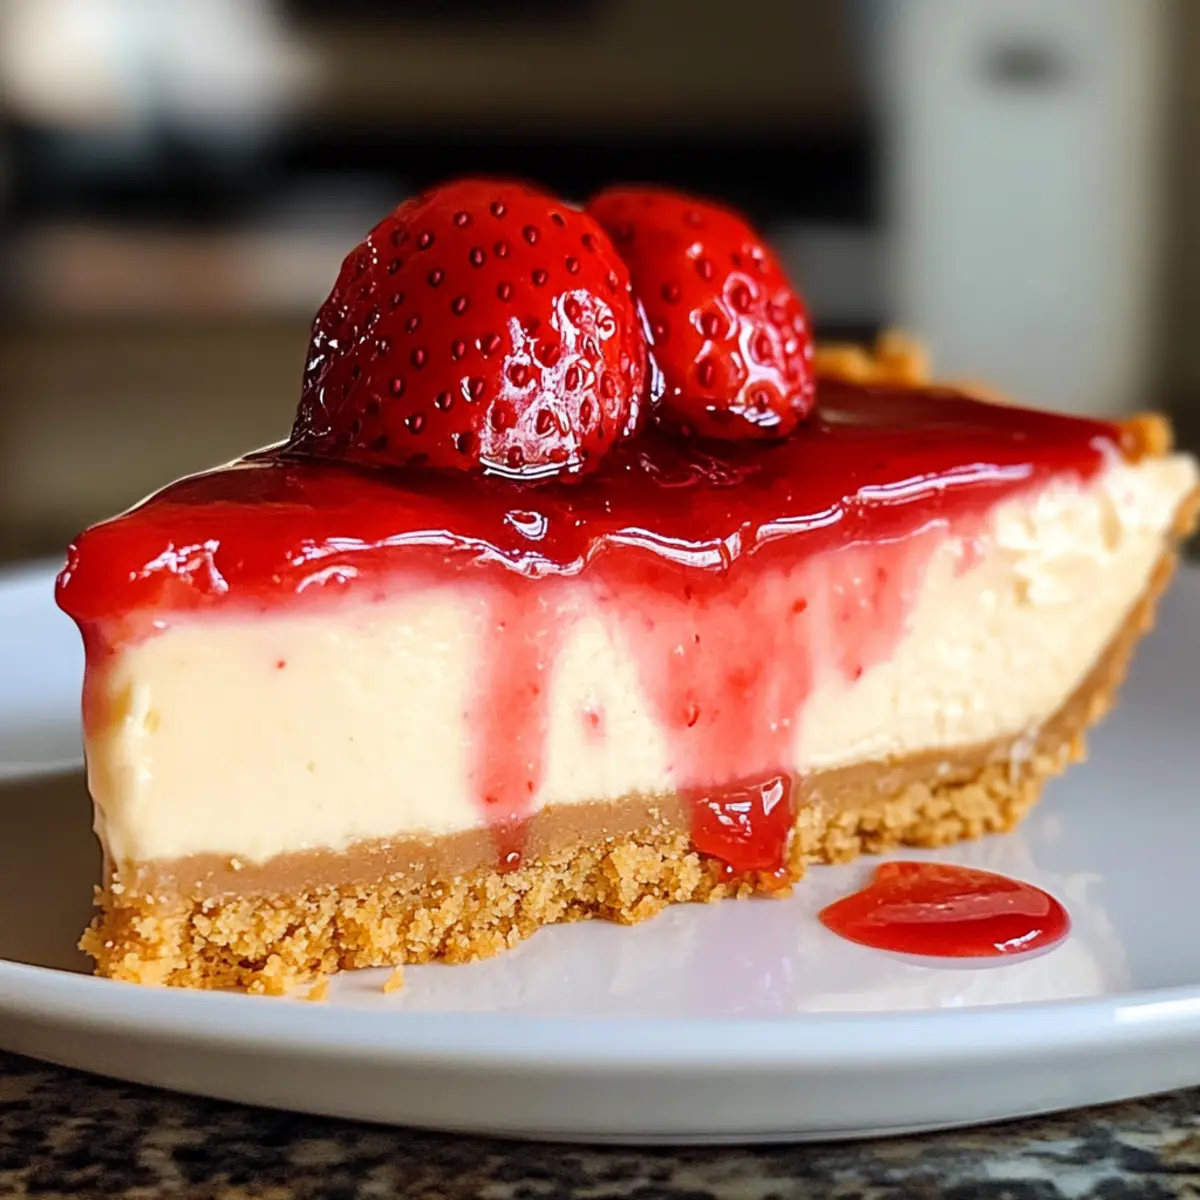
As I stood in my kitchen, the sweet scent of ripe strawberries filled the air, transporting me back to summer picnics with family and friends. Today, I’m thrilled to share my recipe for Creamy Strawberry Cheesecake with a Buttery Cookie Crust, a dessert that brings those sunny memories to life. Not only is this strawberry cheesecake a delightful crowd-pleaser, but its quick prep time makes it the perfect dish for spontaneous gatherings. With each velvety slice, you’ll experience a harmonious balance of tangy cheesecake and luscious strawberry topping that elevates this classic American favorite. Curious about how to create this masterpiece yourself? Let’s dive in!
Why is Strawberry Cheesecake So Irresistible?
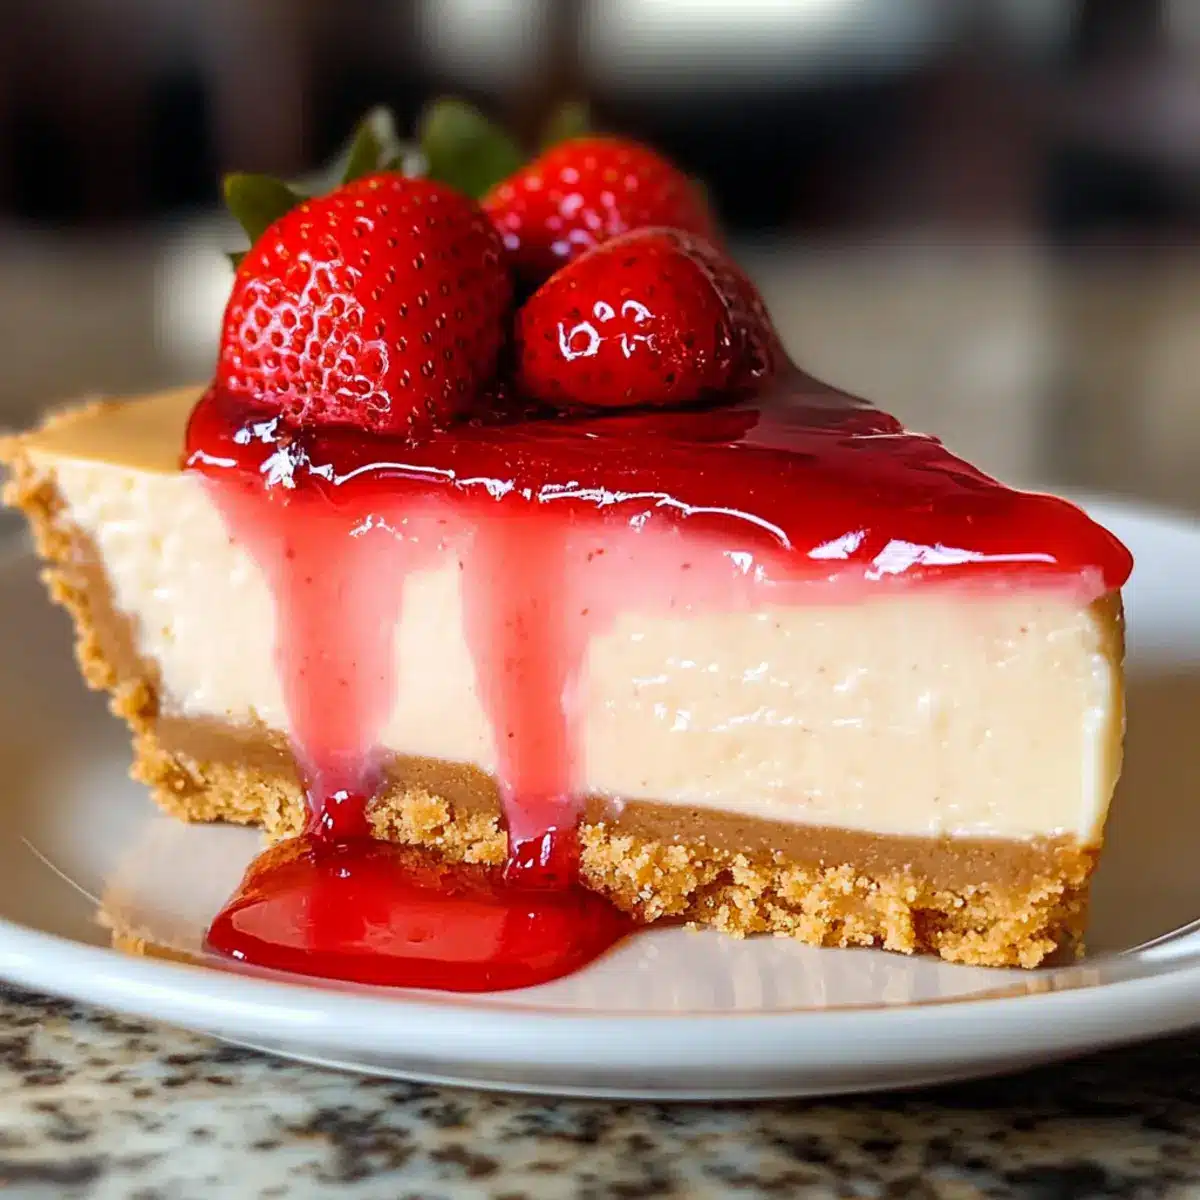
Decadent Layers: Each slice features a silky smooth cheesecake base topped with a glossy strawberry sauce, making every mouthful a delightful surprise.
Quick and Easy: This recipe is designed for home chefs of all skill levels, requiring minimal prep time while delivering maximum flavor.
Fresh Ingredients: The vibrant flavor of ripe strawberries elevates the classic cheesecake, ensuring everyone raves about it.
Versatile Treat: Looking for variations? Try swapping strawberries for raspberries or blueberries for a yummy twist, or check out my other favorites like Chocolate Cheesecake Decadent or Mini Oreo Cheesecakes.
Perfect for Any Occasion: This cheesecake is a showstopper at parties, holidays, or cozy family dinners – guaranteed to impress!
Strawberry Cheesecake Ingredients
• Here’s what you’ll need to create this dreamy dessert!
For the Crust
- Cookie Crumbs – Use graham cracker or digestive biscuit crumbs for a delicious base.
- Unsalted Butter – Binds crust ingredients; coconut oil works for a dairy-free option.
For the Cheesecake Filling
- Cream Cheese – The star ingredient, providing rich texture; consider low-fat cream cheese if desired.
- All-Purpose Flour – Helps stabilize the filling; almond flour is a gluten-free alternative.
- Vanilla Extract – Elevates overall flavor; pure vanilla extract is best for depth.
- Sour Cream – Adds creaminess and tang; Greek yogurt can be a tasty substitute.
- Granulated Sugar – Sweetens the cheesecake; coconut sugar offers a healthier choice.
- Lemon Zest – Brightens the flavor; it can be omitted if you prefer a simpler taste.
- Large Eggs – Provides moisture and support; substitute with flax eggs for a vegan option.
For the Strawberry Topping
- Fresh Strawberries – Ripe strawberries are key for a vibrant, flavorful topping; frozen varieties can work if fresh aren’t available.
- Lemon Juice – Adds acidity to balance sweetness; lime juice is an excellent replacement.
- Cornstarch – Thickens the strawberry sauce; arrowroot powder is a helpful alternative.
- Water – Used in creating the slurry; swap for fruit juice for an extra flavor twist.
This luscious strawberry cheesecake is sure to become a go-to dessert for entertaining or simply treating yourself! Enjoy the process and cherish the sweet moments that come with each delicious slice.
Step‑by‑Step Instructions for Strawberry Cheesecake
Step 1: Preheat the Oven
Begin by preheating your oven to 320°F (160°C). While the oven warms, take an 8-inch springform pan, greasing the bottom and sides lightly with butter or cooking spray. For added security against sticking, line the base with parchment paper, ensuring it fits well. This foundation will hold your delicious strawberry cheesecake perfectly!
Step 2: Prepare the Crust
In a mixing bowl, combine cookie crumbs with melted butter until well mixed. The mixture should resemble wet sand. Press this crumbly base firmly into the bottom of the prepared springform pan using the back of a measuring cup or your fingers to create an even layer. Aim for a compact crust as this will support your creamy cheesecake filling.
Step 3: Mix the Filling
In a large mixing bowl, use an electric mixer to beat cream cheese until it’s smooth and creamy, approximately 2-3 minutes. Gradually add in the flour, vanilla extract, sour cream, sugar, and lemon zest, mixing gently until combined. Incorporate the eggs, one at a time, ensuring each is blended before adding the next, which will keep your strawberry cheesecake filling light and airy.
Step 4: Bake the Cheesecake
Pour the cheesecake filling over the prepared crust in your springform pan. Bake in the preheated oven for 55-60 minutes, or until the center is nearly set but slightly jiggly. After baking, turn off the oven and let the cheesecake cool inside with the door ajar for about an hour; this helps prevent cracking.
Step 5: Cool and Chill
Once cooled in the oven, remove the cheesecake and let it sit at room temperature for an additional 30 minutes. Then, cover it with plastic wrap and refrigerate for at least four hours or overnight if possible. This chilling time is crucial for achieving that cool, creamy texture characteristic of a perfect strawberry cheesecake.
Step 6: Make the Strawberry Topping
In a saucepan over medium heat, combine diced strawberries, lemon juice, sugar, and a splash of water. Simmer for about 10 minutes until the strawberries break down and release their juices. In a small bowl, mix cornstarch with a tablespoon of water to create a slurry; add this to the saucepan along with halved strawberries, cooking for another minute until thickened.
Step 7: Assemble and Serve
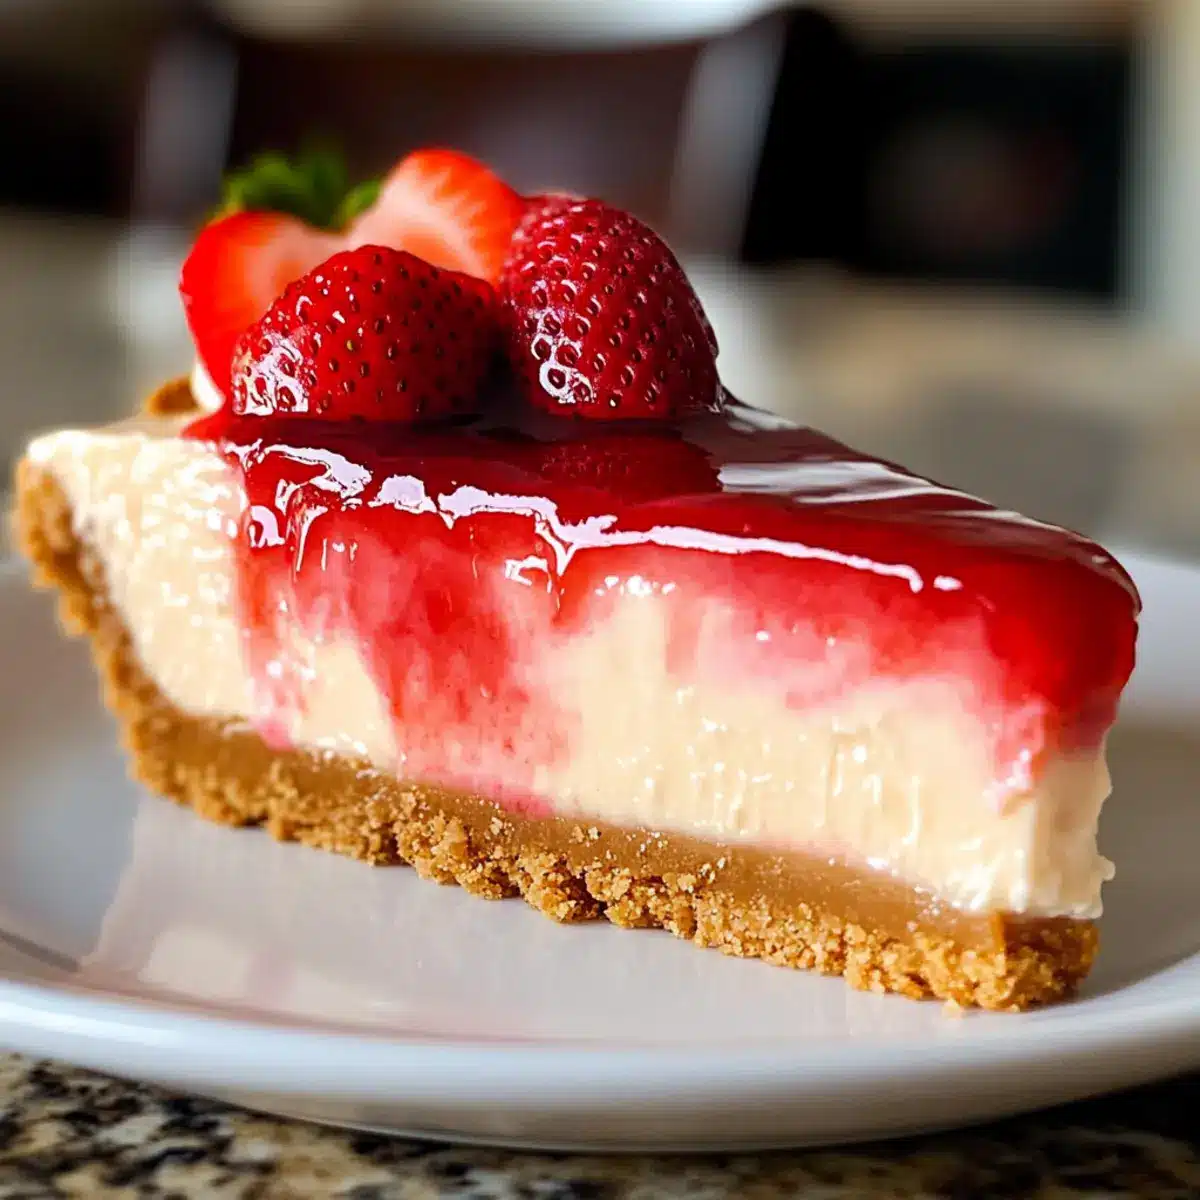
Let the strawberry topping cool slightly before spreading it evenly over the chilled cheesecake. Return the cheesecake to the refrigerator for another 2 hours to set the topping. When ready to serve, carefully remove the sides of the springform pan, slice, and delight in the luscious layers of your strawberry cheesecake masterpiece!
How to Store and Freeze Strawberry Cheesecake
Fridge: Keep the cheesecake covered in an airtight container for up to 4 days. This will help maintain its creamy texture and prevent it from absorbing other odors.
Freezer: For longer storage, wrap the cheesecake tightly in plastic wrap and aluminum foil. It will last in the freezer for up to 2 months. Thaw in the fridge overnight before serving.
Sliced Portions: If you’ve already sliced the cheesecake, place parchment paper between the slices, then wrap gently in plastic. This prevents sticking and allows you to take out portions as needed.
Reheating: If you prefer your cheesecake slightly warm, let it sit at room temperature for 15-20 minutes before serving; this enhances its creamy flavor and makes it easier to slice.
Make Ahead Options
These creamy strawberry cheesecakes are perfect for meal prep enthusiasts looking to save time on busy weeknights! You can prepare the cheesecake filling up to 24 hours in advance, allowing it to chill in the refrigerator overnight for optimal flavor. Just bake and cool completely before wrapping it tightly in plastic wrap. The strawberry topping can also be made up to 3 days ahead; simply store it in an airtight container in the fridge. When you’re ready to serve, spread the topping over the chilled cheesecake, let it sit for about 30 minutes at room temperature, then slice and enjoy your delicious strawberry cheesecake that’s just as sweet and satisfying as if it were made fresh!
What to Serve with Creamy Strawberry Cheesecake?
As you prepare to slice into this creamy delight, consider these perfect pairings that will elevate your dessert experience.
- Whipped Cream: The light, fluffy texture adds a creamy richness that complements the cheesecake’s velvety filling, enhancing every bite.
- Fresh Berries: A mix of fresh berries, like blueberries or raspberries, adds a lovely tartness, creating a vibrant contrast to the sweet cheesecake. They’re not just beautiful; they elevate the whole experience!
- Mint Tea: A soothing mint tea serves as a refreshing palate cleanser, balancing the rich flavors and making for a perfect after-dinner drink.
- Chocolate Drizzle: A drizzle of dark chocolate over the top introduces a rich, indulgent twist that will delight chocolate lovers. It harmonizes beautifully with the strawberry topping.
- Almond Biscotti: The crunchy, nutty texture of almond biscotti provides a wonderful contrast, making each bite of cheesecake all the more enjoyable. Dip it in coffee for a sweet finish!
- Vanilla Ice Cream: A scoop of vanilla ice cream alongside the cheesecake creates a creamy, dreamy pairing that feels indulgent and comforting. The classic flavor compliments the fruity topping perfectly.
- Strawberry Lemonade: A refreshing glass of strawberry lemonade ties in the flavor profile while adding a zesty edge that balances the richness of the cheesecake.
- Pistachio Crumble: Adding crushed pistachios on top gives a delightful crunch and a subtle nutty flavor that pairs beautifully with the strawberries.
- Coffee: A warm cup of freshly brewed coffee cuts through the sweetness, offering a rich contrast that will satisfy your cravings as you savor every slice.
Tips for the Best Strawberry Cheesecake
- Keep Ingredients Room Temperature: Ensure cream cheese and eggs are at room temperature for easy mixing, which helps create a smooth filling for your strawberry cheesecake.
- Avoid Overmixing: Mix the batter just until combined to prevent cracks in the cheesecake. Over-beating can incorporate too much air.
- Chill Thoroughly: Allow the cheesecake to set in the fridge for at least four hours, or overnight for the best texture. This helps the flavors meld beautifully.
- Test for Doneness: It’s okay if the center jiggles slightly when you take it out. It will continue to set as it cools, yielding a creamy strawberry cheesecake.
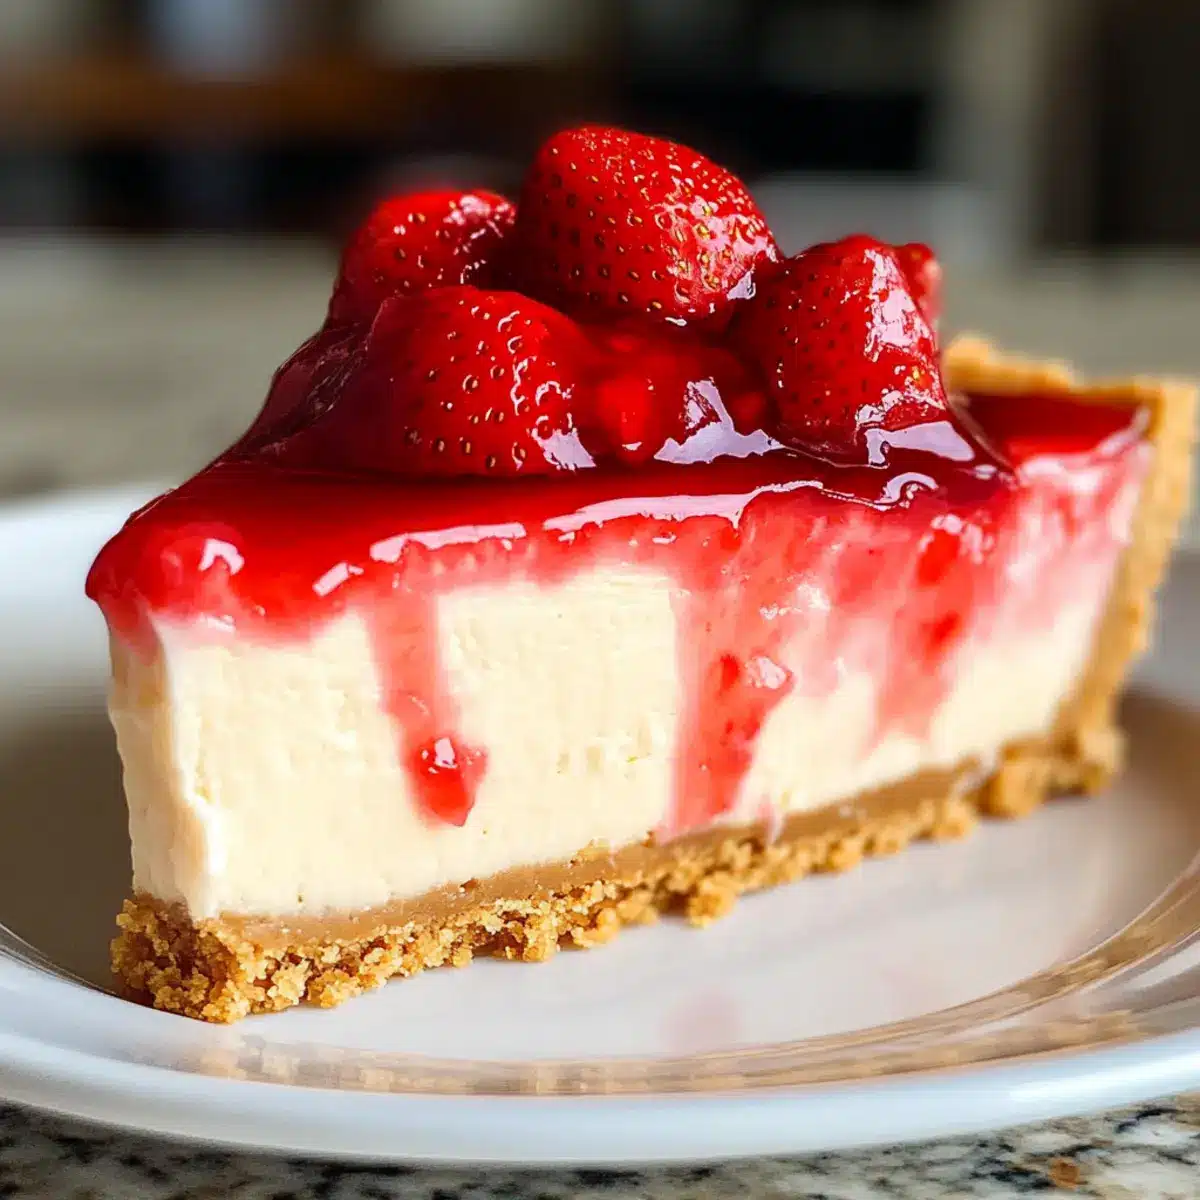
- Ripe Strawberries are Key: Choose the ripest strawberries for your topping to maximize the flavor. Avoid using those that are overripe or mushy.
Strawberry Cheesecake Variations & Substitutions
Feel free to explore these delightful twists that add a personal touch to your cheesecake!
- Berry Medley: Swap strawberries for a combination of raspberries and blueberries for a colorful, fruity twist.
- Chocolate Delight: Melt chocolate into the cheesecake batter or drizzle it on top for a rich flavor boost.
- Graham Cracker Alternative: Try a cookie crust made with crushed vanilla wafers or Oreos for a fun flavor contrast. This variation adds a delicious surprise that everyone will love.
- Nutty Texture: Add chopped nuts like pecans or walnuts into the crust mixture for a delightful crunch. This small tweak enhances the flavor significantly.
- Dairy-Free Option: Use coconut cream instead of cream cheese and coconut oil for the crust to create a luscious dairy-free version. Your guests won’t even know it’s dairy-free!
- Flavored Extracts: Enhance the taste profile with almond or orange extract instead of vanilla for a unique flavor experience. This small change can elevate your cheesecake to an entirely new level.
- Citrus Zing: Introduce a hint of lime zest along with the lemon to brighten the flavors and add a refreshing twist.
- Heavenly Caramel: Drizzle homemade or store-bought caramel sauce on top for an added layer of decadence. This sweet touch will make your cheesecake a standout dessert.
Feel inspired? You can easily create different flavor profiles by incorporating these variations—just like my love for Chocolate Cheesecake Decadent and creamy Coffee Cheesecake. Get creative and enjoy every slice!
Strawberry Cheesecake Recipe FAQs
How do I choose ripe strawberries for the topping?
Absolutely! When looking for the perfect strawberries, choose those that are bright red and firm to the touch. Avoid berries with dark spots or those that appear mushy, as that indicates overripeness. If they’re in season, summer strawberries yield the best flavor!
How should I store leftover strawberry cheesecake?
To keep your cheesecake fresh and delicious, cover it with plastic wrap or store it in an airtight container in the refrigerator for up to 4 days. This will help maintain its creamy texture and prevent it from absorbing any strong odors from your fridge.
Can I freeze strawberry cheesecake?
Very! To freeze your strawberry cheesecake, wrap it tightly in plastic wrap followed by aluminum foil to prevent freezer burn. It can be stored for up to 2 months. Thaw in the refrigerator overnight before serving for the best flavor and texture.
What if my cheesecake cracks during baking?
No need to worry! If your cheesecake cracks, it’s often due to overmixing or baking at too high a temperature. To avoid this, mix your filling just until combined and bake at the recommended temperature. If cracks do appear, a topping of fresh strawberries will happily disguise them.
Is this cheesecake safe for people with allergies?
If you or your guests have dietary restrictions, you can modify this strawberry cheesecake recipe. Use gluten-free cookies for the crust and substitute dairy ingredients with plant-based options like coconut cream and almond milk. Just be mindful of the specific allergies involved!
How long can I keep the cheesecake topping?
You can store any leftover strawberry topping in the fridge for about 3 days in an airtight container. Before serving, give it a quick stir as it may thicken slightly in the fridge. You’re all set to enjoy every last bit!
Velvety Strawberry Cheesecake that'll Steal Your Heart
Ingredients
Equipment
Method
- Preheat your oven to 320°F (160°C). Grease the bottom and sides of your springform pan with butter or cooking spray, and optionally line the base with parchment paper.
- In a mixing bowl, combine cookie crumbs with melted butter until well mixed. Press the mixture into the bottom of the springform pan.
- In a large mixing bowl, beat cream cheese with an electric mixer until smooth. Gradually add flour, vanilla, sour cream, sugar, and lemon zest, mixing gently. Incorporate eggs one at a time.
- Pour the filling over the crust and bake for 55-60 minutes, until slightly jiggly in the center. Allow to cool in the oven with the door ajar.
- After cooling, let the cheesecake rest at room temperature for another 30 minutes, then refrigerate for at least 4 hours or overnight.
- In a saucepan, combine diced strawberries, lemon juice, sugar, and water. Simmer for 10 minutes. Mix cornstarch with water to form a slurry and add to the saucepan. Cook until thickened.
- Spread the strawberry topping over the chilled cheesecake and refrigerate for another 2 hours before serving.
Leave a Reply