
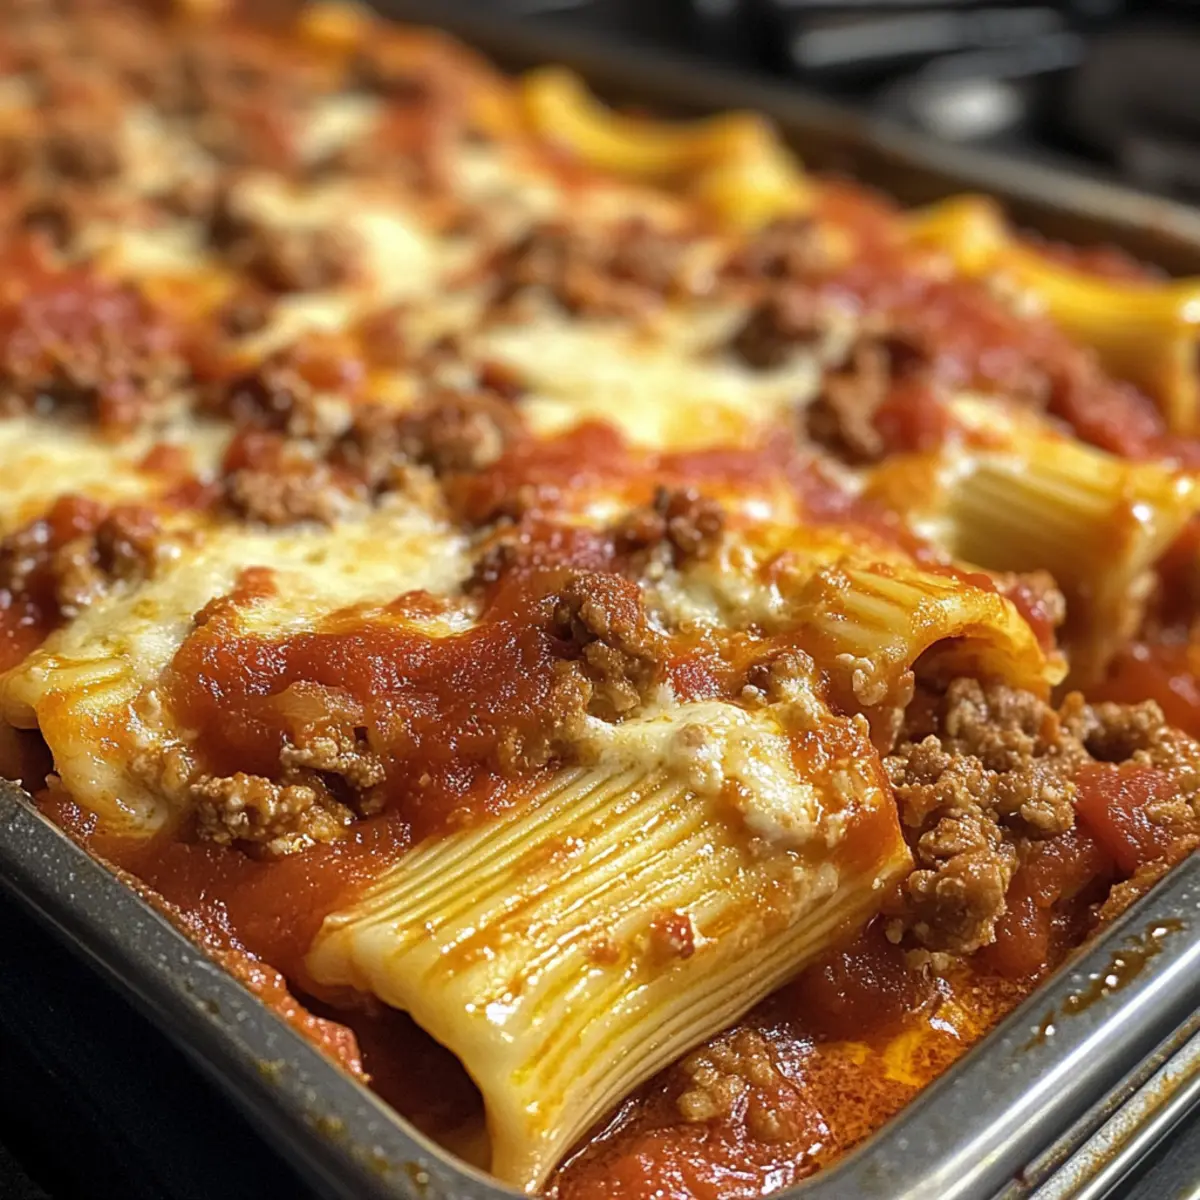
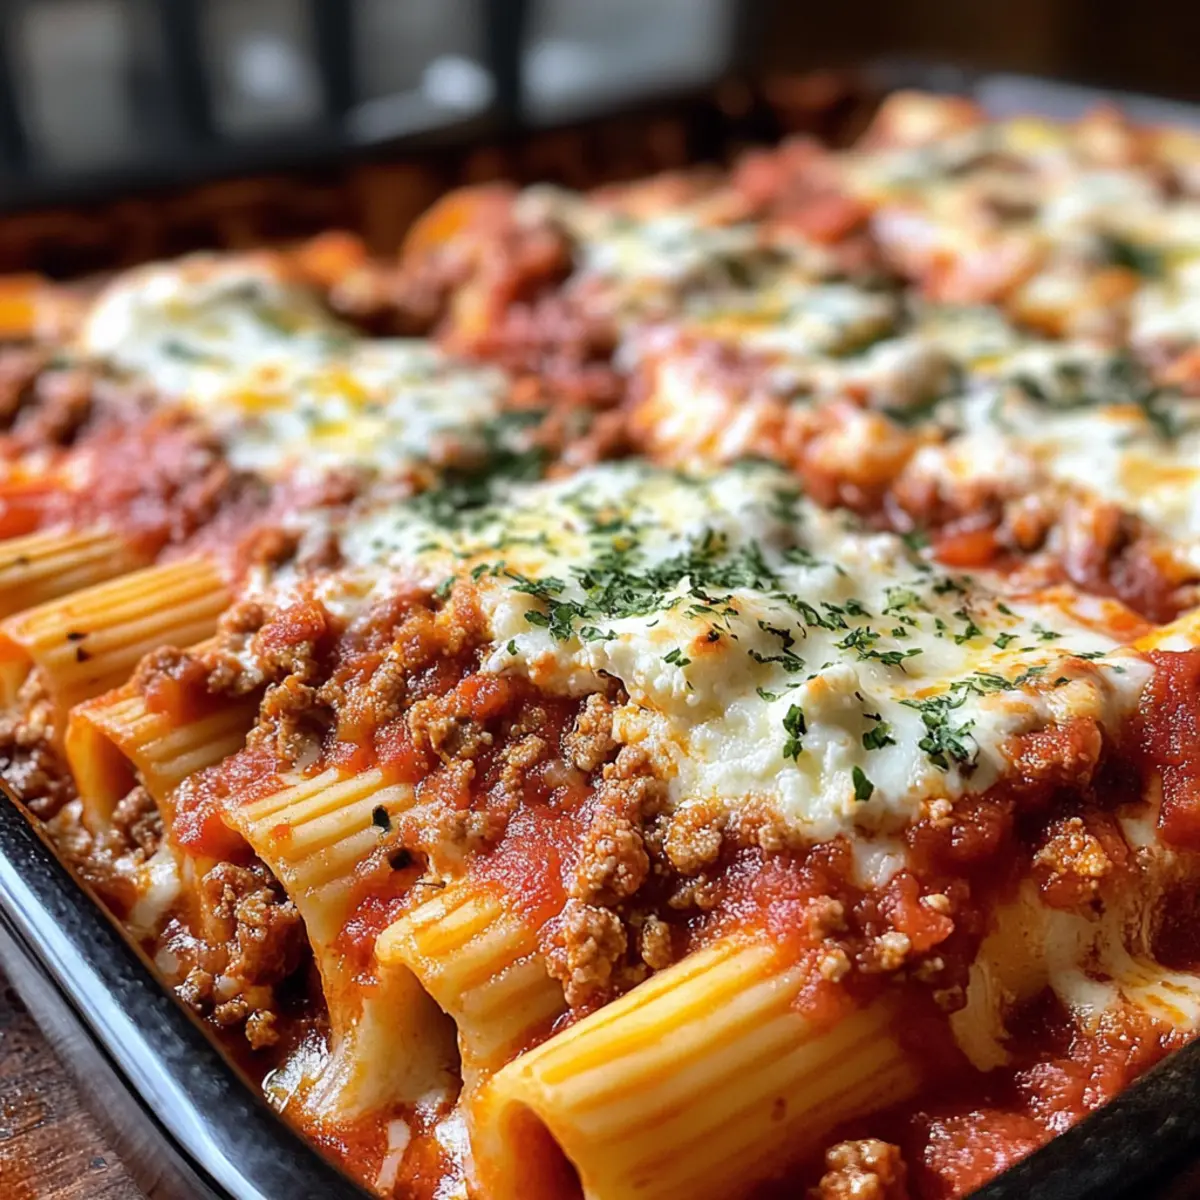
As the aroma of savory meat sauce fills my kitchen, I can’t help but feel transported to a cozy Italian trattoria. Today, I’m excited to share my recipe for Stuffed Manicotti—a dish that perfectly combines tender pasta shells with a creamy filling of ricotta, mozzarella, and Parmesan, all enveloped in a rich, homemade sauce. This recipe is not just comfort food; it’s also a make-ahead marvel, allowing you to prepare and store it for a hassle-free family dinner or festive gathering. Plus, with options for vegetarian or gluten-free diets, it truly caters to everyone at the table. Ready to dive into a plate of cheesy satisfaction? Let’s get cooking!
Why Is Stuffed Manicotti So Loved?
Comforting, Hearty Dish: Enjoy the warmth of Stuffed Manicotti, where creamy cheeses and savory meat come together in a delightful embrace.
Versatile Ingredients: This recipe allows you to easily swap out proteins or even make it vegetarian, ensuring every palate is satisfied.
Make-Ahead Wonder: Prep it a day in advance for stress-free serving—perfect for busy weeknights or hosting friends!
Crowd-Pleasing Flavor: The combination of melting cheeses and rich meat sauce makes this dish a surefire hit at any gathering, just like our delicious Stuffed Seafood Bread and Greek Stuffed Onions.
Easy to Personalize: Add your favorite herbs or spices to the cheese filling for a unique twist every time. Enjoy diving into cheesy, hearty bliss!
Stuffed Manicotti Ingredients
For the Pasta
• Manicotti Shells – Use store-bought or gluten-free shells to fit dietary needs.
For the Cheese Filling
• Ricotta Cheese – A creamy base; substitute with mascarpone for decadence or cottage cheese for a lighter option.
• Mozzarella Cheese – Provides stretch and melt; try provolone for a sharp contrast.
• Parmesan Cheese – Adds flavor and saltiness; can be replaced with Pecorino Romano for a bolder taste.
• Egg – Acts as a binder for the cheese mixture; omit if using dairy-free options.
For the Meat Sauce
• Ground Beef – Adds protein and heartiness; feel free to swap with ground turkey or chicken for lighter options.
• Onion – Enhances the aroma; shallots work for a milder taste.
• Garlic – A flavor enhancer; both fresh and powdered garlic are great choices.
• Crushed Tomatoes – Creates a rich base for the sauce; use tomato passata for a smoother texture.
• Herbs (Basil, Oregano) – Seasoning essentials; fresh herbs will brighten the dish if you have them on hand.
Other Tips
• N/A – Remember, this Stuffed Manicotti can easily cater to varying dietary preferences, ensuring everyone enjoys a comforting meal!
Step‑by‑Step Instructions for Stuffed Manicotti
Step 1: Cook the Manicotti Shells
Begin by bringing a large pot of salted water to a boil. Carefully add the manicotti shells and cook them until they’re slightly under al dente, about 6-7 minutes. Drain the pasta and lay the shells on a clean kitchen towel to cool, ensuring they don’t stick together while you prepare the savory filling.
Step 2: Prepare the Meat Sauce
In a skillet over medium heat, brown 1 pound of ground beef along with 1 diced onion and 2 minced garlic cloves until the beef is fully cooked, around 8-10 minutes. Drain any excess fat and then add 28 ounces of crushed tomatoes with 1 teaspoon each of dried basil and oregano. Allow the sauce to simmer for 15-20 minutes, stirring occasionally until it thickens and becomes aromatic.
Step 3: Make the Cheese Filling
In a mixing bowl, combine 15 ounces of ricotta cheese, 1 cup of shredded mozzarella, ½ cup of grated Parmesan, and 1 beaten egg. Stir the mixture until it’s well combined and season with salt and pepper. This creamy filling will provide a delightful contrast to the robust sauce in your Stuffed Manicotti.
Step 4: Stuff the Manicotti Shells
Using a piping bag or a spoon, carefully fill each cooled manicotti shell with the cheesy mixture, packing it gently but firmly. Ensure that each shell is completely filled to maximize the flavors in every bite of your Stuffed Manicotti. Set the stuffed shells aside as you prepare to assemble the dish.
Step 5: Assemble the Dish
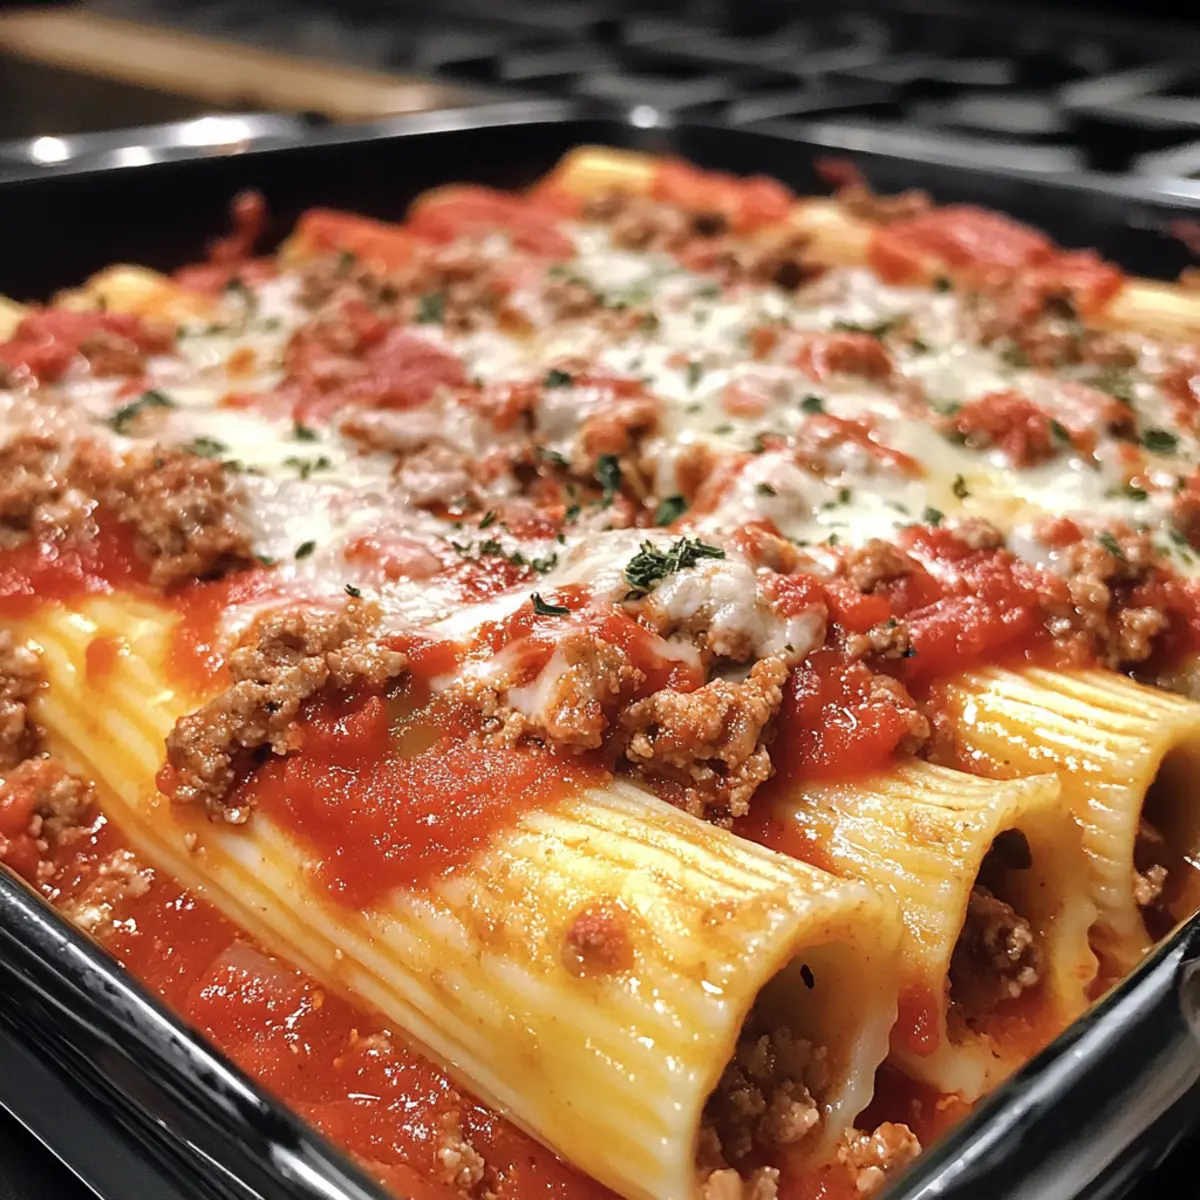
Preheat your oven to 375°F (190°C). Spread a layer of the prepared meat sauce over the bottom of a baking dish to prevent the shells from sticking. Arrange the stuffed manicotti in a single layer on top of the sauce, then pour the remaining meat sauce generously over the shells to cover them completely.
Step 6: Bake the Manicotti
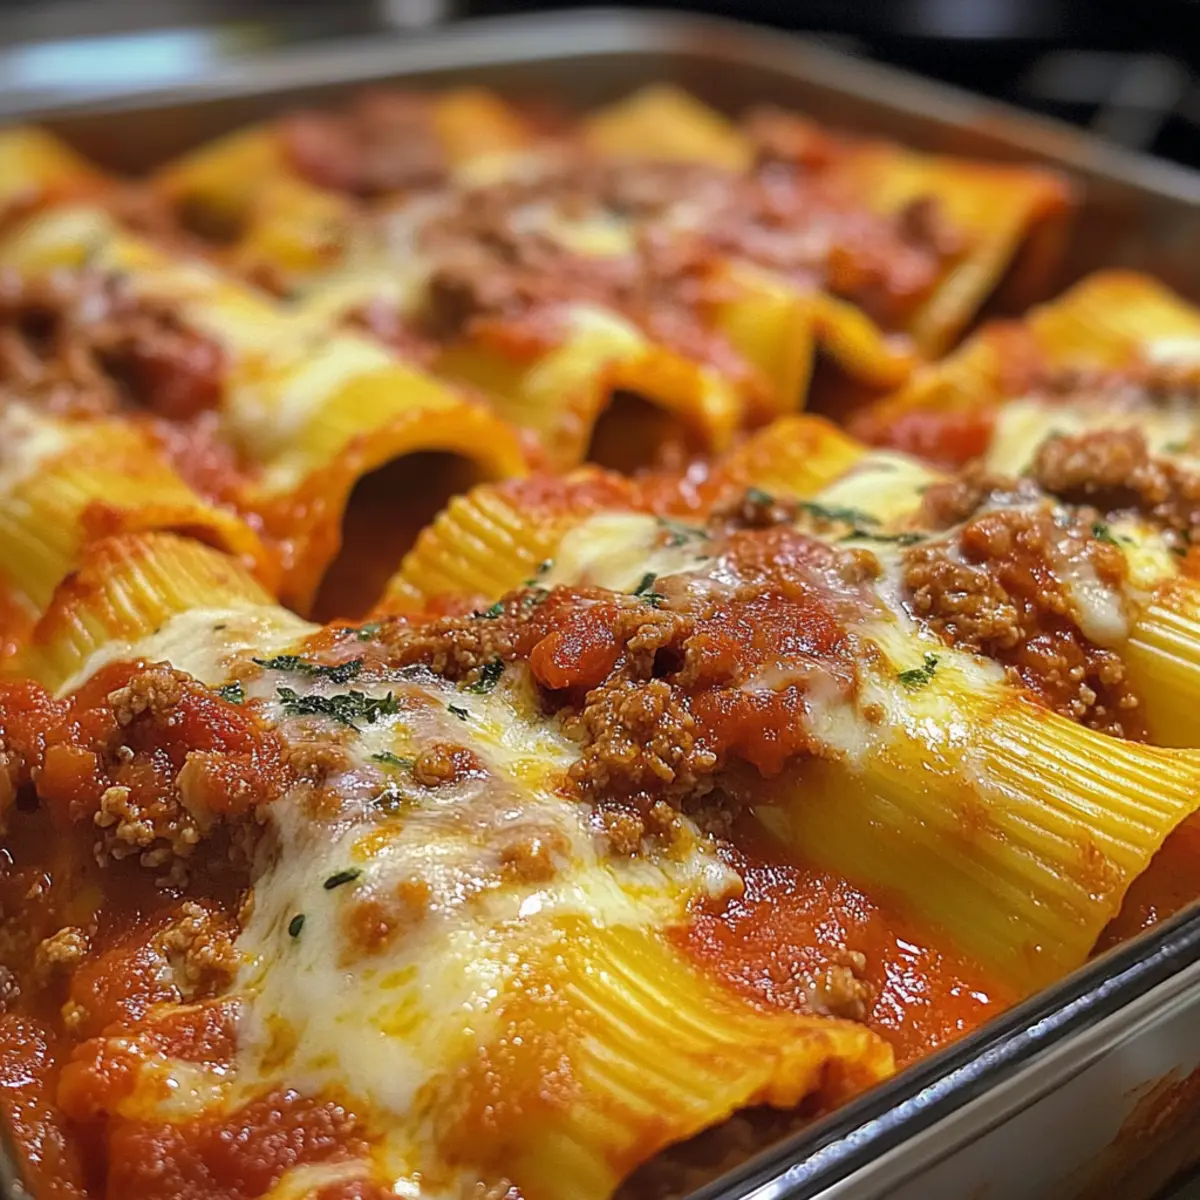
Sprinkle an additional 1 cup of mozzarella cheese over the top of the sauce. Cover the baking dish with foil to retain moisture and place it in the preheated oven. Bake for 30 minutes, allowing the flavors to meld beautifully, and then remove the foil for the last 10-15 minutes, letting the cheese bubble and turn golden for a perfect finish.
Step 7: Let it Rest Before Serving
Once baked, remove the dish from the oven and let it rest for about 10 minutes before serving. This will allow the flavors of the Stuffed Manicotti to settle, making it easier to serve and enhancing each bite’s deliciousness.
How to Store and Freeze Stuffed Manicotti
Fridge: Store any leftover Stuffed Manicotti in an airtight container for up to 3 days. Reheat in the oven at 350°F (175°C) until heated through for the best texture.
Freezer: Freeze the assembled Stuffed Manicotti for up to 3 months. Wrap tightly in plastic wrap and foil to prevent freezer burn.
Make-Ahead: Prepare the dish a day in advance by assembling it, covering it in the fridge, and baking just before serving to save time and enhance flavors.
Reheating: If baking from frozen, extend the cooking time by 10-15 minutes to ensure it’s heated throughout, giving you a delicious meal ready in no time.
Make Ahead Options
These Stuffed Manicotti with Meat Sauce are perfect for busy home cooks looking to save time during the week! You can assemble the entire dish up to 24 hours in advance—just cover it tightly and refrigerate. This chilling period allows the flavors to meld beautifully. To maintain quality, cover the baking dish with foil to prevent the top from browning prematurely. When you’re ready to serve, simply bake from the fridge, adding an extra 10-15 minutes to the cooking time to ensure everything is heated through. For longer storage, you can freeze them for up to 3 months and bake directly from frozen, extending the cook time by 10-15 minutes. Enjoy a hassle-free dinner with minimal effort!
What to Serve with Savory Stuffed Manicotti?
Indulging in a plate of Stuffed Manicotti opens up a world of culinary possibilities for a complete, cozy dining experience.
- Garlic Bread: The perfect buttery companion, garlic bread enhances every bite of cheesy manicotti with its toasty, aromatic flavors.
- Mixed Green Salad: A fresh salad with crisp greens and a zesty vinaigrette beautifully balances the richness of the pasta.
- Roasted Vegetables: Caramelized seasonal veggies add earthy tones and vibrant color to your meal, providing a delightful contrast in texture.
- Sautéed Spinach: Tender, sautéed spinach, lightly dressed with olive oil and lemon, adds a fresh burst, cutting through the creaminess of the dish.
- Italian Antipasto Platter: Offer an assortment of olives, cured meats, and cheeses for a lively appetizer that matches the Italian theme beautifully.
- Red Wine: A glass of Chianti or another robust red unites beautifully with the hearty meat sauce, elevating the whole dining experience.
- Tiramisu: End on a sweet note with this classic Italian dessert, its creamy layers and coffee essence creating a perfect finish.
Expert Tips for Stuffed Manicotti
Don’t Overcook Shells: To prevent breaking, cook the manicotti shells only until slightly under al dente; they’ll finish cooking in the oven.
Mix it Up: For added flavor, consider mixing fresh herbs like basil or parsley into the cheese filling of your Stuffed Manicotti.
Chill for Flavor: After assembling, let your manicotti chill in the fridge overnight, allowing the flavors of the meat sauce and cheese filling to meld deliciously.
Proper Cooling: Ensure that you cool the manicotti shells on a kitchen towel before stuffing. This prevents them from sticking together, making the process smoother.
Use Foil Wisely: Cover your baking dish with foil to help retain moisture during the first half of baking, then remove it for that lovely golden top.
Storage Success: Assemble your stuffed manicotti ahead of time and store covered in the fridge for up to a day. You can also freeze them for quick future meals!
Stuffed Manicotti Variations & Substitutions
Feel free to mix and match these ideas for your own take on stuffed manicotti, giving your meal a deliciously personalized touch!
-
Vegetarian Delight: Replace the meat sauce with marinara and add sautéed spinach or mushrooms to the cheese filling for a hearty, meat-free option.
The flavors here shine without meat, allowing the vibrant veggies to take center stage. -
Spicy Twist: Swap out the ground beef for spicy Italian sausage for an exciting kick.
The heat adds a dynamic layer of flavor, perfect for those who enjoy a zestier dish. -
Dairy-Free Option: Use dairy-free cream cheese in place of ricotta and omit the egg for a delightful, creamy filling that’s completely free of dairy.
This version ensures everyone at the table can savor the main course, bringing smiles all around. -
Gluten-Free Goodness: Choose gluten-free manicotti shells to make this dish suitable for those with gluten sensitivities.
It’s comforting to know that delicious meals can also cater to different dietary needs, ensuring no one misses out on the fun. -
Cheese Lover’s Dream: Mix in additional cheeses like fontina or Gouda into the filling for a creamy, indulgent experience.
Every bite becomes a gooey, cheesy delight that’s hard to resist, enhancing your comforting embrace of flavors. -
Nutty Flavor Enhancement: Stir in a handful of pine nuts or walnuts into the cheese filling for added texture and flavor.
Nuts introduce a delightful crunch, creating a wonderful contrast with the creaminess of the cheeses. -
Fresh Herb Infusion: Incorporate fresh herbs such as cilantro or chives into the cheese mixture for a refreshing twist.
This variation will elevate the dish, leaving your guests guessing at the delightful bursts of flavor. -
Make it a Brunch Dish: Add crumbled cooked bacon or sausage to the cheese filling for a breakfast-themed twist.
It’s a fun way to transform this hearty meal into a brunch favorite that everyone will love!
With these variations, your stuffed manicotti will never feel the same twice. As you experiment, consider pairing it with other delightful dishes, like the comforting Stuffed Seafood Bread or vibrant Greek Stuffed Onions to create a fully rounded meal that’s bound to impress!
Stuffed Manicotti with Meat Sauce Recipe FAQs
How do I choose ripe ingredients for Stuffed Manicotti?
When selecting ingredients, particularly for the sauce, choose ripe, vibrant tomatoes without dark spots for the best flavor. Fresh herbs should be bright and fragrant, while soft cheeses should not have any signs of spoilage. If using ground meat, opt for lean cuts with a pinkish hue and avoid any with excessive fat or gray coloring.
What’s the best way to store leftover Stuffed Manicotti?
Leftover Stuffed Manicotti can be stored in an airtight container in the refrigerator for up to 3 days. For the best texture when reheating, place the manicotti in an oven-safe dish, cover with foil, and reheat at 350°F (175°C) until heated through—about 20-25 minutes.
Can I freeze Stuffed Manicotti, and how?
Absolutely! You can freeze the assembled Stuffed Manicotti for up to 3 months. Wrap them tightly in plastic wrap, followed by aluminum foil to prevent freezer burn. When you’re ready to bake, you can cook them straight from the freezer by adding an additional 10-15 minutes to the cooking time.
What should I do if my pasta shells break while stuffing?
If your manicotti shells break, don’t fret! Simply fill them with the cheese mixture and arrange them in a baking dish instead of upright. Cover with sauce and cheese as usual, and they’ll still turn out deliciously! To prevent this in the future, avoid overcooking the shells when boiling.
Are there any dietary considerations for Stuffed Manicotti?
Definitely! This recipe can accommodate various dietary preferences. For a vegetarian option, replace the ground beef with sautéed vegetables or a meat substitute. If you have lactose sensitivities, try using dairy-free cream cheese in place of ricotta and omit the mozzarella. Always double-check the ingredients of store-bought shells to ensure they meet your dietary needs.
Can I make Stuffed Manicotti ahead of time?
Yes, you can! I often prepare my Stuffed Manicotti a day in advance. Just assemble the dish, cover it, and store in the fridge. This allows the flavors to meld beautifully. When you’re ready to serve, pop it straight in the oven for a hassle-free dinner.
Savory Stuffed Manicotti for Cozy Family Dinners
Ingredients
Equipment
Method
- Cook the manicotti shells in a large pot of salted water until slightly under al dente, about 6-7 minutes. Drain and cool on a kitchen towel.
- In a skillet, brown ground beef with diced onion and minced garlic over medium heat for 8-10 minutes. Drain excess fat and stir in crushed tomatoes, basil, and oregano. Simmer for 15-20 minutes.
- In a mixing bowl, combine ricotta, mozzarella, Parmesan, and beaten egg. Mix well and season to taste with salt and pepper.
- Fill each manicotti shell with the cheese mixture using a piping bag or spoon.
- Preheat oven to 375°F (190°C). Spread meat sauce in a baking dish and arrange the stuffed shells in a single layer. Pour remaining sauce over the shells.
- Sprinkle mozzarella on top, cover with foil, and bake for 30 minutes. Remove foil for the last 10-15 minutes to brown the cheese.
- Let the dish rest for about 10 minutes before serving.
Leave a Reply