
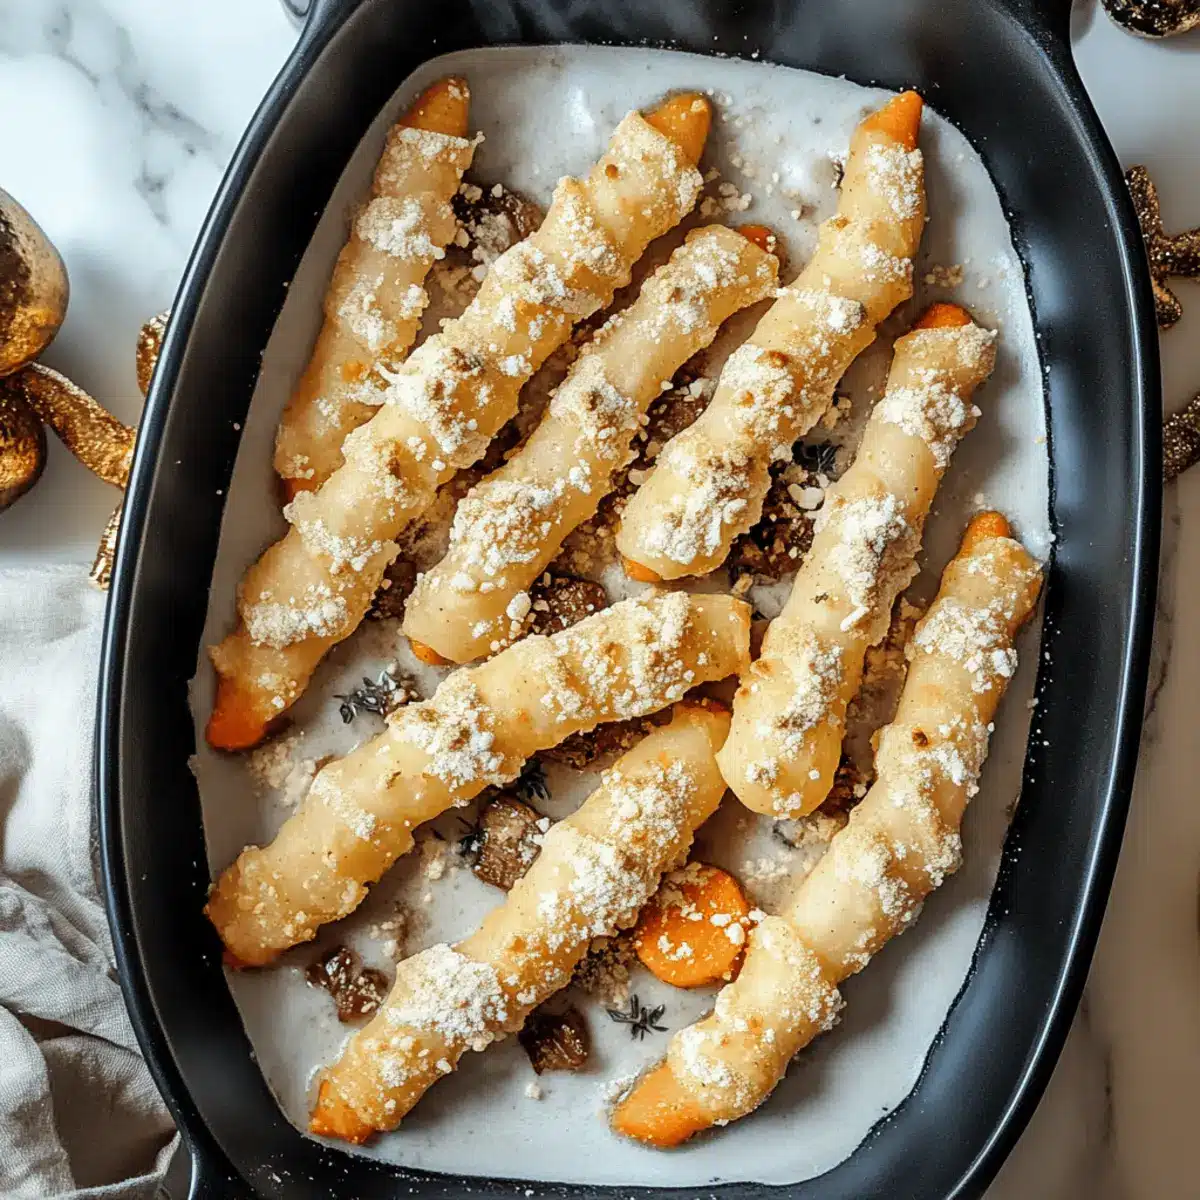
As I pulled open the oven door, the warm, earthy aroma of freshly baked bread enveloped the kitchen, instantly transforming it into a cozy witch’s lair. This Halloween, I’m excited to share my favorite Witch Finger Breadsticks that not only tickle the taste buds but also evoke a delightful sense of fun with their spook-tacular presentation. Perfect for parties or family dinners, these breadsticks are not just comfort food—they’re a playful twist on a classic that’ll have your guests grinning from ear to ear. Plus, they’re easy to whip up, making them ideal for those busy holiday nights. So, are you ready to conjure up some magic in the kitchen? Let’s get started on these frightfully fun delights!
Why Are Witch Finger Breadsticks So Fun?
Ghoulishly Delightful: The unique shape and eerie presentation instantly add a whimsical vibe to any Halloween gathering.
Simple Preparation: With just a few easy steps, you can create a batch of these playful treats that delight both kids and adults.
Savory Flavor: Infused with garlic and herb goodness, these breadsticks are full of flavor, making them an irresistible snack.
Versatile Pairing: Serve them alongside your favorite dips or soups for a crowd-pleasing appetizer that complements your festive menu.
Perfect for Parties: Themed food is key for Halloween parties, and these breadsticks serve as both a dish and a conversation starter.
Memorable Experience: Watching your guests take a bite and react to their spooky shape adds an unforgettable element to your meal.
Dive into more Halloween magic with our stuffed pumpkin and bloody beet risotto recipes!
Witch Finger Breadsticks Ingredients
• Channel your inner witch with these enchanting ingredients for a frightfully tasty treat!
For the Dough
- All-Purpose Flour – Forms the base of your breadsticks; using high-protein flour enhances chewiness.
- Yeast – Essential for rising; instant yeast speeds up the process without proofing.
- Warm Water – Activates the yeast; ensure it’s between 100°F and 110°F for best results.
- Olive Oil – Adds richness and flavor; substitute with melted butter for a different taste.
- Salt – Enhances overall flavor; don’t skip it to ensure your breadsticks are delicious.
For the Flavoring
- Garlic Powder – Infuses the dough with savory goodness; fresh minced garlic can be used instead for a punchier flavor.
- Dried Oregano – Adds a delightful herbaceous note; feel free to substitute with Italian seasoning if desired.
- Parmesan Cheese – Provides a savory depth; swap with nutritional yeast for a vegan option.
For Decoration
- Almonds – Create the “fingers” on your breadsticks; blanched almonds work perfectly for a smooth appearance.
- Olive Oil (for brushing) – Gives the breadsticks a golden-brown finish; a sprinkle of sea salt on top adds extra flavor and texture!
These Witch Finger Breadsticks are sure to enchant your guests while offering a burst of flavor amidst the Halloween festivities!
Step‑by‑Step Instructions for Witch Finger Breadsticks
Step 1: Prepare the Dough
In a large mixing bowl, combine 4 cups of all-purpose flour and 2 teaspoons of salt. In a separate bowl, mix 1 packet of instant yeast with 1 ½ cups of warm water (between 100°F and 110°F) and 2 tablespoons of olive oil. Stir the yeast mixture into the flour mixture until a shaggy dough forms. Knead the dough on a floured surface for about 8-10 minutes until smooth and elastic.
Step 2: Let the Dough Rise
Place the kneaded dough in a lightly greased bowl, cover it with a damp cloth, and allow it to rise in a warm place for about 1 hour, or until doubled in size. You’ll know it’s ready when it has puffed up and you can poke a finger in it without it springing back. This is your time to get your spooky decorations set up!
Step 3: Shape the Breadsticks
Once risen, punch down the dough to release air. Divide the dough into 12 equal pieces. Roll each piece into a long rope, about 6-8 inches in length. To create the “witch fingers,” taper one end of each rope to form a point while leaving the other thicker. Ensure they look eerie by adding texture with your fingers and grooves to make them look more like fingers.
Step 4: Add Flavoring
In a small bowl, mix 2 teaspoons of garlic powder, 1 teaspoon of dried oregano, and ½ cup of grated Parmesan cheese. Brush the shaped breadsticks lightly with olive oil, then sprinkle the garlic and herb mixture evenly over them to enhance the flavor of your Witch Finger Breadsticks.
Step 5: Prepare for Baking
Preheat your oven to 400°F. Line a baking sheet with parchment paper for easy cleanup. Place the shaped and seasoned breadsticks onto the baking sheet, leaving space in between, and prepare to add the final eerie touch.
Step 6: Decorate with Almonds
Take blanched almonds and gently press them into the tapering end of each breadstick to resemble fingernails. This will give your Witch Finger Breadsticks their spooky look and a delightful crunch. You can also sprinkle a pinch of sea salt over the top for extra flavor.
Step 7: Bake the Breadsticks
Place the baking sheet in the preheated oven and bake the breadsticks for 18-20 minutes or until they are golden brown and sound hollow when tapped. Keep an eye on them for that perfect color; you’ll want them to be enchanting and inviting!
Step 8: Cool and Serve
Once baked to a lovely golden hue, remove the breadsticks from the oven and let them cool on a wire rack for 5-10 minutes. They’ll be easier to handle once they’ve cooled slightly. Serve your Witch Finger Breadsticks warm, alongside your favorite dips or soups, for a spooktacular Halloween treat that will impress all your guests!
How to Store and Freeze Witch Finger Breadsticks
Room Temperature: Keep leftover breadsticks wrapped in a clean kitchen towel and stored in an airtight container for up to 2 days for optimal freshness.
Fridge: For longer preservation, place cooled breadsticks in a sealed container in the fridge where they can last up to 5 days; reheat in the oven to restore crispness.
Freezer: Freeze breadsticks in a single layer on a baking sheet, then transfer to a zip-top bag for up to 3 months. Reheat from frozen in the oven until warm and crispy.
Reheating: For the best results, reheat stored and frozen Witch Finger Breadsticks in a preheated oven at 350°F for about 10-15 minutes to maintain their delightful texture.
What to Serve with Witch Finger Breadsticks?
Indulge in the spirit of Halloween by pairing these whimsical breadsticks with delightful sides that create a feast worthy of any witching hour.
-
Pumpkin Soup: Creamy and comforting, pumpkin soup enhances the festive spirit and complements the herbal flavors in the breadsticks.
-
Spooky Spinach Salad: A fresh mix of spinach, cranberries, and candied walnuts offers a crunchy contrast to the warm breadsticks, perfect for a balanced meal.
-
Garlic Herb Dip: Serve a zesty garlic herb dip alongside for a flavorful touch that ties in perfectly with the breadsticks’ infused flavors. It’s a hit for both kids and adults.
-
Cheesy Cauliflower Bake: This warm, cheesy side dish provides a cozy richness, filling your table with satisfying textures that contrast nicely with the playful finger shape of the breadsticks.
-
Creepy Cheese Platter: Assemble a selection of cheeses with fun Halloween-themed shapes and some crackers; it’s a fun way to keep guests munching while they marvel at the breadsticks.
-
Chilling Cranberry Punch: A festive mocktail with cranberry juice and fizzy soda adds a splash of color and sweetness, making it a refreshing complement to your feast.
Make Ahead Options
These Witch Finger Breadsticks are perfect for meal prep enthusiasts! You can prepare the dough up to 24 hours in advance by following the first three steps—mixing, kneading, and letting it rise. After the dough has risen, punch it down and refrigerate it in an airtight container; this will prevent it from over-proofing while keeping it fresh. When you’re ready to serve, simply shape the breadsticks, add flavoring, and press in the almonds before baking. This makes it easy to have a spooky treat ready effortlessly, ensuring your Halloween festivities are just as delightful as they are convenient!
Expert Tips for Witch Finger Breadsticks
-
Kneading Technique: Knead the dough until smooth and elastic to develop gluten, ensuring your breadsticks have the right texture.
-
Temperature Check: Use a kitchen thermometer to ensure water is within the optimal range (100°F to 110°F) when activating the yeast for fluffy breadsticks.
-
Shaping Tips: For the most realistic “fingers,” taper and groove the dough properly, using your fingers to create eerie details; don’t rush this step!
-
Almond “Fingernails”: Press the almonds gently into the tip of each breadstick to keep them secure during baking; this adds to the spooky presentation.
-
Baking Watch: Keep an eye on the breadsticks while baking, as ovens can vary; aim for that golden-brown color and a hollow sound when tapped for the perfect finish.
With these helpful tips, your Witch Finger Breadsticks will be a hit at any Halloween gathering!
Witch Finger Breadsticks Variations & Substitutions
Feel free to get creative with your Witch Finger Breadsticks and make them your own with these tasty variations!
- Gluten-Free: Replace all-purpose flour with a 1:1 gluten-free flour blend for a safe option for those avoiding gluten.
- Vegan: Use plant-based milk instead of warm water and nutritional yeast in place of Parmesan for a cruelty-free delight.
- Cheesy Twist: Add shredded mozzarella or cheddar cheese to the dough for a gooey inside that will surprise your guests.
- Herb-Infused: Mix fresh chopped herbs like rosemary or thyme into the dough for an aromatic touch that’ll elevate your breadsticks.
- Spicy Kick: Incorporate crushed red pepper flakes into the garlic and herb mixture to give your breadsticks a fiery taste explosion.
Now, if you’re looking for a truly spooky twist, consider serving these breadsticks with a bubbling soup like our bloody beet risotto or pairing them with a creamy dip for a delightful contrast of textures.
- Savory Seasoning: Swap the garlic and oregano for a taco seasoning blend for a fun and zesty take on these haunting delights.
- Shape Variations: Get creative with shapes; turn them into “witch hats” or “ghosts” for an extra festive flair that will delight kids and adults alike.
Transform your cooking experience with these Witch Finger Breadsticks, ensuring your Halloween gathering is both delicious and memorable!
Witch Finger Breadsticks Recipe FAQs
How do I choose the right yeast for Witch Finger Breadsticks?
Absolutely! For the best results, I recommend using instant yeast because it simplifies your preparation by eliminating the need for proofing. Just mix it directly with your dry ingredients. If you prefer active dry yeast, you’ll need to dissolve it in warm water (100°F to 110°F) and let it sit for about 5 to 10 minutes until bubbly before adding to your dough.
What’s the best way to store leftover Witch Finger Breadsticks?
Very simple! You can store leftover breadsticks at room temperature by wrapping them in a clean kitchen towel and placing them in an airtight container, where they’ll stay fresh for about 2 days. If you’d like to keep them longer, place them in the fridge for up to 5 days, but remember to reheat them in the oven for that crispy finish.
Can I freeze Witch Finger Breadsticks?
Absolutely! To freeze, place the shaped and uncooked breadsticks in a single layer on a baking sheet and freeze until solid. Once frozen, transfer them to a zip-top bag or airtight container. They can be frozen for up to 3 months. Just reheat them directly from the freezer, baking at 350°F for 15-20 minutes until warm and crisp.
What should I do if my dough doesn’t rise?
No worries, this can occasionally happen! If your dough doesn’t rise, it may be due to using yeast that isn’t active or water that is too hot or too cold. Ensure your warm water is within 100°F to 110°F. If the yeast is old, try proofing it first in warm water with a pinch of sugar for 5-10 minutes before mixing it with flour.
Are there any dietary considerations for Witch Finger Breadsticks?
Very much so! If you’re catering to dietary restrictions, you can easily modify these breadsticks. For a gluten-free version, substitute all-purpose flour with a gluten-free flour blend designed for baking. Additionally, you can replace Parmesan cheese with nutritional yeast for a vegan option to accommodate those with dairy allergies.
What’s the best way to make the breadsticks look spooky?
For that eerie effect, while shaping the dough, use your fingers to add grooves and taper the ends to resemble fingers. Press a blanched almond into the tip to create a “nail.” To enhance the appearance, brush the breadsticks with olive oil before baking and sprinkle a bit of sea salt on top for an added touch of flavor and texture!
Witch Finger Breadsticks for a Spooky Halloween Treat
Ingredients
Equipment
Method
- In a large mixing bowl, combine 4 cups of all-purpose flour and 2 teaspoons of salt.
- In a separate bowl, mix 1 packet of instant yeast with 1 ½ cups of warm water (between 100°F and 110°F) and 2 tablespoons of olive oil.
- Stir the yeast mixture into the flour mixture until a shaggy dough forms.
- Knead the dough on a floured surface for about 8-10 minutes until smooth and elastic.
- Place the kneaded dough in a lightly greased bowl, cover it with a damp cloth, and allow it to rise in a warm place for about 1 hour, or until doubled in size.
- Once risen, punch down the dough to release air. Divide the dough into 12 equal pieces.
- Roll each piece into a long rope, about 6-8 inches in length, tapering one end to form a point.
- In a small bowl, mix 2 teaspoons of garlic powder, 1 teaspoon of dried oregano, and ½ cup of grated Parmesan cheese.
- Brush the shaped breadsticks lightly with olive oil, then sprinkle the garlic and herb mixture evenly over them.
- Preheat your oven to 400°F and line a baking sheet with parchment paper.
- Place the shaped and seasoned breadsticks onto the baking sheet, and gently press a blanched almond into the tapering end of each breadstick.
- Bake the breadsticks for 18-20 minutes or until they are golden brown and sound hollow when tapped.
- Once baked, remove the breadsticks from the oven and let them cool on a wire rack for 5-10 minutes before serving.
Leave a Reply