
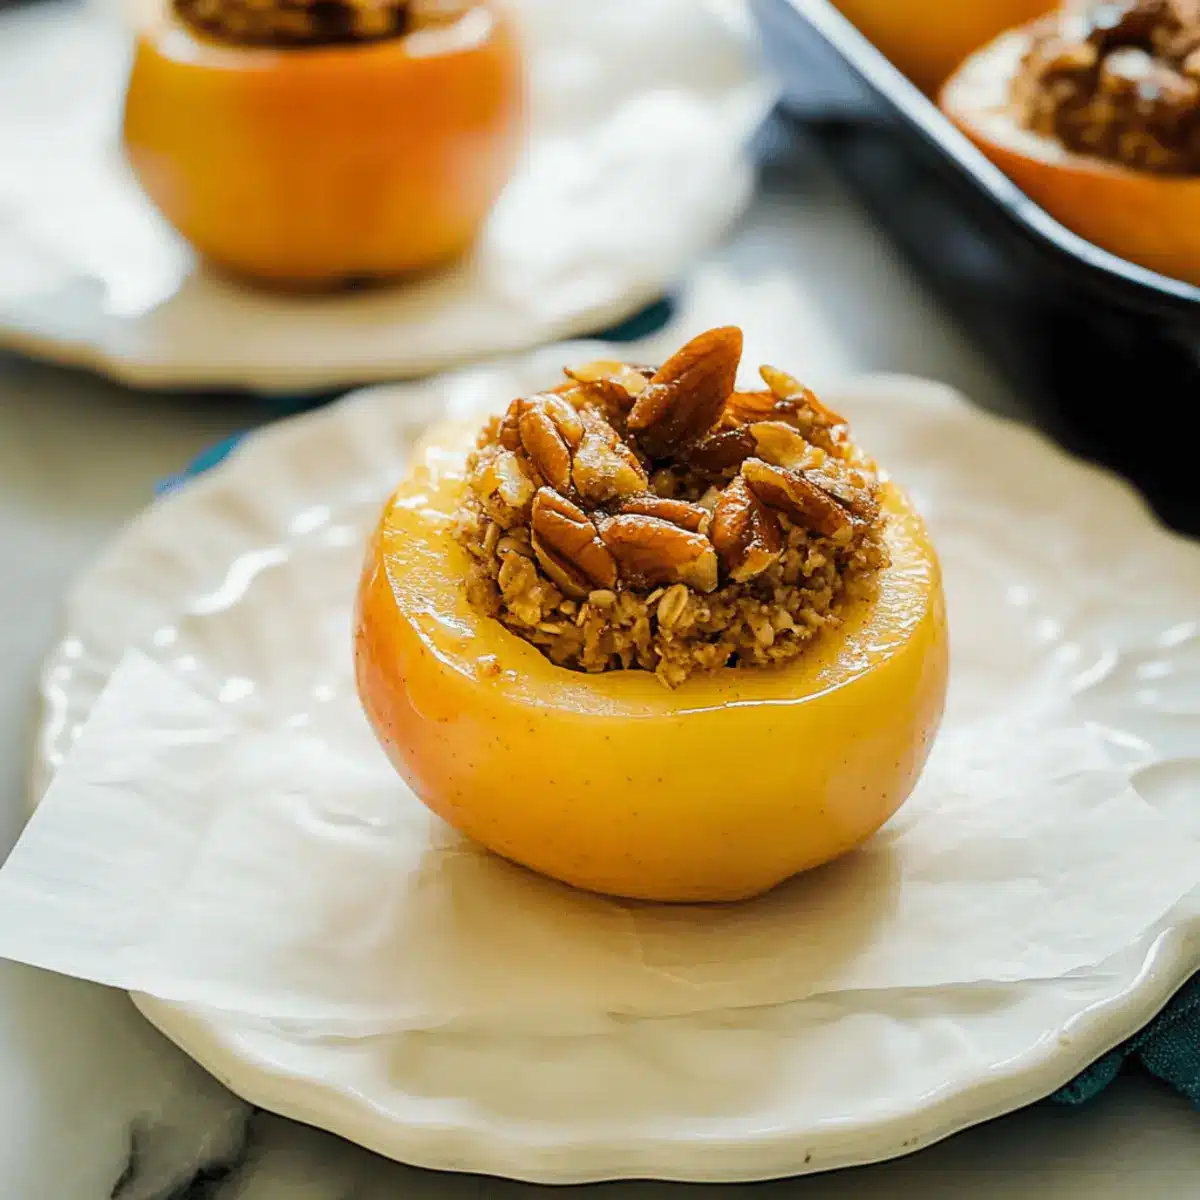
As I stepped into the kitchen, the sweet, warm scent of cinnamon and baked fruit enveloped me, bringing a wave of comfort that can only come from a homemade dessert. Allow me to share my recipe for Perfect Baked Apples with Buttery Oat Filling, a delightful treat that captures the essence of fall. These wholesome apples not only satisfy your sweet tooth but also offer a healthier twist on indulgence, making them perfect for gatherings and family dinners. With their gluten-free and dairy-free options, they cater to various dietary needs, ensuring everyone can enjoy this seasonal delight. As the apples soften and the filling gets golden and toasty, you’ll find yourself curious about the endless variations you can create. Ready to delve into this delicious journey?
Why are Perfect Baked Apples a must-try?
Warmth and Comfort: The aroma of baked apples fills your home with the cozy essence of fall, making them an irresistible dessert option for chilly nights.
Healthier Indulgence: With their wholesome ingredients, these apples offer a guilt-free treat that doesn’t skimp on flavor, perfect for those looking to enjoy something sweet without the heaviness of traditional desserts.
Endless Variations: Tailor this recipe to your taste through creative substitutions, whether using pears instead of apples or adding seasonal spices like nutmeg for a twist.
Quick and Simple: Designed for busy cooks, this recipe requires minimal prep time, ensuring you can whip up a delightful dessert even on a hectic evening.
Crowd Pleaser: Perfect for gatherings, these baked apples will have everyone asking for seconds, whether served warm with vanilla ice cream or drizzled with pure maple syrup.
Perfect Baked Apples Ingredients
For the Filling
- Old-fashioned oats – Provides a chewy texture that complements the soft apples beautifully.
- Coconut sugar or brown sugar – Adds a natural sweetness; maple syrup can be used for a distinct flavor.
- Chopped pecans or walnuts (optional) – Introduces a delightful crunch; skip for nut-free versions.
- Ground cinnamon – Elevates the flavor profile, enhancing the sweetness of the apples.
- Fine salt – Balances the sweetness for a more rounded flavor.
- Butter (regular or vegan) – Adds richness to the oat filling; can be swapped with vegan alternatives.
For the Apples
- Honeycrisp or Gala apples – These varieties are recommended for their perfect balance of sweetness and tartness, making them ideal for baking.
For Baking
- Water – Pour around the apples in the baking dish to create steam, keeping them moist during the baking process.
These Perfect Baked Apples will not only satisfy your sweet tooth but also fill your home with warm, inviting aromas—perfect for an autumn treat that caters to everyone!
Step‑by‑Step Instructions for Perfect Baked Apples
Step 1: Preheat and Prepare
Begin by preheating your oven to 375°F (190°C). While the oven warms up, grab a large baking dish and set it aside. This dish will hold your delightful Perfect Baked Apples as they bake. The warmth of the preheating oven will ensure your apples cook evenly and develop that beautiful golden hue.
Step 2: Mix the Filling
In a mixing bowl, combine the old-fashioned oats, coconut sugar or brown sugar, chopped pecans or walnuts (if using), ground cinnamon, and a pinch of fine salt. Stir these dry ingredients together until well combined. Next, drizzle in the melted butter, mixing thoroughly to create a cohesive and crumbly filling that will enhance your baked apples’ sweet taste.
Step 3: Prepare the Apples
Select your Honeycrisp or Gala apples and carefully slice off the tops. Using a grapefruit spoon, scoop out the cores, leaving a ½-inch shell of apple intact for structure. Be gentle to avoid breaking the apple walls, ensuring they’ll hold the filling beautifully. After hollowing them out, set the prepared apples upright in the baking dish.
Step 4: Fill the Apples
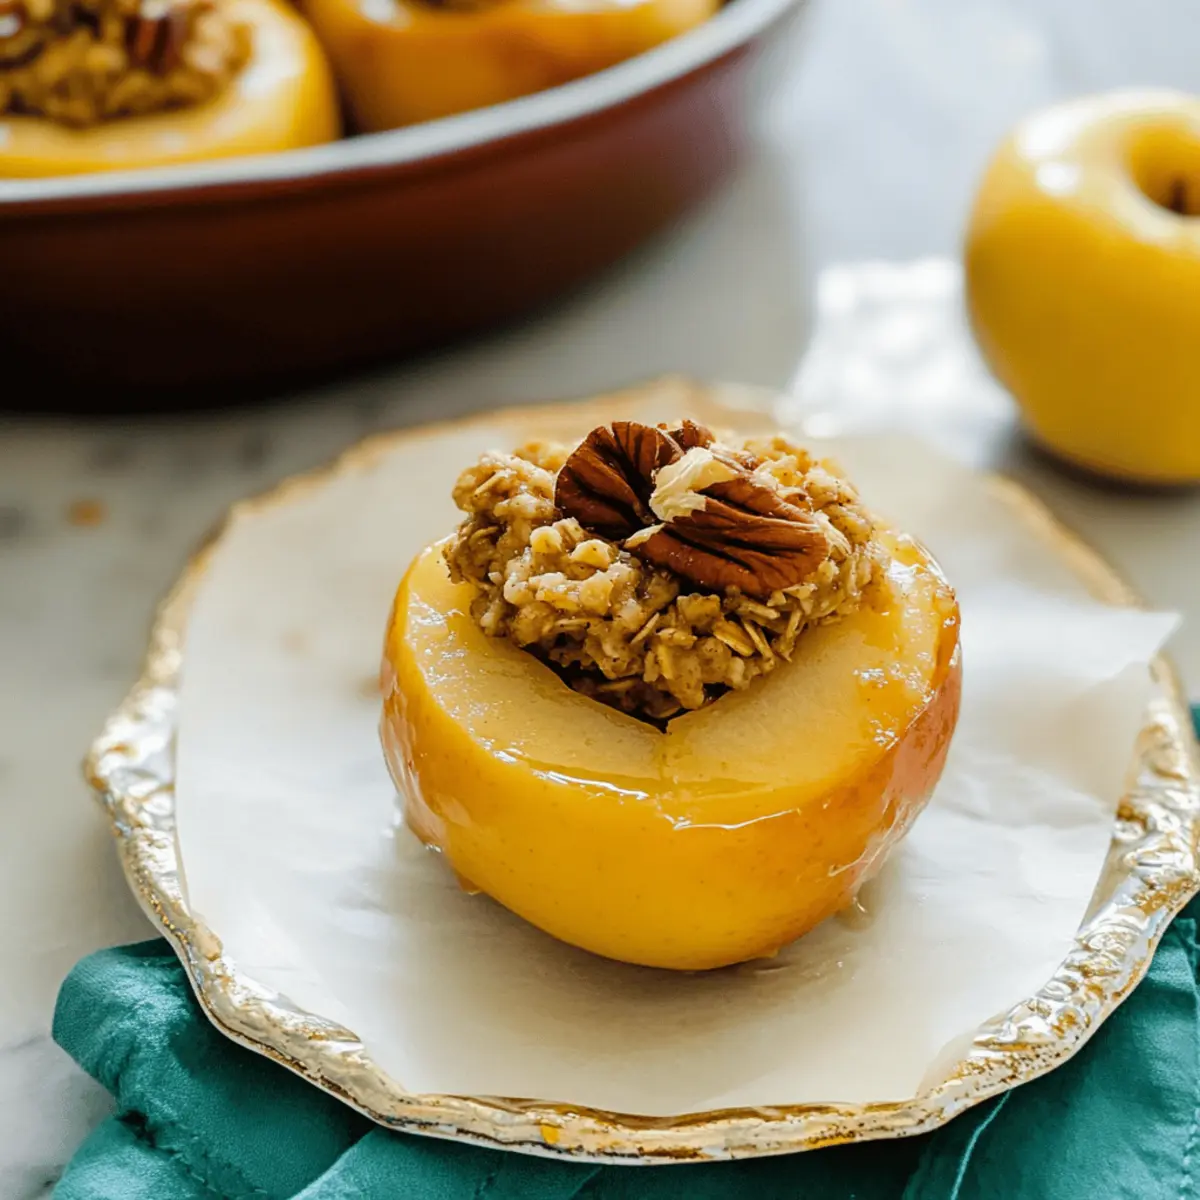
With your oat mixture ready, generously fill each hollowed apple with the mixture, pressing it down lightly to pack it in. Don’t forget to place the reserved tops back on each apple once they’re filled. This not only adds charm but also helps keep the filling moist during baking, allowing the flavors to meld perfectly in your Perfect Baked Apples.
Step 5: Create Steam for Moisture
Pour water carefully into the baking dish around the filled apples, ensuring it doesn’t spill into the apple cavities. This water will create steam as they bake, keeping the apples moist and tender while they transform into a delicious dessert. The steam also prevents them from drying out, making every bite juicy and flavorful.
Step 6: Bake to Perfection
Place the baking dish in the preheated oven and bake for 45 to 55 minutes. Keep an eye on them; the apples should become tender and easily pierced with a skewer when they’re done. The filling should turn golden and fragrant, filling your home with the comforting scent of baked fruit and cinnamon, making this a delightful experience.
Step 7: Let Cool and Serve
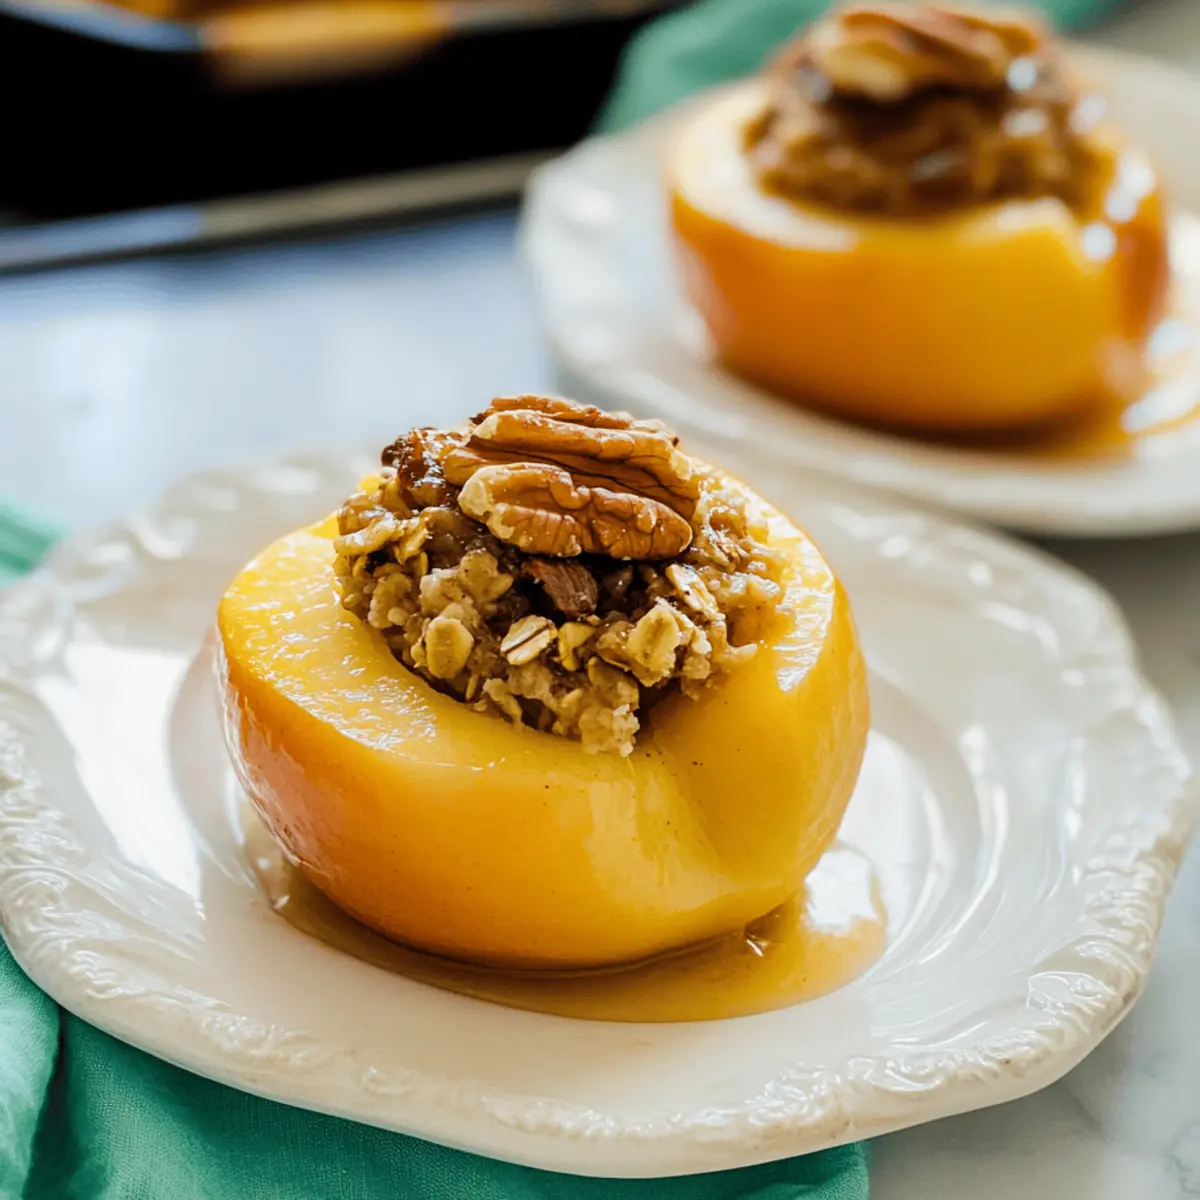
Once baked, carefully remove the dish from the oven and let the Perfect Baked Apples cool slightly for about 10 minutes. This brief cooling time ensures they’re safe to handle and allows their flavors to settle. Serve them warm, perhaps drizzled with maple syrup or paired with a scoop of vanilla ice cream or Greek yogurt for an extra special treat.
Storage Tips for Perfect Baked Apples
Fridge: Store leftover baked apples in an airtight container for up to 3 days. This preserves their flavor and texture; for optimal freshness, reheat before enjoying.
Freezer: To freeze, place the baked apples in a freezer-safe container. They can be stored for up to 2 months; ensure they are well-wrapped to prevent freezer burn.
Reheating: For best results, reheat in the oven at 350°F (175°C) for about 10-15 minutes. Alternatively, use the microwave for quick reheating, but the oven helps maintain the perfect texture of your baked apples.
Garnishing: Serve the reheated Perfect Baked Apples with a scoop of ice cream or a dash of maple syrup for an added touch of warmth and comfort!
Perfect Baked Apples Variations & Substitutions
Feel free to explore delightful twists on this recipe and make it yours! Each variation adds a unique touch to these cozy baked apples.
-
Gluten-Free: Use certified gluten-free oats to accommodate those with gluten sensitivities, ensuring everyone can enjoy this treat.
-
Vegan: Swap regular butter for your favorite vegan butter or coconut oil to keep the recipe plant-based and equally delicious.
-
Nut-Free: Omit the pecans or walnuts, or substitute with seeds like sunflower or pumpkin for added crunch without the nuts.
-
Sweetener Swap: Substitute coconut sugar with honey or maple syrup for a different but equally delicious sweetening option. Each offers a unique flavor profile!
-
Spice it Up: Add a pinch of nutmeg or ginger along with cinnamon to enhance the warm, comforting flavors. These spices will create an inviting aroma.
-
Fruity Twist: Instead of apples, try using pears for a subtler sweetness that’s just as delightful. You might even discover a new favorite!
-
Dried Fruit Addition: Toss in some dried cranberries or raisins with the oat mixture for a delightful burst of sweetness and chewiness.
-
Extra Flavor: Drizzle a bit of vanilla extract into your oat filling for a fragrant twist that pairs beautifully with the baked fruit goodness.
As you experiment with these variations, consider serving these delightful apples alongside a scoop of ice cream or a dollop of Greek yogurt for an extra indulgent touch! For more comforting dessert ideas, check out Baked Oatmeal Applesauce or a slice of Chicago Thin Crust to round out your home-cooked meal experience!
What to Serve with Perfect Baked Apples?
Warm and comforting, this delightful dessert pairs beautifully with various complementing flavors and textures to create a full autumn meal.
- Vanilla Ice Cream: The creamy richness melts into the warm apples, creating a heavenly combination of flavors that will leave your taste buds dancing.
- Plain Greek Yogurt: A dollop of tart yogurt balances the sweetness of the apples perfectly while adding protein for a healthier option.
- Caramel Sauce: Drizzling warm caramel over the baked apples enhances their sweetness and adds that luxurious touch that makes every bite indulgent.
- Chai Tea: The spiced warmth of chai tea perfectly complements the cinnamon in the filling, creating a cozy beverage choice that warms the soul.
- Maple Syrup: A light drizzle of pure maple syrup not only sweetens but also adds a distinct autumn flavor that enhances the baked apple experience.
- Cranberry Sauce: The tartness of cranberry sauce contrasts wonderfully with the sweet apples, providing a vibrant splash of color and flavor.
- Nutty Granola: Sprinkling some granola on top adds a delightful crunch and texture to the soft apples, making every mouthful exciting.
- Roasted Pumpkin Seeds: These add a savory crunch, offering a satisfying texture contrast to the warm, tender fruit.
- Spiced Apple Cider: For a festive drink option, serving warm spiced apple cider elevates the autumn flair, enhancing the overall experience of your meal.
Make Ahead Options
These Perfect Baked Apples are ideal for busy home cooks looking to save time and enjoy a comforting dessert! You can prepare the oat filling up to 24 hours in advance, storing it in an airtight container in the refrigerator to keep it fresh. Additionally, you can hollow out the apples and refrigerate them separately for up to 3 days to maintain their shape and flavor. When you’re ready to bake, simply fill the apples with the prepared mixture, top with reserved apple caps, and pour water around them in the baking dish. Bake as directed, and enjoy a delightful, homemade dessert with minimal effort!
Expert Tips for Perfect Baked Apples
- Choose the Right Apples: Select Honeycrisp or Gala apples for optimal sweetness and texture; avoid overly soft apples that won’t hold their shape well.
- Hollow Carefully: Use a grapefruit spoon to hollow out the apples, ensuring you leave a sturdy ½-inch shell for the filling; this keeps them structurally sound during baking.
- Adjust Baking Time: Longer baking times yield softer apples, while shorter times keep them firmer; check for desired tenderness by piercing with a skewer.
- Ensure Stability: Place the apples upright in the baking dish; a stable base helps maintain shape and encourages even cooking for your Perfect Baked Apples.
- Creative Seasoning: Feel free to experiment with spices like nutmeg or ginger in the filling for additional flavor dimension; don’t hesitate to explore variations!
Perfect Baked Apples Recipe FAQs
What kind of apples should I use for the best taste?
Absolutely! For the most flavorful Perfect Baked Apples, I recommend using Honeycrisp or Gala apples. These varieties strike the perfect balance between sweetness and tartness, and they hold their shape beautifully during baking.
How should I store leftover baked apples?
You can store your leftover baked apples in an airtight container in the fridge for up to 3 days. To revive their yummy goodness, simply reheat them in the oven or microwave before serving. I often use this method to enjoy them warm again!
Can I freeze baked apples, and how do I do it?
Yes, you can freeze baked apples! Just place them in a freezer-safe container and make sure they’re well-wrapped to prevent freezer burn. They can stay fresh in the freezer for up to 2 months. When you’re ready to enjoy them, reheat in the oven at 350°F (175°C) for about 10–15 minutes to bring back their delightful texture.
What adjustments can I make if I have dietary restrictions?
Very! If you or someone you know is avoiding gluten, simply ensure you’re using certified gluten-free oats for your oat filling. For dairy-free options, you can substitute regular butter with vegan butter without losing flavor or texture.
What should I do if my apples aren’t standing upright in the baking dish?
If your apples seem wobbly and aren’t standing upright, you can carefully trim a small slice off the bottom of each apple to create a flat base. Be careful not to cut too deep; you only want to remove what’s necessary to stabilize them. This will keep your Perfect Baked Apples secure in the dish while they bake.
Are there any good substitutes for the sugars used in the recipe?
Definitely! You can replace coconut sugar or brown sugar with maple syrup for a different flavor option. If you’re looking to reduce sugar, try using a sugar substitute like stevia. Just remember that the sweetness level can vary, so adjust to taste!

Perfect Baked Apples: Cozy Autumn Treats for Everyone
Ingredients
Equipment
Method
- Preheat your oven to 375°F (190°C) and prepare a large baking dish.
- Mix the filling ingredients in a bowl until well combined.
- Hollow out the apples and place them in the baking dish.
- Fill each apple with the oat mixture and replace the tops.
- Pour water into the baking dish around the apples.
- Bake in the preheated oven for 45 to 55 minutes until tender.
- Allow to cool for 10 minutes before serving warm.
Leave a Reply