
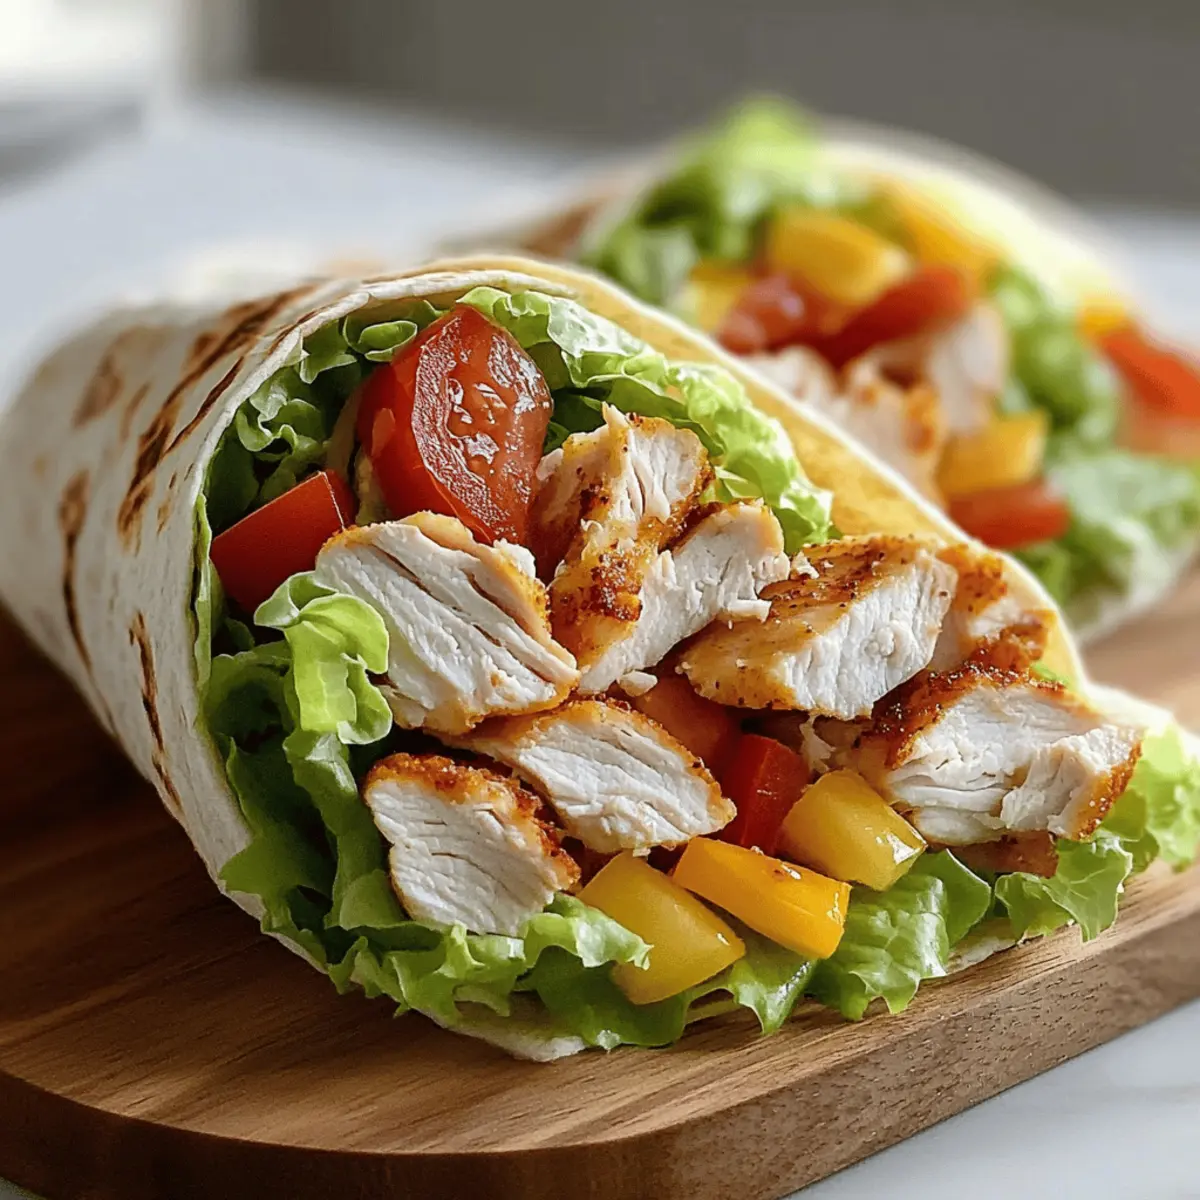
As I stood in my kitchen, the aroma of seasoned chicken wafting through the air, I couldn’t help but feel a sense of achievement. Who would have thought I could whip up No Oil Instant Pot Chicken Breast Wraps so effortlessly? This healthy recipe is a game changer for anyone looking to ditch fast food while still craving a satisfying meal. Packed with flavor and versatility, these wraps allow you to unleash your creativity with various fillings—from crisp veggies to zesty sauces. Plus, they’re quick to prepare, making them perfect for busy weeknights or meal prep! Are you ready to transform chicken breast into something extraordinary? Let’s dive into the recipe and embark on a delicious journey together!
Why are Chicken Breast Wraps a Must-Try?
Healthier Choice: The No Oil Instant Pot method ensures juicy, tender chicken while cutting out extra fats. Flavor Explosion: Packed with your favorite spices, each bite bursts with vibrant flavors that will wow your taste buds. Endless Variations: Customize your wraps with a rainbow of veggies and sauces, from salsa to guacamole. Quick & Easy: With just a few steps, you’ll have a nutritious meal ready in minutes—perfect for busy nights! Meal Prep Friendly: Prepare chicken ahead of time for easy assemble-and-go lunches, much like our Chicken Noodle Soup or Fiery Chicken Ramen. Enjoy a fresh meal anytime!
Chicken Breast Wrap Ingredients
• Create your wraps with ease!
For the Chicken
- Boneless, Skinless Chicken Breasts – Opt for organic or free-range for a healthier choice.
- Chicken Broth – Use this for moisture during cooking; can be substituted with vegetable broth for vegetarian wraps.
- Spices (various) – Season the chicken with salt, pepper, and your favorites like paprika or garlic powder for a flavor boost.
For the Wraps
- Tortillas – The base for your chicken breast wrap; choose whole grain, gluten-free, or low-carb options to suit your dietary needs.
For the Freshness
- Vegetables (e.g., lettuce, tomatoes, onions, bell peppers, cucumbers) – These add nutrition and crunch; go for a mix of colors for visual appeal.
For the Flavor
- Sauces (e.g., hummus, guacamole, Greek yogurt, salsa, mustard) – Spread these on your wrap for extra taste and moisture; personalize to suit your palette.
- Cheese (optional) – For creaminess, consider adding cheddar, Monterey Jack, or feta if dairy isn’t a concern.
With these Chicken Breast Wrap ingredients, you’re all set to create a delightful meal that dances with flavors!
Step‑by‑Step Instructions for No Oil Instant Pot Chicken Breast Wrap
Step 1: Prepare Chicken
Start by patting the boneless, skinless chicken breasts dry with paper towels. Generously season both sides with salt, pepper, and your favorite spices like paprika or garlic powder. This will enhance the flavor of your chicken breast wrap, ensuring each bite is deliciously savory.
Step 2: Set Up Instant Pot
Pour 1 cup of chicken broth into the inner pot of the Instant Pot, which adds moisture and flavor during cooking. Next, place the trivet inside the pot; this will elevate the chicken above the liquid, preventing it from becoming too soggy while cooking.
Step 3: Arrange Chicken
Carefully place the seasoned chicken breasts in a single layer on top of the trivet. Avoid overcrowding the pot, as this ensures even cooking. Close the lid securely, making sure the sealing ring is in place. This will help pressure build up for perfectly cooked chicken.
Step 4: Pressure Cook
Set the Instant Pot to “Manual” or “Pressure Cook” for 8-10 minutes if using fresh chicken, or 12-15 minutes for frozen breasts. Make sure the valve is set to “Sealing.” You’ll know it’s ready when the cooking cycle is complete, and your kitchen is filled with a delightful aroma.
Step 5: Natural Release
Once the cooking time is up, let the pressure release naturally for 10 minutes. This method of gradual release ensures the chicken remains juicy and tender. After 10 minutes, carefully switch the valve to “Venting” to release any remaining steam, then open the lid.
Step 6: Check Doneness
Using a meat thermometer, check that the thickest part of the chicken breast reaches an internal temperature of 165°F (74°C). If it’s not quite there, seal the lid again and cook for an additional 2-3 minutes. Ensuring proper doneness is key for a safe and delicious chicken breast wrap.
Step 7: Shred or Slice
Remove the cooked chicken from the Instant Pot and let it rest on a cutting board for a few minutes before slicing or shredding. Letting the chicken rest helps retain moisture. This flavorful chicken will be the star of your wrap, providing a delicious and juicy base for all the other ingredients.
Step 8: Assemble Wrap
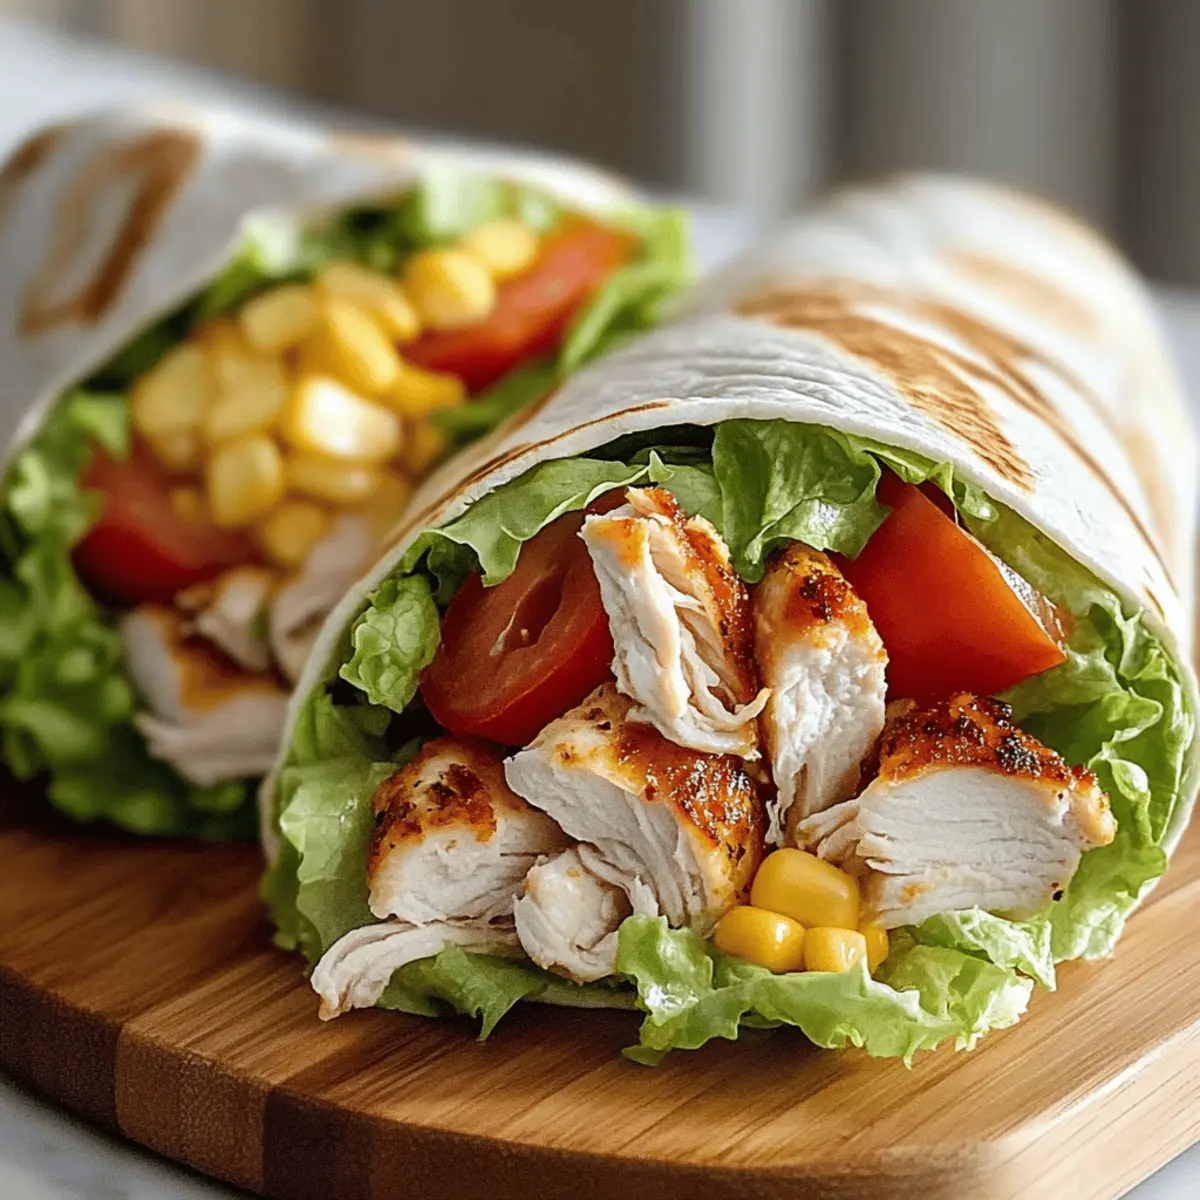
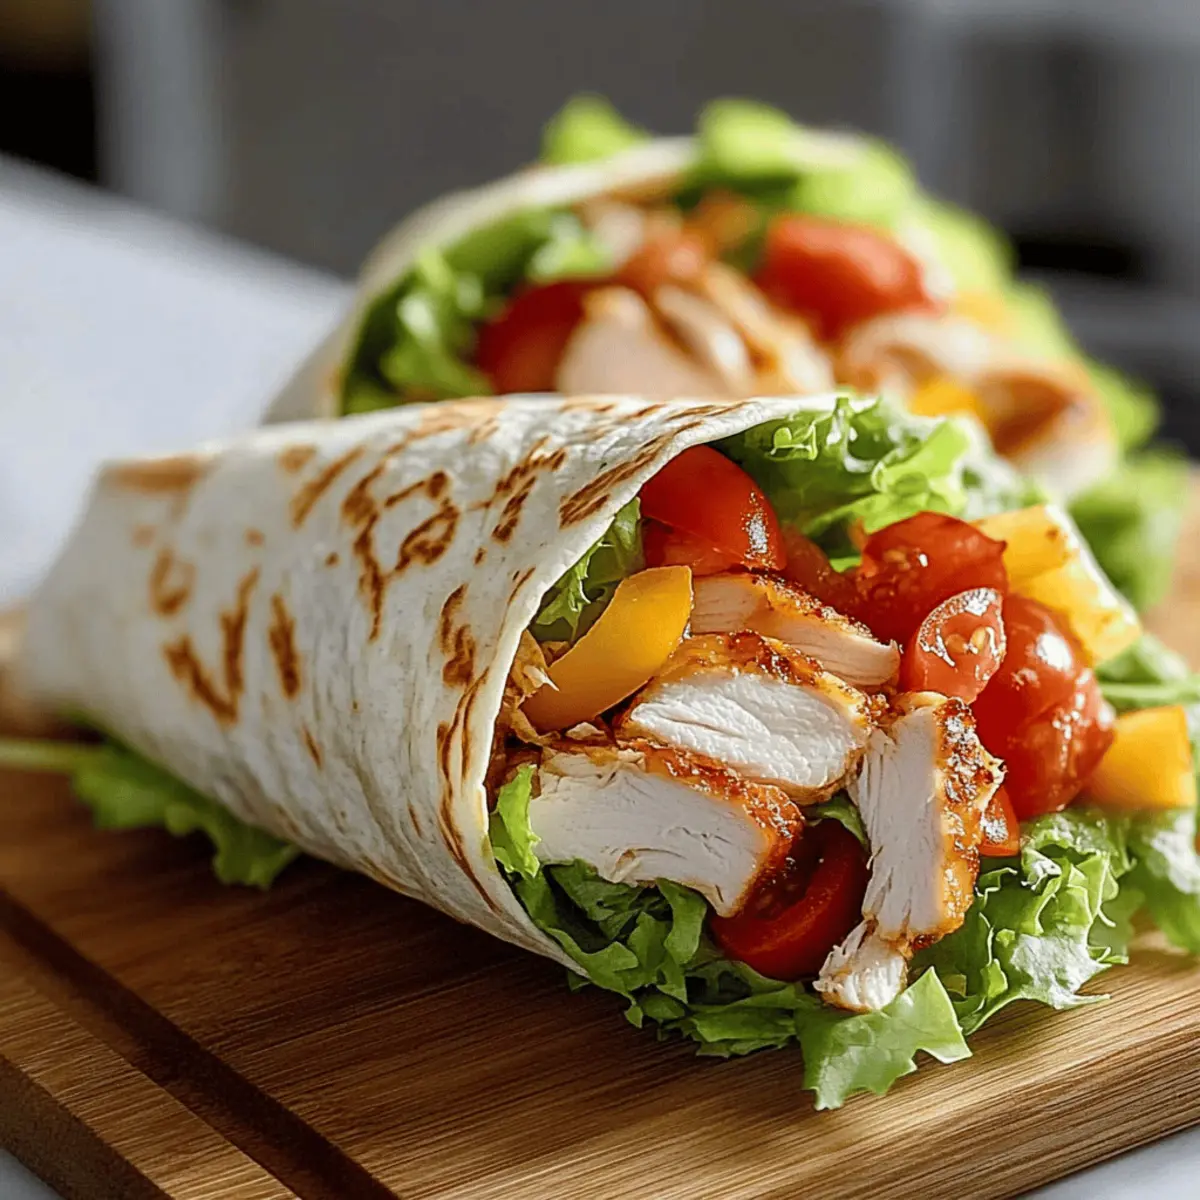
Warm your tortillas lightly in a skillet or microwave until pliable. Spread your choice of sauce, such as hummus or guacamole, on each tortilla. Layer on the shredded chicken, along with colorful vegetables like lettuce, tomatoes, and bell peppers, and optional cheese. Roll tightly and serve, savoring the fresh flavors in your homemade chicken breast wrap.
Chicken Breast Wraps: Enjoy Endless Variations
Feel free to let your creativity shine as you explore delightful twists and swaps for your wraps! Each variation brings a new burst of flavor and texture to the table.
-
Turkey Swap: Replace chicken with turkey breast for a lean and unique twist. It’s a great way to utilize leftovers or switch up the flavors.
-
Tofu Alternative: For a vegetarian option, substitute chicken with firm tofu. Marinate it beforehand and grill or sauté for extra flavor.
-
Spice it Up: Experiment with spices by using taco seasoning for a Mexican flair, or Italian herbs for an aromatic twist.
-
Wrap Up with Lettuce: Use large lettuce leaves instead of tortillas for a low-carb, refreshing wrap. Crisp romaine or butter lettuce adds crunch and a healthy touch.
-
Add Crunch: Incorporate nuts or seeds, like sliced almonds or sunflower seeds, for a delightful crunch. They’ll elevate both texture and nutrition in your wraps.
-
Flavor Boost: Swap out the usual sauces for vibrant pesto or zesty hummus. These choices not only enhance flavors but also resonate with different culinary inspirations.
-
Heat It Up: For those who enjoy a spicy kick, add jalapeños or drizzle sriracha over your chicken before wrapping. It’ll ignite your taste buds with excitement!
Make your chicken breast wraps sing with variety and delight! For inspiration on healthy meal options, check out our delicious Honey Garlic Chicken or try the unique flavors of Zaatar Chicken.
Expert Tips for the Best Chicken Breast Wraps
-
Use a Meat Thermometer: Ensuring your chicken reaches 165°F (74°C) prevents dryness and guarantees perfectly cooked meat for your wraps.
-
Rest Before Slicing: Allowing the chicken to rest for a few minutes keeps it tender and juicy, enhancing the flavor in each chicken breast wrap.
-
Choose Uniform Sizes: For even cooking, select chicken breasts that are similar in size, which helps cook them consistently without overcooking some parts.
-
Avoid Soggy Wraps: To prevent your wraps from getting soggy, layer sauces separately and add fresh vegetables right before serving.
-
Experiment with Flavors: Don’t hesitate to try different spices or sauces for your chicken breast wraps—each combination can lead to a unique and delightful meal experience!
Make Ahead Options
These No Oil Instant Pot Chicken Breast Wraps are perfect for busy meal prep enthusiasts! You can cook the chicken up to 3 days in advance and store it in an airtight container in the refrigerator. Shred or slice the chicken and allow it to cool before transferring it to the container; this helps maintain moisture and flavor. Additionally, you can pre-chop your vegetables and store them separately to keep them fresh and crisp, prepping everything up to 24 hours ahead. When you’re ready to serve, simply warm the tortillas, layer in the shredded chicken and veggies, and add your choice of sauce. You’ll enjoy a delicious, satisfying meal in no time!
How to Store and Freeze Chicken Breast Wraps
Fridge: Store assembled chicken breast wraps in an airtight container for up to 3 days. Keep sauces separate until ready to enjoy to maintain freshness.
Freezer: Freeze unassembled wraps in individual airtight bags for up to 3 months. Thaw in the fridge overnight before reheating.
Reheating: To reheat, wrap the frozen or refrigerated chicken breast wrap in foil and warm in the oven at 350°F (175°C) for about 15-20 minutes until heated through.
Make-Ahead: Consider cooking the chicken in advance and storing it in the fridge. Assemble your chicken breast wraps fresh for optimal taste and texture!
What to Serve with No Oil Instant Pot Chicken Breast Wraps?
Elevate your dining experience with delightful side dishes that perfectly complement these juicy, flavorful wraps.
-
Crispy Sweet Potato Fries: The natural sweetness pairs beautifully with savory chicken, adding a hearty crunch that’s hard to resist. Perfect for a comforting meal!
-
Fresh Green Salad: A light mix of greens, cucumbers, and tomatoes brings a refreshing contrast, balancing the richness of the wraps.
-
Zesty Coleslaw: This creamy, tangy side adds a crunch factor that not only delights the palate but also brightens the overall dish.
-
Roasted Vegetables: Caramelize seasonal veggies for a warm, earthy flavor that enriches the meal and offers a delicious nutritional boost.
-
Quinoa Salad: Packed with protein and fiber, this salad adds a nutty texture and can be tossed with your favorite dressing for extra flavor.
-
Garlic Bread: Crunchy, buttery slices provide a savory contrast to the wraps, making every bite a delightful experience.
-
Fruit Salsa: A vibrant medley of fruits adds a sweet, juicy punch that enhances the chicken’s flavor while refreshing the palate.
-
Iced Herbal Tea: A soothing beverage that complements the meal and keeps you refreshed, making it ideal for warm evenings.
No Oil Instant Pot Chicken Breast Wrap Recipe FAQs
How do I select the best chicken breasts for the recipe?
When choosing chicken breasts, look for boneless and skinless options that are plump and firm, with a nice sheen. If possible, opt for organic or free-range to ensure a healthier, more flavorful outcome. Avoid breasts with dark spots or a slimy texture, as these can indicate spoilage.
What is the best way to store the chicken breast wraps?
Store the assembled chicken breast wraps in an airtight container in the refrigerator for up to 3 days. To maintain the wraps’ freshness and avoid sogginess, it’s best to keep sauces separate until you’re ready to enjoy them. This way, your wraps stay vibrant and crisp!
Can I freeze chicken breast wraps for later use?
Absolutely! To freeze, wrap each unassembled chicken breast wrap tightly in plastic wrap or aluminum foil, then place them in an airtight freezer bag. They can be kept in the freezer for up to 3 months. When you’re ready to eat, thaw them overnight in the fridge and reheat as desired.
What if my chicken doesn’t reach the right temperature?
If your chicken breast isn’t at the recommended internal temperature of 165°F (74°C) after the initial cooking time, simply seal the Instant Pot lid and cook for an additional 2-3 minutes. Always use a meat thermometer to check for doneness in the thickest part of the breast to ensure it’s safe to eat.
Can I make the wraps suitable for dietary restrictions?
Certainly! This recipe is versatile. If you need a dairy-free option, skip the cheese or use a dairy-free alternative. For gluten-free diets, simply choose gluten-free tortillas. Additionally, consider using vegetable broth instead of chicken broth for a vegetarian version, or swap chicken with tofu for a plant-based take!
How long can I keep cooked chicken in the fridge before it goes bad?
Cooked chicken should be eaten within 3 to 4 days when stored properly in the refrigerator. Always place it in an airtight container to maintain freshness, and be sure to check it for any off smells or changes in texture before using leftovers.
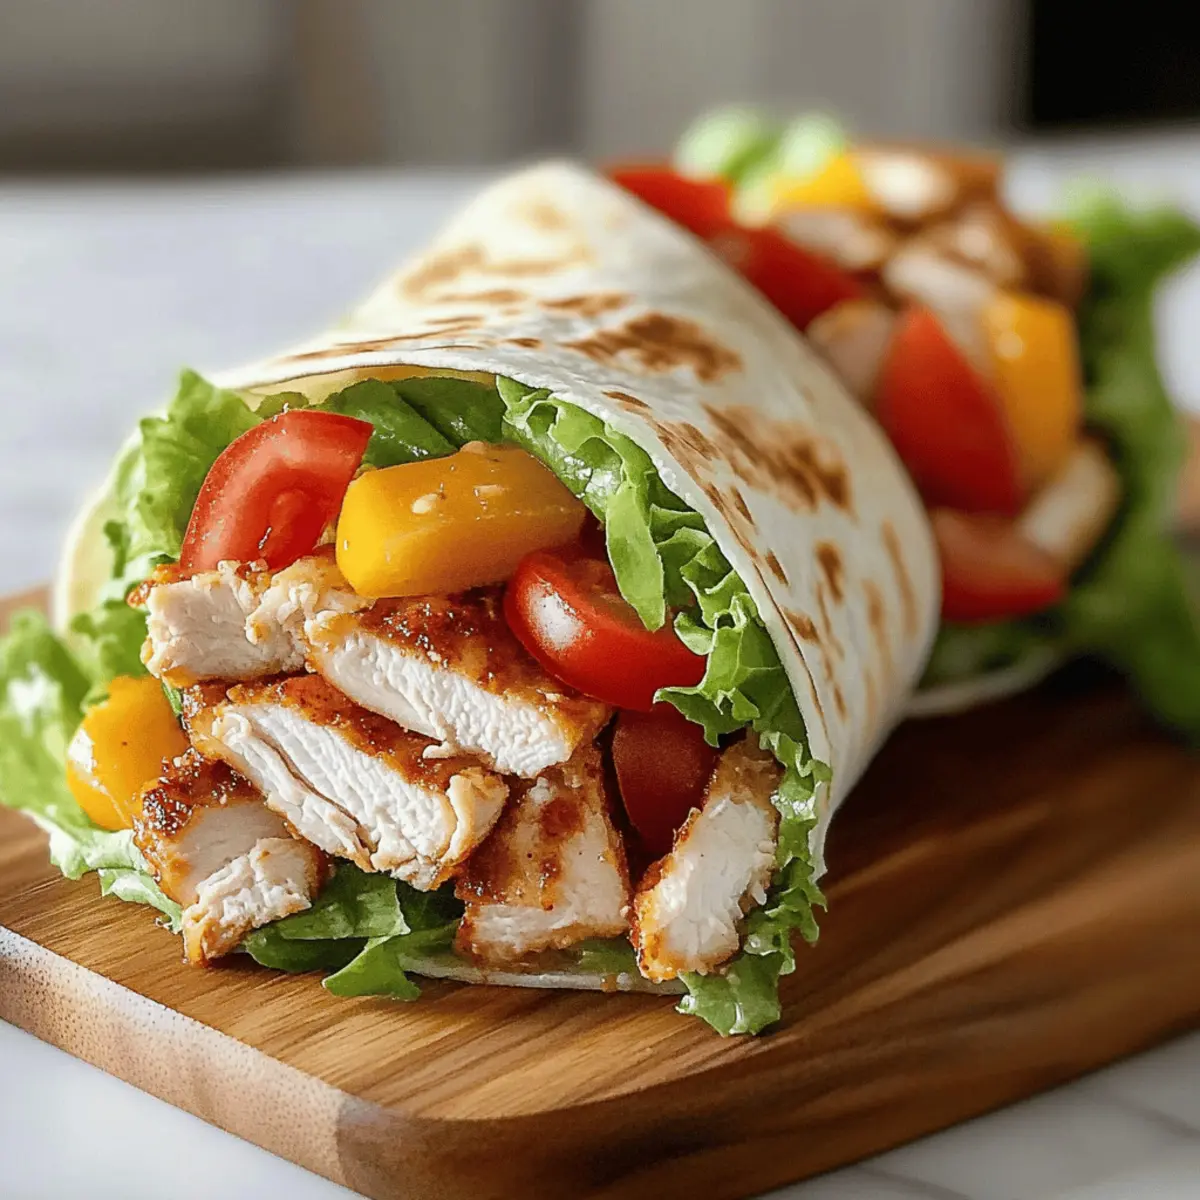
No Oil Chicken Breast Wraps: Healthy, Flavorful & Easy!
Ingredients
Equipment
Method
- Pat the chicken breasts dry and season both sides with salt, pepper, and your favorite spices.
- Pour chicken broth into the Instant Pot and place a trivet inside.
- Arrange the seasoned chicken breasts in a single layer on the trivet.
- Set the Instant Pot to 'Manual' for 8-10 minutes for fresh chicken or 12-15 minutes for frozen.
- Allow natural release for 10 minutes, then switch the valve to venting.
- Check the chicken's internal temperature to ensure it reaches 165°F (74°C).
- Remove the chicken and let it rest for a few minutes before slicing or shredding.
- Warm tortillas and spread with sauce, layer with chicken and vegetables, then roll tightly.
Leave a Reply