
As I stood in my kitchen, the delightful scent of freshly baked crust wafted through the air, reminding me that the secret to a stunning cheesecake begins with a perfectly crisp cheesecake crust. Nobody wants a soggy base to ruin that creamy, dreamy filling! In this post, I’ll share how to achieve that ideal crunch while also exploring variations that can suit any palate. Whether you’re craving a classic graham cracker crust or wanting to jazz things up with an Oreo or nut-based option, getting this recipe just right makes every cheesecake bloom with flavor. Plus, it’s a fantastic way to impress your friends and family without spending hours in the kitchen. So, are you ready to elevate your dessert game? Let’s dive in!
How to Achieve the Perfect Crunch?
Simplicity at Its Best: Creating a crisp cheesecake crust doesn’t require advanced baking skills—just a few simple steps, and you’re on your way to dessert perfection. Versatile Options: From classic graham crackers to rich Oreos or nut-based variations, there’s a crust for every preference. Crisp & Crunchy: Enjoy a delightful contrast with a golden-brown base that enhances your creamy filling. Quick Prep Time: In about 30 minutes, you can whip up a crust that’ll wow your guests without all the fuss. Crowd-Pleasing: This crust elevates any cheesecake, ensuring smiles all around. Why not try this with a slice of Chocolate Cheesecake Decadent or for a fruitier twist, a Matcha Basque Cheesecake?
Crisp Cheesecake Crust Ingredients
• Get ready to create a sensational cheesecake base!
For the Graham Cracker Crust
• Graham Crackers/Digestive Biscuits – These form the perfect crunchy base, providing texture and flavor; consider using Oreo cookies for a chocolatey spin!
• Sugar – Enhances sweetness, contributing to that golden crust; using brown sugar will give an extra caramel touch.
• Salt – Balances the sweetness for a great flavor profile; just a pinch does wonders!
• Butter (melted) – Binds those crumbs together and adds richness; you can substitute with coconut oil for a dairy-free alternative.
For Alternative Crusts
• Oreo Cookies – Crush these for a rich, chocolatey version of the crust, perfect for indulgent cheesecakes.
• Almonds/Pecans (crushed) – Use these for a nut-based option, adding a lovely flavor and added crunch.
• Shortbread Cookies – A delicious option that offers a richer, cookie-like base, ideal for fruit-flavored cheesecakes.
Every ingredient plays a crucial role in achieving that coveted crisp cheesecake crust. Happy baking!
Step‑by‑Step Instructions for Crisp Cheesecake Crust
Step 1: Preheat the Oven
Begin by preheating your oven to 175°C (350°F). This crucial step ensures that your crust bakes evenly, achieving that beautiful golden-brown color. While the oven warms up, gather your ingredients and equipment, including a mixing bowl, a springform pan, and a food processor or rolling pin for crushing your graham crackers.
Step 2: Crush the Graham Crackers
Next, place your graham crackers or digestive biscuits into a food processor. Pulse until they become fine crumbs with a uniform texture, which is vital for a crisp cheesecake crust. If you don’t have a food processor, you can also place the crackers in a sealed plastic bag and roll over them with a rolling pin until crushed.
Step 3: Combine the Dry Ingredients
In a mixing bowl, combine the crushed graham crackers with sugar and a pinch of salt. This blend will enhance the flavors of your crust while balancing the sweetness perfectly. Use a whisk to mix the ingredients well, ensuring everything is evenly distributed before moving on to the next step.
Step 4: Add Melted Butter
Gently pour melted butter into the dry mixture and stir until you achieve a consistent texture. The melted butter acts as a binding agent, creating a mixture that will hold together when pressed into the pan. Be careful not to overmix; just until everything is combined is all you need for a perfect crisp cheesecake crust.
Step 5: Press Into the Pan
Once combined, firmly press the crumb mixture into the bottom (and sides, if desired) of your springform pan. Use the back of a measuring cup or your fingers to pack it down tightly, making sure it holds its shape. This ensures a sturdy crust that will hold up against the creamy cheesecake filling.
Step 6: Bake the Crust
Place the pan in the preheated oven for about 10 minutes. Keep an eye on the crust; it should turn a lovely golden brown and smell nutty when it’s ready. This baking step is crucial, as it sets the crust and prevents it from becoming soggy once you add the filling.
Step 7: Cool the Crust
After baking, remove the crust from the oven and allow it to cool completely at room temperature. For best results, leave the crust in the oven (turned off) with the door ajar for an hour; this gradual cooling helps prevent cracking. Once cooled, it’s ready for your cheesecake filling, ensuring a perfect balance of texture between the crisp cheesecake crust and the creamy filling.
How to Store and Freeze Cheesecake Crust
-
Room Temperature: Store leftover crust at room temperature for up to 2 days, covered with plastic wrap to prevent drying out.
-
Fridge: Keep any unused crust in an airtight container in the refrigerator for up to 5 days to maintain its crispness and flavor.
-
Freezer: For longer storage, wrap the crust tightly in plastic wrap and aluminum foil; it can last in the freezer for up to 3 months. Remember to thaw in the refrigerator before using.
-
Reheating: If you want to restore some crispness after refrigeration, reheat the crust in a preheated oven at 175°C (350°F) for 5–7 minutes before adding your cheesecake filling.
Crisp Cheesecake Crust Variations
Feel free to get creative and make this crisp cheesecake crust your own with these delightful variations!
-
Chocolate Lovers: Replace the graham crackers with crushed Oreo cookies for a rich, chocolatey base that adds a delicious twist to your cheesecake.
-
Nutty Goodness: For a different flavor and texture, try using crushed almonds or pecans mixed with butter for a nut-based crust. It’s a delightful crunch that pairs wonderfully with creamy filling.
-
Buttery Shortbread: Create a shortbread cookie crust for a rich, cookie-like experience. This twist complements fruit-flavored cheesecakes beautifully, offering a delicious contrast.
-
Dairy-Free Delight: Swap out regular butter for coconut oil to make a deliciously dairy-free version. This substitution adds a subtle tropical flavor!
-
Gluten-Free Option: Use gluten-free graham crackers or almond flour for a gluten-free crust that doesn’t compromise on flavor or texture. Perfect for those with dietary restrictions!
-
Spicy Kick: For a unique twist, add a pinch of cinnamon to the crumb mixture. The warmth pairs elegantly with the creamy filling and elevates your dessert experience.
-
Herb Infusion: For something unexpected, try adding finely chopped fresh herbs like rosemary or thyme into the crust. This savory touch can bring a refreshing surprise to a classic cheesecake.
No matter which variation you choose, each option ensures that your cheesecake remains the star of the show! And if you’re looking for cheesecake ideas beyond just crust, don’t forget to check out the delightful slices of Caramel Brownie Cheesecake and Coffee Cheesecake that would pair perfectly with any of these crusts!
Make Ahead Options
These crisp cheesecake crusts are perfect for meal prep, allowing you to get a head-start on your dessert! You can prepare the crust up to 24 hours in advance. Simply follow the steps to bake and cool the crust completely, then wrap it tightly in plastic wrap or aluminum foil to keep it fresh. Store it in the refrigerator to maintain its crispness and flavor without getting soggy. When you’re ready to serve, just add your cheesecake filling, and you’ll have a delicious dessert ready to impress your friends and family with minimal effort. Enjoy the time-saving benefits this make-ahead option brings to your busy week!
Expert Tips for a Crisp Cheesecake Crust
-
Use Quality Ingredients: Start with fresh graham crackers or high-quality cookies. Stale crumbs won’t bind well and can lead to a lackluster crust.
-
Pre-Bake Always: Never skip the pre-baking step! This is crucial in achieving a crisp cheesecake crust and preventing sogginess after adding the filling.
-
Even Pressing: Press the crumb mixture firmly and evenly into the pan. This ensures that all parts of the crust bake properly and support the creamy cheesecake filling.
-
Cool Gradually: After baking, let your crust cool in the oven with the door slightly ajar. This minimizes the chance of cracking due to sudden temperature changes.
-
Avoid Overmixing: When combining ingredients, mix just until they’re combined. Overmixing can lead to a dense crust rather than a light, crisp cheesecake crust.
What to Serve with Crisp Cheesecake Crust?
Looking to elevate your cheesecake experience? Pairing it with delightful accompaniments can turn your dessert into a showstopper.
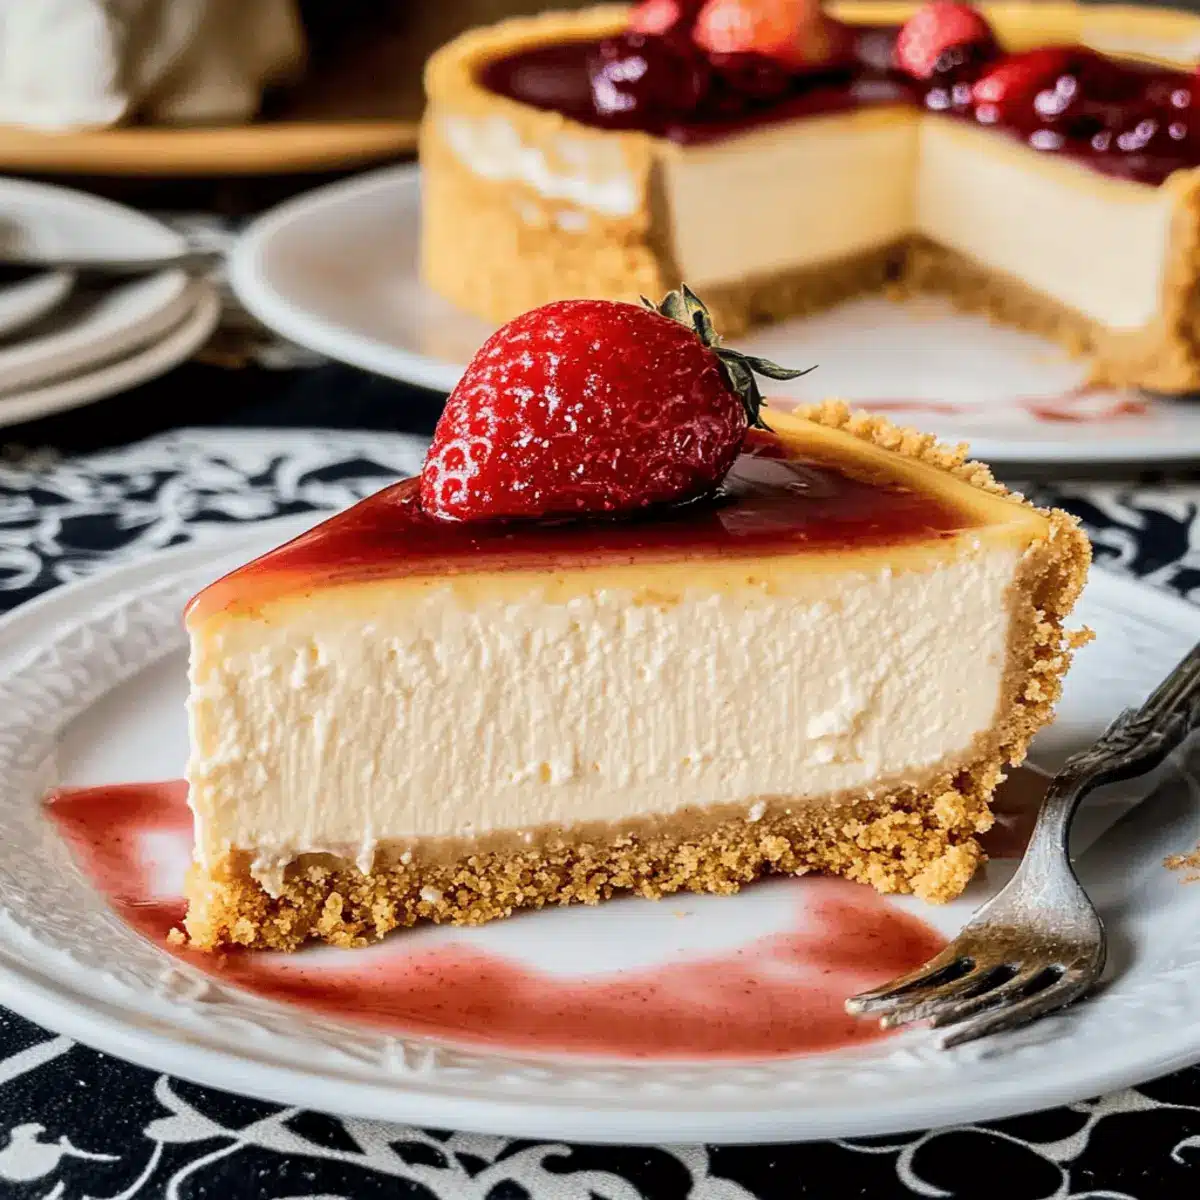
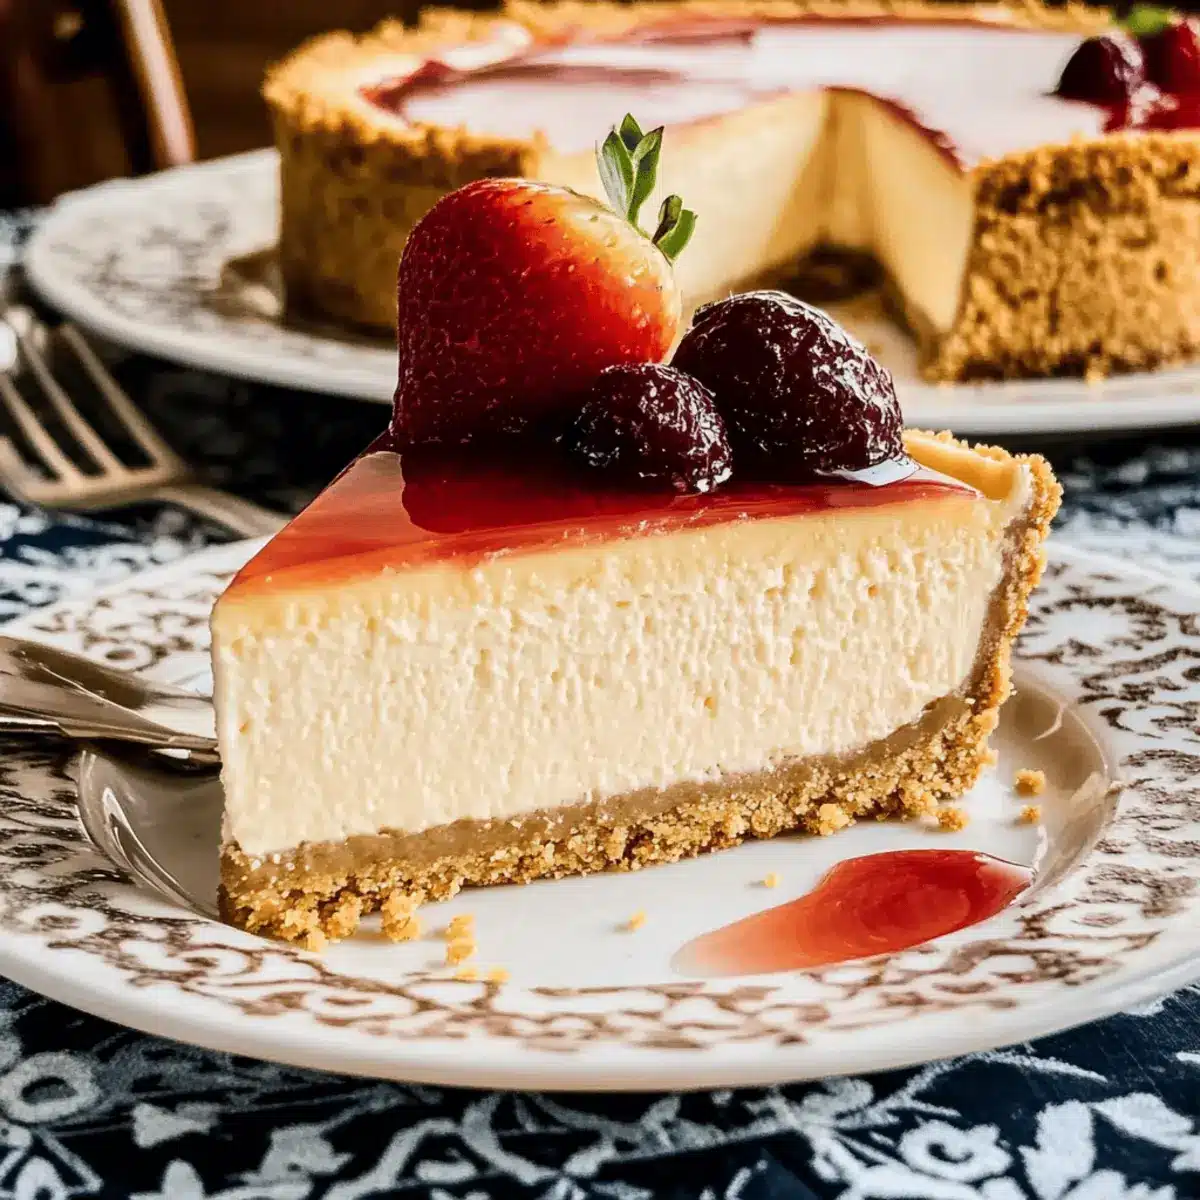
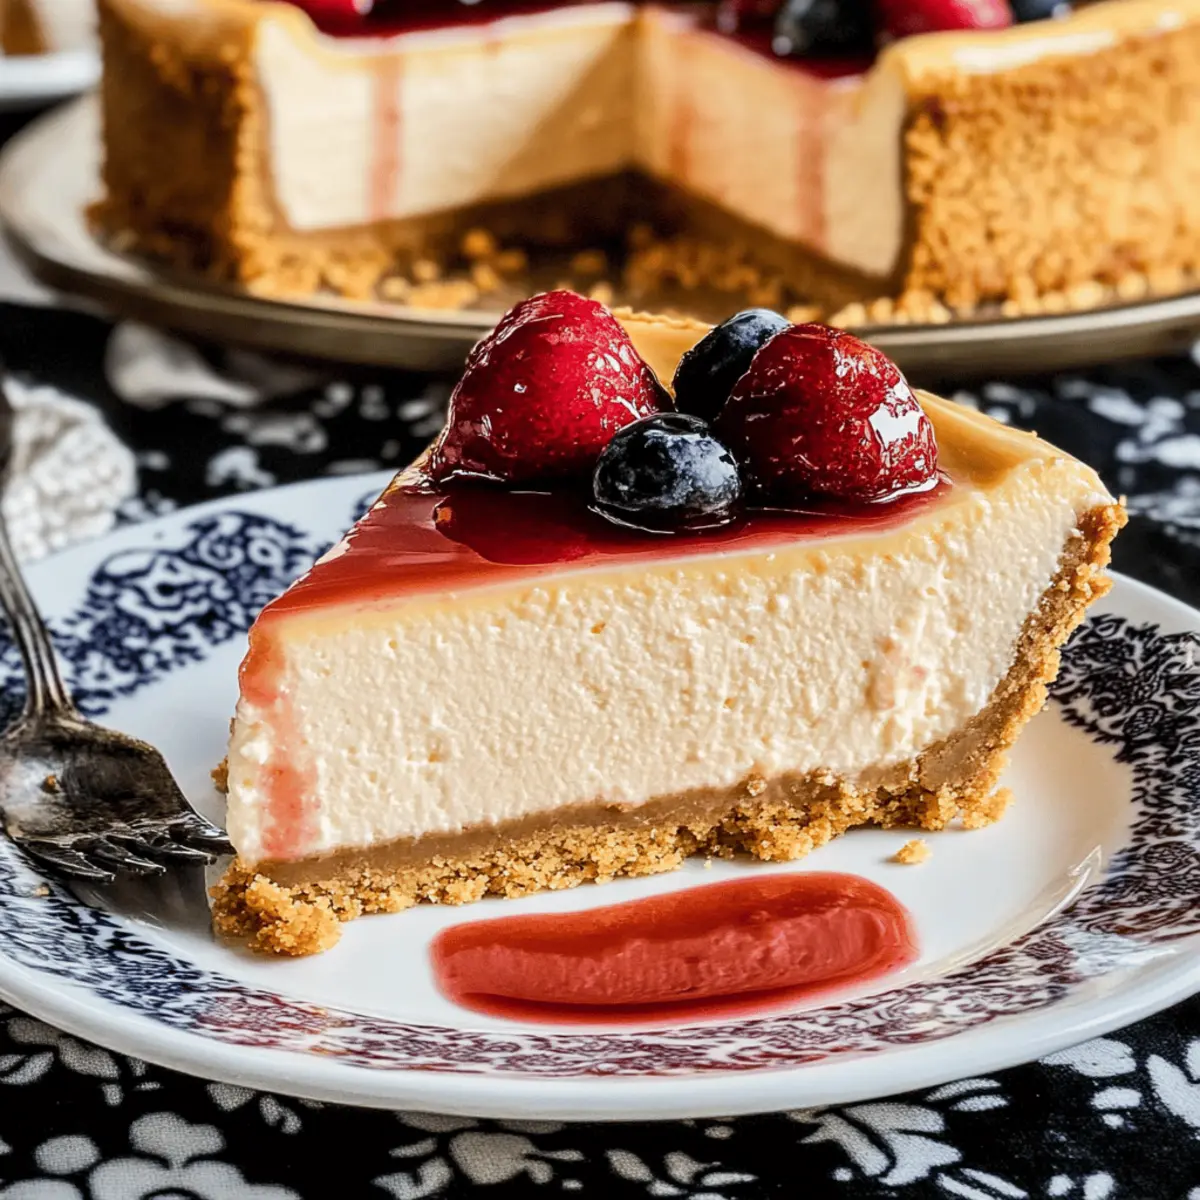
- Fresh Berries: A medley of strawberries, blueberries, and raspberries adds a burst of brightness and complements the creamy texture beautifully.
- Chocolate Ganache: Rich and velvety, a drizzle of chocolate ganache enhances the sweetness of the cheesecake while adding a luxurious touch.
- Fruit Compote: A warm homemade fruit compote brings tartness, balancing the richness of the crust and cheesecake; it’s simply divine!
- Whipped Cream: Creamy, airy whipped cream adds a lightness that contrasts with the dense cheesecake, making every bite refreshing.
- Ice Cream: A scoop of vanilla or chocolate ice cream alongside a slice creates an indulgent dessert experience that’s hard to resist.
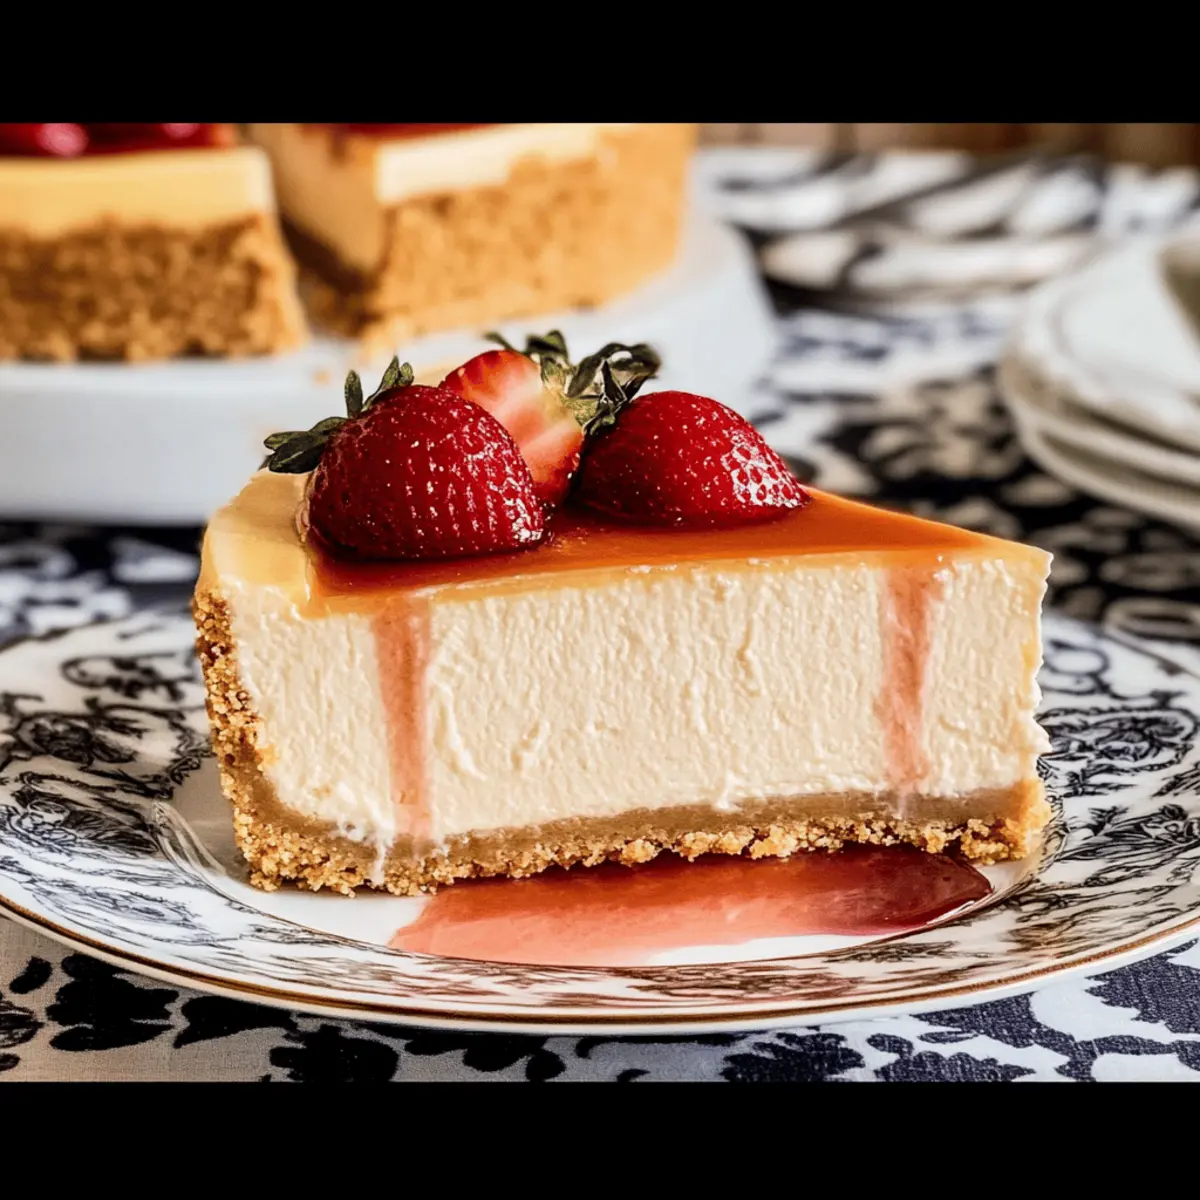
- Caramel Sauce: Drizzling caramel sauce over your cheesecake introduces a sweet, buttery flavor that complements the crunch of the crust.
- Tea or Coffee: Sipping on a warm cup of tea or rich coffee balances the sweetness and enhances the overall flavor profile of your dessert.
- Chocolate Shavings: Garnish with chocolate shavings for an added crunch and a touch of elegance, turning your cheesecake into a true masterpiece.
- Toasted Nuts: Sprinkle some toasted almonds or pecans for a delightful nutty flavor, providing a satisfying crunchy contrast to the creamy filling.
Crisp Cheesecake Crust Recipe FAQs
How do I choose the right graham crackers or cookies for the crust?
Absolutely! When selecting graham crackers or cookies, aim for fresh options for the best flavor and texture. Stale cookies won’t hold together as well and can make your crust lackluster. I often go for brand-name products, as they tend to have a consistent texture and taste, ensuring that your crust comes out perfectly crisp every time.
How should I store my cheesecake crust to keep it fresh?
Very important! For maximum freshness, store any leftover crust in an airtight container in the refrigerator, where it will stay crisp for up to 5 days. If leaving at room temperature is necessary, cover it with plastic wrap for up to 2 days only. This way, your crisp cheesecake crust won’t dry out or lose its delightful crunch!
Can I freeze my cheesecake crust, and if so, how?
Absolutely, freezing is a great option! To freeze your cheesecake crust, wrap it tightly in plastic wrap and then again in aluminum foil to prevent freezer burn. It can last in the freezer for up to 3 months. When you’re ready to use it, simply thaw it in the refrigerator overnight. If you wish to restore its crispiness, reheat it in a preheated oven at 175°C (350°F) for 5-7 minutes before adding your cheesecakes filling.
What if my cheesecake crust turns out soggy?
Oh no, we’ve all been there! If your crust ends up soggy, it can be due to insufficient pre-baking or using too much butter in your mixture. To fix it for the future, ensure you always pre-bake the crust for about 10 minutes and allow it to cool in the oven gradually. Also, consider reducing the butter by a tablespoon to see if that helps. Lastly, if you ever use a filling that has a lot of moisture, like a fruit topping, you might want to bake the crust a few minutes longer to help it set correctly.
Are there any allergy considerations I should be aware of with this cheesecake crust?
Very good question! If you’re making this crust for someone with allergies, be aware that traditional graham crackers contain gluten and dairy. You can easily switch to gluten-free crackers and substitute coconut oil for butter to accommodate those with dairy allergies. Always check ingredient labels to ensure they’re safe for your guests, and feel free to get creative with nut-based crusts if nut allergies are not an issue!
Can I make the crust ahead of time?
Absolutely! You can prepare the crust a day or two in advance. Just make sure to store it properly in the fridge or at room temperature, covered to retain its crispness. This way, you can enjoy a stress-free baking day when it’s time to assemble your cheesecake!
Crisp Cheesecake Crust: Elevate Your Dessert Game Today
Ingredients
Equipment
Method
- Preheat your oven to 175°C (350°F). Gather your ingredients and equipment.
- Crush your graham crackers or digestive biscuits into fine crumbs using a food processor or rolling pin.
- Combine the crushed graham crackers with sugar and salt in a mixing bowl. Mix well.
- Pour melted butter into the dry mixture and stir until everything is combined.
- Press the crumb mixture firmly into the bottom and sides of your springform pan.
- Bake in the preheated oven for about 10 minutes until golden brown.
- Allow the crust to cool completely at room temperature or in the oven with the door ajar.
Leave a Reply