
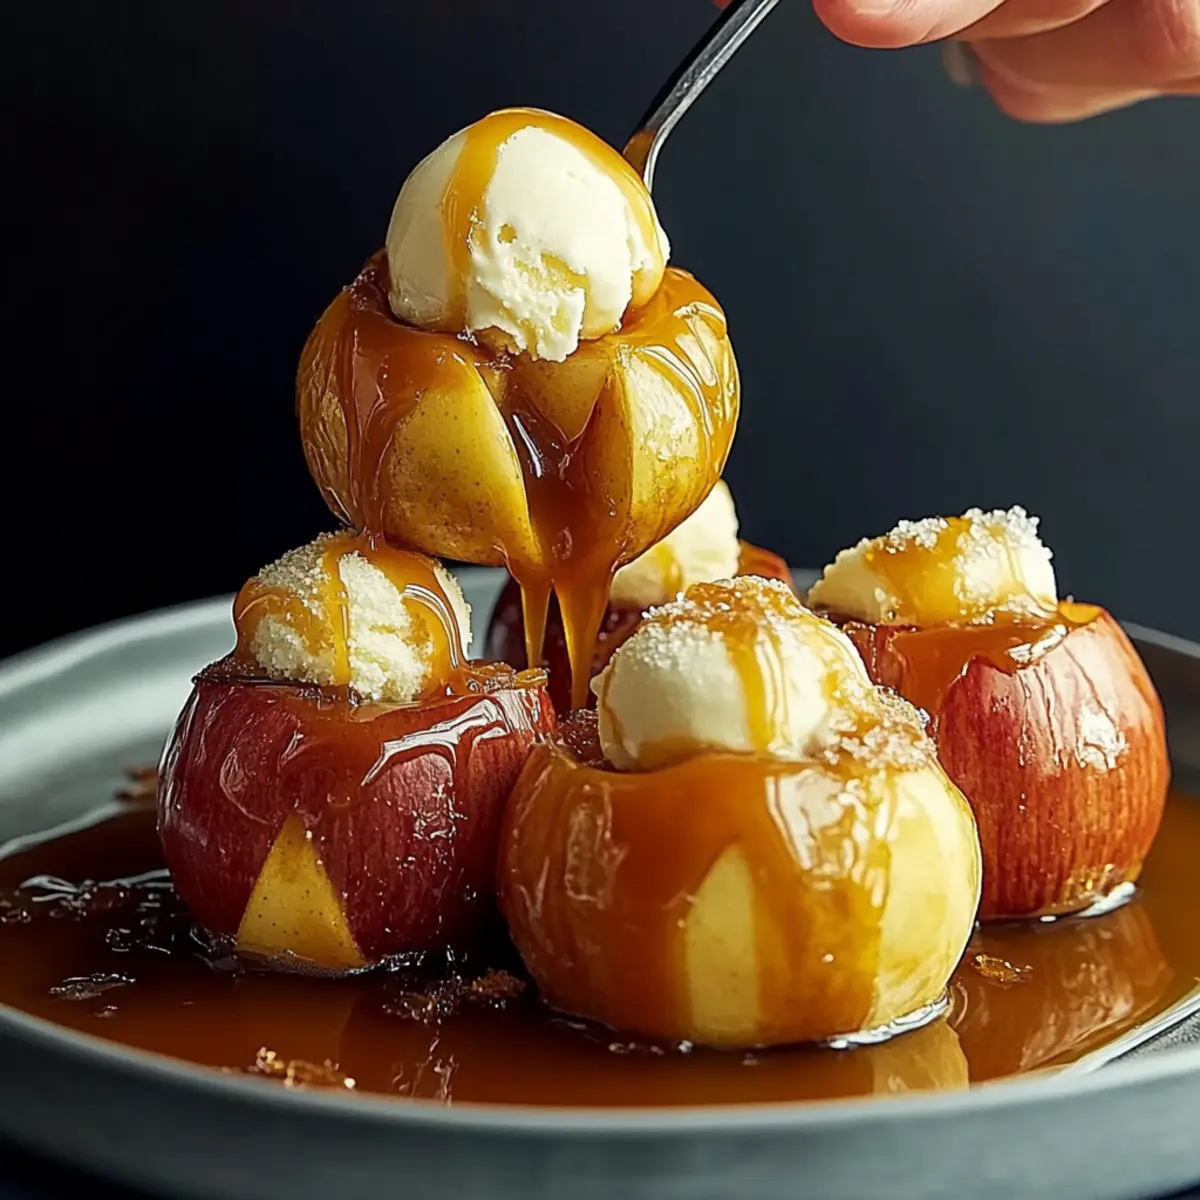
As the crisp autumn air fills your kitchen, nothing quite embodies the season like the Ultimate Bloomin’ Apples Recipe. Picture sliced, juicy apples enveloped in warm cinnamon scents, each one revealing a delightful surprise of gooey caramel at its core. This caramel-stuffed baked apple dessert isn’t just a feast for the eyes—it’s also incredibly quick to whip up, making it an interactive treat for both cozy nights in and festive gatherings. Imagine gathering around the table, laughter ringing through the air, as everyone takes a turn digging into these blooming beauties. It’s comfort food redefined! Ready to bring this stunning fall dessert to your table?
Why is Bloomin’ Apples a Must-Try?
Interactive dining excitement: These Bloomin’ Apples are not just desserts; they’re an engaging experience for friends and family to share. Flavor explosion: Each bite reveals warm, tender apples mingling with rich caramel, creating a perfect balance of sweetness. Quick and simple: With just a few easy steps, you’ll have an impressive dish ready in under 30 minutes! Fall favorite: Celebrate the season with this classic dessert, reminiscent of cozy apple orchards and family gatherings. And if you’re looking to switch things up, consider serving them with a scoop of vanilla ice cream or drizzling some warm caramel sauce for an extra indulgent treat.
The Ultimate Bloomin’ Apples Ingredients
• Prepare to dive into this incredible caramel-stuffed baked apple dessert!
For the Apples
- Apples – Choose firm varieties like Honeycrisp or Granny Smith to hold their shape while baking.
- Melted Butter – 4 Tbsp. – This adds richness and helps caramelize the apples beautifully.
For the Sweetness
- Brown Sugar – 1 Tbsp. – Adds depth and enhances the sweetness of this fall dessert.
- Granulated Sugar – 1 Tbsp. – Provides a touch of extra sweetness to balance the flavors.
- Ground Cinnamon – ½ tsp. – Infuses warm, aromatic notes that complement the tender apples.
For the Gooey Center
- Chewy Caramel Squares – 8 pieces – These melt into a delicious, gooey surprise at the heart of each apple.
For Serving
- Vanilla Ice Cream – For serving – Offers a creamy contrast to the warm, tender apples.
- Caramel Sauce – For drizzling – Enhances the decadence of the dish even further.
For Preparation
- Cooking Spray – Use this for greasing the baking dish to prevent sticking while baking.
Gather these delightful ingredients to bring the Ultimate Bloomin’ Apples recipe to life!
Step‑by‑Step Instructions for The Ultimate Bloomin’ Apples Recipe
Step 1: Preheat the Oven
Start by preheating your oven to 375°F. If you’re using an air fryer, set it to 350°F. This initial step is crucial to ensure the apples bake evenly and achieve that lovely caramelized finish. As the oven heats, gather your ingredients and prepare for a delightful baking adventure with your Ultimate Bloomin’ Apples.
Step 2: Whisk the Butter Mixture
In a small bowl, whisk together 4 tablespoons of melted butter, 1 tablespoon of brown sugar, 1 tablespoon of granulated sugar, and ½ teaspoon of ground cinnamon. Mix until everything is well combined and the sugar begins to dissolve. This fragrant mixture will enhance the flavor of your apples, so give it a good stir while enjoying the warm cinnamon aroma!
Step 3: Prepare the Apples
Select your firm, crisp apples, like Honeycrisp or Granny Smith. Carefully slice off the top of each apple and core the center, making sure not to cut through the bottom. This will create a lovely little hollow in each apple to hold your gooey caramel. Set aside your prepared apples, and get ready for the exciting next steps.
Step 4: Add Caramel to the Apples
Using a sharp knife, make thin crosswise cuts into each apple, without cutting all the way through. This technique will allow the apples to bloom beautifully during baking. Next, stuff each apple with 2 chewy caramel squares, nestled in the center. These will melt and create an indulgent surprise inside each deliciously baked apple.
Step 5: Brush with Butter Mixture
Generously brush the prepared apples with the butter-sugar mixture from Step 2. Use a pastry brush to ensure each apple is evenly coated, which will enhance caramelization and flavor. As you brush, imagine how delightful the Ultimate Bloomin’ Apples will taste when they are perfectly baked and oozing with sweet caramel.
Step 6: Bake the Apples
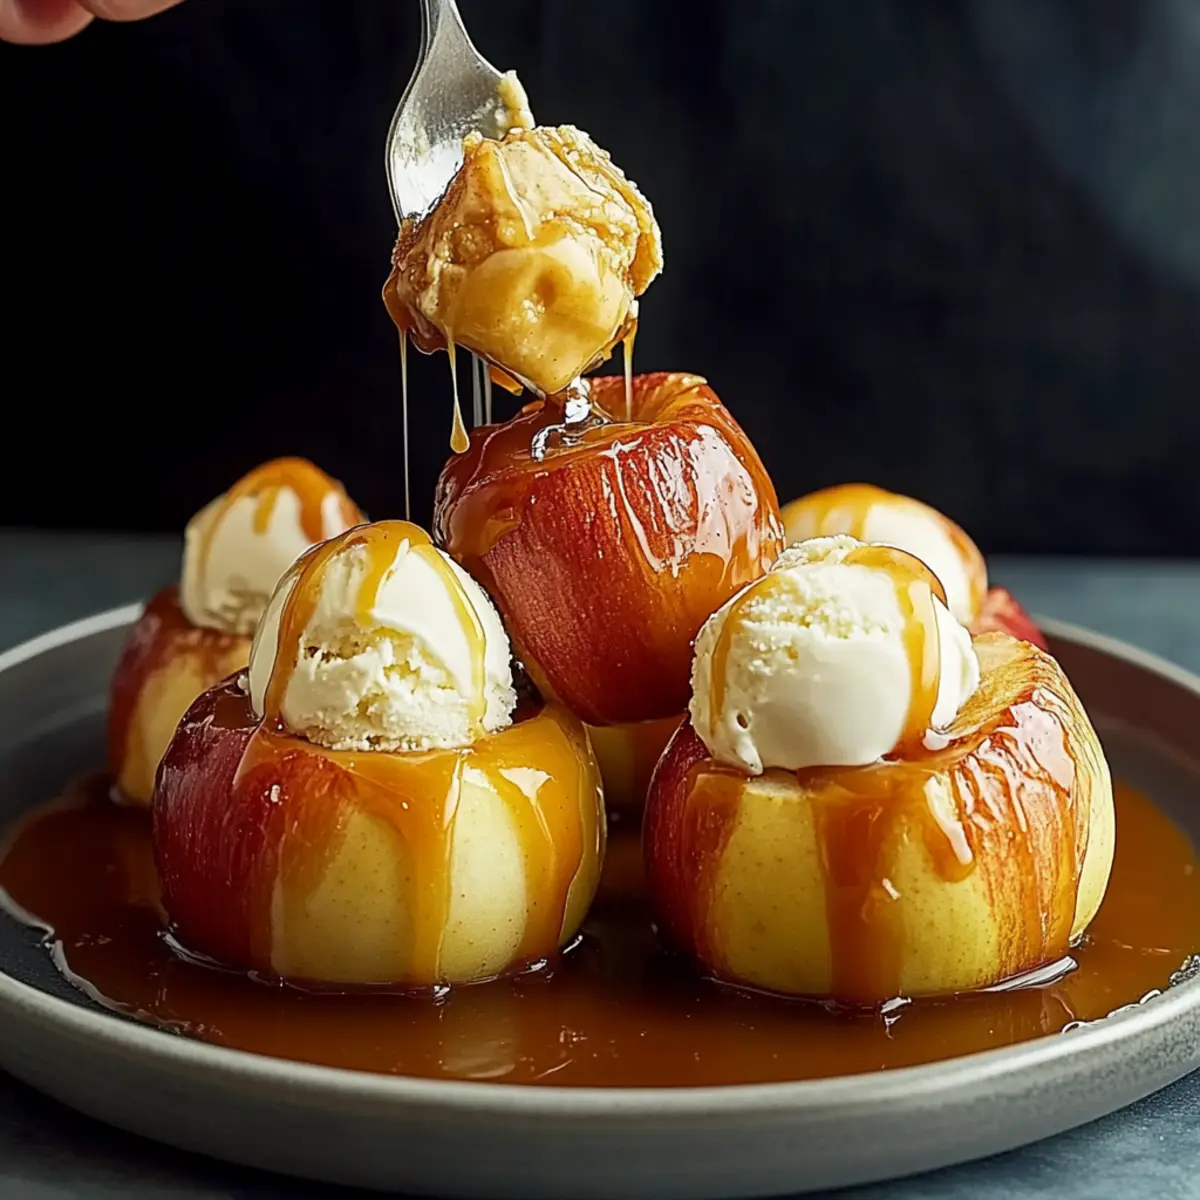
For oven baking, place the apples upright in a greased baking dish and bake for approximately 30 minutes, or until they become tender and start to caramelize. If using an air fryer, arrange the apples in the basket and cook for about 20 minutes, checking for tenderness. The apples should look slightly collapsed and fragrant at this point, a sign they’re ready to bring joy to your table!
Step 7: Serve and Enjoy
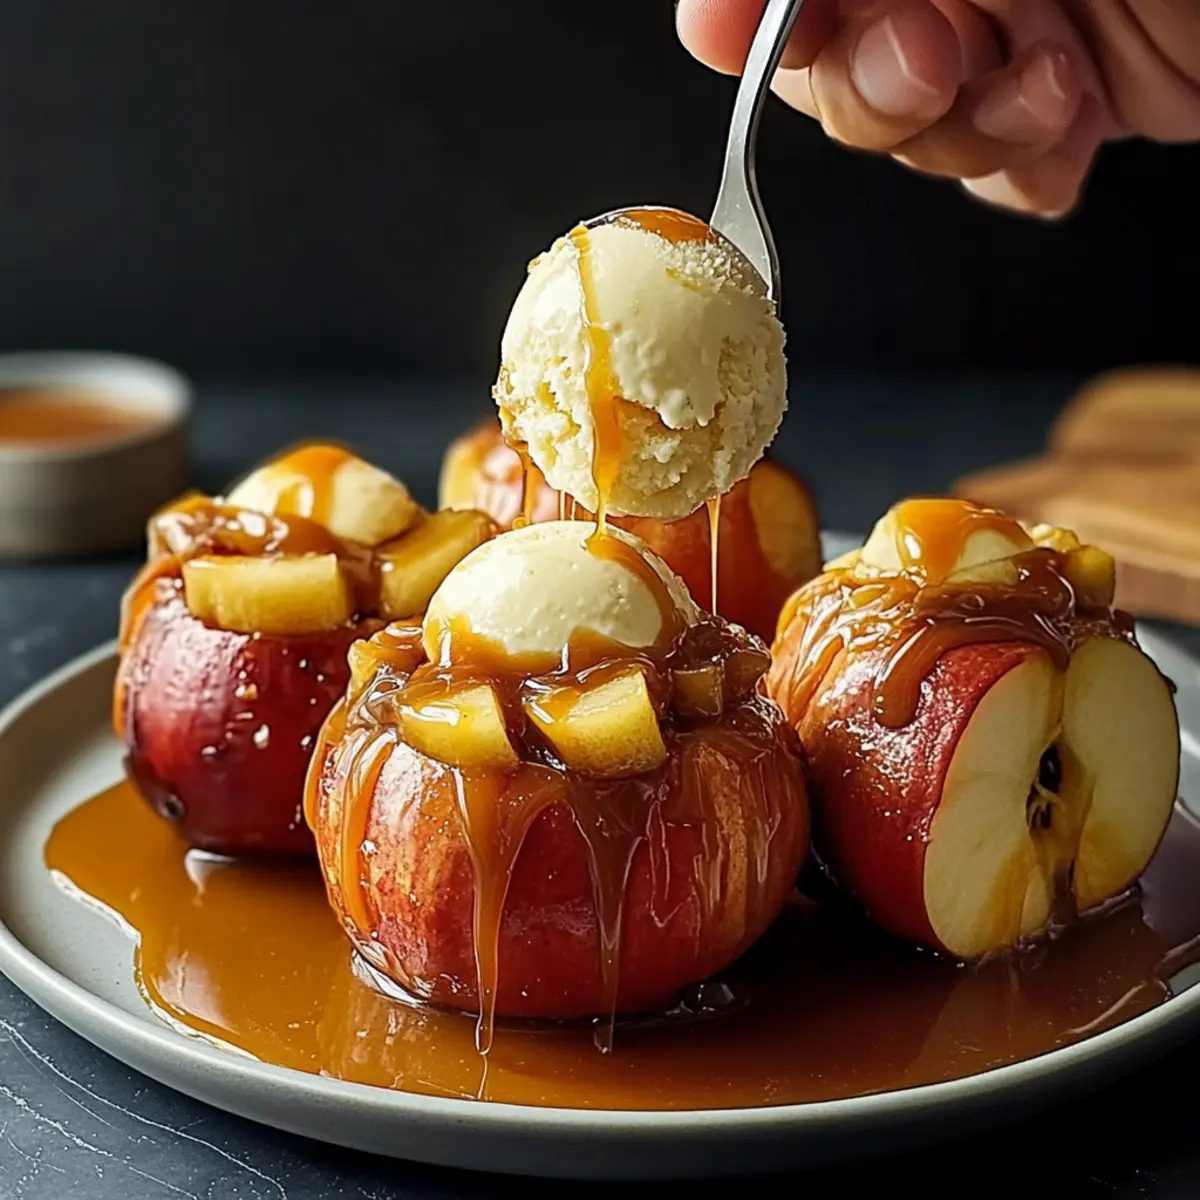
Once your Ultimate Bloomin’ Apples are out of the oven, serve them warm for the best experience. Top each apple with a scoop of creamy vanilla ice cream to contrast the warm, tender fruit, and drizzle on some caramel sauce for added decadence. Gather your loved ones and dig in, savoring each delightful bite that celebrates the essence of fall.
The Ultimate Bloomin’ Apples Variations
Get ready to personalize your Bloomin’ Apples experience with these delicious twists that will enhance flavors and textures!
-
Crispy Oat Topping: Mix oats, brown sugar, and chopped nuts to create a delightful crispy topping instead of caramel. This adds texture and a nutty flavor that complements the sweetness of the apples perfectly.
-
Chocolate Surprise: Add a handful of chocolate chips into the center with the caramel. As the chocolate melts, it creates a rich, decadent surprise that pairs beautifully with the apples’ sweetness.
-
Nutmeg Infusion: Spice it up by adding a pinch of nutmeg along with the cinnamon in your butter mixture. It introduces an extra layer of warmth and aromatic flavor that screams fall.
-
Dairy-Free Delight: Swap out butter for coconut oil and serve with dairy-free vanilla ice cream. This variation will cater to your vegan friends without compromising the dessert’s delightful taste.
-
Spicy Kick: Mix in a dash of cayenne pepper or chili powder with the brown sugar for a spicy contrast to the sweetness of the caramel. It’s a unique twist that adds excitement with every bite!
-
Fruit Medley: Combine with pear slices for a mixed fruit version. The juiciness of the pears adds moistness, while their sweet subtlety balances the tartness of the apples.
-
Maple Caramel: Replace traditional caramel with maple-flavored candies for a distinctly autumnal twist. This will provide a unique sweet profile that’s perfect for a cozy fall dessert.
-
Peanut Butter Wonder: Before adding caramel, spoon a little creamy peanut butter into the center. This combination of sweet and nutty flavors is divine and will delight any peanut butter lover.
Embrace these variations and create your own unique version of the Bloomin’ Apples; whether enjoyed with family or friends, each bite will capture the essence of fall. For more cozy dessert inspiration, try our Cheesy Corn Fritters or explore the heartwarming flavors in our Turkey Chili.
How to Store and Freeze Bloomin’ Apples
Room Temperature: Enjoy Bloomin’ Apples fresh out of the oven for the best texture and flavor; they are best devoured warm on the same day.
Fridge: If you have leftovers, store them in an airtight container in the fridge for up to 2 days. Reheat in the microwave for a quick warm-up before enjoying.
Freezer: You can freeze unbaked, prepared apples stuffed with caramel by placing them in a freezer-safe container for up to 3 months. Bake them straight from the freezer, adding a few extra minutes to the cooking time.
Reheating: To reheat baked Bloomin’ Apples, pop them in the oven at 350°F for about 10-15 minutes or until warmed through, ensuring the caramel remains gooey and enjoyable.
Expert Tips for the Ultimate Bloomin’ Apples Recipe
- Apple Selection: Choose firm varieties like Honeycrisp or Granny Smith to ensure your apples hold their shape while baking and provide the best texture.
- Cut Carefully: When making crosswise cuts, use chopsticks or wooden spoons in the center of each apple to prevent cutting all the way through; this ensures a beautiful bloom.
- Generous Coating: Don’t be shy with the butter-sugar mixture—brushing it on generously will enhance flavor and promote a delicious caramelization while baking.
- Watch the Time: Keep an eye on your apples in the oven or air fryer to prevent overcooking; they should be tender but still hold their shape for the Ultimate Bloomin’ Apples experience.
- Serving Warm: Serve the apples warm for maximum enjoyment; the contrast of gooey caramel and cold vanilla ice cream creates an irresistible treat!
What to Serve with Caramel-Stuffed Bloomin’ Apples?
Imagine the aroma of fall embracing your home as you create a delightful feast around these charming, gooey apple wonders.
- Creamy Vanilla Ice Cream: A scoop of rich vanilla ice cream adds a perfect contrast to the warm apples, enhancing each luscious bite.
- Salted Caramel Sauce: Drizzle this over the apples to elevate their sweetness and add a touch of sophisticated flavor.
- Crisp Leafy Salad: A fresh, crunchy salad balances the sweetness of the dessert with its bright, vibrant flavors and textures.
- Warm Spiced Cider: This cozy drink, infused with cinnamon and cloves, enhances the fall theme and warms the soul with every sip.
- Chocolate Drizzle: A light drizzle of melted chocolate adds a decadent contrast, turning your dessert into an indulgent treat.
- Candied Nuts: Sprinkle some crunchy, sweet nuts over the top for an additional textural element and an exciting flavor twist.
- Maple Syrup: A drizzle of this rich syrup adds a lovely sweetness that complements the caramel beautifully.
- Fresh Berries: A handful of tart berries provides a burst of freshness, cutting through the richness and balancing the flavors.
Gather loved ones around the table, and enjoy these harmonizing pairings alongside your Caramel-Stuffed Bloomin’ Apples!
Make Ahead Options
These Ultimate Bloomin’ Apples are perfect for busy home cooks looking to save time and still impress! You can prepare the apples up to 24 hours in advance by coring and slicing them as instructed, then toss them with a bit of lemon juice to prevent browning. Additionally, you can mix the butter-sugar and cinnamon combination ahead of time, storing it in the fridge until you’re ready to bake. When it’s time to serve, simply stuff the apples with the caramel squares, brush them with your prepared mixture, and bake as directed for that warm, tender, and richly flavored dessert that will feel just as good as freshly made. Enjoy the soothing aroma as your kitchen transforms into a fall haven!
The Ultimate Bloomin’ Apples Recipe FAQs
What kind of apples should I use for the Ultimate Bloomin’ Apples?
Choosing the right apples is crucial for achieving that perfect baked texture! I recommend using firm varieties like Honeycrisp, Gala, or Granny Smith. These apples hold their shape well during baking and provide a delightful balance of sweetness and tartness.
How long can I store leftover Bloomin’ Apples?
You can store any leftover Bloomin’ Apples in an airtight container in the fridge for up to 2 days. To enjoy them again, simply reheat in the microwave for about 30 seconds, or until warmed through. This way, you can relish the gooey caramel and tender apple all over again!
Can I freeze the Bloomin’ Apples, and if so, how?
Absolutely! You can freeze unbaked, prepared apples stuffed with caramel. Simply place them in a freezer-safe container, ensuring they are well-sealed, and freeze for up to 3 months. When you’re ready to bake, take them out and pop them in the oven straight from the freezer, adding an extra 5-10 minutes to the cooking time for perfect results.
What if my Bloomin’ Apples are browning before baking?
If your cut apples are starting to brown, don’t worry! Just toss them in a little lemon juice before you stuff them. This will prevent browning and keep your apples looking vibrant and fresh. It’s a simple trick I often use when preparing apple dishes to ensure great presentation.
How should I serve the Ultimate Bloomin’ Apples for maximum enjoyment?
For the best experience, serve Bloomin’ Apples warm right out of the oven! Top each with a generous scoop of creamy vanilla ice cream and a drizzle of caramel sauce. This combination creates a fantastic contrast of temperatures and textures that elevates the dish to another level of deliciousness!
Can I use different fillings instead of caramel?
Very! If you’re looking for a variation, consider swapping out the caramel for a delicious mixture of oats, brown sugar, and chopped nuts for a delightful apple crisp filling. Or, you might try a few chocolate chips in place of caramel for a sweet twist. The more the merrier when it comes to experimenting!

The Ultimate Bloomin' Apples Recipe: Caramel Delight Awaits
Ingredients
Equipment
Method
- Preheat your oven to 375°F or air fryer to 350°F.
- Whisk together melted butter, brown sugar, granulated sugar, and ground cinnamon until well combined.
- Select firm apples, slice off the top and core the center without cutting through the bottom.
- Make thin crosswise cuts into each apple and stuff each with 2 caramel squares.
- Brush the apples generously with the butter-sugar mixture.
- Bake the apples in a greased baking dish for 30 minutes, or air fry for 20 minutes until tender.
- Serve warm topped with vanilla ice cream and caramel sauce.
Leave a Reply