
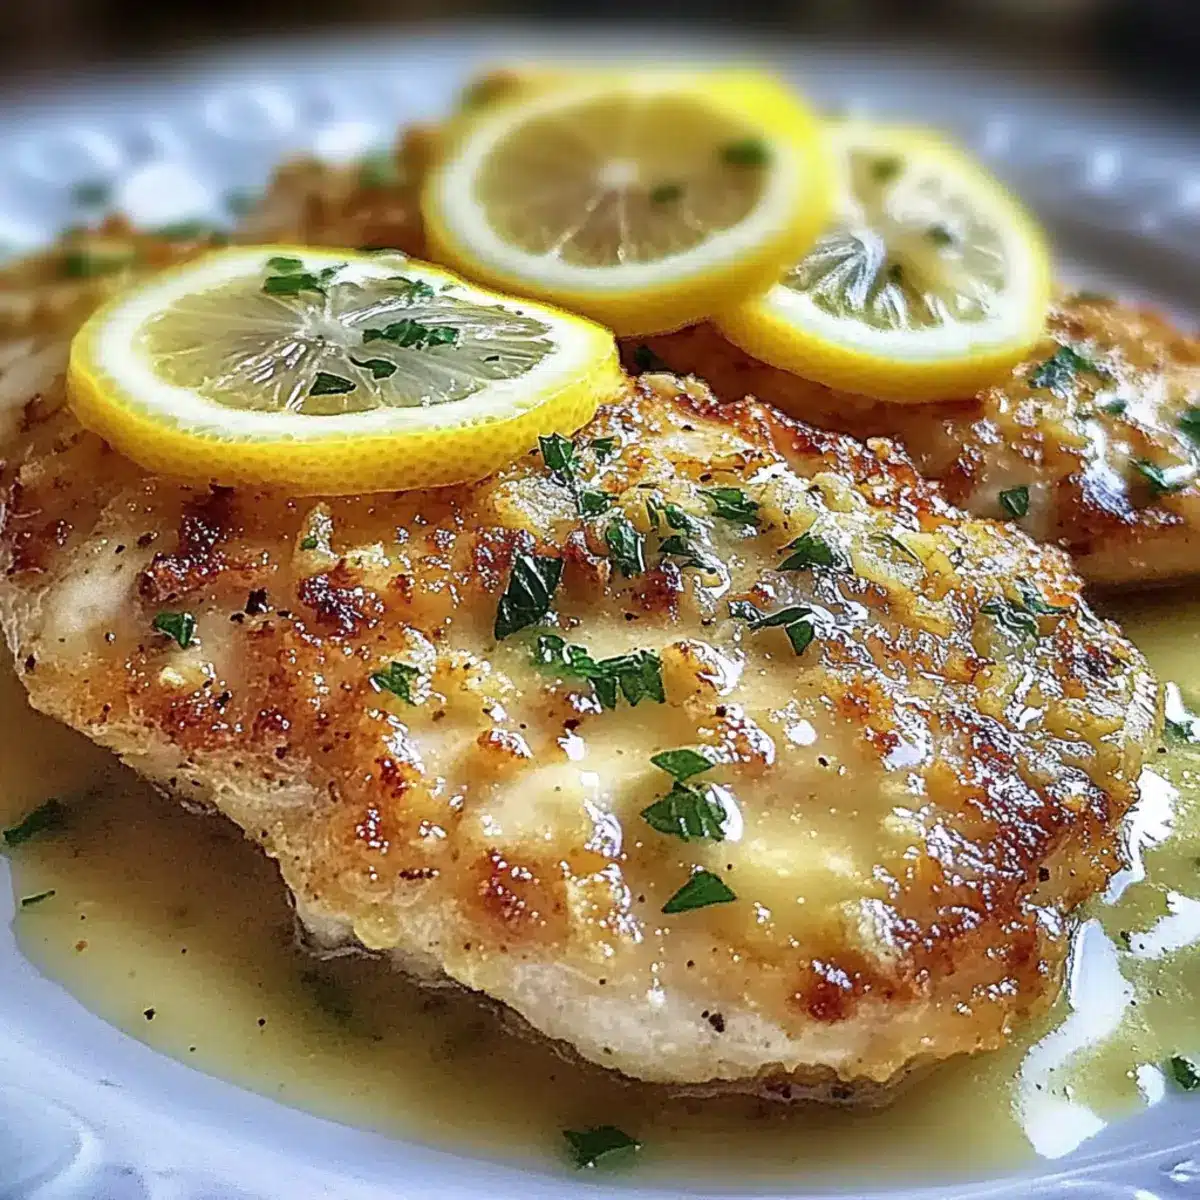
Amid the hustle of daily life, it’s often the simplest meals that unveil warmth and comfort. Enter my Lemon Chicken Romano, a delightful dish that combines juicy, buttery chicken with a zesty kick of fresh lemon and a crispy Romano cheese crust. It’s a stunning centerpiece for weeknight dinners or special gatherings, striking the perfect balance between elegance and ease. This recipe delivers quick prep—ideal for busy evenings—and is an impressive crowd-pleaser that will leave your guests raving. So, are you ready to elevate your dinner game and create a dish that not only satisfies but also stirs the soul? Let’s dive into this irresistible flavor experience!
Why is Lemon Chicken Romano a Must-Try?
Unforgettable Flavor: The zesty lemon paired with a crispy Romano cheese crust delivers an incredible burst of taste that will make your taste buds dance.
Simple Steps: Easy to follow instructions mean you won’t be spending hours in the kitchen.
Crowd-Pleaser: Perfect for family dinners or gatherings, this dish has universal appeal that will impress your guests.
Versatile Options: Feel free to swap chicken with shrimp or tofu for a delightful twist, or add capers for an extra kick.
Quick Meal Prep: With minimal ingredients and straightforward preparation, you’ll have a delicious meal on the table in no time—just what busy evenings call for!
You can pair it beautifully with a refreshing side like a simple green salad, or if you’re in the mood for comfort, some garlic bread could be the perfect match!
Lemon Chicken Romano Ingredients
• Here’s what you need to create this zesty delight!
For the Chicken
- Boneless, Skinless Chicken Breasts – This is the main protein, ensuring your dish is juicy and flavorful. Adjust based on the number of guests you’re serving.
- Fresh Garlic – Aromatic and essential for enhancing flavor; use firm cloves for the best results.
- All-Purpose Flour – Provides a crispy coating for the chicken; helps the Romano cheese adhere beautifully.
- Eggs – Acts as a binding agent to keep that delicious cheese crust intact.
- Olive Oil – Extra virgin olive oil adds a rich flavor when sautéing the chicken.
For the Coating
- Romano Cheese – This sharp cheese adds both flavor and a crispy texture; freshly grated is ideal for maximum crunch.
For the Zesty Sauce
- Lemon Juice & Zest – Freshly squeezed juice brightens the dish, while the zest intensifies the citrus aroma.
- Salt and Pepper – Essential seasonings that elevate all the flavors in your Lemon Chicken Romano.
Step‑by‑Step Instructions for Lemon Chicken Romano
Step 1: Prepare Chicken
Start by patting the boneless, skinless chicken breasts dry with paper towels to ensure a crispy crust. Season both sides generously with salt and pepper, enhancing the flavor of the chicken. This crucial step will set the stage for your delicious Lemon Chicken Romano.
Step 2: Dredging Stations
Set up three shallow dishes in your workspace: one filled with all-purpose flour, another holding beaten eggs mixed with a splash of water, and the last one packed with freshly grated Romano cheese. This will create an efficient assembly line for coating the chicken, leading to that irresistible crunch everyone loves.
Step 3: Dredge Chicken
Take each piece of chicken and coat it evenly in the flour, shaking off the excess. Then, dip the floured chicken into the egg mixture, ensuring it’s fully coated before pressing it into the Romano cheese. Aim for a thick, even layer that clings well, creating a flavorful crust for your Lemon Chicken Romano.
Step 4: Cook Chicken
In a large skillet, heat about two tablespoons of extra virgin olive oil over medium heat until it shimmers, about 2-3 minutes. Carefully add the coated chicken pieces to the pan, cooking for about 5-7 minutes on each side. Look for a golden-brown color and check that the internal temperature reaches 165°F (74°C) to ensure the chicken is fully cooked.
Step 5: Make Sauce
Once the chicken is golden brown and thoroughly cooked, transfer it to a paper towel-lined plate to drain any excess oil. In the same skillet, lower the heat and sauté minced garlic until fragrant, about 30 seconds. Then, stir in freshly squeezed lemon juice and zest, scraping up any delicious browned bits from the pan for an added flavor boost.
Step 6: Serve
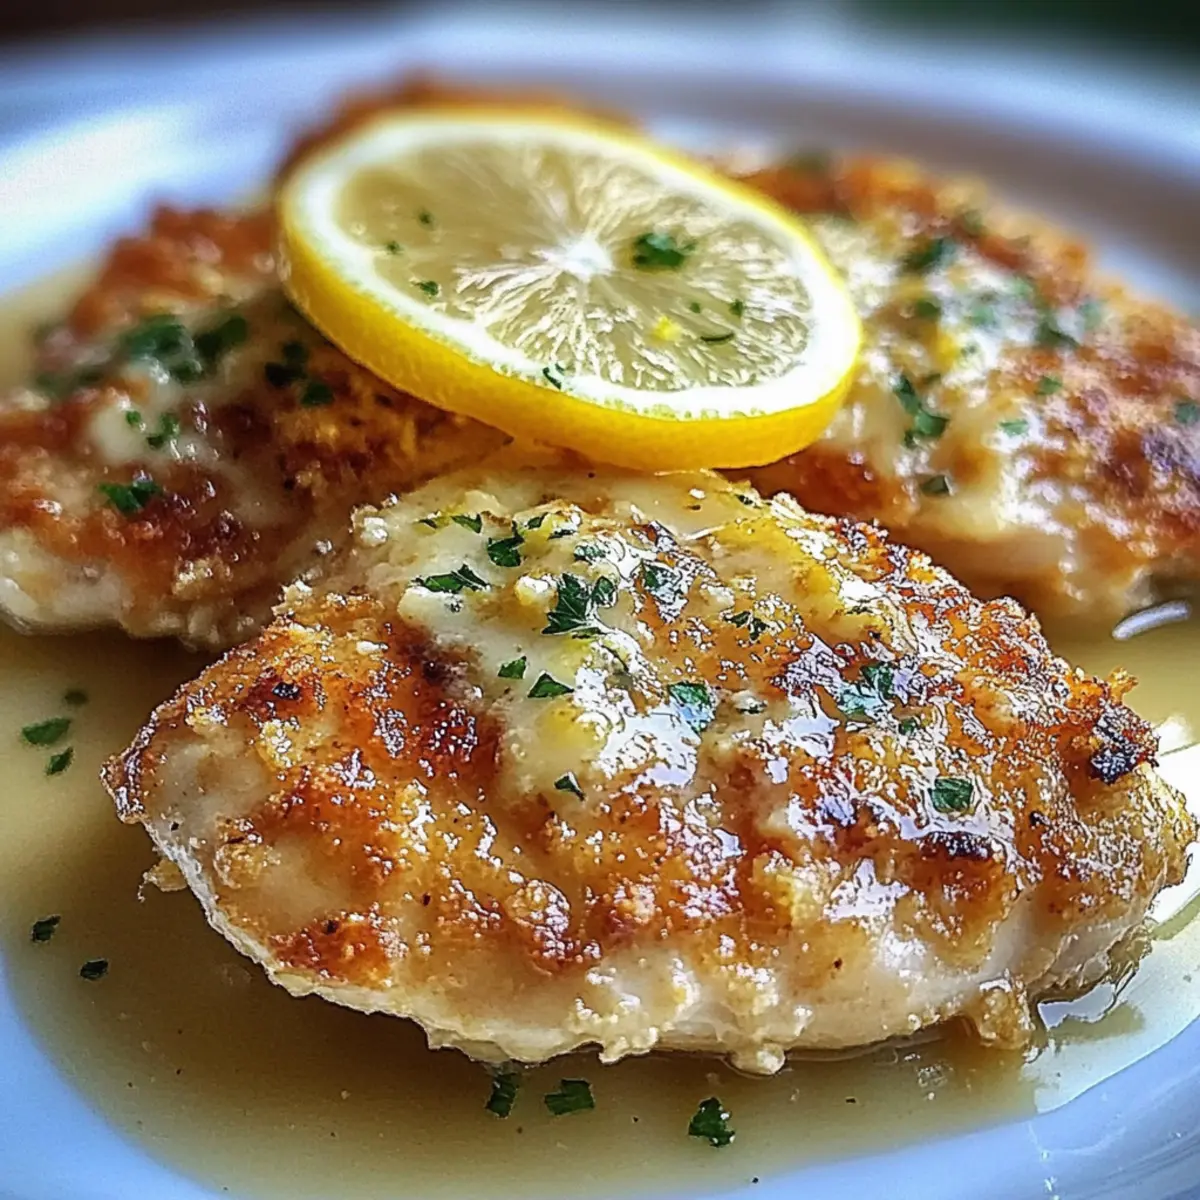
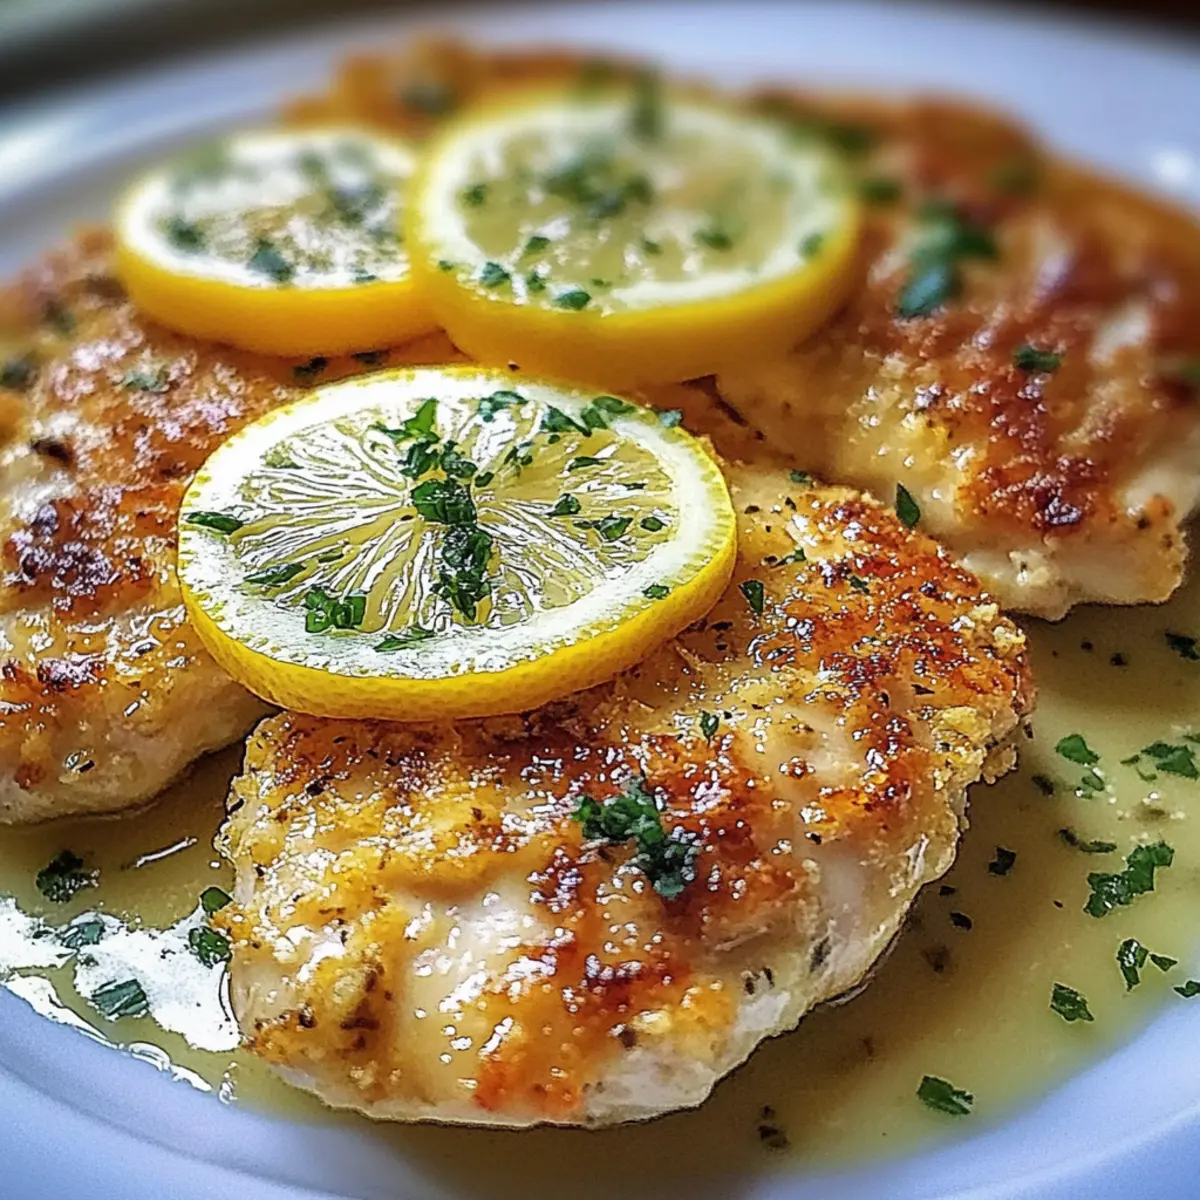
To serve your Lemon Chicken Romano, arrange the crispy chicken on plates with a drizzle of the zesty lemon sauce over the top. Pair it with fresh greens or roasted vegetables for a beautiful presentation. Enjoy the vibrant flavors that bring a warm and comforting touch to your meal!
What to Serve with Lemon Chicken Romano
Elevate your dining experience with sides that complement the zesty flavors and crispy texture of this delightful dish.
-
Garlic Bread: The warm, buttery bread provides a comforting base to mop up the delicious lemon sauce.
-
Simple Green Salad: A fresh salad with mixed greens, cucumbers, and a light vinaigrette enhances the dish’s brightness while adding crispiness.
-
Roasted Vegetables: Seasonal vegetables roasted to perfection bring sweetness and a mildly charred flavor that balances the zesty chicken.
-
Creamy Risotto: The rich and creamy texture of risotto pairs beautifully with the crispy chicken, allowing for a decadent mouthfeel.
-
Steamed Asparagus: Lightly steamed asparagus adds a touch of elegance; its earthy flavor contrasts wonderfully with the citrus notes.
-
Lemonade or Iced Tea: A refreshing drink like homemade lemonade or iced tea complements the flavors perfectly and keeps the meal light and uplifting.
Storage Tips for Lemon Chicken Romano
- Fridge: Store leftover Lemon Chicken Romano in airtight containers for up to 3 days to keep it fresh and flavorful.
- Freezer: For longer storage, freeze the chicken (without sauce) in freezer-safe containers for up to 2 months. Thaw in the fridge before reheating.
- Reheating: To retain juiciness, reheat in a skillet over low heat, adding a splash of lemon juice to refresh the flavors. Avoid the microwave to prevent drying out.
- Serving Suggestions: Consider pairing leftovers with fresh greens or pasta to create a delightful new meal.
Expert Tips for Lemon Chicken Romano
-
Pat Chicken Dry: Ensure chicken is patted dry beforehand to really achieve that crispy coating everyone loves.
-
Dredging Order Matters: Always follow the flour, egg, and cheese sequence to create a robust crust that won’t fall off during cooking.
-
Avoid Overcrowding: Cook in batches if necessary; overcrowding the skillet can lead to steaming instead of that delightful, golden browning on the Lemon Chicken Romano.
-
Temperature Check: Use a meat thermometer to guarantee the chicken reaches at least 165°F (74°C) for safe dining without risking dryness.
-
Fresh Ingredients: Opt for fresh garlic and freshly grated Romano cheese; these small changes significantly elevate the dish’s flavor and texture.
Make Ahead Options
These Lemon Chicken Romano are perfect for meal prep enthusiasts! You can coat the chicken in flour, egg, and Romano cheese up to 24 hours in advance. Simply store the breaded chicken in an airtight container in the refrigerator. To maintain the crispy quality, avoid stacking the pieces and layer with parchment paper if needed. When you’re ready to cook, heat olive oil in a skillet and fry the chicken; it will be just as delicious and beautifully golden. Pair it with the lemon sauce as described, and you’ll have a fabulous meal ready to impress your family with minimal effort on busy nights!
Lemon Chicken Romano Variations & Substitutions
Customize your Lemon Chicken Romano to suit your taste buds and dietary needs with these delightful twists!
- Shrimp Substitute: Swap out the chicken for succulent shrimp, cooking them until just pink for a seafood twist.
- Tofu Option: Use firm, pressed tofu instead of chicken, giving it a nice sear for a delightful vegetarian alternative.
- Capers Addition: Add capers to the lemon sauce for a salty, briny flavor that beautifully complements the dish.
- Parmesan Swap: Substitute Romano with freshly grated Parmesan cheese for a milder, nutty flavor that still delivers on texture.
- Heat It Up: Sprinkle red pepper flakes over the chicken before cooking to add a kick of heat that spices things up.
- Herb Infusion: Toss in fresh herbs like parsley or basil into the lemon sauce for a burst of freshness and color.
- Lemon Zest Upgrade: Increase the lemon zest to amplify the citrus flavor, making each bite even brighter and more refreshing.
- Veggie Boost: Serve the chicken on a bed of sautéed spinach or roasted vegetables for added texture and nutrition.
Feeling adventurous? You might also want to explore pairing your Lemon Chicken Romano with a light, refreshing salad or some cozy garlic bread, like in my Fiery Chicken Ramen or make it a complete meal with a warm, hearty Chicken Noodle Soup. Whatever you choose, I hope it sparks joy in your cooking journey!
Lemon Chicken Romano Recipe FAQs
How do I choose ripe lemons for this recipe?
Absolutely! When selecting lemons, look for ones that are bright yellow, firm, and slightly soft to the touch. Avoid lemons with dark spots or a dull exterior as they tend to be past their prime. Fresh lemons provide the best flavor and zest for your Lemon Chicken Romano.
What’s the best way to store leftovers?
To keep your Lemon Chicken Romano fresh, store leftovers in airtight containers in the fridge for up to 3 days. Make sure the chicken is completely cooled before sealing to prevent condensation, which can lead to sogginess.
Can I freeze Lemon Chicken Romano?
Yes! For freezing, place the cooked chicken in freezer-safe containers, without the sauce, for up to 2 months. Thaw in the fridge overnight before reheating. When ready to eat, reheat slowly in a skillet over low heat and drizzle a bit of fresh lemon juice to maintain its zesty flavor.
What should I do if my chicken coating doesn’t stick?
Very! If your coating isn’t sticking, ensure you’re properly following the dredging order—flour, then egg, and finally Romano cheese. Patting the chicken dry beforehand is also crucial. If it still doesn’t adhere, you can dip it back into the egg mixture before re-rolling it in the cheese to give it another chance at that crispy crust.
Can I substitute ingredients in this recipe?
Definitely! If you’re looking for alternatives, you can swap chicken with shrimp or tofu for a delightful variation. Additionally, if you’re looking for a different flavor profile, consider using Parmesan cheese instead of Romano, or throw in some capers or sun-dried tomatoes for an extra kick!
Is this recipe safe for my pet?
While the cooked chicken might be safe for your pet, keep in mind that garlic can be harmful to dogs and cats in large quantities. Always check with your vet before sharing leftover meals to ensure they’re safe for your furry friends.
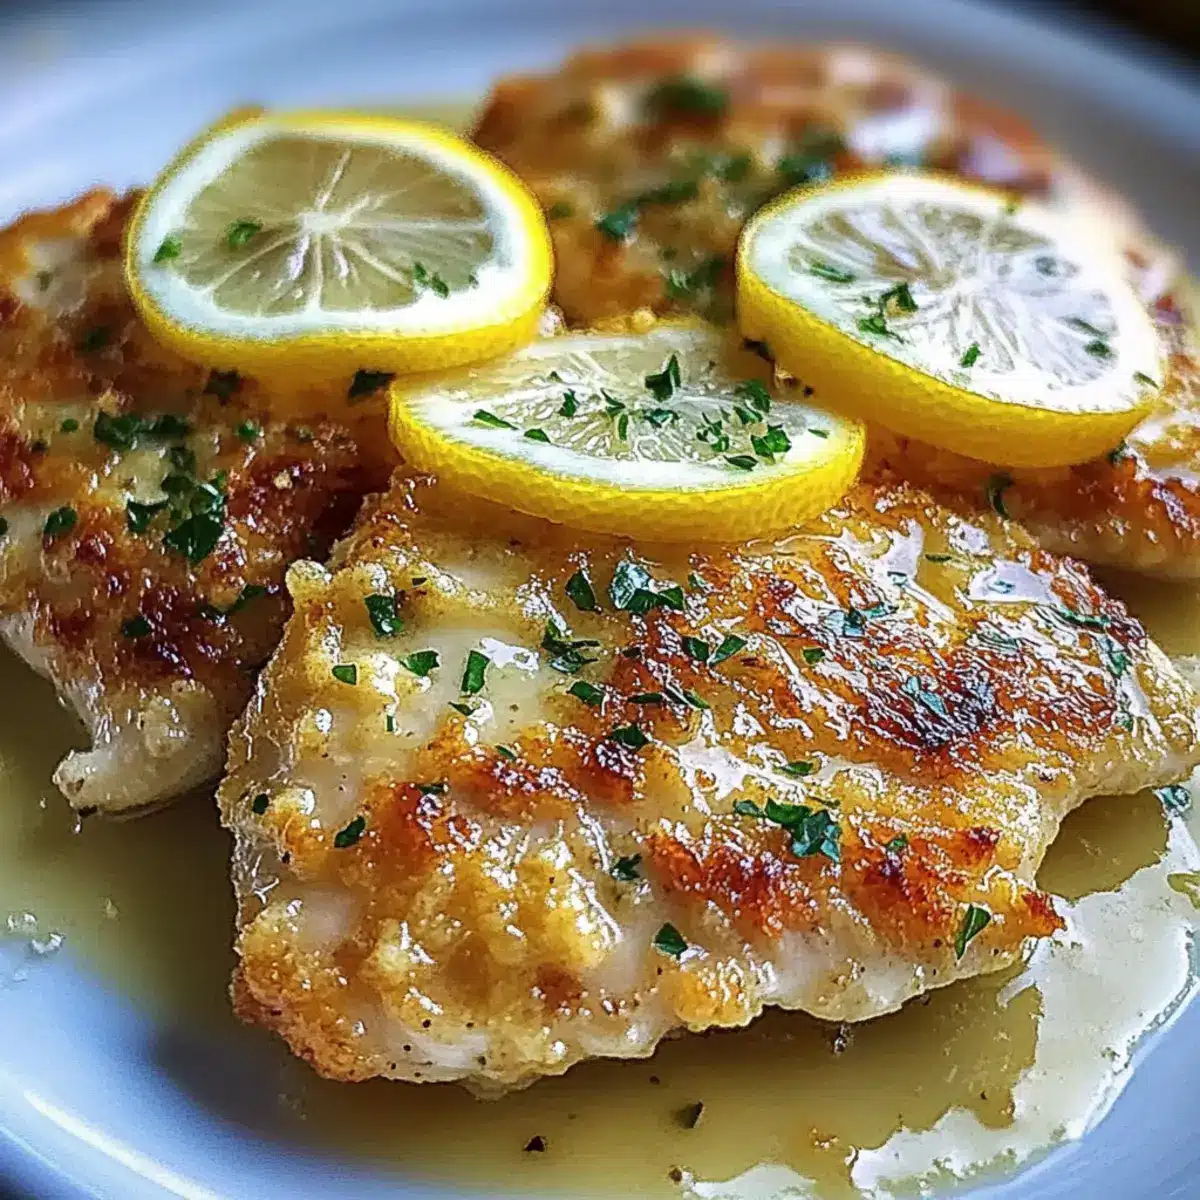
Lemon Chicken Romano: Crispy, Zesty Delight in Minutes
Ingredients
Equipment
Method
- Pat the chicken breasts dry with paper towels and season both sides with salt and pepper.
- Set up three shallow dishes: one with flour, another with beaten eggs mixed with water, and the last with grated Romano cheese.
- Dredge the chicken in flour, then dip in the egg mixture, and coat with Romano cheese.
- Heat olive oil in a skillet over medium heat and cook the chicken for 5-7 minutes on each side until golden brown.
- Remove chicken and sauté minced garlic in the skillet, then add lemon juice and zest.
- Serve the crispy chicken with the lemon sauce drizzled on top.
Leave a Reply