
As I stood in the kitchen, the rich scent of vanilla extract filled the air, instantly transporting me back to warm summer evenings spent savoring creamy delights. This Homemade Vanilla Ice Cream recipe is everything you crave—easy to whip up without any cooking and a definite crowd-pleaser for family gatherings. With just a handful of simple ingredients like heavy cream and pure vanilla extract, you’ll create a luscious base that can be customized to suit your taste. Whether you’re indulging in a classic scoop or experimenting with fun mix-ins like fruit or chocolate, this dessert promises to elevate your sweet moments. Ready to bring the ice cream shop experience home? Let’s dive into this delightful treat together!
Why Choose Homemade Vanilla Ice Cream?
Simplicity: Crafting your own ice cream is a breeze, requiring no cooking skills at all. Just mix and churn your ingredients!
Rich, Creamy Texture: Using heavy cream creates an indulgent consistency that’s smooth and satisfying, rivaling any store-bought brand.
Customizable Flavors: The base recipe is versatile; you can easily add your favorite mix-ins like fresh berries or chunks of chocolate. Check out my recipes for Street Corn Pasta or Avocado Cream Sauce for more delicious ideas!
Crowd-Pleaser: This dessert is perfect for family gatherings or warm summer evenings, sure to impress guests of all ages.
Make-Ahead: Prepare the ice cream base a day in advance, so you can churn it fresh before serving—ideal for last-minute dessert plans!
Vanilla Ice Cream Ingredients
For the Ice Cream Base
- Heavy Cream – adds richness and creaminess; use whole cream for the best texture.
- Whole Milk – blends seamlessly with the heavy cream, but feel free to substitute with 2% milk for a lighter version.
- Salt – enhances and balances flavors; just a pinch is enough, avoiding any overuse.
- Sugar – provides delightful sweetness; granulated white sugar is recommended, or coconut sugar for a unique twist.
- Vanilla Extract – imparts that classic vanilla flavor; opt for pure vanilla extract for optimal taste, although imitation vanilla works in a pinch.
Optional Mix-Ins
- Chocolate Chips – add a fun crunch and rich flavor; choose dark or milk chocolate based on preference.
- Fresh Fruit – stir in crushed strawberries or ripe bananas for a refreshing twist that complements the vanilla perfectly.
- Crushed Cookies – remix classic flavors with Oreo or cookie crumbs for an exciting texture and taste!
Step‑by‑Step Instructions for Homemade Vanilla Ice Cream
Step 1: Mix Base
In a large mixing bowl, combine 2 cups of heavy cream, 1 cup of whole milk, 3/4 cup of sugar, a pinch of salt, and 1 tablespoon of pure vanilla extract. Whisk the ingredients together until the sugar is fully dissolved, and the mixture is smooth and creamy. This is the foundation of your delicious homemade vanilla ice cream, so be sure everything is well blended.
Step 2: Prepare Freezer
Once your ice cream base is ready, pour it into the bowl of your ice cream maker or a freezer-safe container. If using an ice cream maker, ensure that the bowl is pre-frozen according to your manufacturer’s instructions. This step is crucial for achieving a smooth texture during the churning process.
Step 3: Process Ice Cream
Follow your ice cream maker’s instructions to churn the mixture for about 20 to 45 minutes, or until it becomes thick and creamy. As it churns, you’ll notice the mixture doubling in size and gaining air, which contributes to a fluffy texture. Keep an eye on it, and when it resembles soft serve, it’s just about perfect.
Step 4: Freeze
After churning, transfer the ice cream to an airtight container. Smooth the top with a spatula, then cover with a lid or plastic wrap to prevent freezer burn. For a firmer consistency, freeze the ice cream for an additional 2 to 4 hours. This step allows the flavors to meld beautifully and ensures you get perfect scoops every time.
Step 5: Serve and Enjoy
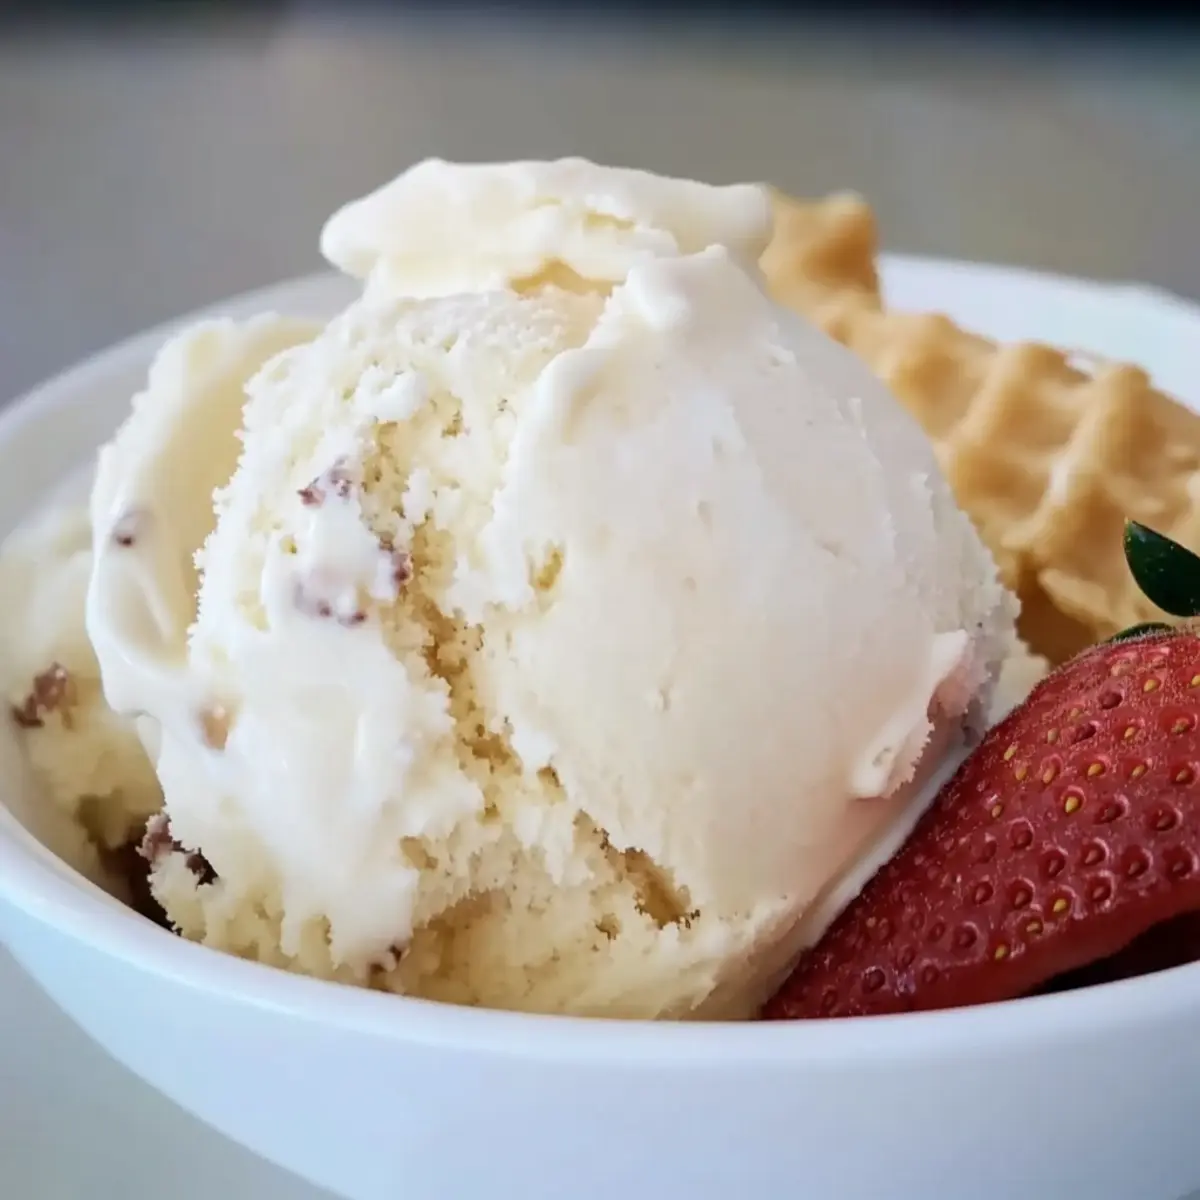
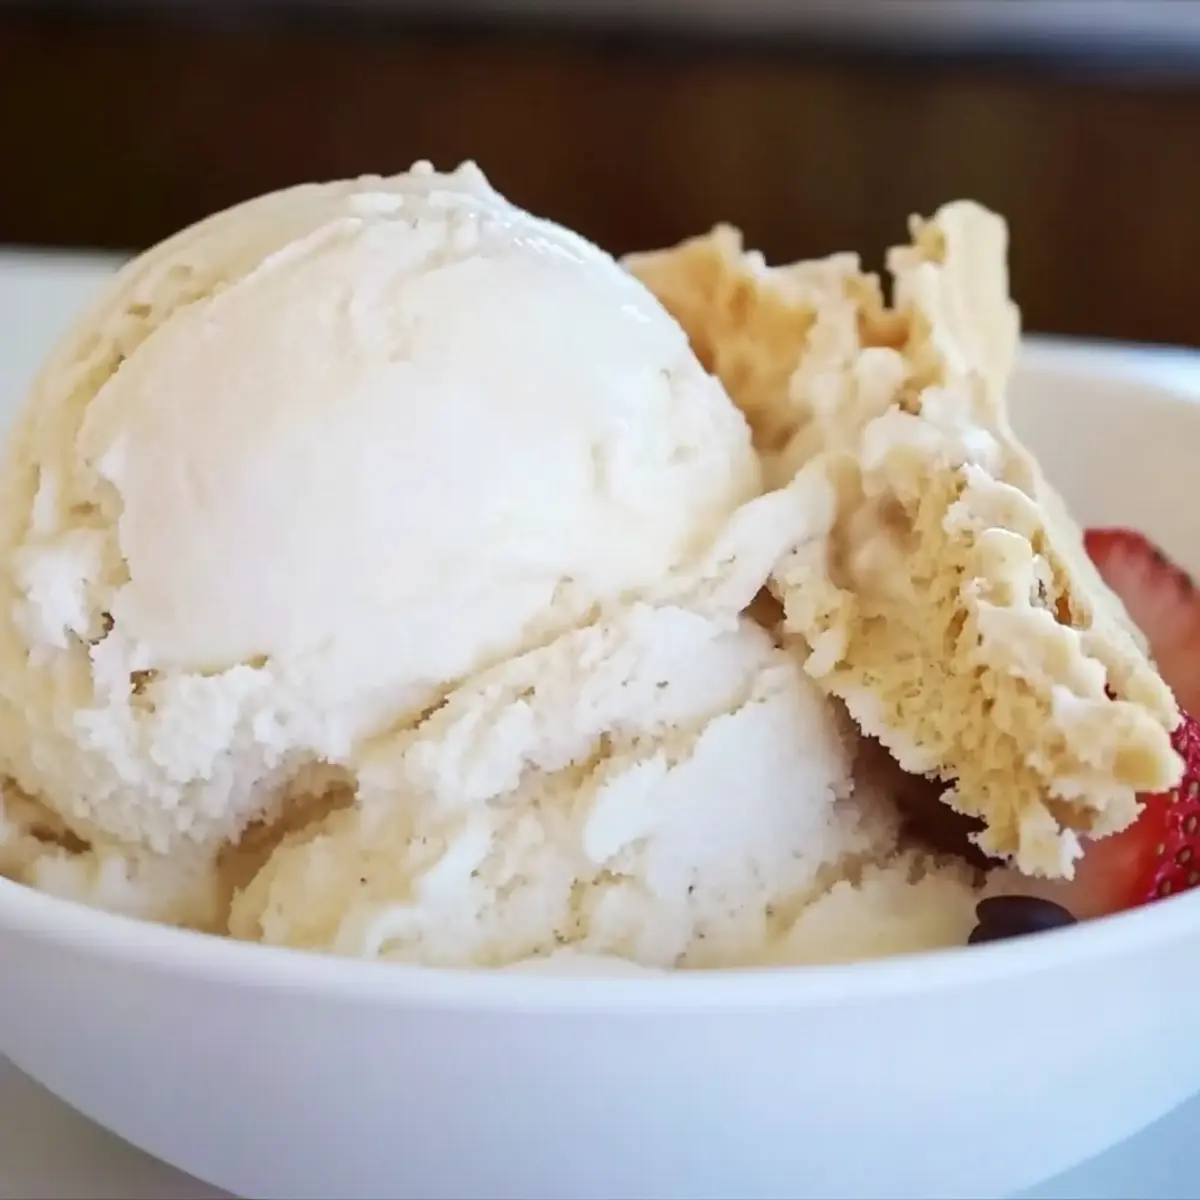
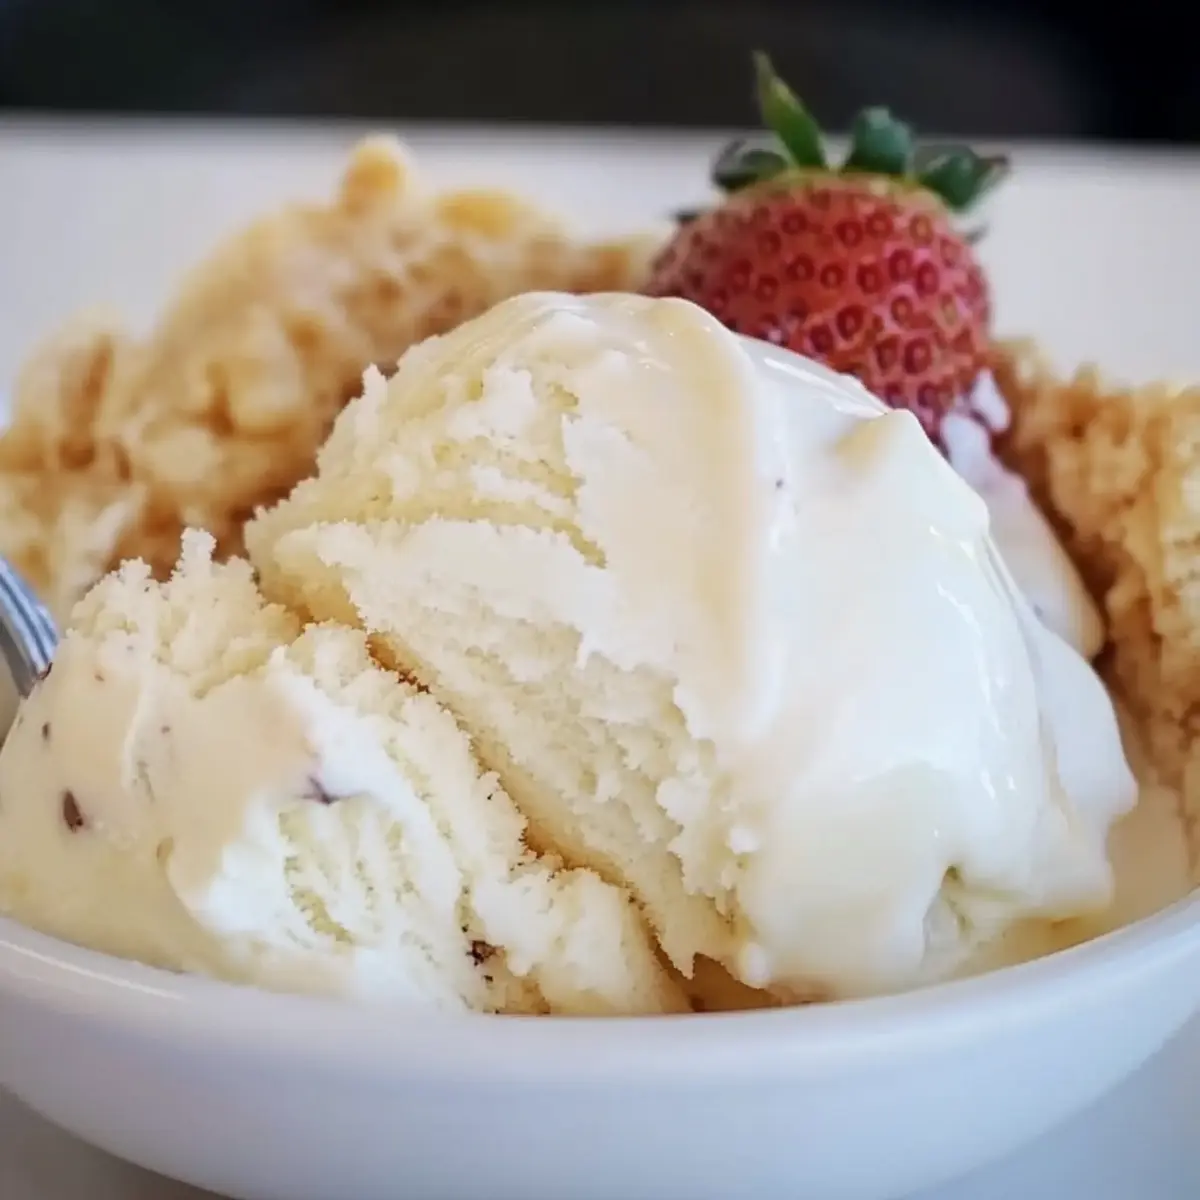
Once the ice cream has firmed up, use a scoop to dish out your homemade vanilla ice cream into bowls or cones. This creamy delight is perfect on its own, but feel free to add toppings like chocolate syrup, sprinkles, or fresh fruit for a delightful twist. Serve it during family gatherings or on warm summer evenings for a truly sweet experience!
What to Serve with Homemade Vanilla Ice Cream?
Savoring a scoop of this creamy delight opens the door to endless pairing possibilities that elevate your dessert experience.
-
Fresh Berries: Juicy strawberries or blueberries accent the ice cream’s sweetness, adding a refreshing burst of flavor.
-
Chocolate Sauce: Rich and decadent, a drizzle of chocolate sauce provides a delightful contrast to the smooth vanilla.
-
Warm Brownies: Pair with fudgy brownies for a delicious temperature contrast; the warm chocolate melts into the ice cream for an indulgent treat.
-
Caramel Drizzle: Sweet, buttery caramel adds a rich layer, beautifully enhancing the vanilla flavor while creating a glossy finish.
-
Waffle Cones: Serve in crunchy waffle cones for a satisfying crunch that complements the creaminess of the ice cream.
-
Toasted Coconut Flakes: A sprinkle of toasted coconut brings tropical flair and a lovely textural contrast to every bite.
-
Crispy Wafer Cookies: These light and crunchy cookies add a whimsical touch, perfect for dipping into the luscious ice cream.
-
Sparkling Lemonade: Enjoy with a glass of refreshing sparkling lemonade; the citrus notes brighten the palate after each creamy scoop.
-
Frozen Fruit Sorbet: Pairing with a fruit sorbet creates a delightful contrast in texture and flavor, perfect for a summer celebration.
Vanilla Ice Cream Variations & Substitutions
Feel free to get creative with your homemade vanilla ice cream—there are so many delicious ways to customize it!
-
Add Fruit: Mix in fresh strawberries or blueberries to give your ice cream a refreshing twist. The sweet, juicy bursts of flavor beautifully complement the creamy vanilla base.
-
Chocolate Delight: For a chocolate version, swirl in some chocolate syrup or melted chocolate before churning. The rich cocoa will create a decadent treat that parents and kids alike will love!
-
Nutty Crunch: Stir in chopped nuts like almonds or pecans for an added crunch. The nutty flavor provides a delightful contrast to the smoothness of the ice cream.
-
Seasonal Spices: Add a pinch of cinnamon or nutmeg for a warm, spiced twist. This variation brings cozy vibes and is perfect for fall gatherings.
-
Dairy-Free: Substitute coconut milk or almond milk for the heavy cream and whole milk to create a delicious dairy-free option. This will give your ice cream a subtle flavor that pairs perfectly with tropical fruit mix-ins.
-
Minty Fresh: Incorporate fresh mint leaves or a drop of mint extract for a refreshing mint chocolate chip ice cream. The cool flavor works wonderfully on a hot day!
-
Cookie Crumble: Crush up your favorite cookies, such as Oreos or chocolate chip cookies, and fold them into the finished ice cream. This creates a fun, textured ice cream that’s sure to please any cookie lover.
-
Spicy Heat: Try adding a dash of cayenne pepper or chili powder for a surprising kick. This unique twist will turn your ice cream into an unforgettable treat that leaves a lasting impression!
With these variations, your homemade vanilla ice cream will never be the same twice! Enjoy experimenting and let your taste buds guide you. If you’re in the mood for more delicious treats, why not check out my recipe for Iced Raspberry Vanilla or whip up some Fiery Chicken Ramen? The possibilities are endless!
How to Store and Freeze Vanilla Ice Cream
Airtight Container: Store your homemade vanilla ice cream in an airtight container to prevent freezer burn and maintain its creamy texture.
Freezer: Vanilla ice cream can be frozen for up to two weeks, but it’s best enjoyed fresh for optimal flavor and texture.
Scooping Tips: If the ice cream becomes too hard, let it sit at room temperature for about 5-10 minutes before serving to make scooping easier.
Labeling: Label your container with the date to keep track of freshness. For longer storage, consider making smaller portions to enjoy at your convenience.
Expert Tips for Homemade Vanilla Ice Cream
-
Blend Thoroughly: Make sure all ingredients are well combined before churning to avoid a grainy texture in your vanilla ice cream.
-
Sugar Adjustments: Taste your mixture and adjust the sugar levels according to your sweetness preference; it’s totally okay to experiment!
-
Pre-Freeze Bowl: If using an ice cream maker, ensure to pre-freeze the bowl for maximum effectiveness during churning; this helps achieve the right texture.
-
Storage Matters: Store your ice cream in an airtight container to prevent freezer burn and ensure freshness; it’s best enjoyed within two weeks.
-
Mix-In Timing: Add any optional mix-ins during the last few minutes of churning for even distribution in your homemade vanilla ice cream.
Make Ahead Options
These Homemade Vanilla Ice Cream preparations are perfect for busy weeknights or last-minute gatherings! You can easily prepare the ice cream base up to 24 hours in advance by mixing the heavy cream, whole milk, sugar, salt, and vanilla extract. Just whisk everything together and refrigerate it in an airtight container until you’re ready to churn. This not only saves you time but also allows the flavors to develop beautifully. When you’re ready to serve, simply churn the refrigerated mixture in your ice cream maker for 20-45 minutes, and then freeze the finished ice cream for 2-4 hours for ideal scooping. Don’t forget to store it in an airtight container to maintain that creamy texture, ensuring your homemade vanilla ice cream is just as delightful when served!
Homemade Vanilla Ice Cream Recipe FAQs
What type of heavy cream should I use for the best results?
I recommend using whole heavy cream for the richest and creamiest texture in your homemade vanilla ice cream. Look for cream that is labeled as at least 36% fat content for optimal results. Lower-fat creams may not yield the same indulgent consistency, so if you’re looking for that premium ice cream experience, go for the full-fat version!
How long can I store homemade vanilla ice cream in the freezer?
Your delicious homemade vanilla ice cream can be stored in an airtight container in the freezer for up to two weeks. To maintain its creamy texture and prevent freezer burn, ensure that the container is tightly sealed. For the best flavor, however, try to enjoy it fresh within the first week—trust me, it’s hard to resist!
Can I freeze my ice cream maker bowl in advance?
Absolutely! Pre-freezing your ice cream maker bowl is crucial for achieving that smooth and creamy texture. Make sure to freeze it for at least 24 hours before using it to churn your ice cream. This ensures that the mixture freezes properly as it’s churned, incorporating air and yielding a fluffy final result.
What should I do if my ice cream seems icy instead of creamy?
If your homemade vanilla ice cream comes out icy, it may be due to poor blending or not churning long enough. Ensure that all ingredients are well mixed before churning, and churn for the full recommended time (20-45 minutes) to allow air to be incorporated. If you still have trouble, consider letting it churn longer or even adjusting sugar levels in future batches for a smoother texture.
Can I use substitutes for sugar and vanilla extract?
Sure! For sweetness, you can experiment with alternatives like coconut sugar or honey; just keep in mind that these may alter the flavor slightly. If you find yourself out of vanilla extract, imitation vanilla will work in a pinch, though I highly recommend sticking with pure vanilla for that classic flavor!

Creamy Vanilla Ice Cream That's Easy and Deliciously Homemade
Ingredients
Equipment
Method
- In a large mixing bowl, combine heavy cream, whole milk, sugar, salt, and vanilla extract. Whisk until smooth.
- Pour the mixture into the ice cream maker's bowl or a freezer-safe container.
- Churn the mixture according to your ice cream maker's instructions for about 20 to 45 minutes.
- Transfer the churned ice cream to an airtight container and smooth the top. Freeze for 2 to 4 hours for a firmer consistency.
- Scoop out the ice cream and serve in bowls or cones. Add toppings as desired.
Leave a Reply