
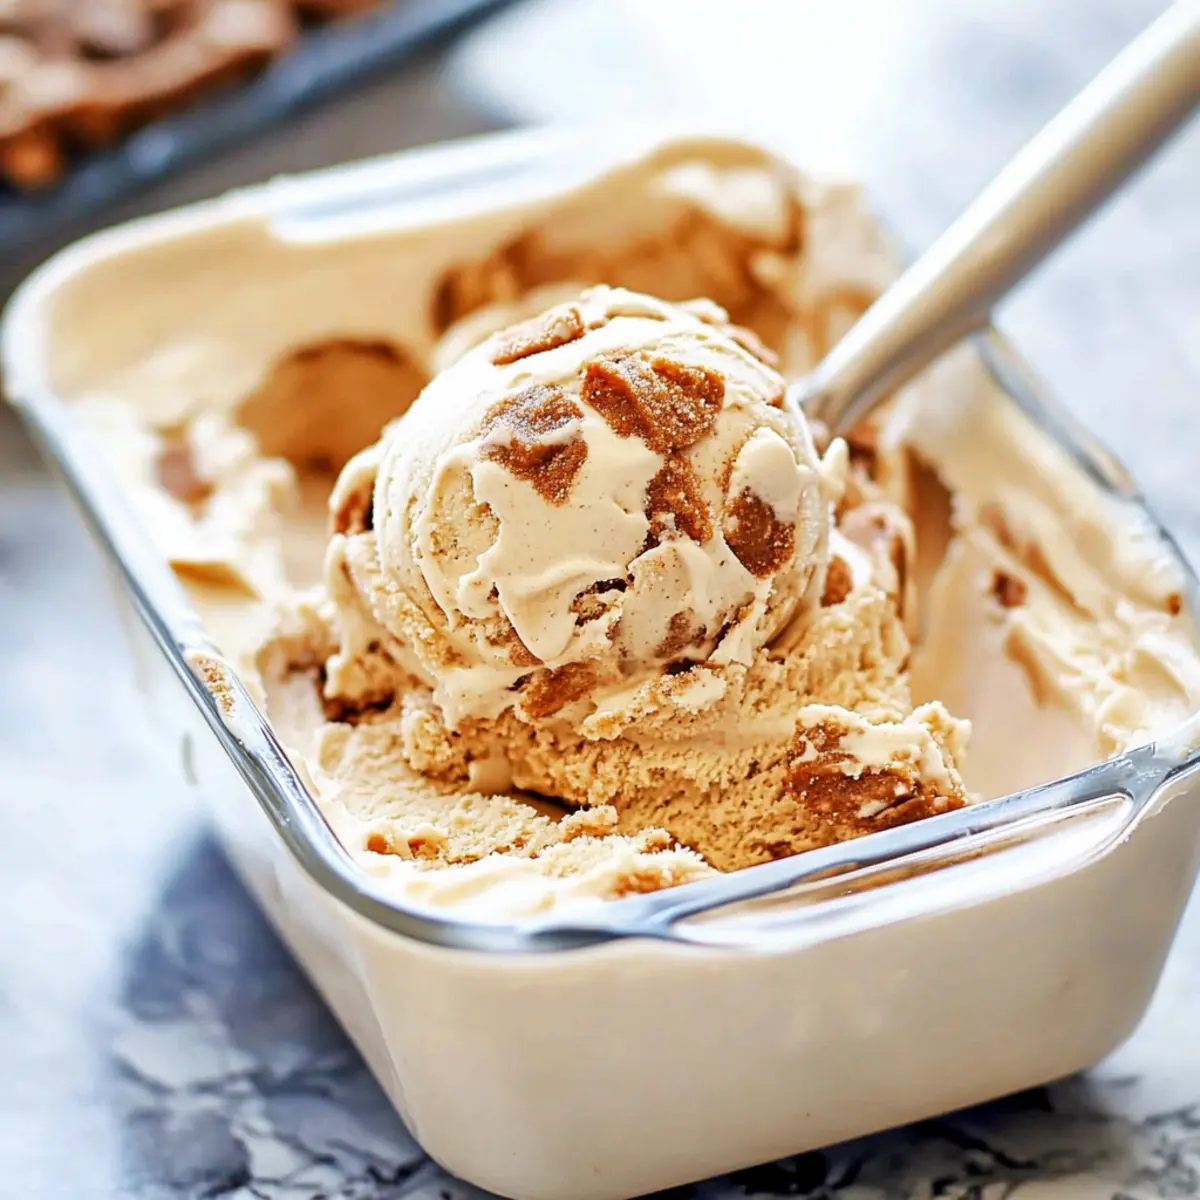
On a sweltering summer day, I found myself in a mini crisis, longing for something sweet yet satisfying. That’s when the idea of crafting a smooth, creamy Homemade Biscoff Ice Cream washed over me like a cool breeze. This no-churn delight is a breeze to whip up, taking just 15 minutes of your time, making it the perfect solution for anyone craving a homemade treat without the hassle of an ice cream machine. With decadent swirls of cookie butter and chunks of crunchy Biscoff cookies, this dessert not only tantalizes the taste buds but also offers a fun twist on traditional ice cream. Picture serving this at your next gathering or enjoying on a quiet evening—how could you resist? Dive into this irresistible recipe and let’s bring a little joy to your sweet life!
Why choose no-churn Biscoff Ice Cream?
Convenience at Its Finest: This no-churn Biscoff Ice Cream eliminates the need for specialized equipment, making it accessible for anyone, regardless of culinary skill.
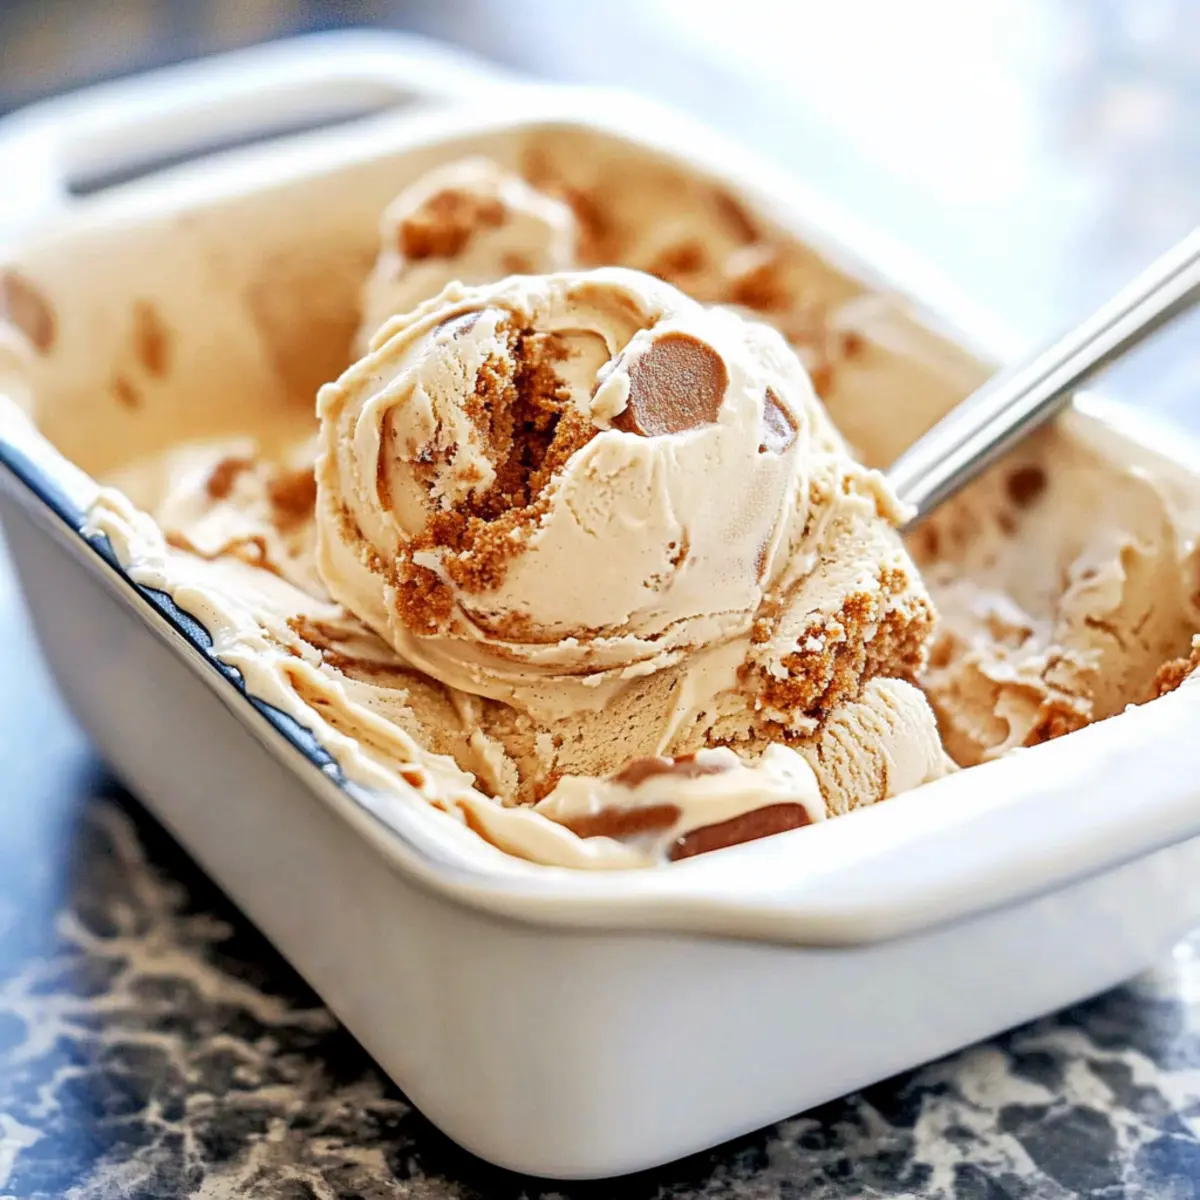
Irresistible Flavor: With swirls of rich cookie butter and chunks of Biscoff cookies, each scoop offers a heavenly explosion of taste that will leave you craving more.
Quick and Easy: Just 15 minutes of prep time means you can whip this up in a snap, perfect for unexpected guests or a last-minute craving!
Versatile Treat: Feel free to swap in other favorite cookie butters or add mix-ins like chocolate chips for a personalized touch. If you’re in the mood for something lighter, consider pairing it with a refreshing Avocado Cream Sauce.
Crowd-Pleasing Delight: This dessert is sure to impress at any gathering, offering a unique twist that will have everyone talking!
Storage-Friendly: Make a batch ahead of time—this delightful ice cream can last up to two weeks, ready to serve whenever the sweet tooth strikes!
Biscoff Ice Cream Ingredients
For the Base
• Sweetened Condensed Milk – Provides sweetness and creamy texture; substitute with evaporated milk for a lower-sugar option (may alter taste).
• Biscoff Cookie Butter – Essential for rich flavor and creaminess in this Biscoff Ice Cream; can be swapped with any cookie butter or a mix of crushed cookies and cream cheese if necessary.
• Heavy Whipping Cream – Creates the light and airy consistency; coconut cream serves as a great dairy-free alternative.
• Vanilla Extract – Enhances the overall flavor profile; almond extract can be used as a substitute, or you may omit it for a simpler taste.
For the Mix-ins
• Chopped Biscoff Cookies – Adds delightful texture and flavor throughout the ice cream; feel free to substitute with crushed Oreos or your favorite cookie if desired.
Step‑by‑Step Instructions for Biscoff Ice Cream
Step 1: Mix the Base
In a large mixing bowl, combine one 14-ounce can of sweetened condensed milk with 1/2 cup of Biscoff cookie butter. Use a whisk to blend these ingredients together until the mixture is smooth, creamy, and fully integrated. This step creates the flavorful foundation of your Biscoff Ice Cream, so ensure there are no lumps.
Step 2: Whip the Cream
In a separate bowl, pour 2 cups of heavy whipping cream and add 1 teaspoon of vanilla extract. Using an electric mixer, beat on high speed until stiff peaks form—this should take about 3–5 minutes. The whipped cream should be light and fluffy, providing the airy texture essential for your homemade Biscoff Ice Cream.
Step 3: Combine Mixtures
Gently fold the whipped cream into the Biscoff cookie butter mixture using a rubber spatula. Start by adding a scoop of whipped cream to lighten the base, then carefully fold in the rest until just combined. Be cautious to maintain the lightness of the whipped cream for that desired creamy texture in your ice cream.
Step 4: Add Cookie Chunks
Next, fold in 1 cup of chopped Biscoff cookies into the cream mixture. This adds delightful texture and bursts of flavor throughout your Biscoff Ice Cream. Make sure to fold gently to keep the chunks intact, ensuring every bite is filled with crunchy goodness.
Step 5: Layer in the Pan
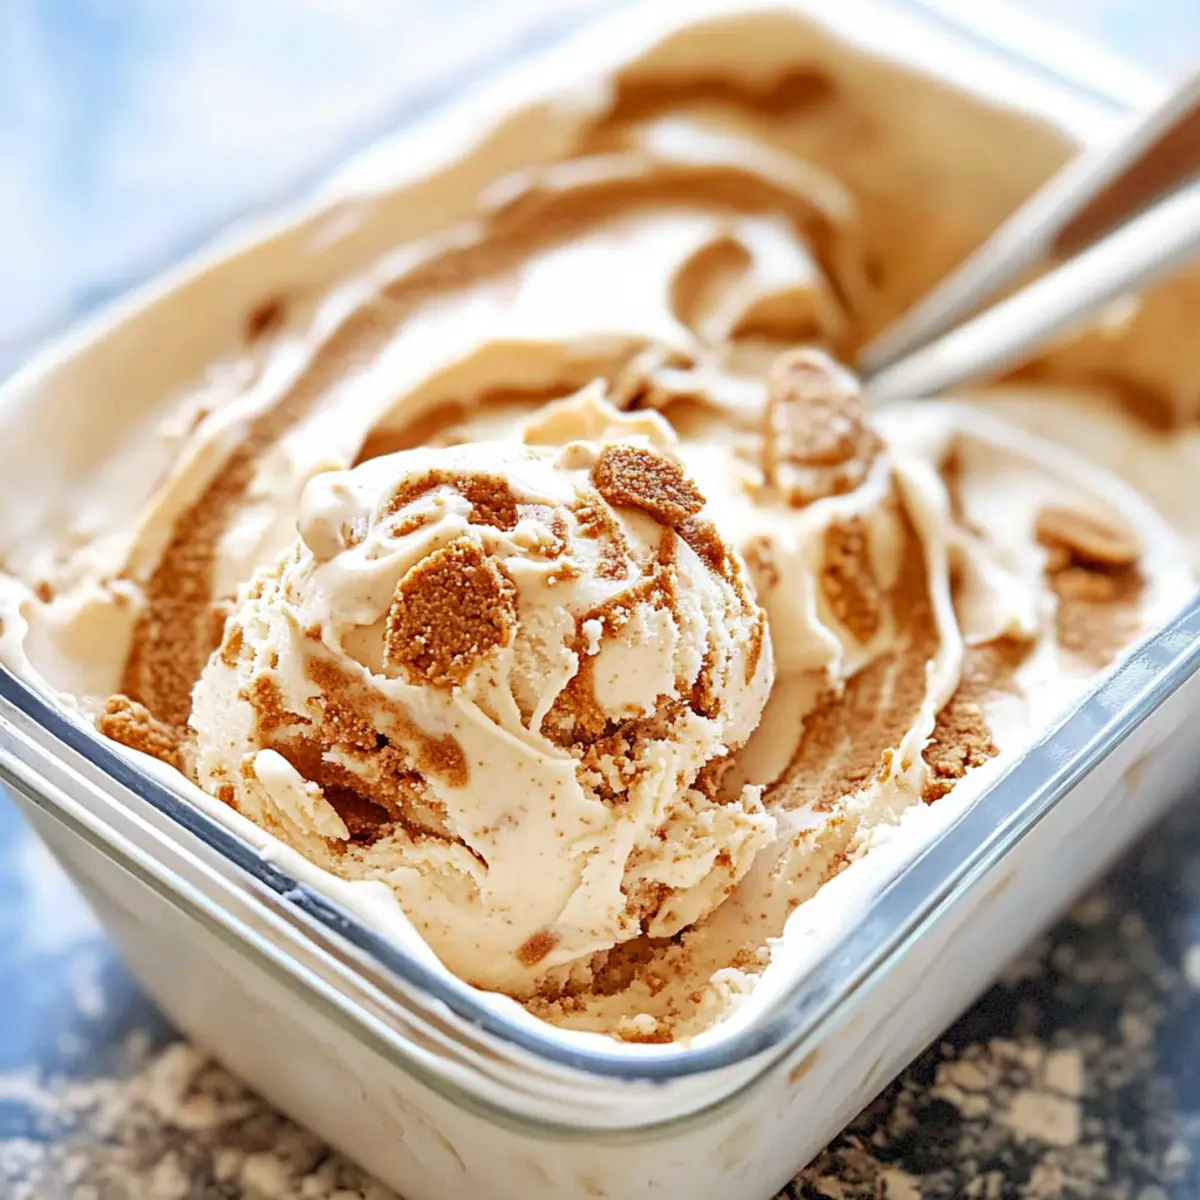
Take a loaf pan and begin layering your ice cream mixture. Spoon in one-third of the mixture, smoothing it out evenly. Drizzle a bit of melted Biscoff cookie butter on top of this layer for added sweetness and flavor. The layers will create a beautiful marbled effect in your Biscoff Ice Cream.
Step 6: Repeat the Layering
Continue to add another layer of the ice cream mixture, followed by another drizzle of melted cookie butter. Repeat this step until all the mixture is used up, ensuring that the last layer includes a drizzle of cookie butter for an appealing finish. This layering technique enhances the flavor and aesthetic of your Biscoff Ice Cream.
Step 7: Top with Crushed Cookies
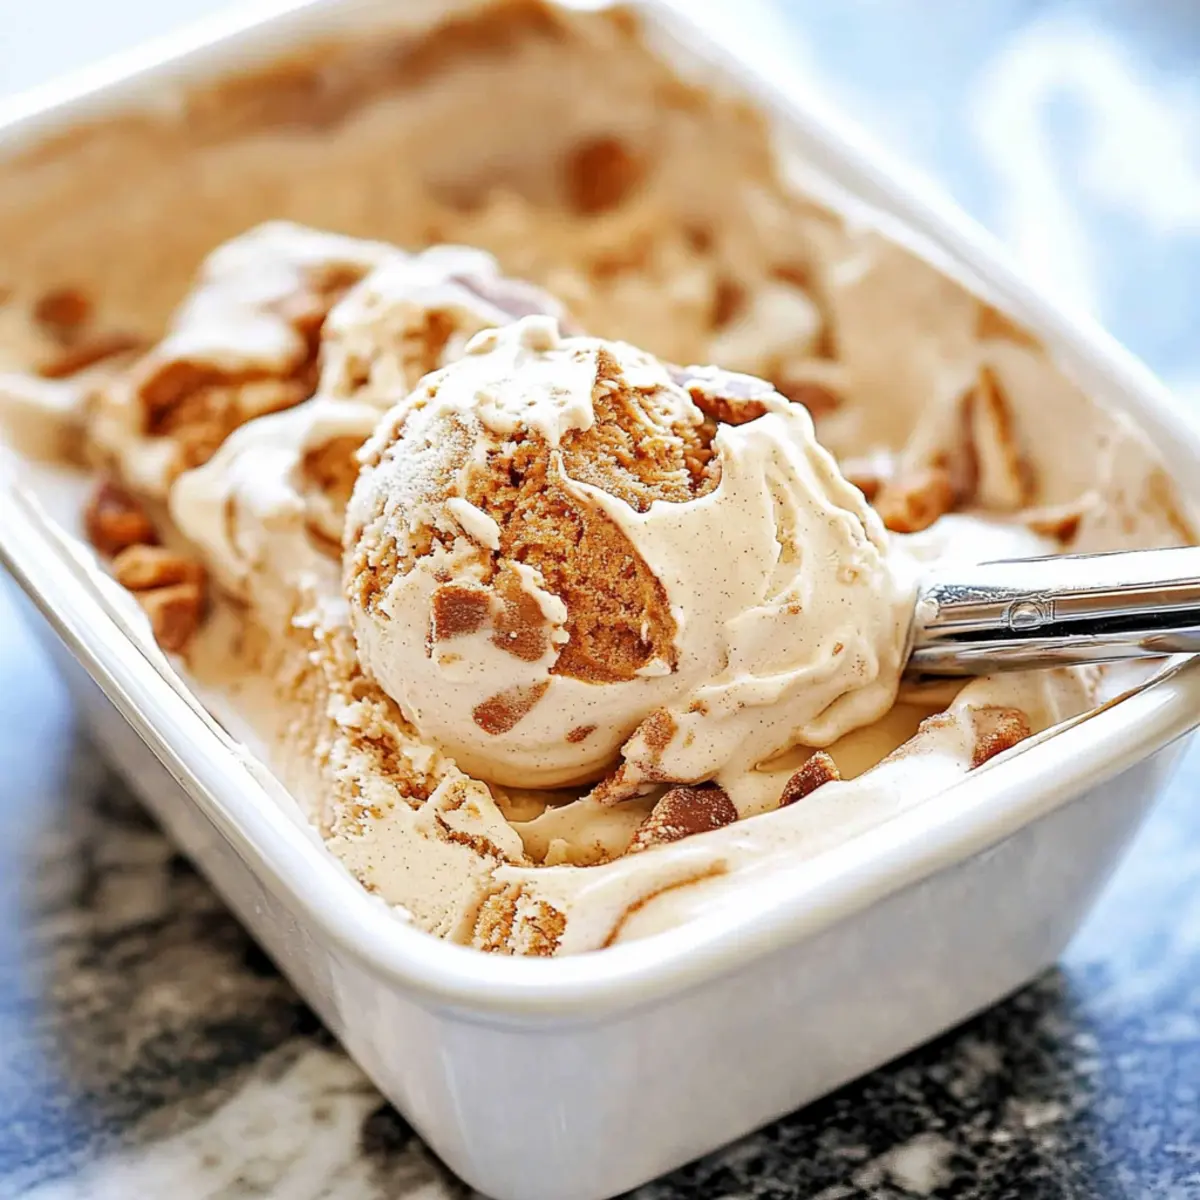
Sprinkle the remaining 1/4 cup of chopped Biscoff cookies on the top layer of ice cream. This not only adds a lovely crunch but also provides a gorgeous presentation. The cookie bits will stand out against the creamy backdrop, inviting everyone to dig in.
Step 8: Freeze and Enjoy
Cover the loaf pan securely with plastic wrap or a lid and place it in the freezer. Freeze your Biscoff Ice Cream for at least 8 hours, or until solid. Once frozen, scoop into bowls and indulge in this rich, creamy treat that’s full of cookie flavor and delightful crunch!
Make Ahead Options
These delicious Biscoff Ice Cream treats are perfect for busy schedules and meal prep enthusiasts! You can mix the ice cream base (sweetened condensed milk and cookie butter) up to 24 hours in advance and refrigerate it, ensuring the flavors develop beautifully. Additionally, prepare the whipped cream and fold it in shortly before serving to maintain that airy texture. When ready to enjoy, simply layer the mixture in a loaf pan as directed, add cookie chunks, and freeze for at least 8 hours or overnight to firm up. By prepping some components ahead, you’ll create a delightful dessert with minimal effort, ensuring every scoop is just as scrumptious when you serve it!
Biscoff Ice Cream Variations
Feel free to get creative with your homemade Biscoff Ice Cream—it’s all about bringing in flavors you love!
-
Nutty Addition: Add chopped nuts like hazelnuts or almonds for a delightful crunch. Their robust flavors will beautifully complement the sweetness of the Biscoff.
-
Chocolatey Twist: Incorporate chocolate chips or chunks for extra richness. Imagine how wonderful those chocolate bites will be against the caramel notes of the cookie butter!
-
Refreshingly Fruity: Toss in some fresh berries, like raspberries or strawberries, for a tart contrast. The bright fruitiness provides a delightful balance to the creamy base.
-
Alternative Cookie Butter: Experiment with different cookie butters, such as Nutella or speculoos. Each option will give this ice cream a unique twist that opens up new flavor profiles.
-
Extra Creaminess: Swap regular heavy cream for full-fat coconut cream for a dairy-free version. Not only does it enhance creaminess, but it adds a luscious tropical flair.
-
Spicy Kick: Sprinkle in a pinch of cayenne pepper or cinnamon for a subtle heat. It’ll elevate the flavor and add a fun surprise in every scoop!
-
Indulgent Toppings: When serving, drizzle with extra melted cookie butter or top with whipped cream. It turns your simple dessert into an impressive showstopper!
As you remix this easy recipe, why not enjoy a scoop alongside a bowl of Avocado Cream Sauce for a refreshing contrast? The possibilities are endless; let your imagination run wild!
How to Store and Freeze Biscoff Ice Cream
Freezer: Store your Biscoff Ice Cream in an airtight container or wrapped tightly in plastic wrap to prevent freezer burn. It can last up to 2 weeks while maintaining its creamy texture.
Serving: When ready to enjoy, remove the ice cream from the freezer and allow it to sit at room temperature for about 5-10 minutes. This will soften it slightly, making it easier to scoop.
Avoid Refreezing: Once scooped, it’s best not to refreeze any leftovers, as this can impact the texture and overall quality of the ice cream.
Homemade Touch: For an added treat, consider drizzling some extra melted Biscoff cookie butter over the top before serving for that extra indulgence!
What to Serve with No-Churn Biscoff Ice Cream
On a warm summer evening, nothing beats the thrill of pairing your creamy homemade delight with delightful accompaniments!
-
Chocolate Brownies: These fudgy, gooey treats contrast beautifully with the creamy Biscoff Ice Cream, adding rich, chocolaty notes that enhance each bite.
-
Fresh Berries: A mix of raspberries, strawberries, and blueberries offers a vibrant, tart contrast that balances the sweetness of the ice cream, refreshing your palate.
-
Caramel Sauce Drizzle: A warm, luscious caramel drizzle adds an indulgent touch, enhancing the already rich flavors of cookie butter and providing a silky finish to each scoop.
-
Crushed Pretzels: The salty crunch of pretzels creates an exciting texture contrast, providing a delightful balance to the sweet, creamy ice cream.
-
Cinnamon Sugar Cookies: These soft, buttery cookies pair perfectly with Biscoff Ice Cream, adding warmth and spice that echo the flavors of the Biscoff cookies inside the ice cream.
-
Iced Coffee: Sip on a chilled coffee topped with whipped cream to add another layer of indulgence. The rich coffee flavor complements the ice cream beautifully, creating a dreamy dessert experience.
Expert Tips for Biscoff Ice Cream
-
Chill the Cream: Ensure your heavy whipping cream is extremely cold before whipping to achieve maximum volume and stability in your Biscoff Ice Cream.
-
Gentle Folding: Avoid over-mixing the whipped cream and cookie butter mixture. Folding gently helps maintain the airy texture that makes your ice cream sumptuous.
-
Mix-Ins Caution: When adding chopped Biscoff cookies, fold them in gently to retain their crunch. You want those delightful chunks to be present in every scoop!
-
Layering Strategy: When layering the ice cream, alternate the mixture with melted Biscoff cookie butter. This enhances the flavor and creates a beautiful marbled effect.
-
Storage Note: Keep your ice cream covered tightly in the freezer to prevent ice crystals from forming, ensuring that each scoop stays creamy right up to the last bite.
Biscoff Ice Cream Recipe FAQs
How do I choose the right Biscoff Cookie Butter?
Select a creamy, smooth Biscoff Cookie Butter without added sugars or oils for the best results. Look for a product that lists Biscoff cookies as the primary ingredient for maximum flavor. If you’re unsure where to start, many grocery stores carry this in the international foods aisle or online.
What’s the best way to store leftover Biscoff Ice Cream?
For optimal freshness, store your Biscoff Ice Cream in an airtight container or wrapped tightly in plastic wrap to prevent freezer burn. It can last up to two weeks in the freezer, but for the best flavor and texture, aim to enjoy within the first week.
Can I freeze Biscoff Ice Cream for longer periods?
Yes! If properly stored in an airtight container, your Biscoff Ice Cream can remain delicious in the freezer for up to 3 months. Just make sure it’s well-wrapped to avoid freezer burn. When ready to enjoy, let it soften a bit at room temperature before scooping.
What should I do if my ice cream is too icy or hard?
If your Biscoff Ice Cream turns out icy, it might be due to not enough fat in your mixture. Make sure the heavy whipping cream is whipped to stiff peaks, and try using full-fat ingredients. If it’s too hard to scoop after freezing, allow it to sit at room temperature for 5-10 minutes, or gently mix it with a hand mixer to reintegrate the creaminess.
Is Biscoff Ice Cream safe for pets?
Generally, Biscoff Ice Cream features ingredients that are not safe for pets, particularly the sugar and dairy content. It’s best to keep this treat out of their reach, and if you’re looking for a frozen treat for your furry friend, consider making a dog-friendly version using yogurt or pureed fruits.
Can I use non-dairy substitutes for this ice cream?
Absolutely! To make this Biscoff Ice Cream dairy-free, substitute the heavy whipping cream with coconut cream, and ensure your cookie butter is suitable for vegans. You can also try using almond or oat milk condensed milk alternatives to maintain the creamy consistency in the ice cream.
Creamy Biscoff Ice Cream You Can Make Without a Machine
Ingredients
Equipment
Method
- In a large mixing bowl, combine the sweetened condensed milk with Biscoff cookie butter until smooth.
- In a separate bowl, whip the heavy cream with vanilla extract until stiff peaks form.
- Gently fold the whipped cream into the Biscoff mixture until just combined.
- Fold in the chopped Biscoff cookies gently.
- Layer the mixture in a loaf pan, drizzling melted Biscoff cookie butter between layers.
- Top with remaining chopped Biscoff cookies.
- Cover and freeze for at least 8 hours or until solid.
Leave a Reply