
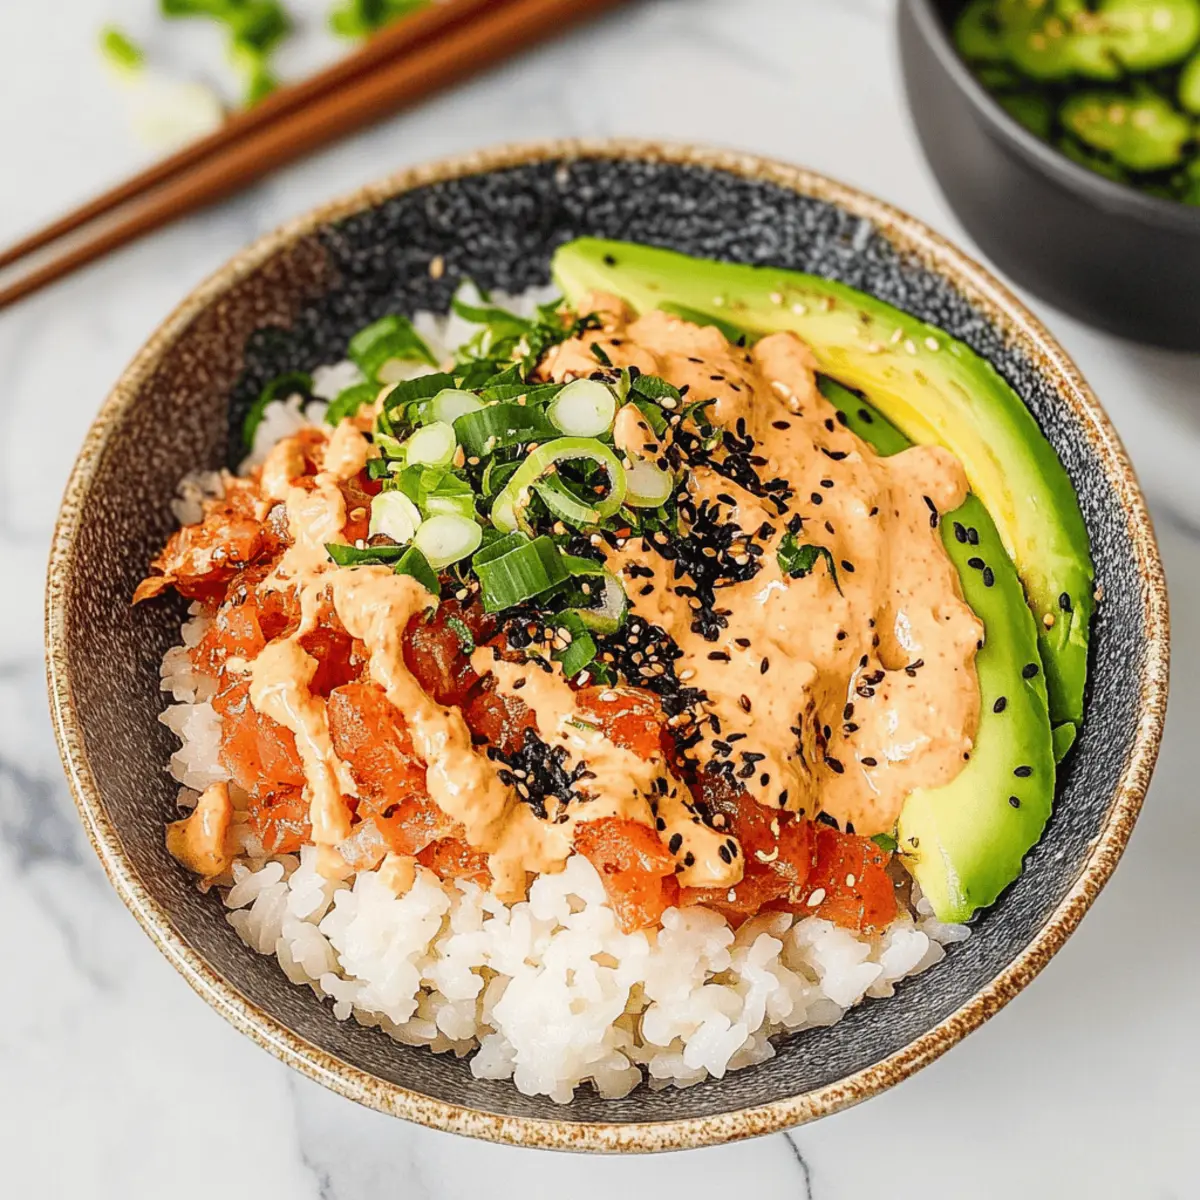
As I rummaged through my pantry one hectic evening, I stumbled upon a forgotten can of tuna, sparking an idea for dinner that felt both fun and wholesome. Enter the Canned Tuna Sushi Bowl, a delightful blend of flavors and textures, that can be ready in just 20 minutes! This dish transforms an ordinary can of tuna into an extraordinary meal, featuring crispy sushi rice, creamy avocado, and your favorite customizable toppings. It’s not just quick; it’s also protein-packed and kid-friendly, making it a fantastic option for busy weeknights when everyone needs to eat but no one wants to settle for takeout. What toppings will you choose to make this bowl your own?
Why is the Canned Tuna Sushi Bowl a Winner?
Quick and Easy: Whip this delicious dish up in just 20 minutes, perfect for those busy weeknights when time is short.
Protein-Packed: With tuna as its star ingredient, this bowl offers a healthy boost of protein that keeps you full and satisfied.
Customizable Options: Whether you prefer spicy tuna or classic avocado, you can personalize your bowl with toppings like Sriracha, scallions, or even sesame seeds for added crunch.
Kid-Friendly: The combination of crispy rice and favorite flavors makes this a hit with kids—who could resist a colorful bowl of yum?
Economical: Utilizing canned ingredients makes this both budget-friendly and practical, preventing food waste while still being delicious.
Elevate your dinner game and check out other ideas like Salmon Sushi Bake or Philly Cheesesteak Bowls for more delightful meals!
Canned Tuna Sushi Bowl Ingredients
• Get ready to create a delicious and customizable Canned Tuna Sushi Bowl with these essential ingredients!
For the Rice Base
- Cooked Sushi Rice – It’s the foundation of your bowl, seasoned with rice wine vinegar for that authentic sushi taste.
- Olive Oil – This will help pan-fry the rice to achieve that delightful crunch.
For the Tuna Mixture
- Canned Tuna – Your main protein; opt for tuna in oil for a richer flavor.
- Bang Bang Sauce – Adds a creamy, spicy kick; feel free to substitute with spicy mayo for a different twist.
For the Toppings
- Avocado – This adds healthy fats and creaminess; slice or dice to your preference!
- Scallions (Spring Onions) – A fresh garnish that brings color and flavor.
- Furikake – A Japanese seasoning that enhances umami; Nori is a great alternative if you prefer.
- Sriracha Sauce – Adds a spicy kick; choose your favorite hot sauce for a personalized touch.
Seasoning
- Salt and Black Pepper – Add to taste for that finishing touch!
Now you’re all set to prepare your vibrant Canned Tuna Sushi Bowl, ready to impress your family or enjoy as a satisfying solo meal!
Step‑by‑Step Instructions for Canned Tuna Sushi Bowl
Step 1: Prepare Sushi Rice
Start by rinsing 1 cup of sushi rice under cold water until the water runs clear. Cook the sushi rice according to package instructions, typically around 15 minutes. Once cooked, transfer it to a mixing bowl and gently fold in rice wine vinegar, a splash of sesame oil, and a sprinkle of sugar while the rice is still warm. Set aside to cool.
Step 2: Mix Toppings
While the sushi rice is cooling, grab a bowl and combine the drained canned tuna with a generous spoonful of bang bang sauce for a delightful flavor kick. Cut the avocado into slices or cubes, ensuring they’re ripe and creamy. Chop the scallions to add a fresh garnish later. Set these toppings aside for easy assembly.
Step 3: Pan-Fry Rice
In a skillet, heat 1 tablespoon of olive oil over medium-high heat. Once the oil is shimmering, add the seasoned sushi rice into the pan, pressing it down slightly with a spatula. Cook for 3–5 minutes until the bottom turns golden brown and crispy. Then, carefully flip the rice to crisp the other side, cooking for an additional minute.
Step 4: Assemble the Bowl
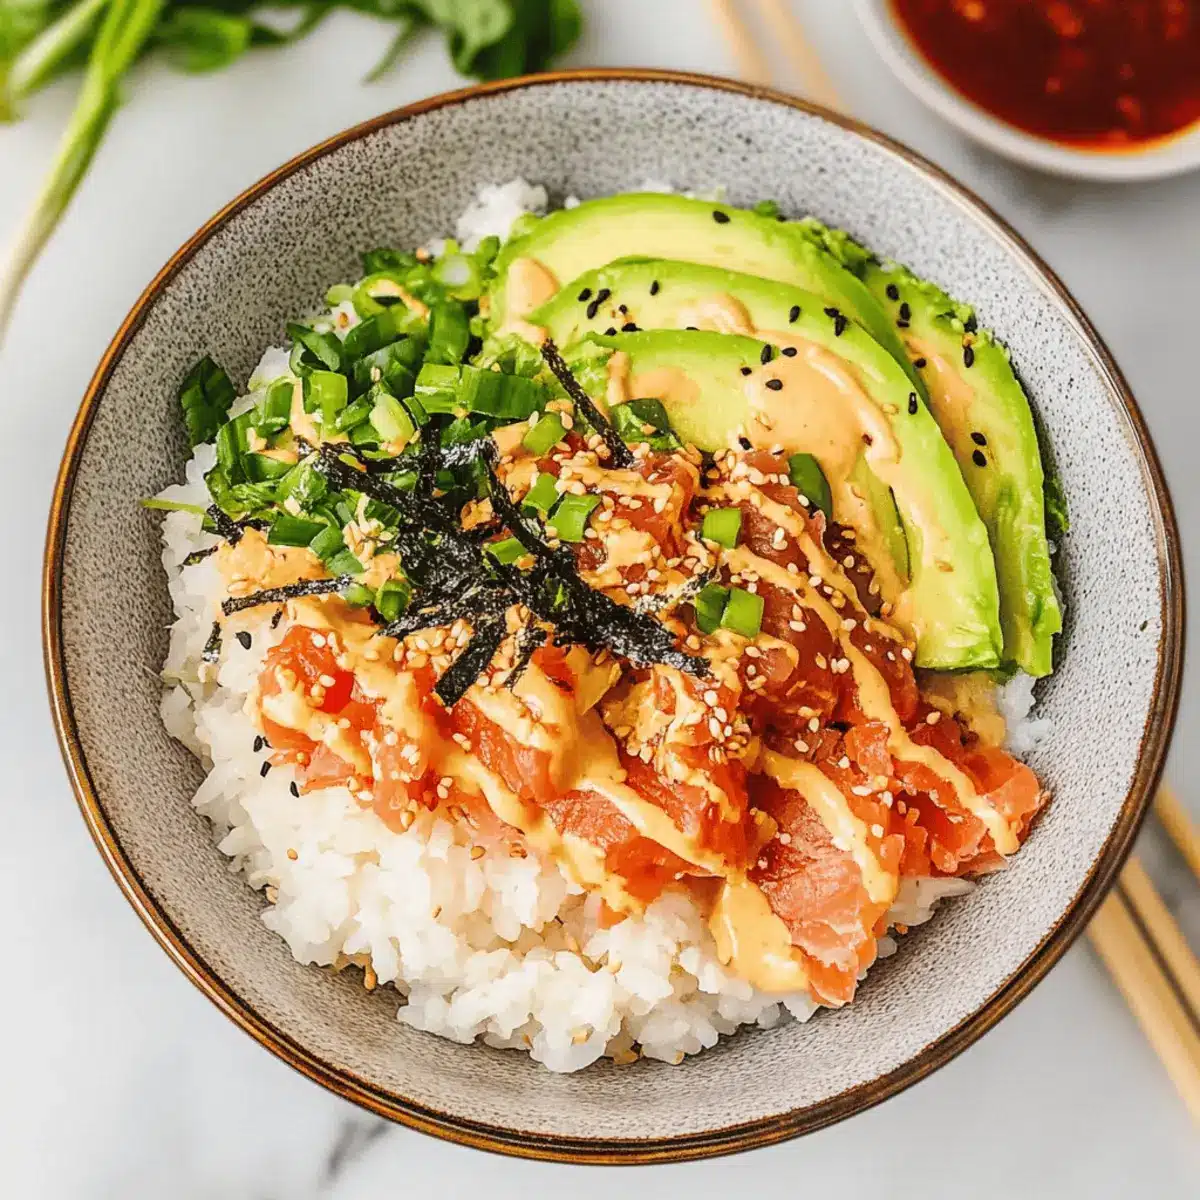
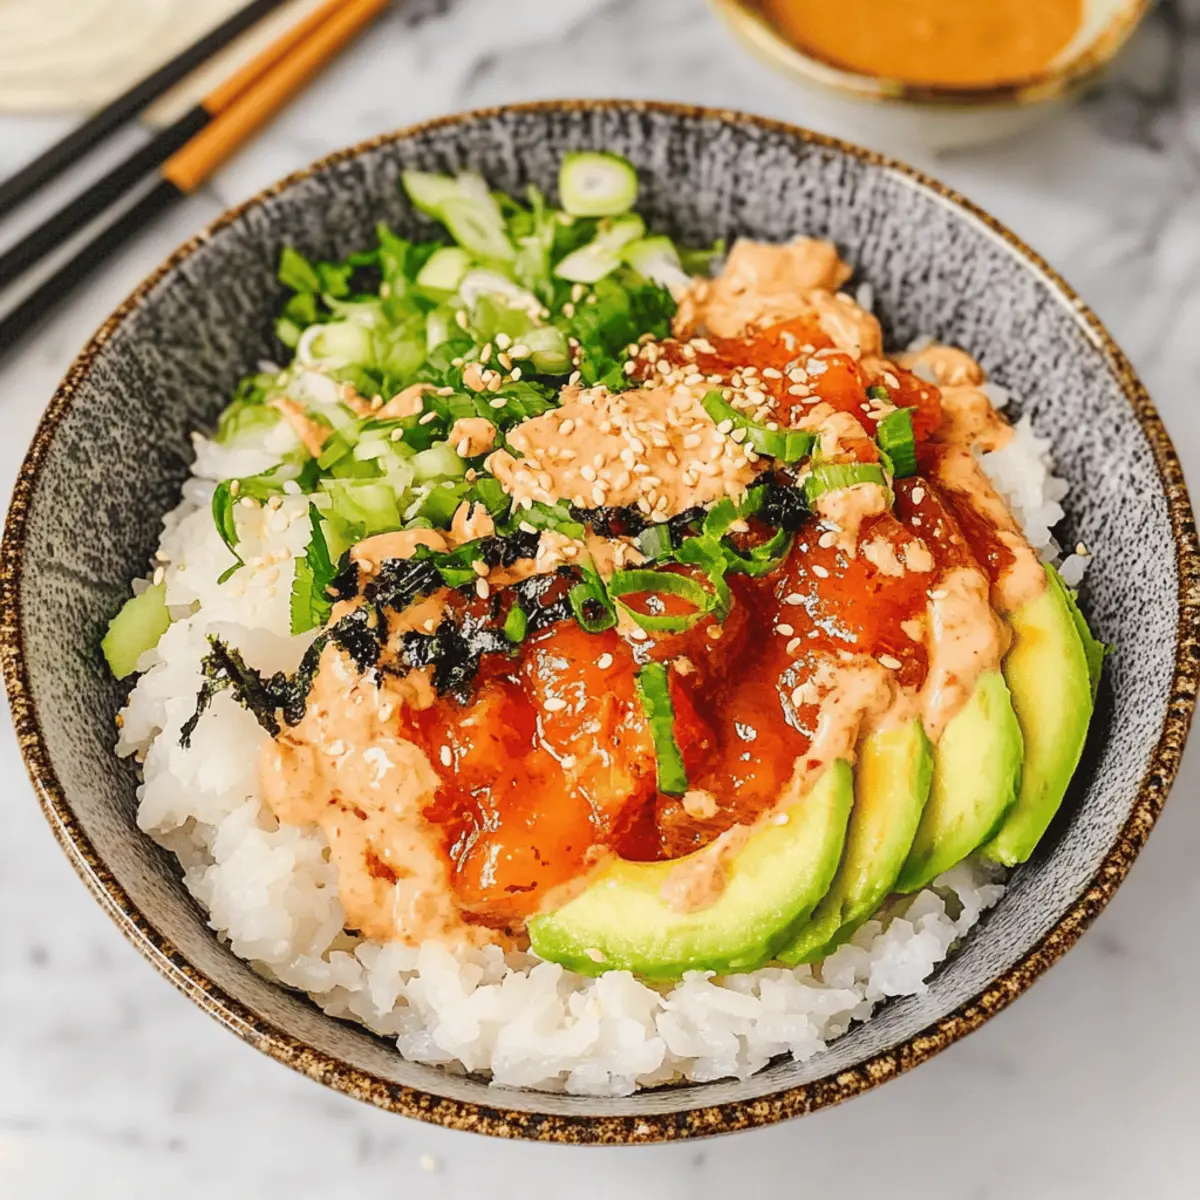
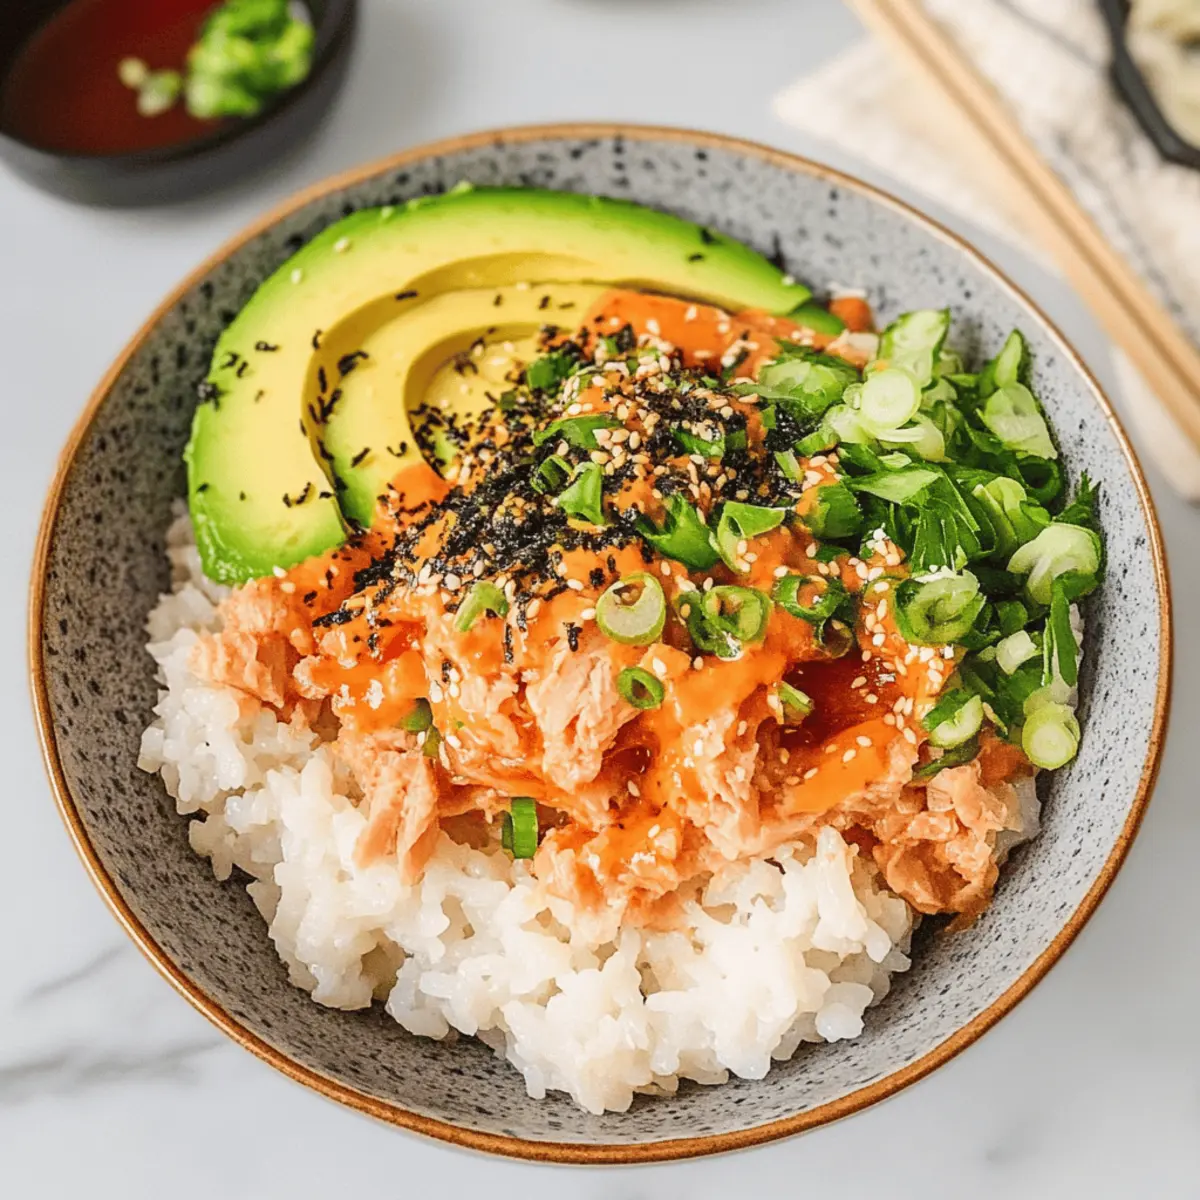
Once the rice is perfectly crispy, it’s time to create your Canned Tuna Sushi Bowl. Place a generous portion of the warm rice at the bottom of a bowl. Top it with the spicy bang bang tuna, followed by the slices of avocado and chopped scallions. For an added burst of flavor, sprinkle furikake on top and drizzle with Sriracha or spicy mayo as desired.
Canned Tuna Sushi Bowl Customization
Dive into the deliciousness of customizing your Canned Tuna Sushi Bowl—let your creativity shine with these flavorsome tweaks!
- Dairy-Free: Swap out any creamy sauces for olive oil and lemon juice for a refreshing twist that brightens the dish.
- Whole Grain: Use brown rice instead of sushi rice for added fiber and a nuttier flavor that complements the toppings beautifully.
- Vegetarian: Replace tuna with chickpeas or avocado, offering a protein-rich, plant-based alternative that’s just as delightful.
- Flavor Boost: Add a splash of sesame oil and a sprinkle of toasted sesame seeds for a nutty punch in every bite; it’s a small change that makes a big difference.
- Heat Level: If you crave heat, mix in diced jalapeños or sprinkle red pepper flakes over your assembled bowl to spice things up!
- Crunch Factor: Toss in some crispy tempura vegetables or wonton strips for an extraordinary texture contrast that adds delicious crunch to your meal.
- Herb Infusion: Fresh cilantro or mint can add a lively touch; sprinkle them on top to bring a fresh and aromatic flavor profile.
With so many options, the possibilities are endless! Want more thrilling flavor ideas? Check out the mouthwatering Salmon Sushi Bake or try these tasty Philly Cheesesteak Bowls.
Expert Tips for Canned Tuna Sushi Bowl
- Perfectly Crispy Rice: Achieve the ideal crunch by using medium-high heat when pan-frying the sushi rice. Avoid overcrowding the pan for even cooking.
- Customize Wisely: While it’s tempting to load your bowl with toppings, be mindful of balance; too many may overpower your delightful canned tuna sushi bowl.
- Fresh Ingredients Matter: Opt for ripe avocados and fresh scallions to enhance flavor and texture, making your meal even more vibrant and enjoyable.
- Mix That Sauce: Ensure your tuna is well-coated with bang bang sauce for consistent flavor throughout; it keeps every bite delicious!
- Storage Tip: Keep leftover ingredients stored separately in airtight containers for freshness, and reheat the rice before assembling to maintain that crispy texture.
- Experiment with Variations: Don’t hesitate to swap ingredients—try canned salmon or different sauces to keep your canned tuna sushi bowl exciting and fresh!
Make Ahead Options
These Canned Tuna Sushi Bowls are perfect for meal prep enthusiasts! You can prepare the sushi rice and toppings up to 24 hours in advance. Cook the sushi rice as per the instructions and store it in an airtight container in the fridge to maintain moisture. Additionally, you can mix the canned tuna with bang bang sauce and chop the avocado and scallions the night before. Just remember to slice the avocado right before serving to prevent browning. When you’re ready to enjoy, pan-fry the refrigerated rice for that delightful crunch, then simply assemble your bowl. This way, you’ll have a quick, nutritious meal ready in no time!
How to Store and Freeze Canned Tuna Sushi Bowl
Fridge: Store leftover ingredients separately in airtight containers for up to 2 days. Reheat the rice before assembly to keep its crispy texture.
Freezer: It’s best to avoid freezing the assembled bowl. Instead, freeze individual components like cooked sushi rice in a freezer-safe bag for up to 1 month.
Reheating: To reheat, warm the rice in a microwave or skillet with a splash of water until heated through. Assemble your bowl fresh with toppings after reheating.
Leftovers: The canned tuna mixture can be refrigerated for up to 2 days. Just give it a good stir before using it, ensuring your Canned Tuna Sushi Bowl stays delicious!
What to Serve with Canned Tuna Sushi Bowl?
As you savor the vibrant flavors of your Canned Tuna Sushi Bowl, consider these delightful pairings to create a memorable meal experience.
-
Miso Soup: This warm, umami-rich soup complements the sushi bowl beautifully, enhancing the Japanese theme.
-
Crispy Edamame: Lightly salted and served hot, these bright green beans add a satisfying crunch and protein boost to your meal.
-
Seaweed Salad: A refreshing, tangy seaweed salad offers a contrast in textures and flavors, providing a delightful way to elevate each bite.
-
Pickled Ginger: A zesty palate cleanser, pickled ginger adds a pop of acidity that balances the richness of the tuna and avocado.
-
Cucumber Salad: Crisp and cooling, a simple cucumber salad with rice vinegar dressing brightens the dish while offering a fresh crunch.
-
Sake Spritzer: For a refreshing drink, a sake spritzer made with sparkling water and a splash of fruit juice complements the meal perfectly.
-
Dessert Sushi Rolls: For a sweet twist, consider preparing dessert sushi with fruit and cream cheese as a fun way to cap off the meal.
Each of these pairings contributes a unique texture or flavor, enhancing the experience of your Canned Tuna Sushi Bowl while leaving your family and friends smiling at the dinner table!
Canned Tuna Sushi Bowl Recipe FAQs
How do I choose the best canned tuna for this dish?
Absolutely! Opt for canned tuna packed in oil as it provides a richer flavor and better texture for your Canned Tuna Sushi Bowl. Look for brands that use sustainably sourced tuna to make a more environmentally friendly choice that’s both delicious and guilt-free.
How should I store leftovers from the Canned Tuna Sushi Bowl?
To keep your leftovers fresh, store each component separately in airtight containers. The sushi rice can be refrigerated for up to 2 days. When ready to enjoy again, simply reheat the rice in the microwave or a skillet until warm, then assemble your bowl with fresh toppings!
Can I freeze any part of the Canned Tuna Sushi Bowl?
Certainly! You can freeze the cooked sushi rice in a freezer-safe bag for up to 1 month. When ready to use, let the rice thaw overnight in the fridge, and then reheat it before assembling your bowl. However, it’s best to avoid freezing the assembled bowl or toppings, as they may not maintain their texture.
What can I do if the sushi rice isn’t crispy enough?
If your sushi rice isn’t quite as crispy as you’d like, try increasing the heat a little when pan-frying and ensure you’re not overcrowding the pan. Press it down firmly with a spatula to ensure even contact with the hot surface. If the rice still feels soft, you can simply cook it for a few extra minutes until it reaches your desired crispiness.
Is this recipe suitable for anyone with seafood allergies?
No worries! For those with seafood allergies, you can easily substitute canned tuna with other protein options. Shredded cooked chicken or tofu works great, and you can still season them with the bang bang sauce to maintain that delicious flavor profile. Just be sure to check all ingredient labels for any potential allergens.
How can I customize my Canned Tuna Sushi Bowl for kids?
Very! Kids often love colorful and fun presentations. You can let them choose their favorite toppings, like diced cucumbers, sweet corn, or even a sprinkle of cheese. This interactive element not only makes it appealing to children but also helps them develop their culinary preferences. You could even try making a mini version of the bowl for little appetites!
Canned Tuna Sushi Bowl: Quick, Customizable Dinner Delight
Ingredients
Equipment
Method
- Rinse sushi rice under cold water until clear, then cook according to package instructions (approx. 15 minutes). Fold in rice wine vinegar, sesame oil, and sugar while warm. Set aside to cool.
- Combine drained canned tuna with bang bang sauce. Cut avocado and chop scallions; set aside.
- Heat olive oil in a skillet over medium-high heat. Add sushi rice, press down slightly, cook until crispy on bottom (3-5 minutes), flip to crisp the other side (1 minute).
- Assemble the bowl with rice, top with tuna mix, avocado slices, and scallions. Add furikake and drizzle with Sriracha or spicy mayo.
Leave a Reply