
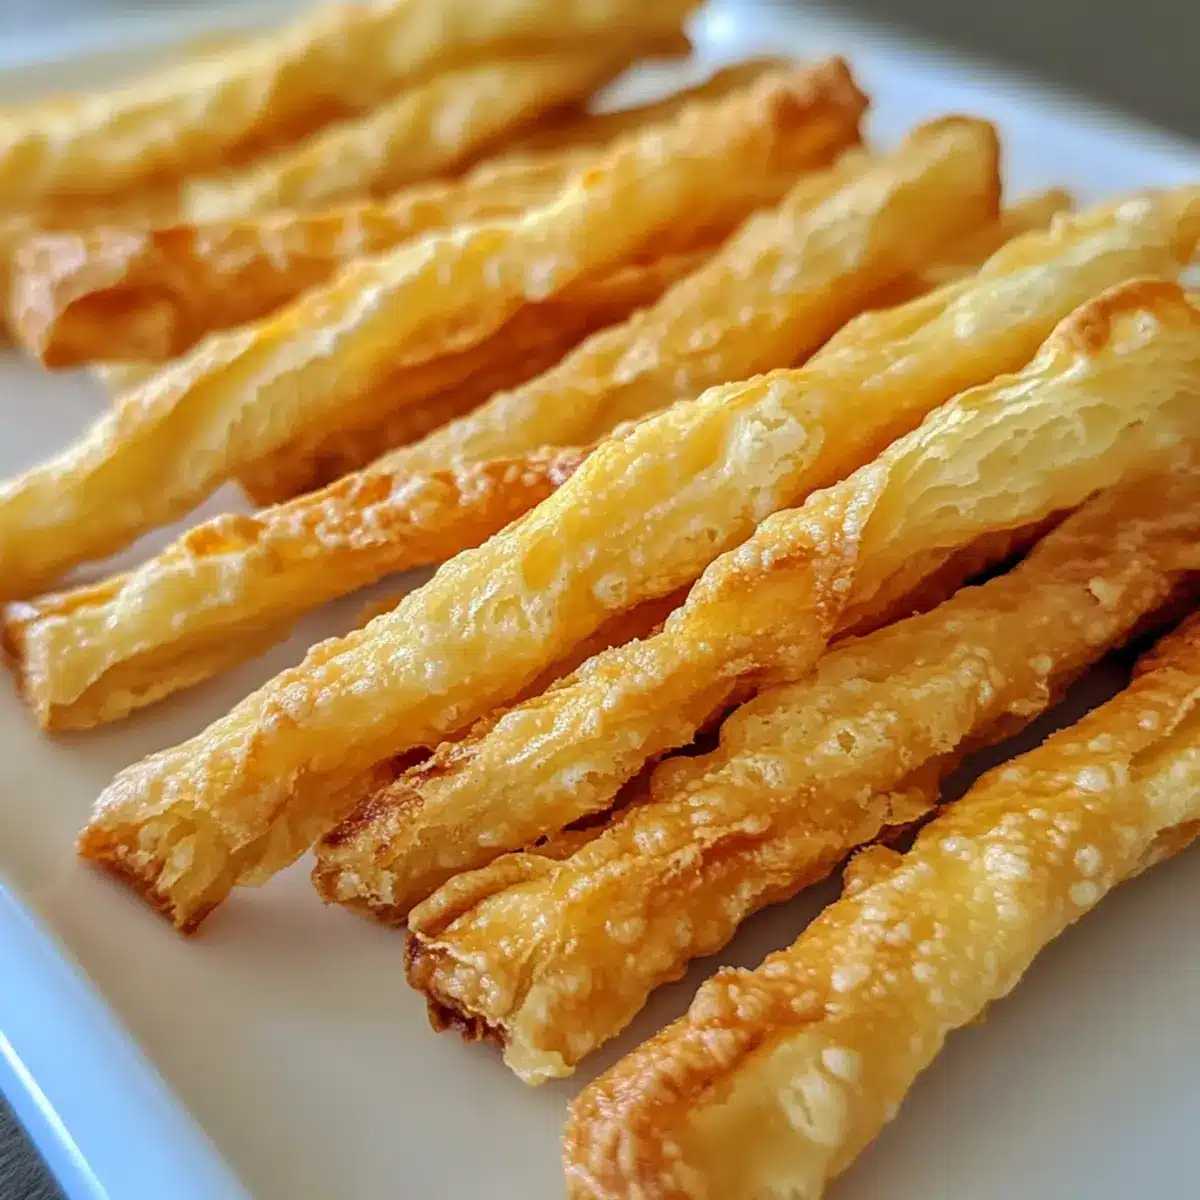
As I stood in my kitchen, the aroma of melting cheese blended with fresh herbs wrapped around me like a warm hug. There’s something undeniably special about making Cheddar & Herb Cheese Straws—a snack that’s both remarkably quick and easy to whip up, yet impressive enough to serve at any gathering. These crispy delights offer the perfect crunch, making them an irresistible party starter that pairs beautifully with your favorite wine or a comforting bowl of tomato soup. Plus, they’re a fantastic way to elevate your snacking game without spending hours in the kitchen. So, are you ready to impress your guests and indulge in something deliciously homemade? Let’s dive into the world of crunchy goodness!
Why are Cheese Straws a Must-Try?
Irresistible Flavor: The combination of extra-sharp cheddar and fresh herbs creates a flavor explosion that will have you reaching for more.
Quick & Easy: This recipe is perfect for busy days; it comes together in no time, so you can impress your guests without the stress of elaborate cooking.
Perfect Party Starter: Whether it’s a cozy gathering or a fun get-together, these cheese straws are a hit—served alongside wine or as a snack with your favorite dip.
Customizable: Feel free to mix and match cheese or spices to suit your taste, making them versatile for any occasion.
Plus, if you love cheese as much as I do, consider trying my Chocolate Cheesecake Decadent for a delightful dessert after these crispy treats!
Great Make-Ahead Option: Prepare them in advance to simplify your hosting duties; they store beautifully for days, so there’s no need to fuss last minute!
Cheddar & Herb Cheese Straw Ingredients
• Perfect for your next gathering!
For the Dough
• Grated Extra-Sharp Cheddar Cheese – Provides rich flavor and a cheesy texture; swap with Gruyère for a nuttier taste.
• All-Purpose Flour – Gives structure to the straws; consider gluten-free flour for a gluten-free option.
• Kosher Salt – Enhances flavor; adjust based on your preference for saltiness.
• Crushed Red Pepper Flakes – Adds a subtle heat; omit for a milder version or use cayenne for a spicier kick.
• Fresh Herbs (e.g., rosemary/thyme) – Contributes aromatic flavor; if fresh isn’t available, use half the amount of dried herbs.
• Cold Unsalted Butter – Adds richness and flakiness; can be replaced with dairy-free butter for a vegan version.
• Heavy Cream – Moistens the dough and helps it clump together; full-fat milk is a lighter alternative.
Enjoy making these Cheddar & Herb Cheese Straws that are sure to become a beloved snack!
Step‑by‑Step Instructions for Cheddar & Herb Cheese Straws
Step 1: Preheat & Prepare
Begin by preheating your oven to 400°F (205°C). While it warms, line two baking sheets with parchment paper to prevent sticking and ensure easy cleanup. This preparation step is crucial for perfect Cheddar & Herb Cheese Straws, allowing you to bake them evenly and achieve that delightful golden hue.
Step 2: Blend the Dry Ingredients
In a food processor, combine 1 cup of grated extra-sharp cheddar cheese, 1 cup of all-purpose flour, 1/2 teaspoon of kosher salt, 1/2 teaspoon of crushed red pepper flakes, and 2 tablespoons of your choice of fresh herbs. Pulse the mixture until it resembles coarse meal, which should take about 10 seconds. This blend of flavors is key to making your cheese straws irresistibly delicious.
Step 3: Add Butter and Cream
Next, add 1/2 cup of cold unsalted butter, cut into small cubes, to the flour mixture in the food processor. Pulse until the mixture becomes crumbly, about 15 seconds. Then, pour in 1/4 cup of heavy cream and pulse again until the dough starts to come together, approximately 10 more seconds. This will create a rich and flaky texture, perfect for your Cheddar & Herb Cheese Straws.
Step 4: Shape the Dough
Transfer the dough onto a floured surface, lightly kneading it for just a few seconds to bring it together. Shape the mixture into a rectangle about 1 inch high. Cut the rectangle in half with a sharp knife or pastry scraper. This step allows you to manage the dough better when rolling it out into the perfect shape for your cheese straws.
Step 5: Roll Out the Dough
Take one half of the dough and roll it out with a rolling pin into an 8×10-inch rectangle, approximately 1/8 inch thick. Use flour as needed to prevent sticking. Repeat this process for the second half of the dough. Achieving this thinness is essential for creating the crispy texture of the Cheddar & Herb Cheese Straws that you and your guests will love.
Step 6: Cut the Strips
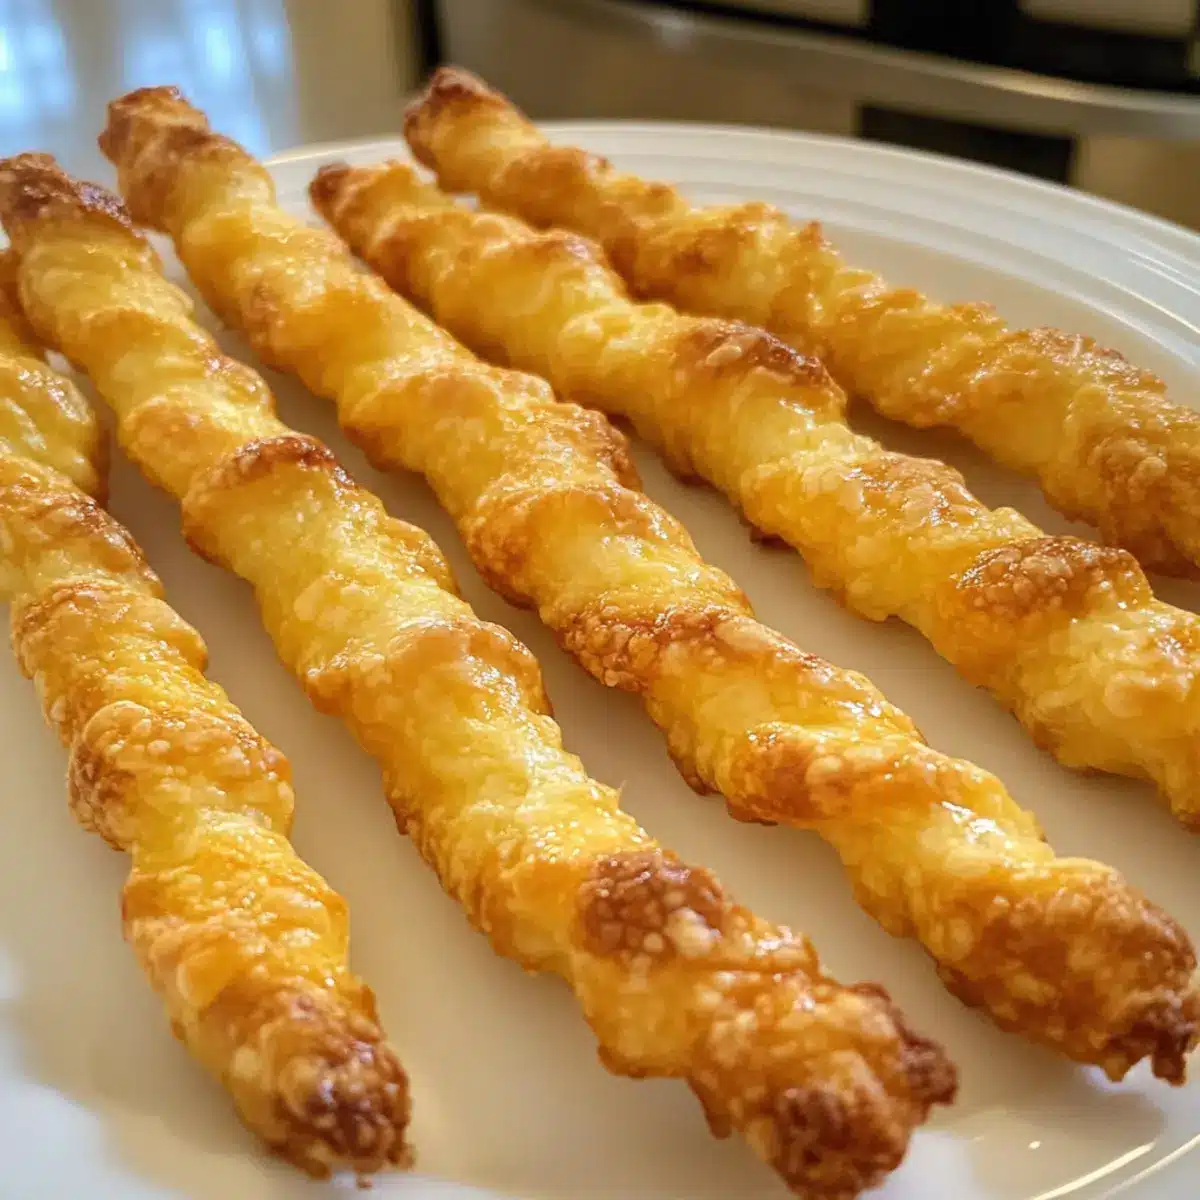
Using a sharp knife or pizza cutter, cut the rolled-out dough into strips about ¼ inch wide. Make sure to cut straight lines for even baking. Repeat this until all of the dough is cut into strips. This is an enjoyable part of the process as you see your Cheddar & Herb Cheese Straws taking shape!
Step 7: Arrange on Baking Sheets
Carefully transfer the cut strips to the prepared baking sheets, leaving a little space between each one to allow for expansion while baking. This step is crucial to ensure that the cheese straws don’t touch and have room to crisp up nicely in the oven.
Step 8: Bake to Perfection
Place the baking sheets in the preheated oven and bake for 10-12 minutes. Make sure to rotate the pans halfway through for even browning. The cheese straws are done when they are golden brown and crisp. Keep an eye on them toward the end; you’ll want them to look beautifully baked without burning.
Step 9: Cool & Serve
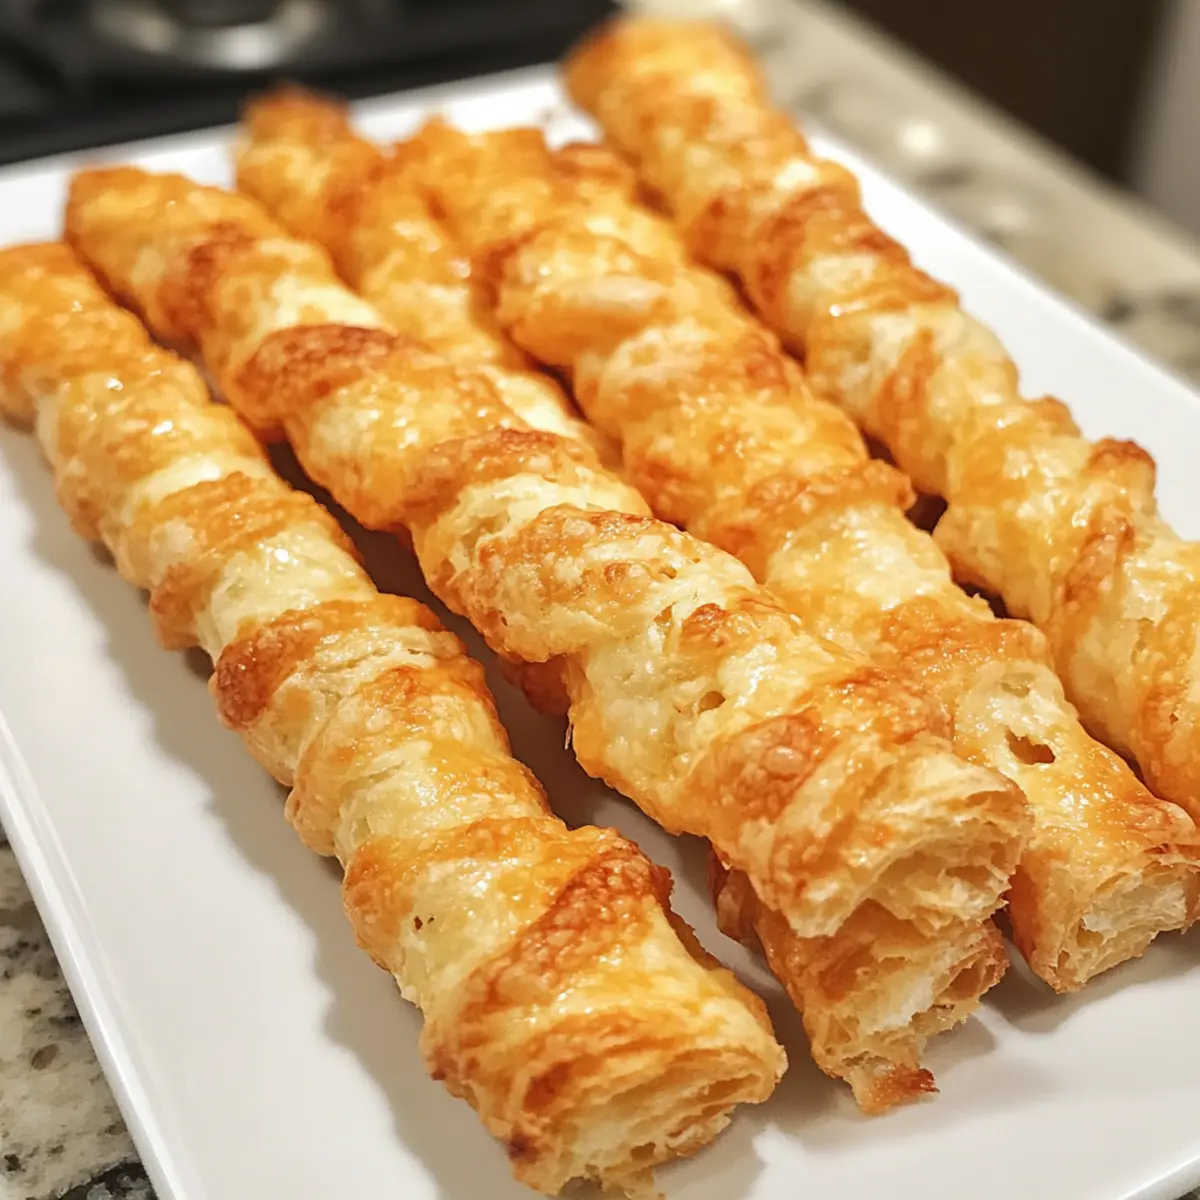
Once baked, remove the sheets from the oven and let the cheese straws cool on a wire rack for a few minutes. This cooling step helps them firm up further, giving that delightful crunch. Serve your Cheddar & Herb Cheese Straws warm or at room temperature; they will surely be a hit at any gathering!

Expert Tips for Cheddar & Herb Cheese Straws
-
Avoid Overworking the Dough: Gently mix your dough; over-kneading will lead to tough straws. Flakiness is key, so handle it with care!
-
Evenly Cut Strips: Make sure your strips are uniform in size to achieve an even bake. Uneven pieces can lead to some being burnt while others are undercooked.
-
Bake in Batches: If your baking sheets are crowded, consider baking them in batches. This ensures proper crispiness for all your Cheddar & Herb Cheese Straws.
-
Test for Crispiness: If they don’t seem crisp after baking, place them on a wire rack and return to the oven for a few more minutes. They’ll regain that perfect crunch!
-
Custom Flavor Enhancements: Feel free to add spices or herbs to personalize your cheddar straws—like garlic powder or smoked paprika for a unique twist!
-
Storage Tips: Store leftover cheese straws in an airtight container at room temperature for up to several days or freeze for longer freshness.
Cheddar & Herb Cheese Straws Variations
Feel free to let your creativity shine and customize these delightful cheese straws to suit your taste and occasion!
-
Gluten-Free: Substitute all-purpose flour with gluten-free flour blend to make this recipe suitable for those with gluten sensitivity. Enjoy the same crispy texture without the gluten!
-
Spicy Kick: Add cayenne pepper or chipotle powder to the dough for an extra spice boost, awakening the palate with a zesty flavor surprise. A little heat can enhance the overall experience!
-
Cheese Swap: Experiment with different cheeses like mozzarella, gouda, or spicy pepper jack for unique flavor profiles. Each cheese brings a different essence, making every batch a delightful adventure!
-
Herb Mix: Use dried herbs if fresh aren’t an option, but halve the quantity. Consider an herb mix like Italian seasoning for a rich aroma that transports you to a Mediterranean kitchen!
-
Savory Twist: Incorporate finely chopped sun-dried tomatoes or olives into the dough for added texture and flavor. The little bursts of savory goodness offer a delightful surprise with every bite!
-
Sweet & Spicy: Drizzle a bit of honey or maple syrup over the cooled straws for a sweet contrast against the cheese—perfectly paired with savory cheese flavors. This twist will leave guests intrigued and delighted!
-
Cheese & Charcuterie: Consider serving these straws alongside a cheese and charcuterie board for a fantastic appetizer spread, especially when paired with your favorite chocolate cheesecake dessert to end on a sweet note!
-
Double the Herbs: Try adding a blend of fresh herbs, like basil and parsley, for an aromatic and flavorful punch. More herbs mean more allure in every cheesy bite!
Get ready to explore these variations and share the joy of Cheddar & Herb Cheese Straws at your next gathering!
Make Ahead Options
These Cheddar & Herb Cheese Straws are perfect for meal prep enthusiasts! You can prepare the dough up to 24 hours in advance; simply wrap it tightly in plastic wrap and refrigerate it. If you’re looking to prep even further ahead, you can freeze the shaped cheese straw strips for up to 3 months in an airtight container. To maintain their quality, ensure they are well-wrapped to prevent freezer burn. When you’re ready to bake, just place the frozen strips directly on the baking sheets without thawing and bake as instructed, adding an extra minute or two if needed. This way, you’ll have delicious, homemade snacks at your fingertips with minimal effort!
Storage Tips for Cheddar & Herb Cheese Straws
Room Temperature: Store leftover cheese straws in an airtight container at room temperature for up to 3 days to maintain their crispy texture.
Fridge: If you want to extend freshness, you can refrigerate them in a sealed container for up to a week, but expect a slight loss in crispiness.
Freezer: For longer storage, freeze the cheese straws in a single layer on a baking sheet, then transfer to an airtight container or freezer bag for up to 3 months.
Reheating: To re-crisp, bake from frozen at 350°F (175°C) for around 5-7 minutes, until heated through and crispy again—perfect for enjoying your Cheddar & Herb Cheese Straws!
What to Serve with Cheddar & Herb Cheese Straws
Delight your guests with an unforgettable meal experience that perfectly complements these crunchy, cheesy snacks.
-
Tomato Soup: A comforting classic; its creamy texture pairs beautifully with the crispy straws, enhancing both flavors in every bite. The warmth of the soup invites you to dunk those cheesy snacks for a cozy treat.
-
Fresh Arugula Salad: This peppery salad adds a refreshing crunch that balances the rich, cheesy straws. Tossed with a lemon vinaigrette, it brings brightness to the palate.
-
Wine Pairing: A crisp white wine, like Sauvignon Blanc, cuts through the richness of the cheese, providing a perfect sipping companion. Cheers to a delightful flavor duo!
-
Roasted Red Pepper Hummus: The creamy, slightly smoky hummus is ideal for dipping your cheese straws, adding a new layer of deliciousness while keeping things simple and elegant.
-
Chilled Sparkling Water: Refreshing and lightly bubbly, this drink cleanses the palate between bites, keeping your taste buds ready for more of those addictive cheese straws.
-
Stuffed Mushrooms: These savory bites filled with cheese and herbs echo the flavors of your cheese straws, creating a harmonious plate. They add an inviting touch to your appetizer spread.
-
Stuffed Olives: Pimento or garlic-stuffed olives offer a briny contrast that enhances the cheesy goodness of your snacks, making for an elegantly savory combination.
-
Mini Quiches: These bite-sized treats can be made with complementary ingredients, adding variety to your appetizer table and delightfully contrasting the crunchy texture of cheese straws.
Cheddar & Herb Cheese Straws Recipe FAQs
What is the best way to choose ripe cheddar cheese?
Absolutely! When selecting cheddar cheese for your cheese straws, opt for extra-sharp varieties that offer a rich flavor. Look for cheese that is moist and creamy, avoiding any that feels overly dry or has dark spots, which may indicate spoilage.
How long do leftover cheese straws last?
Homemade cheese straws can be stored in an airtight container at room temperature for up to 3 days. If you want them to last longer, you can refrigerate them for about a week, but expect them to lose some crispiness.
Can I freeze cheese straws for longer storage?
Yes, you can freeze your cheddar & herb cheese straws! To do this, place them in a single layer on a baking sheet and freeze until firm. Then, transfer them to an airtight container or freezer bag for up to 3 months. When you’re ready to enjoy them, simply reheat from frozen at 350°F (175°C) for about 5-7 minutes to restore their crispy texture.
What should I do if my cheese straws are not crispy?
Very! If your cheese straws turn out less crispy than desired, don’t despair. Place them on a wire rack and pop them back in a preheated oven at 400°F (204°C) for a few minutes. This will help them firm up and regain that delightful crunch. Make sure to keep a close eye on them to prevent burning!
Are cheese straws safe for pets?
While cheese can be okay for pets in moderation, it’s important to avoid feeding them cheese straws. They contain ingredients like salt and spices that may not be safe for pets. Always consult with your veterinarian about suitable snacks for your furry friends.
Can I adjust the spice level in my cheese straws?
Absolutely! If you prefer a milder taste, you can simply omit the crushed red pepper flakes. If you like it spicier, feel free to replace them with cayenne pepper or add more spices like garlic powder. The more the merrier—make your cheese straws tailored to your perfect palate!
Irresistible Cheddar & Herb Cheese Straws You’ll Love to Munch
Ingredients
Equipment
Method
- Preheat your oven to 400°F (205°C). Line two baking sheets with parchment paper.
- In a food processor, combine the cheese, flour, salt, red pepper flakes, and herbs. Pulse until it resembles coarse meal.
- Add the butter and pulse until crumbly. Then, pour in the heavy cream and pulse until the dough starts to come together.
- Transfer the dough onto a floured surface and knead gently. Shape into a rectangle about 1 inch high, then cut in half.
- Roll each half into an 8x10-inch rectangle, about 1/8 inch thick, using flour as needed.
- Cut the rolled-out dough into strips about ¼ inch wide.
- Transfer the strips to the prepared baking sheets, leaving space between them.
- Bake for 10-12 minutes, rotating the pans halfway through.
- Once baked, cool on a wire rack for a few minutes before serving.
Leave a Reply