
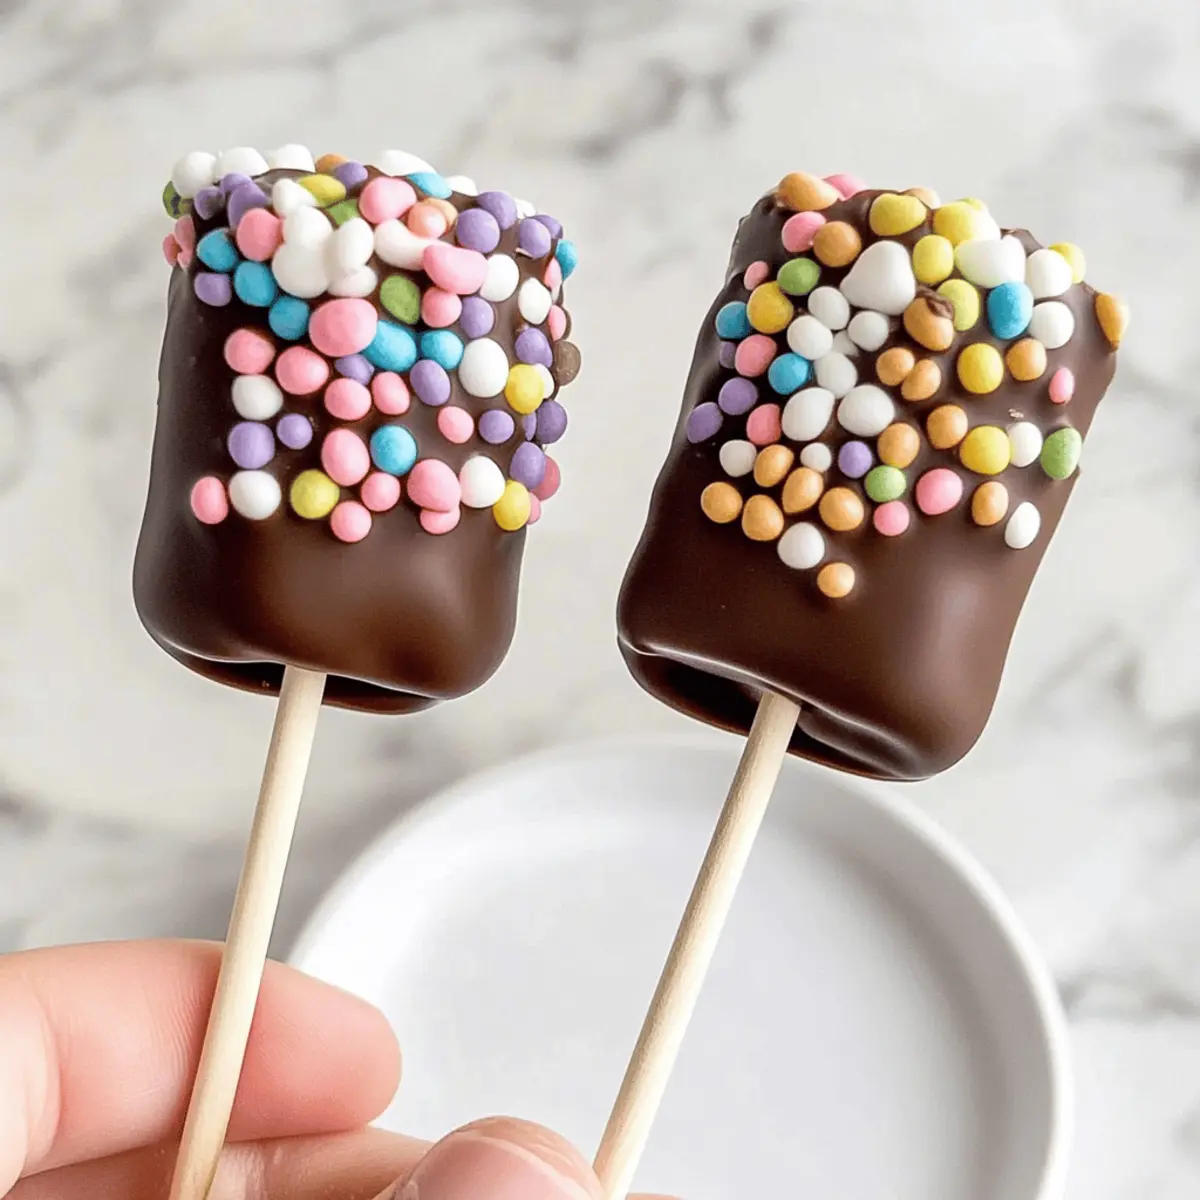
As I stood in my kitchen, surrounded by a whirlwind of colorful sprinkles and melting chocolate, I couldn’t help but smile at the magic about to unfold. With just a few simple ingredients, I’m ready to create Customizable Chocolate-Covered Marshmallow Pops that will charm kids and adults alike. This no-bake recipe not only invites creativity but also serves as a delightful bonding activity for family and friends. Imagine each pop showcasing your unique flair, whether it’s a sprinkle of nuts or a drizzle of vibrant chocolate. Plus, these treats are easy to whip up on a busy day, making them the perfect solution to beat back any fast-food cravings. Ready to unleash your inner chocolatier? Let’s dive into this fun and delicious adventure together!
Why Are These Pops So Irresistible?
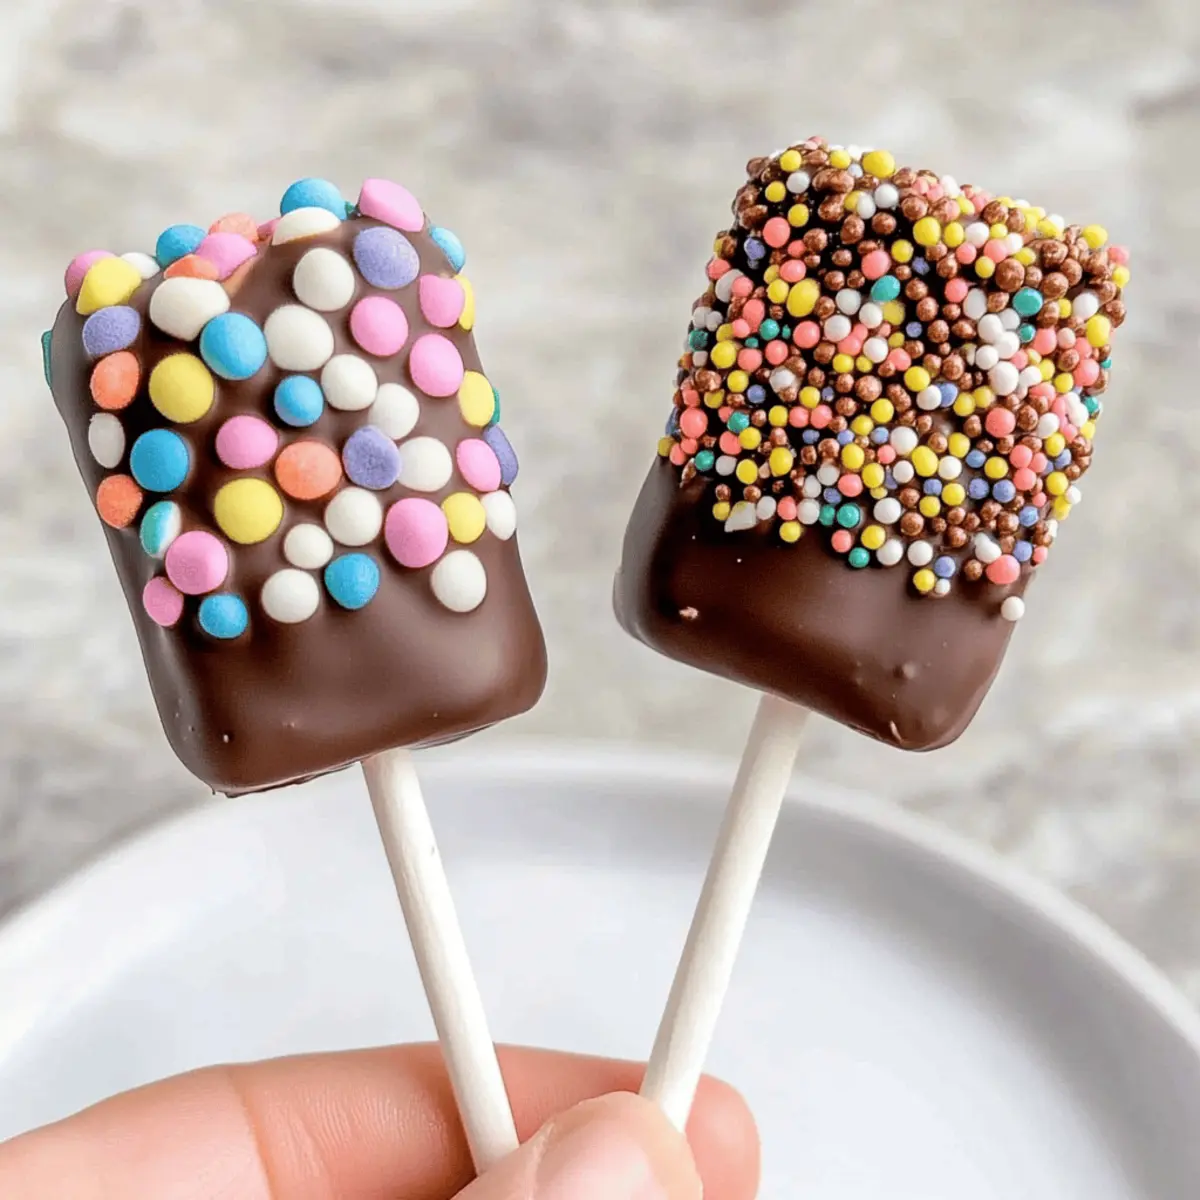
Versatile Customization: No two pops need to be the same! Choose from an array of toppings and chocolate types to match any occasion.
Kid-Friendly Fun: This hands-on activity is perfect for getting kids involved in the kitchen, making sweet memories along the way.
No-Bake Delight: Forget the oven; this recipe comes together quickly and easily without any baking required.
Crowd-Pleasing Treat: Whether it’s a birthday party or an afternoon snack, these pops always steal the show.
Quick Assembly: With minimal prep time, you can satisfy those fast-food cravings without missing a beat. Dive into the world of customizable dessert options with these Chocolate-Covered Marshmallow Pops that truly shine!
Chocolate-Covered Marshmallow Pops Ingredients
For the Pops
• Large Marshmallows – The fluffy base of each pop adds sweetness and delight. Feel free to use mini marshmallows for bite-sized versions!
For the Coating
• Chocolate Melting Wafers – This smooth chocolate provides an irresistible coating that sets beautifully. Brands like Ghirardelli or Wilton guarantee consistent melting results.
• Coconut Oil (Optional) – This ingredient helps achieve a silky chocolate finish. It can be swapped with cocoa butter or omitted completely if desired.
For the Toppings
• Assorted Toppings – Elevate your pops with sprinkles, crushed nuts, mini chocolate chips, or shredded coconut. Get creative and customize according to your taste or party theme!
Now that you have the essentials, let the fun begin as you create your very own Chocolate-Covered Marshmallow Pops!
Step‑by‑Step Instructions for Chocolate-Covered Marshmallow Pops
Step 1: Prep the Marshmallows
Start by inserting two large marshmallows onto each lollipop stick. Make sure there’s a small gap between them, roughly half an inch, to ensure easy dipping. This assembly will form the base of your Chocolate-Covered Marshmallow Pops. Once prepped, set the marshmallow sticks aside and prepare to melt the chocolate.
Step 2: Melt the Chocolate
In a microwave-safe bowl, place your chocolate melting wafers. Heat them in the microwave at medium power for 20-30 seconds, stirring well in between, until the chocolate is completely smooth and glossy. If you choose, mix in a tablespoon of coconut oil during the melting process for a richer, silkier chocolate finish that’s perfect for coating.
Step 3: Set Up Your Dipping Station
While the chocolate melts, prepare a dipping station. Arrange your assorted toppings—like crushed nuts, colorful sprinkles, or mini chocolate chips—into shallow bowls for easy access. Additionally, line a baking sheet with parchment paper to catch the decorated Chocolate-Covered Marshmallow Pops once you’ve dipped them, preventing any sticky mess.
Step 4: Dip the Marshmallows
Once the chocolate is melted, take each marshmallow stick and dip it into the warm chocolate. Allow the marshmallow to be coated evenly, turning it gently to cover all sides. Let any excess chocolate drip off back into the bowl. This step ensures a nice, thick coating on your pops that will create a satisfyingly crunchy shell once set.
Step 5: Apply the Toppings
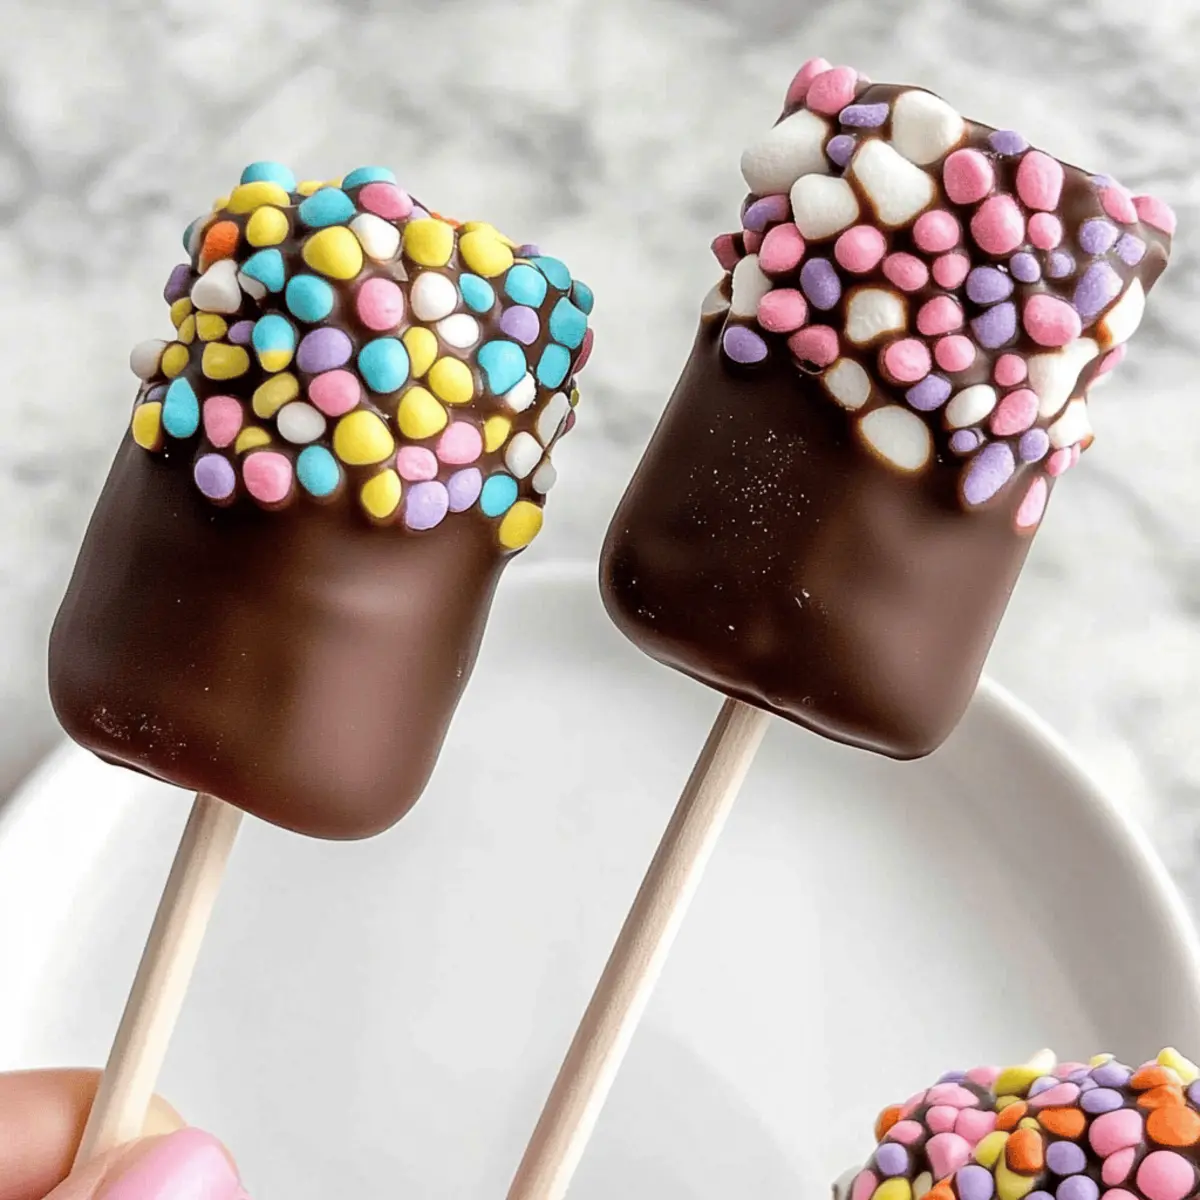
Immediately after dipping, roll or sprinkle your melted chocolate-covered marshmallows in your choice of toppings. The key is to do this while the chocolate is still wet to ensure that the toppings adhere properly. Get creative with your choices and decorate as you please—this is where your personal touch comes into play in making unique Chocolate-Covered Marshmallow Pops.
Step 6: Set the Pops
Carefully place each decorated pop on the lined baking sheet. Allow the chocolate coating to set at room temperature for about 10-15 minutes, or you can speed things up by placing the tray in the refrigerator for a faster set. This process will harden the chocolate, creating a delightful snap when you take a bite.
Step 7: Serve and Enjoy
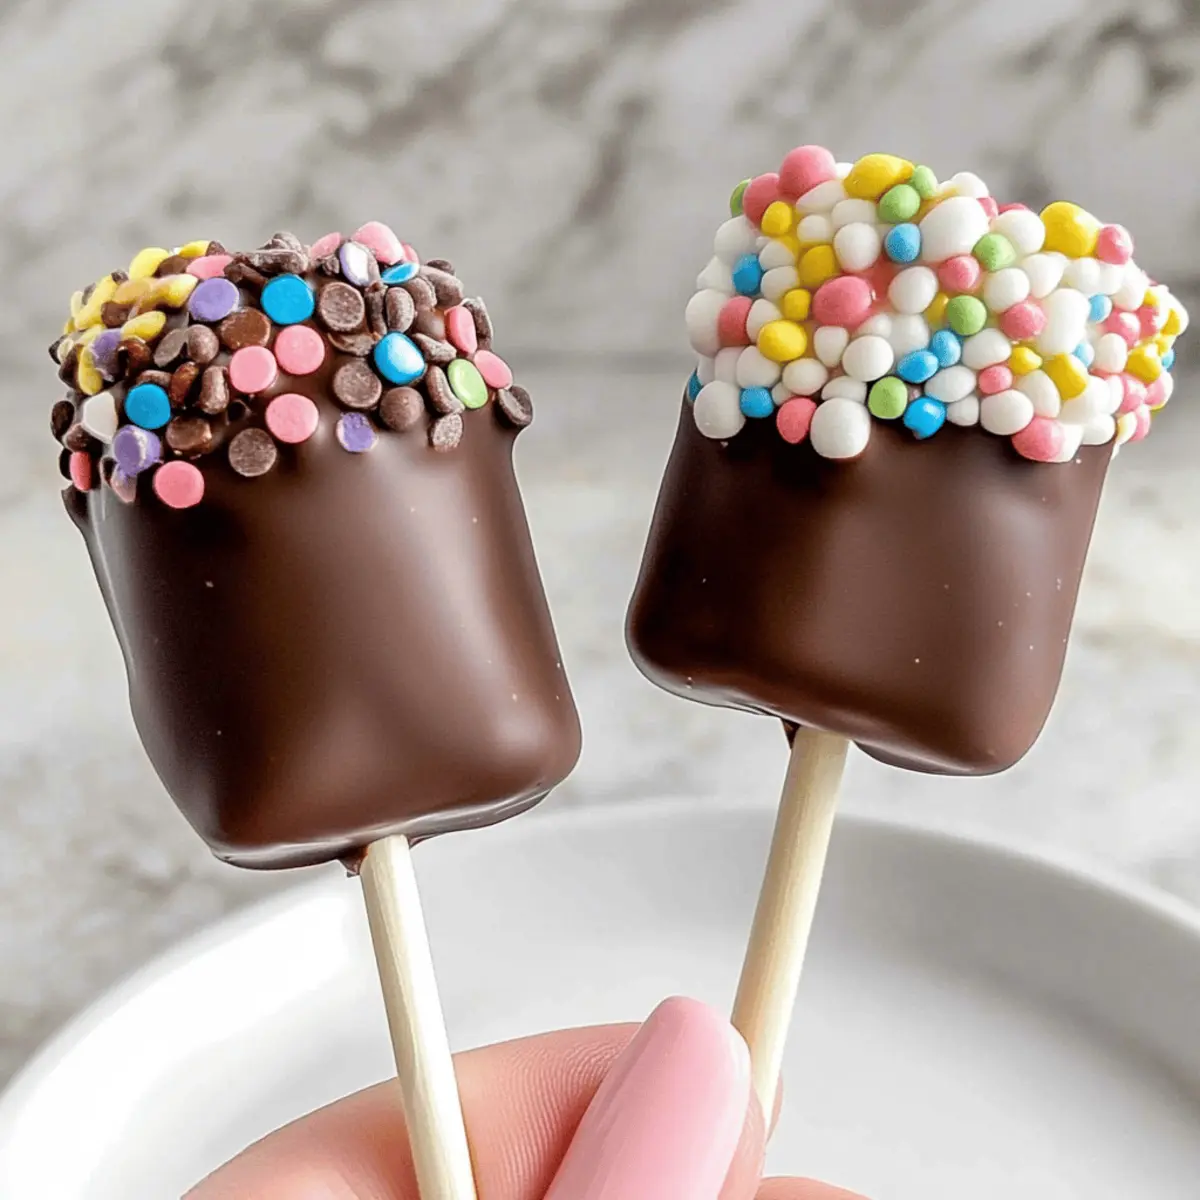
Once the chocolate has fully hardened, your Chocolate-Covered Marshmallow Pops are ready to be enjoyed! Arrange them on a serving platter, and they’re perfect for any occasion. These irresistibly fun treats are not only visually appealing but also a delightful addition to your dessert repertoire.
What to Serve with Chocolate-Covered Marshmallow Pops
Elevate your dessert table by pairing these delightful pops with some complementary flavors and textures that leave a memorable impression.
-
Creamy Vanilla Ice Cream: A scoop of luscious vanilla ice cream adds a cool, creamy contrast to the sweet chocolate and marshmallows, making for a delightful balance.
-
Fruity Skewers: Fresh fruit skewers with strawberries, bananas, or pineapples introduce a refreshing burst of flavors that cut through the richness of the pops.
-
Rich Hot Chocolate: Serve alongside warm, rich hot chocolate topped with whipped cream for an indulgent treat during chilly evenings, perfect for sharing!
-
Nutty Trail Mix: A handful of nutty trail mix provides a satisfying crunch, contrasting nicely with the soft texture of the marshmallow pops.
-
Chocolate-Dipped Strawberries: Go the extra mile with chocolate-dipped strawberries for a decadent experience that mirrors the chocolate theme of the pops!
-
Flavored Sparkling Water: Quench your thirst with refreshing flavored sparkling water or lemonade, adding a fun fizz that brightens every sweet bite.
-
Chocolate Sauce Drizzle: A drizzle of extra chocolate sauce on top enhances the indulgence factor, allowing guests to enjoy every rich moment!
These pairings create a dessert spread that’s not only delicious but also visually stunning, ensuring that your Chocolate-Covered Marshmallow Pops are the star of the show.
Chocolate-Covered Marshmallow Pops Variations
Get ready to personalize your Chocolate-Covered Marshmallow Pops with these fun and tasty ideas!
-
Chocolate Types: Try using dark, milk, or white chocolate melting wafers for varied flavor profiles. Each chocolate brings its own unique sweetness, creating a delicious twist.
-
Seasonal Toppings: Switch your decorations based on the season—think crushed peppermint for winter festivities or vibrant sprinkles for summer parties. It’s a fantastic way to keep things fresh and exciting!
-
Flavor Infusions: Mix flavored extracts like vanilla or almond into your melted chocolate. This subtle twist can elevate the richness and add an unexpected burst of flavor to your pops.
-
Nutty Delight: Add a crunchy texture by rolling your pops in crushed nuts such as almonds, peanuts, or pecans. The nutty crunch beautifully complements the soft marshmallow center.
-
Spicy Kick: For the bold, sprinkle a bit of cayenne pepper or chili powder onto the chocolate before it sets for a surprising heat. It pairs incredibly well with dark chocolate, making for an exciting flavor contrast.
-
Fruit Flavors: Dip in melted white chocolate and sprinkle with freeze-dried fruit powder for a fruity essence; strawberry or raspberry flavors work particularly well!
-
Drizzle Art: Get artistic by drizzling contrasting melted chocolate over the set pops. This adds visual appeal and extra chocolatey goodness that everyone loves to bite into.
Feel free to explore even further into your creativity—these variations inspire delicious twists and delightful surprises that embrace your personal tastes! Dive into more customizable dessert options that can make any gathering unforgettable.
Expert Tips for Chocolate-Covered Marshmallow Pops
-
Stick Insertion: Insert lollipop sticks into marshmallows at room temperature for a better grip, twisting gently to avoid tearing the marshmallows.
-
Chocolate Quality Matters: Always use high-quality melting chocolates for best flavor; inferior chocolate can lead to a less satisfying coating.
-
Melt with Care: Heat chocolate gradually in 20-30 second intervals, stirring frequently to prevent overheating or seizing.
-
Double Dip for Thickness: For a more impressive finish, allow the first layer to set, then dip again for a thicker chocolate shell on your Chocolate-Covered Marshmallow Pops.
-
Ideal Chocolate Temperature: Maintain melted chocolate between 88-90°F for the perfect dipping consistency to achieve that beautiful, glossy finish.
Make Ahead Options
These Chocolate-Covered Marshmallow Pops are ideal for meal prep, allowing you to get ahead of the game on those busy days! You can prepare the marshmallow sticks up to 24 hours in advance by assembling the marshmallows on the lollipop sticks and storing them in an airtight container at room temperature. For the chocolate coating, melt it and refrigerate it in an airtight container for up to 3 days. When you’re ready to finish, simply reheat the chocolate gently until smooth, dip the marshmallows, and apply your desired toppings before setting them to harden. This way, you can enjoy fresh, delightful treats with minimal fuss, all while saving precious time!
How to Store and Freeze Chocolate-Covered Marshmallow Pops
Fridge: Store your Chocolate-Covered Marshmallow Pops in an airtight container, layered with parchment paper, for up to one week to maintain freshness.
Freezer: For longer storage, you can freeze the pops for up to 2 months. Ensure they are completely coated and wrapped well to prevent freezer burn.
Reheating: If you’ve frozen them, let the pops thaw in the fridge before enjoying them to keep the chocolate coating intact and delightful.
Chocolate-Covered Marshmallow Pops Recipe FAQs
What type of marshmallows should I use?
For this recipe, large marshmallows are ideal as they provide the perfect fluffiness and sweetness. However, if you’re looking for bite-sized treats, mini marshmallows work great too! Just remember to adjust the size of the lollipop sticks accordingly.
How should I store my Chocolate-Covered Marshmallow Pops?
Store your Chocolate-Covered Marshmallow Pops in an airtight container that’s lined with parchment paper. This helps to maintain their freshness and prevents sticking. Keep them in the refrigerator for up to one week. If you want to save some for later, they can be frozen for up to 2 months—just ensure they are completely coated and well-wrapped to avoid freezer burn.
Can I freeze these marshmallow pops?
Absolutely! Freezing is a great way to preserve your Chocolate-Covered Marshmallow Pops for future enjoyment. Allow the pops to set fully, then wrap them individually in plastic wrap and place them in a freezer-safe container. When you’re ready to enjoy them, simply let them thaw in the refrigerator overnight to maintain the texture of the chocolate.
What can I do if my chocolate seizes while melting?
If your chocolate gets clumpy and seizes during melting, don’t panic! Try adding a small amount of coconut oil or vegetable oil, about 1 teaspoon at a time, stirring until smooth again. For future reference, melt the chocolate in shorter intervals and stir frequently to avoid this issue.
Are these pops suitable for kids with allergies?
Great question! Always check the labels on your ingredients for potential allergens. Many chocolate melting wafers contain dairy and may also have traces of nuts. If you’re making these treats for kids with allergies, consider using dairy-free chocolate and also double-check the toppings to ensure they’re safe and suitable for their dietary needs. Always consult with a medical professional if you’re unsure about specific allergies.
Irresistibly Fun Chocolate-Covered Marshmallow Pops
Ingredients
Equipment
Method
- Insert two large marshmallows onto each lollipop stick, leaving a small gap between them.
- In a microwave-safe bowl, heat chocolate melting wafers in the microwave at medium power for 20-30 seconds, stirring in between until completely smooth.
- Prepare a dipping station with assorted toppings in shallow bowls and line a baking sheet with parchment paper.
- Dip each marshmallow stick into melted chocolate, allowing excess to drip off.
- Immediately sprinkle or roll your melted chocolates pops in toppings while the chocolate is still wet.
- Place each decorated pop on the lined baking sheet and allow to set for about 10-15 minutes.
- Once hardened, serve and enjoy your Chocolate-Covered Marshmallow Pops!
Leave a Reply