
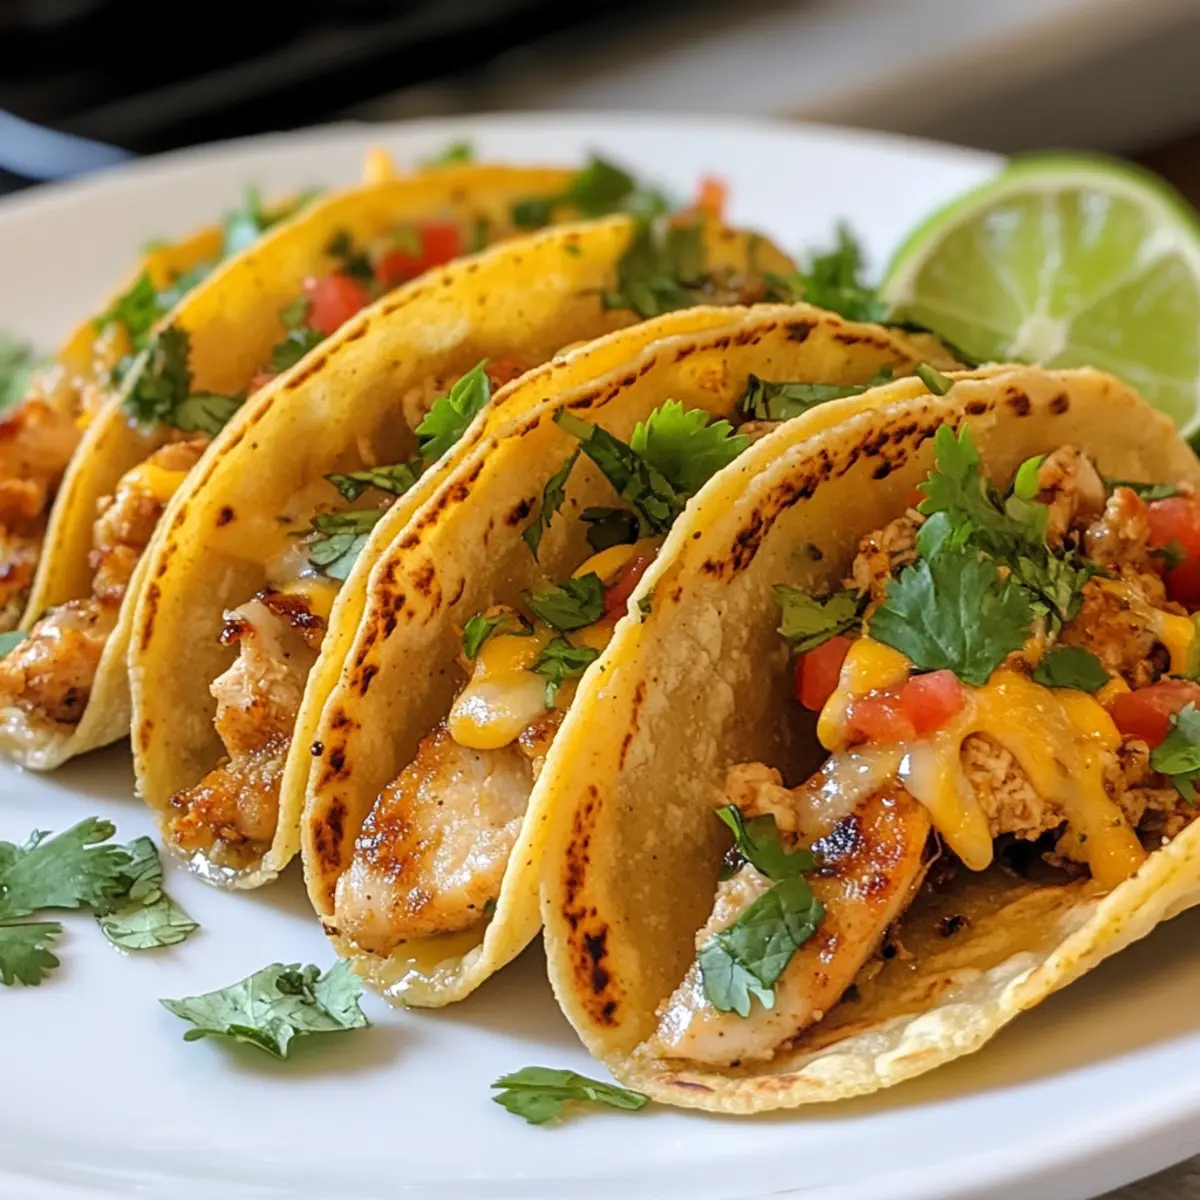
As I peeked into the oven, a tantalizing aroma filled my kitchen, awakening my senses with nostalgic warmth. There’s something magical about Crispy Baked Chicken Tacos—easy to prepare, adaptable, and incredibly satisfying for the whole family. In just a matter of minutes, you can whip up a hearty meal that beats takeout any day. These tacos are perfect for busy weeknights, allowing you to indulge in a delicious dinner without guilt since they’re baked, not fried! Plus, you can easily customize the filling with your favorite ground meat or even make them gluten-free with corn tortillas, catering to various diets. Ready to transform your weeknight meals? Let’s dive into this comforting recipe and make taco night an unforgettable adventure!
Why Are These Tacos So Irresistible?
Quick & Easy: These Crispy Baked Chicken Tacos come together in no time, making them perfect for those hectic weeknight dinners.
Endless Customization: Use your choice of ground meat or different tortilla types, making it a versatile dish for everyone!
Guilt-Free Indulgence: Baked, not fried, you can enjoy these tacos without the grease—delicious and healthier!
Family-Friendly Flavor: With a perfect balance of savory and cheesy goodness, even picky eaters will be requesting seconds.
Make Ahead Magic: Prepare your taco filling earlier and store it—easy peasy when you’re ready to bake!
Elevate your taco night with these delightful Crispy Baked Chicken Tacos, and don’t forget to pair them with delicious sides like pico de gallo and guacamole.
Crispy Baked Chicken Tacos Ingredients
Let’s gather everything you need for these delightful Crispy Baked Chicken Tacos!
For the Filling
- Ground Chicken – The main protein that creates a savory and satisfying filling; switch it with beef, pork, or turkey as desired.
- Sweet Onion – Infuses sweetness and flavor depth; yellow or white onion works as a substitute.
- Garlic – Enhances the dish with a fragrant touch; consider using garlic puree for a faster prep.
- Chopped Green Chiles – Brings a bit of spice and flavor; omit for a milder taco experience.
- Chili Powder – Adds warmth and spicy notes; adjust according to your heat preference.
- Smoked Paprika – Introduces a delightful smoky flavor; regular paprika can be used for a milder taste.
- Dried Oregano – Provides aromatic and herbal notes but is optional if you prefer simplicity.
- Ground Cumin – Offers earthy depth; feel free to reduce or omit if you’re not a fan.
For the Freshness
- Fresh Cilantro (Chopped) – Lifts the flavor with a burst of freshness; substitute parsley if cilantro is unavailable.
- Lime Juice – Brightens all the flavors with acidity; freshly squeezed is the best option.
For the Cheese & Tortillas
- Shredded Mexican Cheese Blend – Adds creaminess and flavor; swap with cheddar or colby jack based on your preference.
- Flour or Corn Tortillas – The delicious carrier for your fillings; warm them briefly to avoid cracking during assembly.
For Seasoning
- Kosher Salt and Black Pepper – Essential for enhancing all the flavors; season to taste for the perfect taco experience.
Gather these ingredients, and you’re well on your way to making a taco night that your family won’t forget!
Step‑by‑Step Instructions for Crispy Baked Chicken Tacos
Step 1: Preheat the Oven
Begin by preheating your oven to 425°F (220°C). While the oven heats up, line a baking sheet with aluminum foil or parchment paper for easy cleanup. You can lightly coat it with oil or non-stick spray to prevent the tacos from sticking later. This step is crucial for achieving that perfect crispy texture on your Crispy Baked Chicken Tacos.
Step 2: Cook the Chicken Filling
In a large cast iron skillet, heat 1 tablespoon of canola oil over medium-high heat. Once hot, add the ground chicken, chopped sweet onion, and minced garlic. Cook for about 3-5 minutes, stirring occasionally, until the chicken is no longer pink and the onion is soft. Make sure to break up the chicken as it cooks for an even texture. Drain any excess fat to keep your filling light.
Step 3: Add Flavorful Ingredients
Next, stir in the chopped green chiles, chili powder, smoked paprika, dried oregano, and ground cumin. Sauté for an additional 1-2 minutes until the spices become fragrant and well combined with the chicken. This step enhances the overall flavor profile of your filling, ensuring every bite of your Crispy Baked Chicken Tacos is deliciously seasoned.
Step 4: Mix in Fresh Ingredients
Remove the skillet from heat and mix in the chopped cilantro and freshly squeezed lime juice. Season the mixture with kosher salt and black pepper to taste. Fold in 1 cup of shredded Mexican cheese until everything is well combined. The warm filling will slightly melt the cheese, creating a luscious texture that your family will love in these crispy tacos.
Step 5: Prepare the Tortillas
While you wait for the filling to cool slightly, lay out your warmed tortillas on a clean surface. Spoon a portion of the chicken mixture onto half of each tortilla, topping it with 1 tablespoon of additional cheese. Carefully fold the tortillas in half to seal in all the tasty filling. This assembly step is key to creating perfectly crispy and satisfying Crispy Baked Chicken Tacos.
Step 6: Arrange and Brush with Oil
Place the filled tacos seam-side down on the prepared baking sheet, making sure they are arranged in a single layer to ensure even cooking. Brush the tops of each taco generously with the remaining canola oil—this helps achieve a golden, crispy crust. It’s a small but essential step that makes a noticeable difference!
Step 7: Bake for Ultimate Crispiness
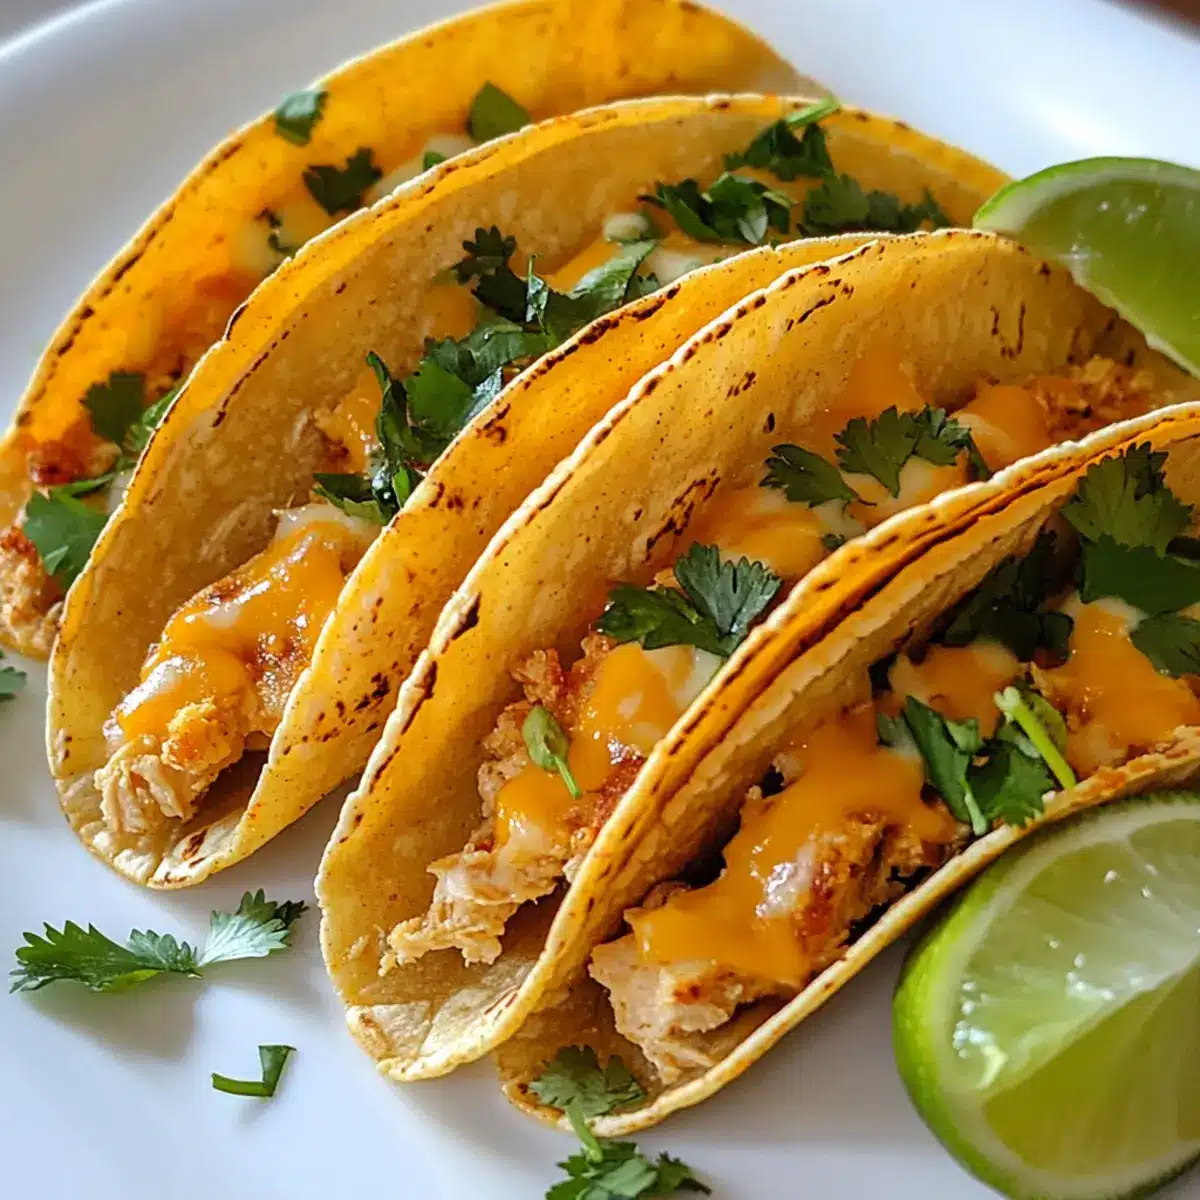
Place the baking sheet in the preheated oven and bake the tacos for 12-15 minutes. Keep an eye on them as they cook, and look for a golden-brown color and a crispy exterior. The baking process is where the magic happens, transforming your taco pockets into the wonderfully crunchy Crispy Baked Chicken Tacos you desire.
Step 8: Serve and Enjoy
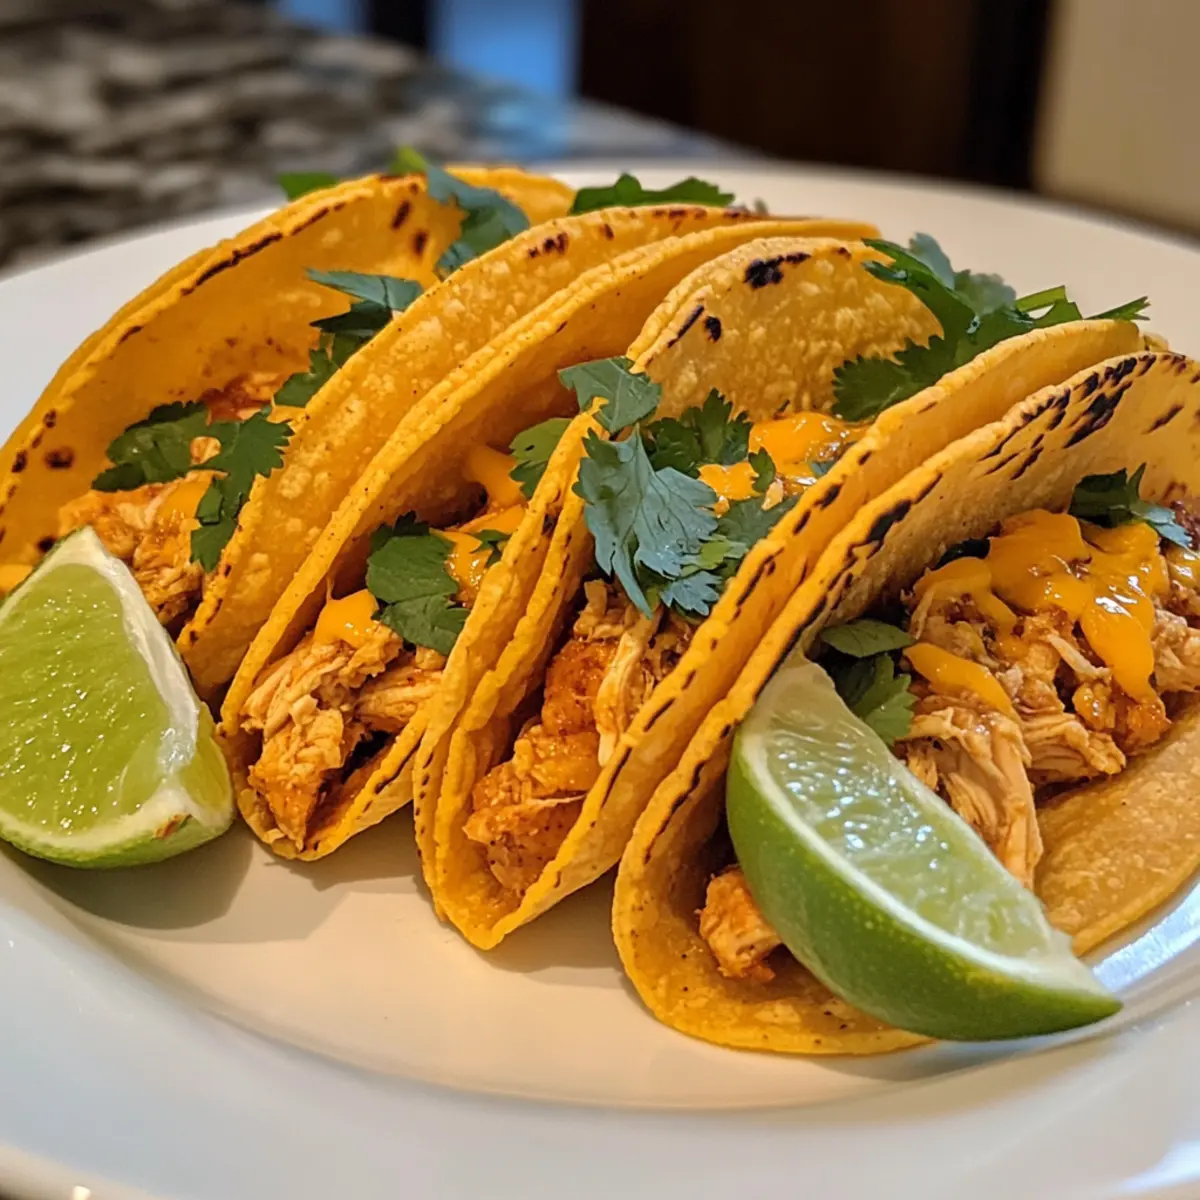
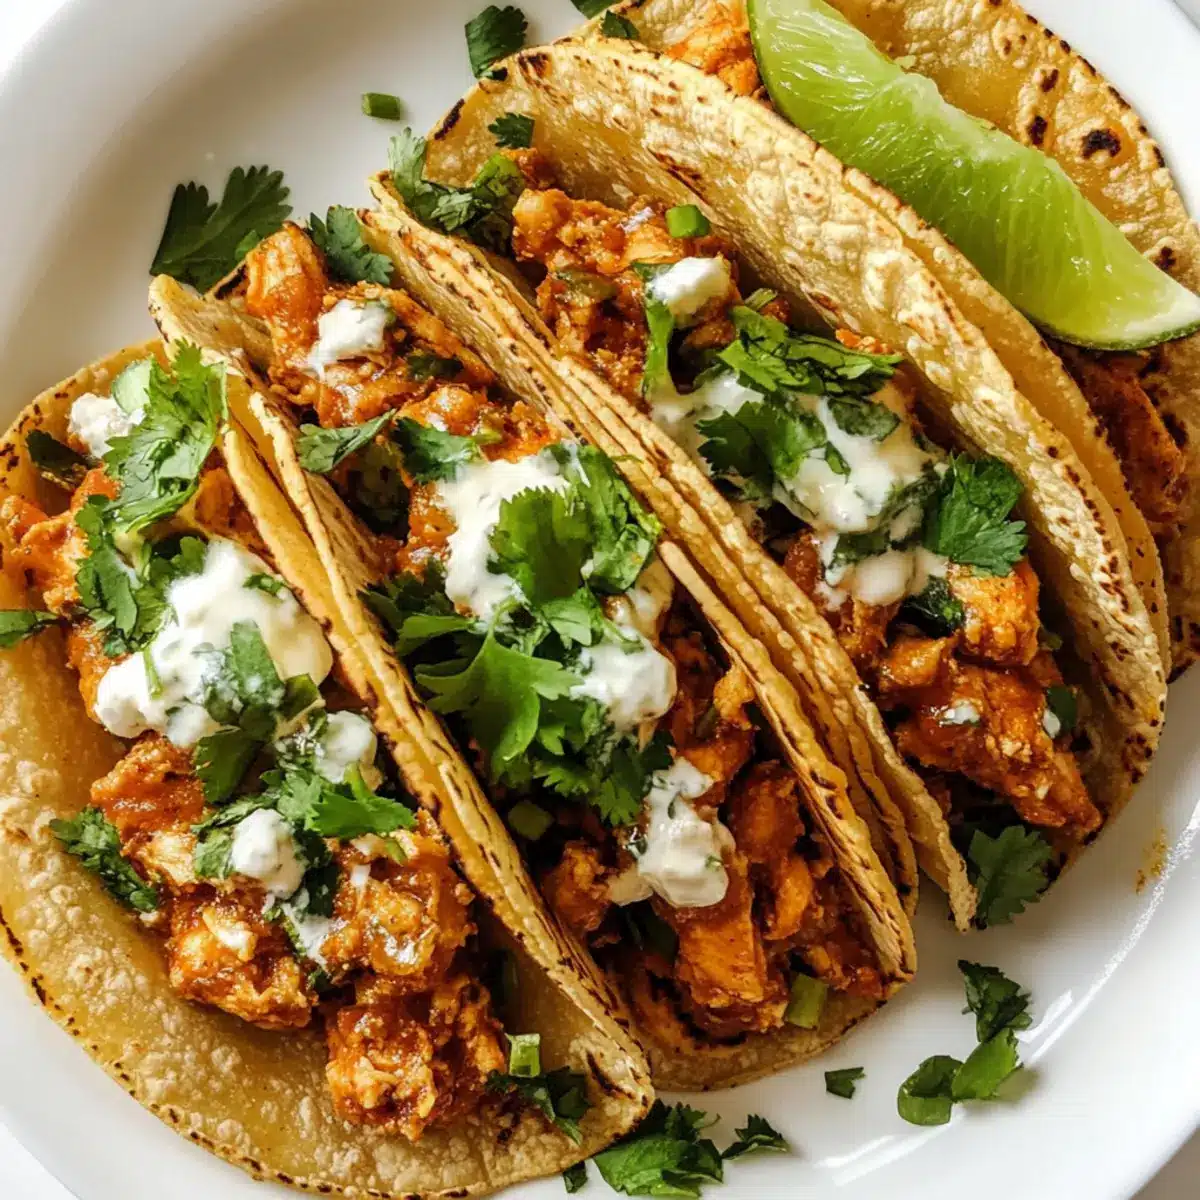
Once done baking, remove the tacos from the oven and let them cool slightly. Serve immediately with your favorite toppings, such as pico de gallo, fresh guacamole, and lime wedges. Each bite of these delightful Crispy Baked Chicken Tacos will be a satisfying explosion of flavor that your family will cherish!
Make Ahead Options
These Crispy Baked Chicken Tacos are a fantastic option for meal prep! You can prepare the taco filling up to 3 days in advance, storing it in an airtight container in the fridge. Simply cook the filling according to the recipe, let it cool, and mix in the cilantro and lime juice before storing to maintain freshness. You can also fill the tortillas and refrigerate them up to 24 hours before baking; just be sure to cover them well to prevent drying out. When you’re ready to enjoy, simply preheat your oven and bake the tacos for 12-15 minutes for that perfectly crispy texture your family loves, making dinner a breeze on busy nights!
How to Store and Freeze Crispy Baked Chicken Tacos
Fridge: Store leftover Crispy Baked Chicken Tacos in an airtight container for up to 2-3 days. This keeps them fresh and ready for a quick meal.
Freezer: For longer storage, freeze tacos before baking. Wrap each taco tightly in plastic wrap and store in a freezer bag for up to 2 months. When ready to cook, bake straight from frozen, adding a few extra minutes to the cooking time.
Reheating: To reheat baked tacos, wrap them in foil and place in a preheated oven at 350°F for about 10-15 minutes until warmed through and crispy again.
Airtight tips: Always ensure tacos are fully cooled before storing to prevent moisture build-up, which can lead to sogginess.
What to Serve with Crispy Baked Chicken Tacos
Indulge in a complete meal experience by pairing these delightful tacos with vibrant and flavorful sides that elevate your dining table.
- Pico de Gallo: A fresh salsa made with tomatoes, onions, and cilantro, this zesty topping enhances the tacos with a burst of flavor.
- Guacamole: Creamy and rich, guacamole balances the crispy texture of the tacos, adding a smoothness that delights your palate.
Tacos feel even more indulgent when served with this dip, enhancing the flavor experience through rich creaminess.
- Shredded Lettuce: Fresh and crunchy, shredded lettuce adds a light touch to your meal, providing a nice contrast to the warm, cheesy filling.
- Mexican Rice: Fluffy, seasoned rice complements the tacos with subtle spices, creating a wonderful harmony of flavors on your plate.
A scoop of vibrant Mexican rice rounds out your meal beautifully, making each bite an explosion of comfort.
- Black Bean Salad: This hearty salad, with protein-packed black beans and colorful veggies, offers a nutritious side that brightens your table.
- Corn on the Cob: Sweet and juicy corn adds a touch of summer to your meal, delivering a delightful crunch that pairs well with the tacos.
Lastly, consider serving margaritas or horchata for drinks, adding flair and refreshment to your taco night!
Expert Tips for Crispy Baked Chicken Tacos
-
Choose Your Meat: Use your favorite ground meat like beef, pork, or turkey for these Crispy Baked Chicken Tacos without compromising on flavor and texture.
-
Warm Tortillas: Microwave tortillas for 15-30 seconds to make them pliable and easy to fold, preventing cracks while assembling.
-
Mind the Filling: Avoid overstuffing your tacos; a generous but manageable portion keeps them intact during baking and enhances crispy texture.
-
Oil for Crispiness: Brush the tacos with oil before baking to achieve that golden, crunchy finish—it’s a vital step for the perfect result!
-
Reheating Tips: Leftover tacos can get soggy; reheat them in the oven at 350°F, wrapped in foil, for a delightful second round that retains the crispiness.
Variations & Substitutions for Crispy Baked Chicken Tacos
Customize your delicious Crispy Baked Chicken Tacos to suit all tastes and dietary needs—let your creativity shine in the kitchen!
-
Ground Meat Swap: Use ground beef, pork, or turkey in place of chicken for a different flavor base. Each type brings its unique taste and texture, making these tacos ever-evolving.
-
Vegetarian Delight: Swap the meat for black beans or lentils for a hearty plant-based version. Not only is this satisfying, but it also packs a nutritional punch!
-
Tortilla Variety: Choose from corn or flour tortillas to cater to everyone’s preference. Corn tortillas offer a gluten-free option while enhancing the authentic taco flavor.
-
Spicy Kick: Add finely chopped jalapeños or a sprinkle of red pepper flakes for a spicy twist. Adjust the heat to your liking—get ready for a flavor explosion!
-
Creamy Avocado: Mix in mashed avocado or offer it as a topping. This adds a creamy texture that beautifully balances the crispy shell.
-
Cheese Alternatives: Replace the shredded Mexican cheese blend with a dairy-free cheese or omit it altogether for a lighter option. You’ll still savor the delicious flavors popping through!
-
Herbs Galore: Experiment with fresh herbs like parsley or green onions for a different flavor profile. The freshness transforms each bite, elevating your taco experience.
As you try these variations, don’t forget to pair your tacos with delightful sides like pico de gallo or a side of guacamole to complete your meal!
Crispy Baked Chicken Tacos Recipe FAQs
What type of tortillas should I use for Crispy Baked Chicken Tacos?
You can use either flour or corn tortillas for these tacos. Flour tortillas are soft and chewy, while corn tortillas provide a lovely crispy texture once baked. If you’re looking for a gluten-free option, corn tortillas are the way to go!
How should I store leftover Crispy Baked Chicken Tacos?
Store any leftover tacos in an airtight container in the fridge for up to 2-3 days. This keeps them fresh for quick reheating. Just note that they might lose some crispiness; reheating in the oven is your best bet to regain that delightful crunch.
Can I freeze Crispy Baked Chicken Tacos?
Absolutely! You can freeze the assembled, uncooked tacos. Wrap each taco tightly in plastic wrap and place them in a freezer bag. They can be kept for up to 2 months. When you’re ready to enjoy them, bake straight from frozen, adding an extra 5-10 minutes to the cooking time.
What if my tacos do not cook evenly?
If your tacos are not cooking evenly or turning out soggy, arrange them in a single layer on the baking sheet with enough space in between to allow air flow, which helps them crisp up. Also, make sure they’re adequately brushed with oil before baking to achieve that golden-brown color.
Can I customize the filling for dietary restrictions?
Of course! These Crispy Baked Chicken Tacos are incredibly versatile. Replace ground chicken with ground turkey for a leaner option or even go vegetarian with a mix of beans, lentils, or veggies. Remember to check tortillas for gluten-free options and adjust seasonings to fit dietary preferences.
How long do I need to bake the taco shells for a perfect crunch?
Bake your assembled tacos at 425°F (220°C) for 12-15 minutes, but keep an eye on them. They should be golden and crispy when done. If they’re not as crunchy as you’d like, an additional minute or two will do the trick!
Crispy Baked Chicken Tacos That Will Delight Your Family
Ingredients
Equipment
Method
- Preheat your oven to 425°F (220°C) and line a baking sheet with foil or parchment paper.
- In a large cast iron skillet, heat 1 tablespoon of canola oil over medium-high heat. Add the ground chicken, sweet onion, and minced garlic. Cook for 3-5 minutes until the chicken is no longer pink and the onion is soft.
- Stir in the chopped green chiles, chili powder, smoked paprika, dried oregano, and ground cumin. Sauté for 1-2 minutes until fragrant.
- Remove the skillet from heat and mix in the chopped cilantro and lime juice. Season with salt and pepper to taste, and fold in 1 cup of shredded cheese.
- Lay out your warmed tortillas. Spoon the chicken mixture onto half of each tortilla, topping with 1 tablespoon of additional cheese. Fold the tortillas in half to seal.
- Place the filled tacos seam-side down on the baking sheet. Brush the tops with canola oil.
- Bake the tacos for 12-15 minutes until golden brown and crispy.
- Serve immediately with toppings like pico de gallo, guacamole, and lime wedges.
Leave a Reply