
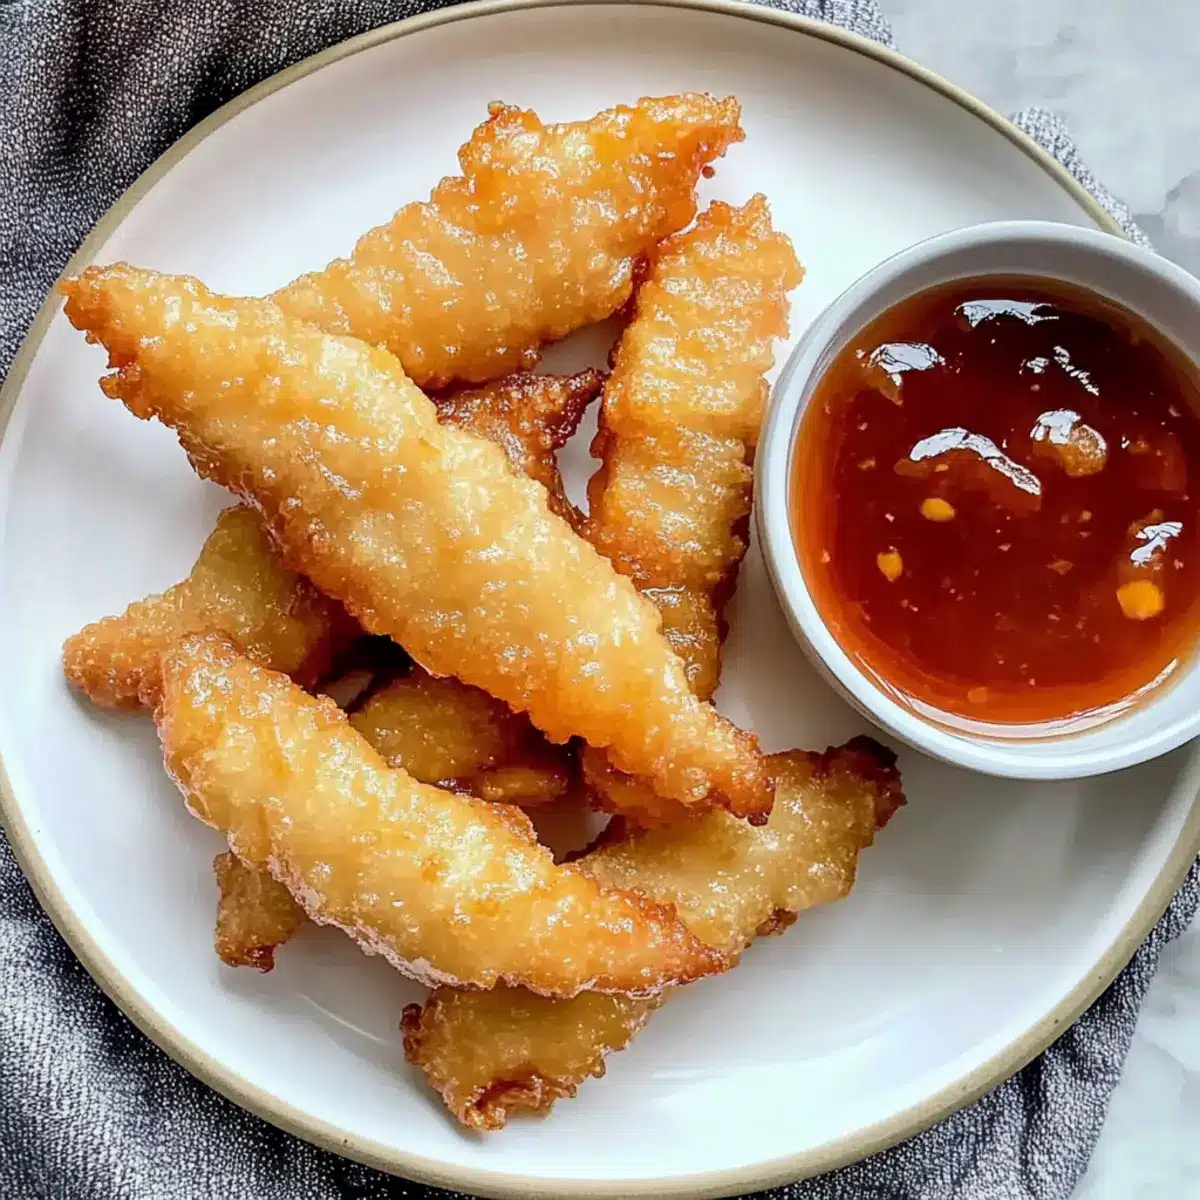
“Crunch, crunch, crunch!” The sound of crispy chicken fingers frying in hot oil is enough to whisk me back to weekends spent at bustling buffets, where those irresistible treats never lasted long on the table. Now, I’m thrilled to share my own take on these delightful Crispy Buffet-Style Chinese Chicken Fingers that you can whip up at home. Not only are they quick to make—perfect for busy weeknights—but they also provide a healthier, crowd-pleasing alternative to takeout that your entire family will love. With the right batter, you can achieve that satisfying crunch and juicy chicken inside every time! Ready to transform your kitchen into a mini buffet? Let’s dive into this easy recipe that’s bound to be a new favorite.
Why are Crispy Chicken Fingers a Must-Try?
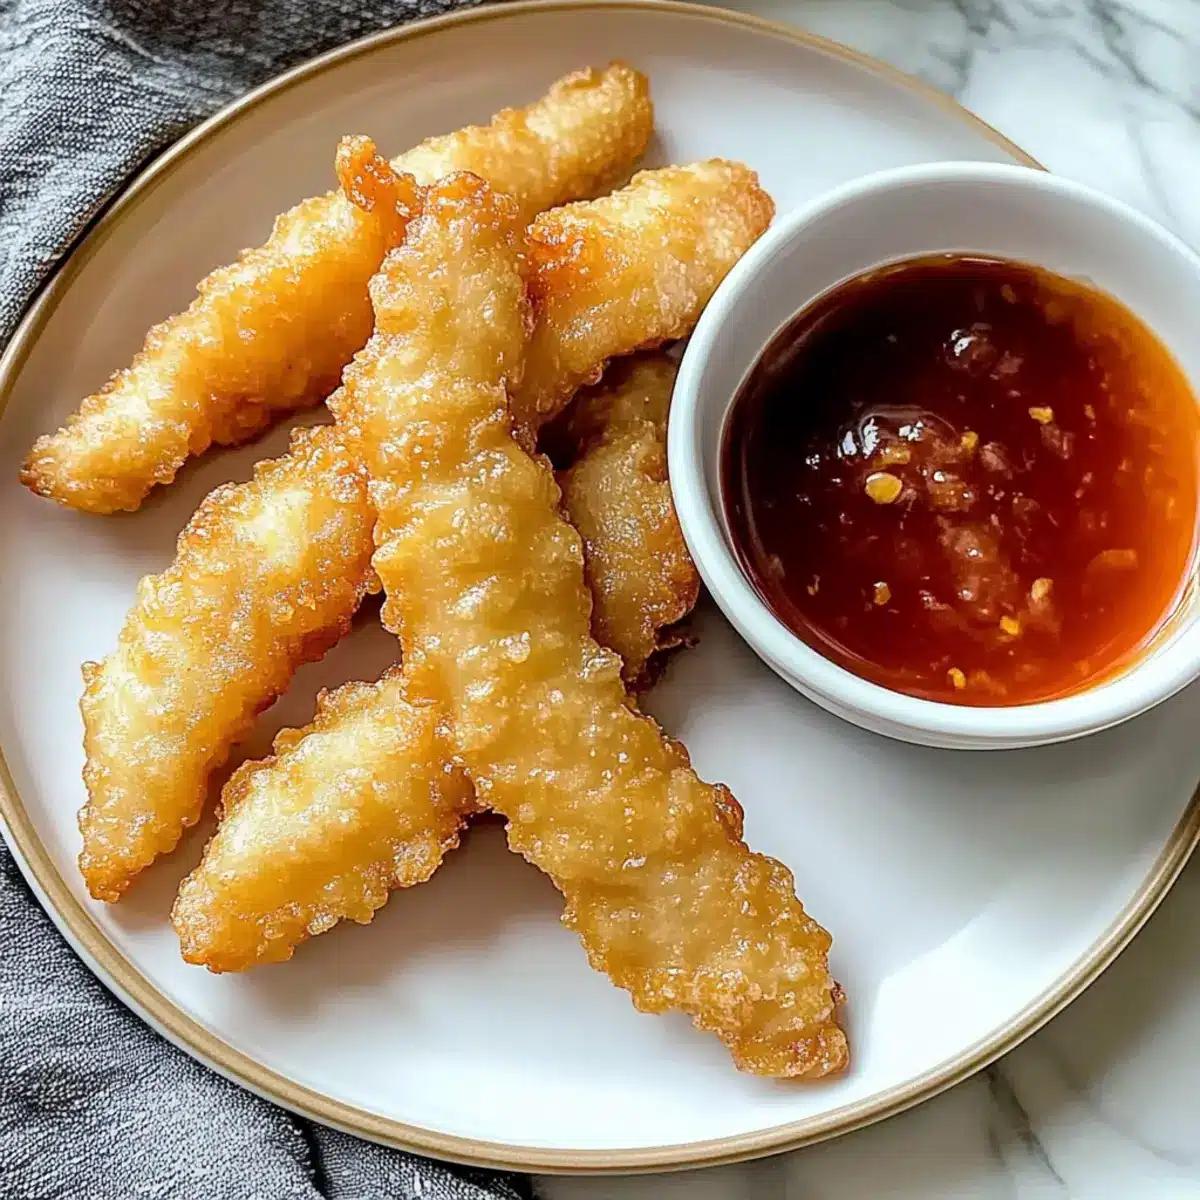
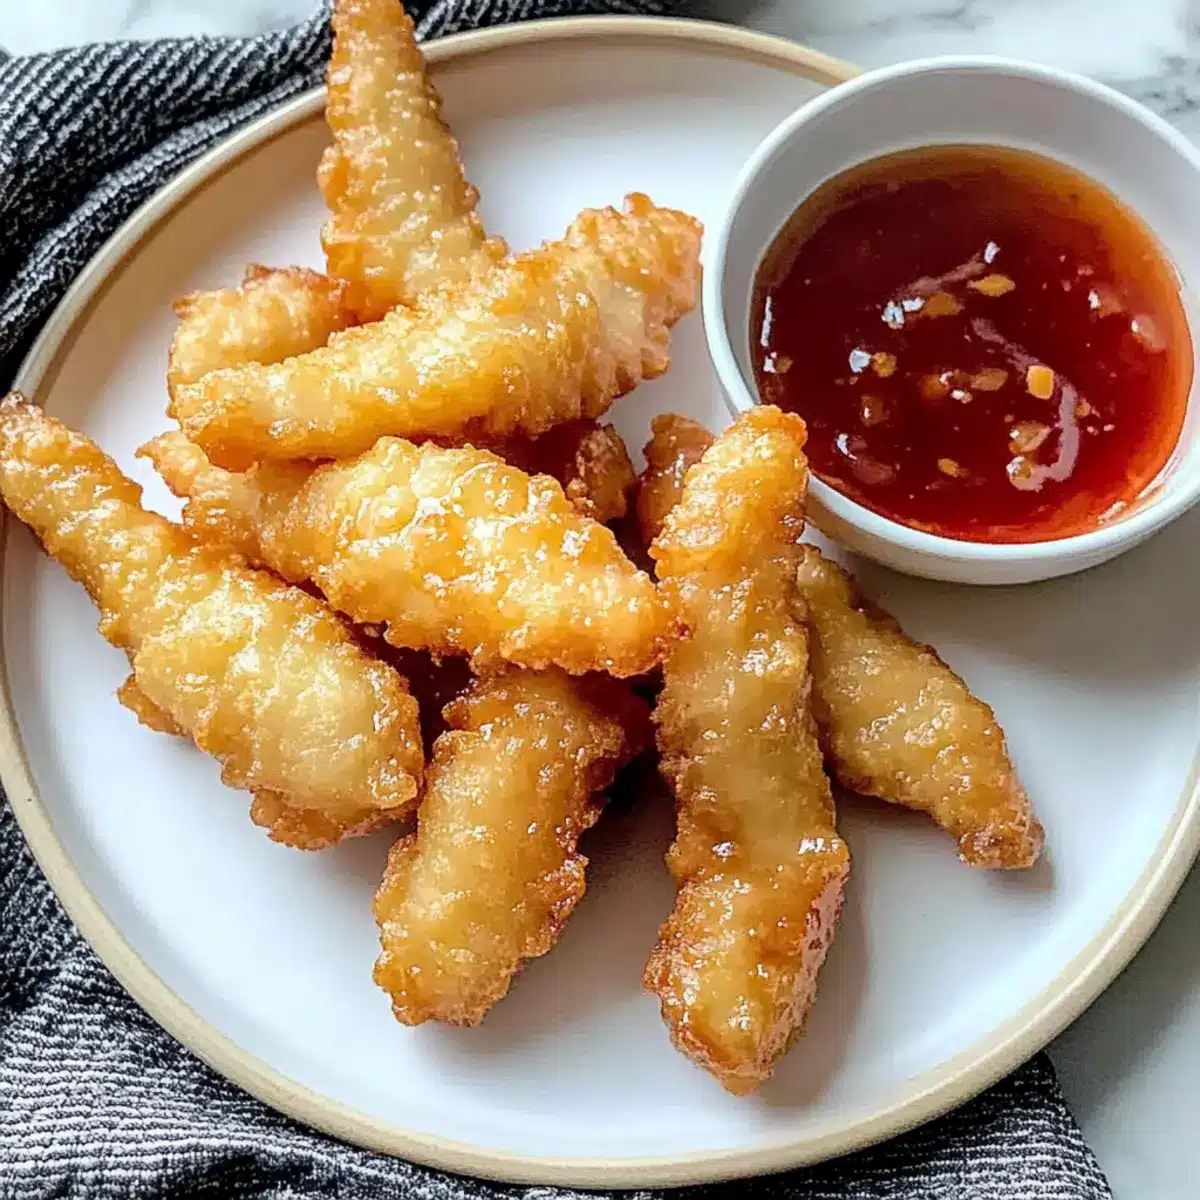
Irresistible Crunch: The first bite reveals a delightful, crispy texture that transports you straight to your favorite buffet.
Versatile Dipping: Pair them with sweet and sour sauce, teriyaki, or even spicy mayo for an exciting flavor boost.
Quick Preparation: These chicken fingers can be whipped up in no time, making them ideal for busy weeknights or last-minute gatherings.
Family-Friendly: Perfect for kids and adults alike, these crispy morsels are guaranteed to please everyone at the table.
Customizable Options: Want a gluten-free version? Swap in your favorite gluten-free flour blend. Feeling bold? Add a kick of cayenne for some heat!
Transform your cooking repertoire with these crispy chicken fingers, just like the delicious ones served in buffets. For additional inspiration, check out my Garlic Parmesan Chicken or Honey Garlic Chicken for more exciting recipes!
Crispy Chicken Fingers Ingredients
For the Batter
• All-Purpose Flour – Provides structure to the batter; can swap for gluten-free flour for a gluten-free version.
• Cornstarch – Enhances crispiness; consider using rice flour as an alternative.
• Sugar – Adds sweetness to the batter; can swap for honey if desired.
• Baking Powder – Aerates the batter for a lighter texture; essential for achieving that crispy chicken fingers crunch.
• Coarse Kosher Salt – Enhances overall flavor; substitute with table salt if needed.
• Cold Water – Hydrates the dry ingredients for batter consistency; avoid warm water to ensure proper thickness.
For the Chicken
• Chicken Breasts – Main protein, sliced into ¼-inch strips for quick cooking; tender and juicy when fried.
For the Sweet and Sour Sauce
• Ketchup – Base ingredient for the sauce, providing that classic sweet and tangy flavor.
• Brown Sugar – Adjusts sweetness in the sauce to taste; think about adding more if you prefer a sweeter twist.
• Vinegar – Adds acidity to balance flavors; consider apple cider vinegar for a unique twist.
• Lemon Juice – Freshly squeezed adds brightness to the sauce; enhances the overall flavor profile.
• Water – Adjusts sauce thickness to your desired consistency; use as needed to perfect the texture.
• Cornstarch (for sauce) – Prevents clumping when mixed with water, ensuring a smooth sauce.
Unleash the magic of crispy chicken fingers in your own kitchen! Whether you’re planning a cozy family dinner or a fun-filled gathering, this delightful recipe will quickly become a beloved staple in your home. Enjoy every crunchy bite!
Step‑by‑Step Instructions for Crispy Buffet-Style Chinese Chicken Fingers
Step 1: Prepare the Batter
In a mixing bowl, combine all-purpose flour, cornstarch, sugar, baking powder, and coarse kosher salt. Gradually whisk in cold water until the mixture forms a thick yet pourable batter, which should coat the back of a spoon without dripping too quickly. This batter is key to achieving crispy chicken fingers, so ensure it’s well-mixed and free of lumps before moving on.
Step 2: Heat the Oil
In a deep pan or skillet, pour in enough oil to reach a depth of about 1 inch. Heat the oil over medium-high heat until it reaches 350°F (175°C). To test if the oil is hot enough, look for shimmering on the surface. This temperature is essential for achieving that perfect golden, crispy exterior without making the chicken greasy.
Step 3: Coat the Chicken
Take your chicken breasts and slice them into ¼-inch strips for even cooking. Dip each chicken strip into the batter, ensuring it is evenly coated. Allow any excess batter to drip off before frying to ensure that the coating stays crispy and doesn’t clump together during cooking.
Step 4: Fry the Chicken
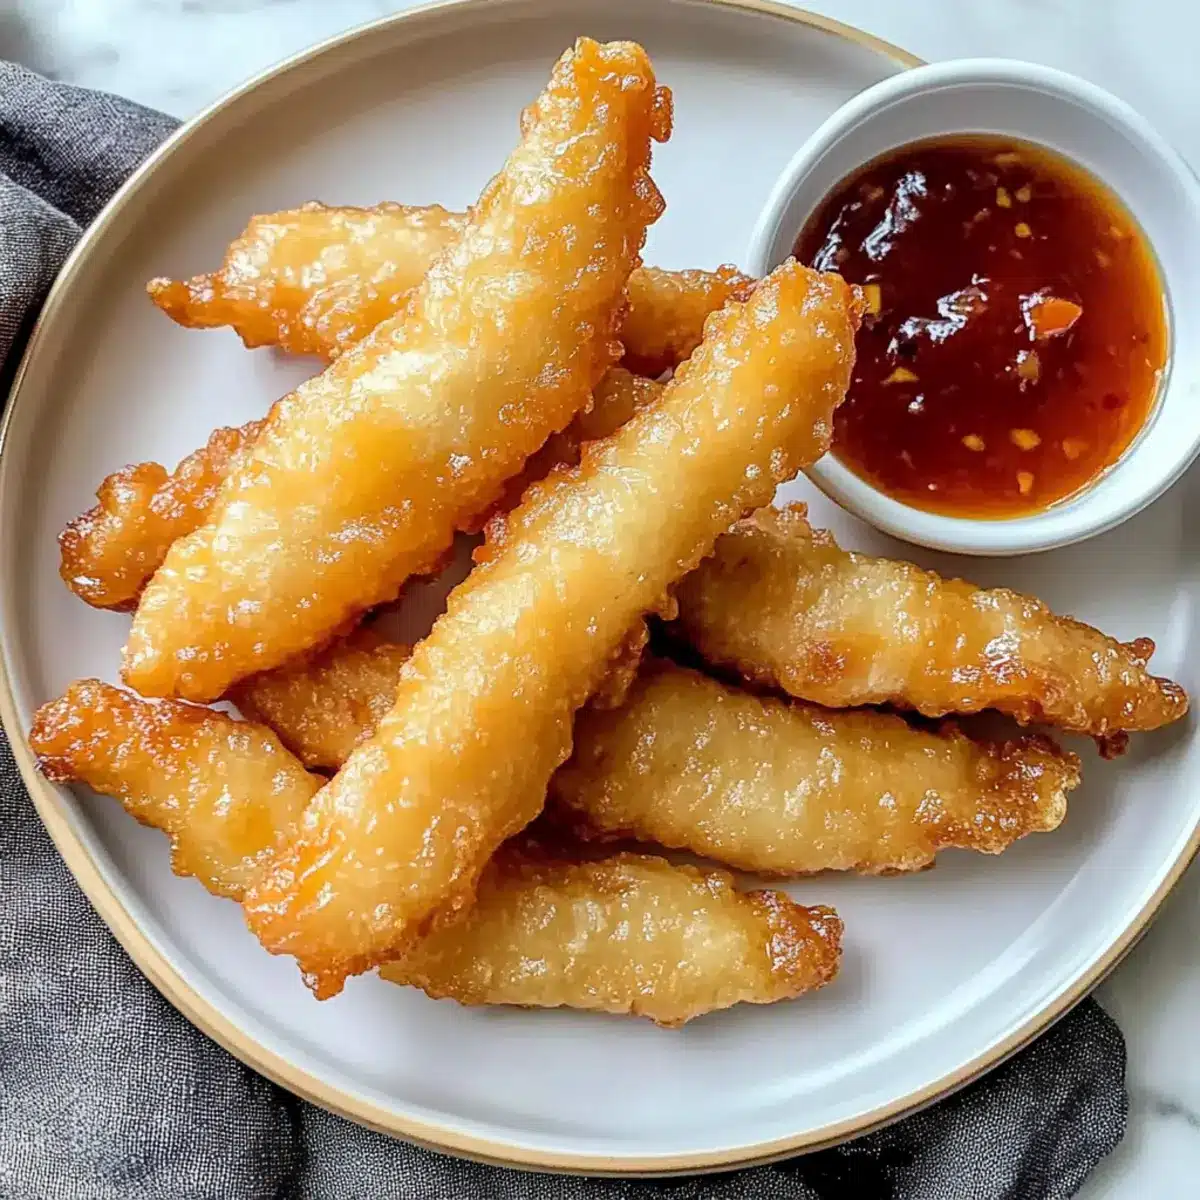
Carefully lower the battered chicken strips into the hot oil, frying them in batches to avoid overcrowding. Fry each side for about 2-3 minutes until they are golden brown and crispy, with a delicious crunch that’s tantalizingly audible. Once done, use a slotted spoon to transfer the chicken fingers to a plate lined with paper towels to drain any excess oil.
Step 5: Make the Sauce
While the chicken fingers are frying, it’s time to prepare the sweet and sour sauce. In a saucepan, mix together ketchup, brown sugar, vinegar, lemon juice, and water. Gradually stir in cornstarch to prevent clumping, then heat the sauce over medium heat. Continuously stir until it thickens to your desired consistency, which should take about 5-7 minutes.
Step 6: Serve
Once the crispy Chinese chicken fingers have cooled slightly, arrange them on a serving platter. Pair them with the freshly made sweet and sour sauce for dipping. Serve warm and enjoy the crunchiness and flavorful bites, perfect for any occasion or as a delightful snack!
How to Store and Freeze Crispy Chicken Fingers
Fridge: Store leftover crispy chicken fingers in an airtight container for up to 3 days to maintain freshness and flavor. Make sure they’re completely cooled before sealing to prevent moisture buildup.
Freezer: For longer storage, freeze the chicken fingers in a single layer on a baking sheet. Once frozen, transfer them to a resealable bag and keep in the freezer for up to 3 months.
Reheating: To reheat, place the chicken fingers on a baking sheet in a preheated oven at 400°F (200°C) for 10-15 minutes, or until they’re hot and crispy again. Avoid microwave reheating to maintain their desired texture.
Airtight Guidance: Always use airtight containers or resealable bags to optimize freshness, especially for frozen crispy chicken fingers.
What to Serve with Crispy Buffet-Style Chinese Chicken Fingers
Transform your crispy chicken fingers into a full-fledged meal with delightful sides and drinks that harmonize perfectly with their crunch and flavor.
-
Fried Rice: The classic side pairs perfectly, with its savory flavors complementing the sweet and sour sauce, making every bite satisfying.
-
Asian Slaw: This fresh and crunchy slaw brings crunch and vibrant colors to the table, enhancing both texture and taste, making it a balanced choice.
-
Steamed Broccoli: Tender broccoli adds a healthy touch; its mild flavor contrasts beautifully against the rich, crispy chicken fingers while adding a pop of color.
-
Sweet and Sour Pineapple: The fruity tartness creates a refreshing contrast to the savory chicken, enhancing each bite with a burst of tropical sweetness.
-
Teriyaki Sauce: Offering a deep, caramelized flavor, this sauce adds a unique twist to your chicken fingers, elevating them to a whole new level.
-
Crispy Wonton Chips: These crunchy bites can serve as dippers for your sweet and sour sauce while echoing the delightful crunch of the chicken!
-
Chilled Green Tea: The refreshing taste of green tea offers a lovely palate cleanse, perfectly balancing the savory and sweet elements of your meal.
Crispy Chicken Fingers Variations
Feel free to explore these delightful twists and substitutions for your crispy chicken fingers, adding your personal touch to this beloved recipe!
-
Gluten-Free: Use a gluten-free flour blend instead of all-purpose flour for the batter. This way, everyone can enjoy the crunch!
-
Spicy: Sprinkle in cayenne pepper or chili powder when mixing the batter for an exciting spicy kick. Just a little heat can elevate the dish to a whole new level!
-
Chicken Thighs: Swap chicken breasts for chicken thighs. The extra fat from the thighs brings a richer flavor, making every bite melt in your mouth.
-
Oven-Baked Version: For a healthier twist, bake the chicken fingers at 400°F (200°C) for 15-20 minutes, flipping halfway. You’ll still get that crunch without frying.
-
Herb-Infused: Add fresh herbs such as thyme or rosemary to the batter for a fragrant, earthy flavor. It’ll be a delightful surprise that enhances the bite!
-
Panko Coating: For an extra-crisp exterior, substitute the batter with panko breadcrumbs. These tiny, airy crumbs provide the crunchiness you crave and deliver a delightful texture.
-
Zesty Citrus: Incorporate lime zest or orange zest into your batter for a refreshing citrus twist. It brightens the flavor profile while maintaining the crispy perfection.
Elevate your culinary creativity with these variations! Whether you’re in the mood for a spicy kick or a gluten-free alternative, you can customize each batch to satisfy your cravings. If you’re looking for more delicious options, try pairing these chicken fingers with recipes like Fiery Chicken Ramen or Chicken Noodle Soup. Enjoy your cooking adventure!
Make Ahead Options
These Crispy Buffet-Style Chinese Chicken Fingers are perfect for meal prep enthusiasts! You can prepare the batter up to 24 hours in advance by mixing all the dry ingredients and storing the mixture in an airtight container. Simply add cold water just before cooking to maintain that crispy texture. Additionally, slice the chicken breasts into strips and refrigerate them for up to 3 days to save time on busy weeknights. When you’re ready to serve, just coat the chicken in the prepared batter, fry until golden brown, and whip up the sweet and sour sauce. These make-ahead tips ensure your chicken fingers taste just as delicious as when made fresh!
Expert Tips for Crispy Chicken Fingers
-
Perfectly Temp Oil: Ensure the oil is at 350°F (175°C) to avoid greasy fingers. Use a thermometer for accuracy or test with a small batter drop—it should sizzle!
-
Thick Batter Matters: Aim for a batter that coats the chicken but isn’t too heavy. It should cling well without drenching the chicken, ensuring crispy chicken fingers.
-
Space to Fry: Fry in small batches to maintain oil temperature. Overcrowding cools the oil, leading to soggy chicken rather than that irresistible crispiness.
-
Draining Excess Oil: After frying, let the chicken fingers rest on paper towels. This step is crucial for getting rid of any excess oil, keeping them deliciously crunchy.
-
Customize Your Coating: Feel free to experiment with seasonings like garlic powder or paprika in the batter for added flavor. Enjoy your crispy chicken fingers in unique styles!
Crispy Buffet-Style Chinese Chicken Fingers Recipe FAQs
How do I choose the right chicken for the recipe?
Absolutely! When selecting chicken breasts, look for those that are fresh with a bright, pink color. Avoid any that have dark spots or an off smell. For a different flavor, consider using chicken thighs, which can add moisture and richness to the dish.
How should I store leftover crispy chicken fingers?
To store leftover crispy chicken fingers, place them in an airtight container in the fridge for up to 3 days. Make sure they cool completely before sealing to prevent moisture accumulation, which can make them soggy. If you want to keep them longer, freezing is the way to go!
Can I freeze crispy chicken fingers, and if so, how?
Very! To freeze, arrange the cooked chicken fingers in a single layer on a baking sheet and place them in the freezer until solid. Once frozen, transfer them to a resealable bag and keep them frozen for up to 3 months. When you’re ready to enjoy them again, simply reheat in a preheated oven at 400°F (200°C) for 10-15 minutes to restore their crunch.
What can I do if my chicken fingers don’t turn out crispy?
If your chicken fingers are less crispy than you’d like, check a couple of things. First, make sure your oil is hot enough (350°F/175°C) during frying; too low of a temperature can lead to soggy chicken. Also, ensure that your batter is thick enough to stick to the chicken without dripping excessively. Finally, avoid overcrowding the pan, as this can drop the oil temperature and affect crispiness.
Are there any dietary considerations for this recipe?
Of course! If you’re looking for a gluten-free option, simply swap the all-purpose flour for a gluten-free flour blend. Always double-check labels, especially for sauces like ketchup, to ensure they meet dietary needs. Additionally, consider allergies—avoid using any ingredients that your family or guests may be sensitive to, and feel free to modify the recipe to suit specific dietary preferences!
How long will crispy chicken fingers stay fresh in storage?
Leftover crispy chicken fingers will remain fresh in the refrigerator for about 3 days when stored properly. If you’ve decided to freeze them, they can last for up to 3 months without a noticeable decline in quality. Just be sure to allow them to cool before sealing for the best results!
Crispy Chinese Chicken Fingers Your New Favorite Snack
Ingredients
Equipment
Method
- In a mixing bowl, combine all-purpose flour, cornstarch, sugar, baking powder, and coarse kosher salt. Gradually whisk in cold water until the mixture forms a thick yet pourable batter.
- In a deep pan or skillet, pour in enough oil to reach a depth of about 1 inch and heat to 350°F (175°C).
- Slice the chicken breasts into ¼-inch strips. Dip each strip into the batter, ensuring it is evenly coated.
- Lower the battered chicken strips into the hot oil and fry for 2-3 minutes until golden brown and crispy.
- Prepare the sweet and sour sauce by mixing ketchup, brown sugar, vinegar, lemon juice, and water in a saucepan. Gradually stir in cornstarch, heat, and stir until thickened, about 5-7 minutes.
- Arrange the crispy chicken fingers on a serving platter and serve warm with the sweet and sour sauce for dipping.
Leave a Reply