
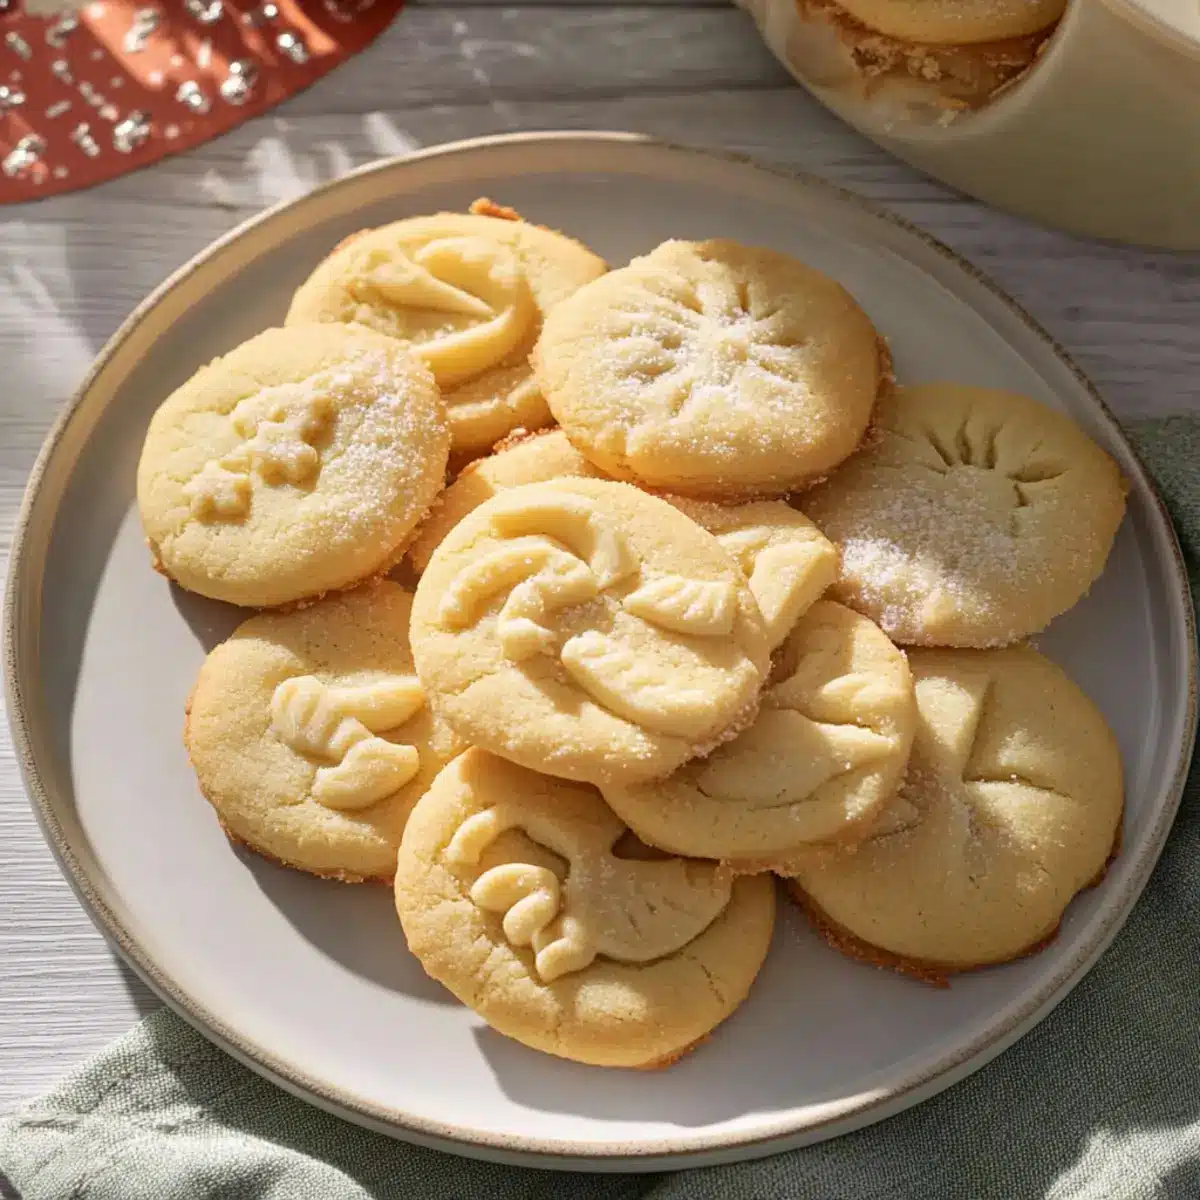
As I stood in my kitchen, the scent of melted butter enveloped me, whisking me back to cozy holiday gatherings filled with laughter and warmth. This recipe for Melt-In-Your-Mouth Danish Butter Cookies is not just a treat; it’s an experience steeped in nostalgia that’ll bring smiles to faces young and old. With just seven simple ingredients, this classic recipe offers a delightful escape from the everyday hustle and bustle—perfect for those looking to recreate homemade goodness without spending hours in the kitchen. Not only are these cookies irresistibly crumbly and buttery, but they’re also a charming gift for friends and family alike. So, are you ready to fill your home with the comforting aroma of these delectable cookies? Let’s dive into this joyous baking adventure together!
Why Will You Love These Cookies?
Simplicity at Its Best: With only seven ingredients, you can whip up these delightful cookies without breaking a sweat.
Irresistible Flavor: The blend of creamy salted butter, vanilla, and a hint of sweetness creates a flavor profile that’s simply heavenly.
Perfect for Sharing: These cookies are not only delicious but also make for a thoughtful gift. Imagine presenting a tin of homemade Danish Butter Cookies to a friend!
Versatile Treat: Feel free to experiment! Add festive sprinkles or mix in chocolate chips for an exciting twist—just like in my Kitchen Sink Cookies.
Enjoy Anytime: Perfect for holidays or just a cozy evening at home, these cookies are a treat that everyone will love!
Danish Butter Cookies Ingredients
For the Cookie Dough
• European Salted Butter – Provides rich flavor and helps achieve the desired texture. Substitution: Unsalted butter can be used with an added 1/4 teaspoon of salt.
• Granulated Sugar – Adds sweetness and assists in achieving a light, fluffy texture when creamed with butter.
• Salt – Enhances overall flavor, balancing the sweetness.
• Egg Yolks – Contributes richness and moisture, helping with the cookie’s structure.
• Vanilla Extract – Adds aromatic sweetness, enhancing the overall flavor profile.
• Whole Milk – Aids in moisture and helps soften the dough for piping. More may be added to achieve the right consistency.
• All-Purpose Flour & Cake Flour – All-purpose flour forms the base structure, while cake flour provides a lighter texture for melt-in-your-mouth Danish butter cookies.
Step‑by‑Step Instructions for Melt-In-Your-Mouth Danish Butter Cookies
Step 1: Prepare the Baking Environment
Start by creating a cozy baking space: clear room in your refrigerator for chilling the cookies and line two baking sheets with parchment paper. This ensures easy clean-up and prevents sticking, which is key for your Melt-In-Your-Mouth Danish Butter Cookies.
Step 2: Cream Butter and Sugar
In a stand mixer, beat 1 cup of room temperature European salted butter on medium speed until smooth and creamy, about 2 minutes. Gradually add in ¾ cup of granulated sugar and a pinch of salt, mixing until fluffy and light—aim for a pale color that indicates proper aeration.
Step 3: Incorporate Wet Ingredients
Add 2 egg yolks, 1 teaspoon of vanilla extract, and 1 tablespoon of whole milk to the butter mixture. Continue mixing on low speed until well combined, scraping down the sides of the bowl with a spatula as needed. This will create a rich base for your Danish Butter Cookies.
Step 4: Mix Dry Ingredients
In a separate bowl, whisk together 1 cup of all-purpose flour and ½ cup of cake flour until evenly combined. Gradually fold this flour mixture into the wet ingredients using a spatula, mixing just until combined to avoid overworking the dough, which can lead to tough cookies.
Step 5: Pipe Cookies
Transfer the dough into a piping bag fitted with a star tip. Pipe 2-inch shapes onto the prepared baking sheets, leaving at least 2 inches of space between each cookie. Once piped, chill the cookies in the refrigerator for 20-30 minutes, allowing them to firm up for better shape during baking.
Step 6: Bake the Cookies
Preheat your oven to 350°F (175°C). Bake the cookies for 10-15 minutes until the edges are golden brown and the centers are set. Keep a close eye on them, as you want that perfect light color—too dark will mask the delicate flavor of your Melt-In-Your-Mouth Danish Butter Cookies.
Step 7: Cool and Store
After baking, let the cookies cool on the baking sheets for about 5 minutes. Then, gently transfer them to a wire rack to cool completely. Once cooled, store your Danish Butter Cookies in an airtight container at room temperature for up to 5 days, or freeze them for later enjoyment.
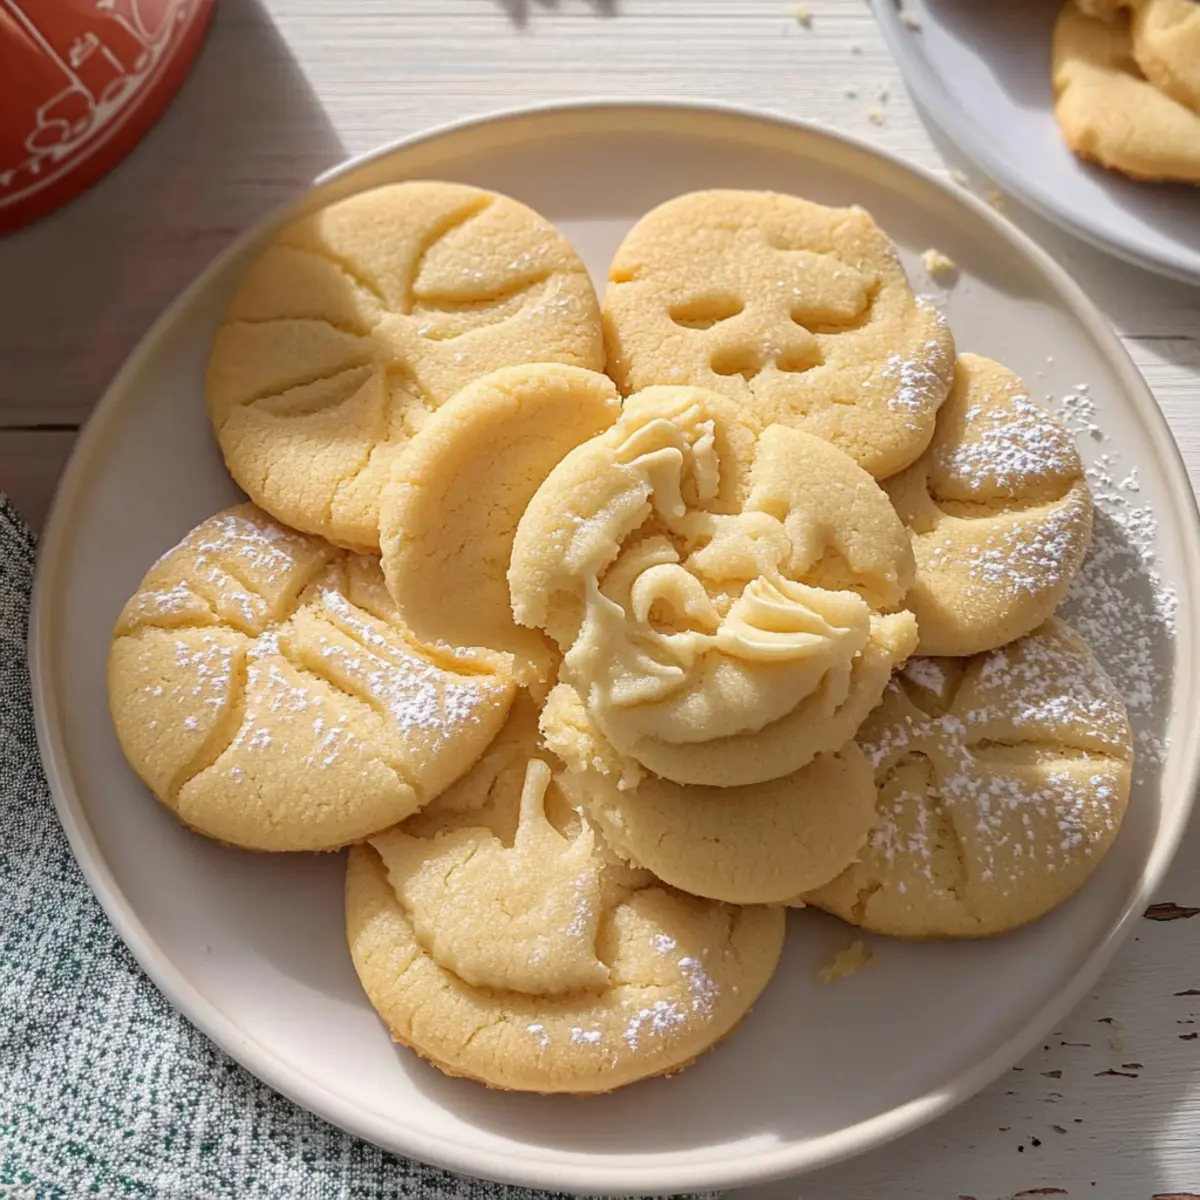
What to Serve with Melt-In-Your-Mouth Danish Butter Cookies
Create the perfect pairing experience with these comforting delights that will warm your soul and satisfy your sweet cravings.
-
Rich Hot Chocolate: This classic beverage, with its creamy richness, complements the buttery texture of the cookies, creating a cozy treat.
As you sip the hot chocolate, the taste melds beautifully with the cookies, bringing a nostalgic warmth to your afternoon. -
Fresh Berries Salad: A vibrant mix of strawberries, blueberries, and raspberries adds a refreshing burst of flavor, balancing the sweetness.
The tartness of the berries brightens each bite of cookie, making for a delightful contrast that keeps your palate engaged. -
Vanilla Ice Cream: A scoop of smooth, creamy vanilla ice cream is the ultimate companion for these cookies, creating a delightful melting experience.
As the warm cookie meets the cold ice cream, expect pure bliss that elevates your dessert game to new heights! -
Spiced Chai Tea: The aromatic spices of chai tea harmonize beautifully with the cookies, making this pairing a flavorful choice for cozy gatherings.
The warmth and spice enhance the indulgent experience of your Danish Butter Cookies, ensuring every sip complements each bite. -
Earl Grey Tea: The bergamot notes of Earl Grey add an elegant twist, creating a refreshing backdrop that highlights the cookies’ rich flavors.
Pairing this sophisticated tea with your cookies gives an afternoon treat a touch of luxury and calmness. -
Festive Fruitcake: A slice of moist and fruity cake offers a delightful contrast to the buttery cookies, perfect for holiday celebrations.
The combination adds depth and texture to your dessert table, making it all the more inviting for guests. -
Almond Milk Latte: For those who appreciate a nutty flavor, this latte pairs wonderfully, enhancing the cookies with a warm and comforting essence.
The creamy elements blend seamlessly with the buttery richness, ensuring a delightful coffee break. -
Lemon Bars: The zesty tanginess of lemon bars cuts through the sweetness, offering a refreshing palate cleanser between bites of cookie.
Their bright flavor profile complements the cookies, making it a cheerful addition to your dessert assortment.
Make Ahead Options
These Melt-In-Your-Mouth Danish Butter Cookies are a fantastic choice for those looking to cut down on kitchen time during busy days! You can prepare the cookie dough up to 3 days in advance—just refrigerate it in an airtight container (this helps keep the flavors fresh and prevents browning). Once you’re ready to bake, simply pipe the chilled cookie shapes onto your baking sheets directly from the fridge. If you prefer, you can also freeze the unbaked dough for up to 3 months; just pop it in the oven straight from the freezer, adding a couple of extra minutes to the baking time. Enjoy the ease of prepped cookies without compromising on that delicate, buttery taste!
How to Store and Freeze Danish Butter Cookies
Airtight Container: Store your Danish Butter Cookies in an airtight container at room temperature for up to 5 days to maintain their freshness and crumbly texture.
Freezing Cookies: For longer storage, freeze the cookies for up to 3 months. Make sure they are completely cooled before placing them in an airtight freezer bag or container.
Unbaked Dough: You can also freeze unbaked cookie dough. Shape it, wrap it well, and keep it in the freezer. Bake directly from frozen, adding a few extra minutes to the baking time.
Reheating Tips: If you enjoy warm cookies, reheat baked Danish Butter Cookies in a preheated oven at 350°F for about 5-7 minutes before serving.
Expert Tips for Danish Butter Cookies
Room Temperature Ingredients: Ensure your butter and eggs are at room temperature for the best texture and mixing.
Avoid Over-Mixing: Be cautious not to over-mix the dough; this helps prevent tough Danish Butter Cookies that lack that signature melt-in-your-mouth quality.
Chill Before Baking: Don’t skip chilling the piped cookies for 20-30 minutes. This step keeps them from spreading too much in the oven and ensures a beautiful shape.
Use a Kitchen Scale: For precision, use a kitchen scale to measure your ingredients accurately, especially the flour, which can vary by brand.
Watch the Baking Time: Keep a close eye on the cookies while baking. You want a golden edge but a pale center for that perfect, light texture.
Danish Butter Cookies Variations & Substitutions
Feel free to customize these lovely Danish butter cookies for your own unique twist and delightful flavor experiences!
- Nutty Bliss: Add 1/2 cup of finely chopped walnuts or pecans for a warm, nutty flavor throughout each cookie.
- Choco Delight: Incorporate 1/2 cup of semi-sweet chocolate chips into the dough for a scrumptious chocolatey surprise!
For a festive flair, consider adding a spoonful of cocoa powder for chocolate Danish butter cookies. The rich chocolatey taste pairs beautifully with the buttery texture, making them a sure crowd-pleaser.
- Zesty Lemon: Substitute 1 teaspoon of vanilla extract with lemon zest for a refreshing citrus twist, brightening up the overall flavor profile.
- Spiced Comfort: Sprinkle in 1/2 teaspoon of ground cinnamon or nutmeg for cozy warmth that pairs perfectly with a cup of tea.
These cozy spices will wrap you in warmth, evoking memories of sweet family gatherings.
- Colorful Sprinkles: Decorate the tops with colorful sprinkles or coarse sugar before baking for added visual appeal and a fun texture.
- Gluten-Free: Replace all-purpose flour with a gluten-free flour blend for a lighter, gluten-free version that everyone can enjoy.
If you’re looking for other inspirations, you might enjoy trying these variations with my Cajun Seafood Boil with Garlic Butter Sauce or indulging in some delicious Chocolate Peanut Butter Bars.
- Fruity Infusion: Fold in 1/4 cup of dried cranberries or diced apricots for a fruity contrast that adds both flavor and chewiness.
Embrace your creativity—these delightful twists will surprise and please your friends and family!
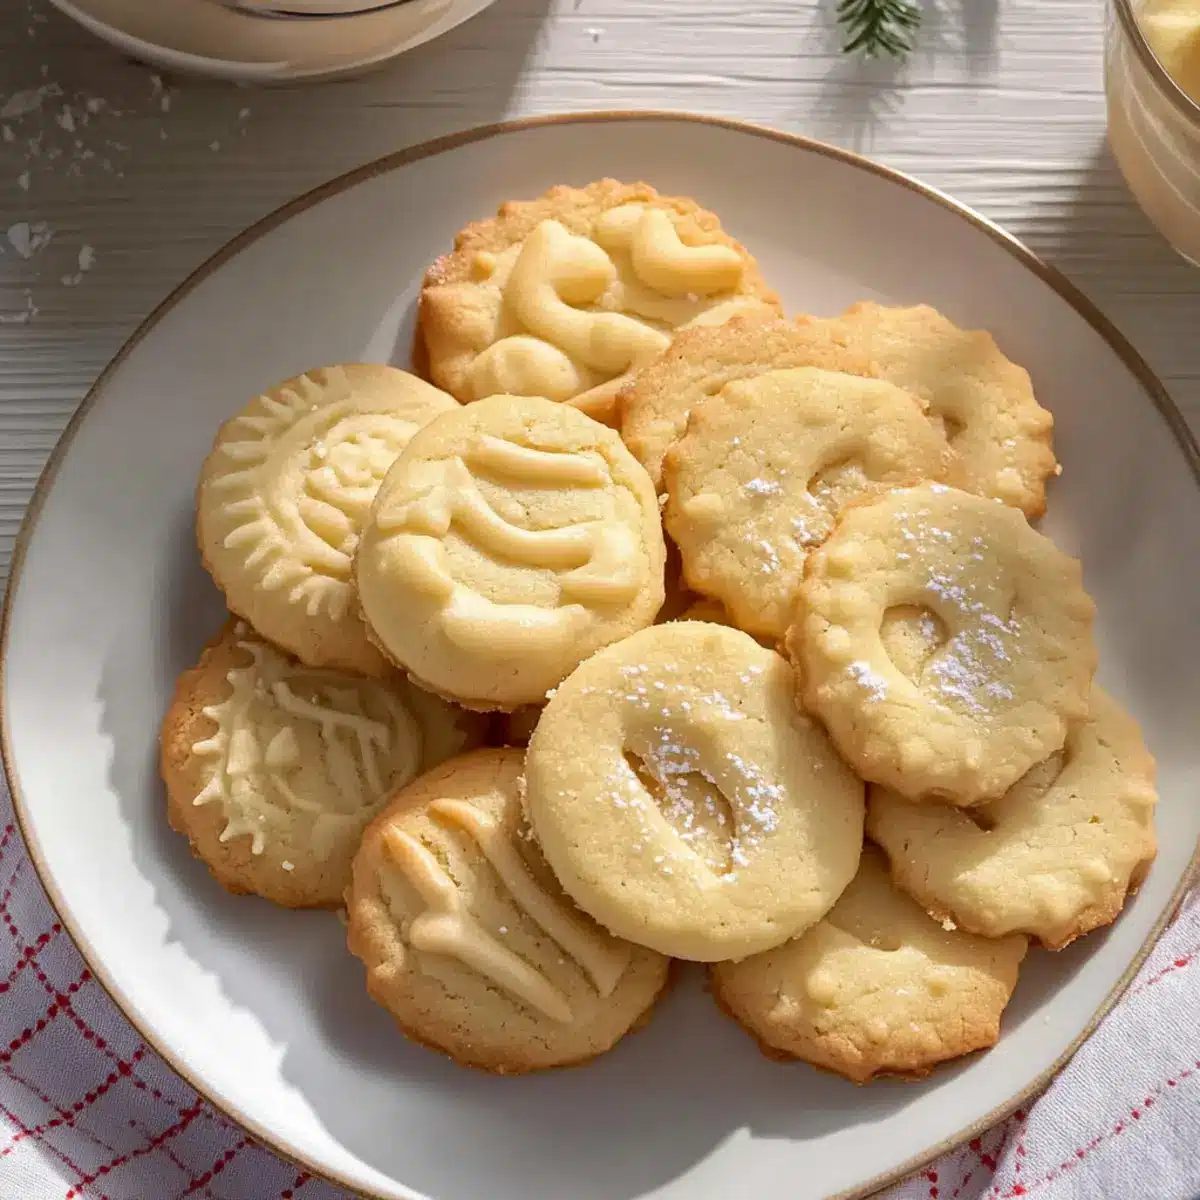
Melt-In-Your-Mouth Danish Butter Cookies Recipe FAQs
How do I choose the right butter for Danish Butter Cookies?
Absolutely! For the best flavor, I recommend using European salted butter, which adds richness and aids in achieving the beautiful texture. If you prefer, you can opt for unsalted butter; just remember to add an extra 1/4 teaspoon of salt to the recipe to keep that delightful balance of sweetness.
How should I store my Danish Butter Cookies?
To keep your cookies fresh and delicious, store them in an airtight container at room temperature for up to 5 days. If you want to enjoy them later, these cookies freeze beautifully for up to 3 months. Just ensure they are completely cooled before adding them to a freezer bag or container to prevent freezer burn.
Can I freeze the unbaked dough for Danish Butter Cookies?
Yes! You can freeze the unbaked cookie dough with ease. Shape your dough as directed, wrap it tightly in plastic wrap or place it in an airtight container, and pop it in the freezer. When you’re ready to bake, you can bake them straight from frozen—just add a few extra minutes to the baking time for best results.
What if my dough is too wet or too dry?
Don’t worry, it happens! If your dough is too wet, try adding a little more flour, a tablespoon at a time, until the consistency is right—properly combined but still manageable for piping. Conversely, if the dough is too dry and crumbly, add a splash more milk to achieve a smoother texture. It’s all about finding that sweet spot.
Are Danish Butter Cookies safe for pets or those with allergies?
While Danish Butter Cookies are scrumptious for humans, they aren’t suitable for pets. Ingredients like butter and sugar can be harmful to animals. For those with allergies, keep in mind that these cookies contain dairy, eggs, and gluten. Always check for specific ingredient sensitivities if you’re sharing them or giving them as gifts.
Can I decorate my Danish Butter Cookies?
Absolutely! Get creative! After piping the cookie shapes, sprinkle them with festive sprinkles or coarse sugar before baking for a beautiful finish. You might also experiment by mixing in chocolate chips or chopped nuts into your dough. The more, the merrier!
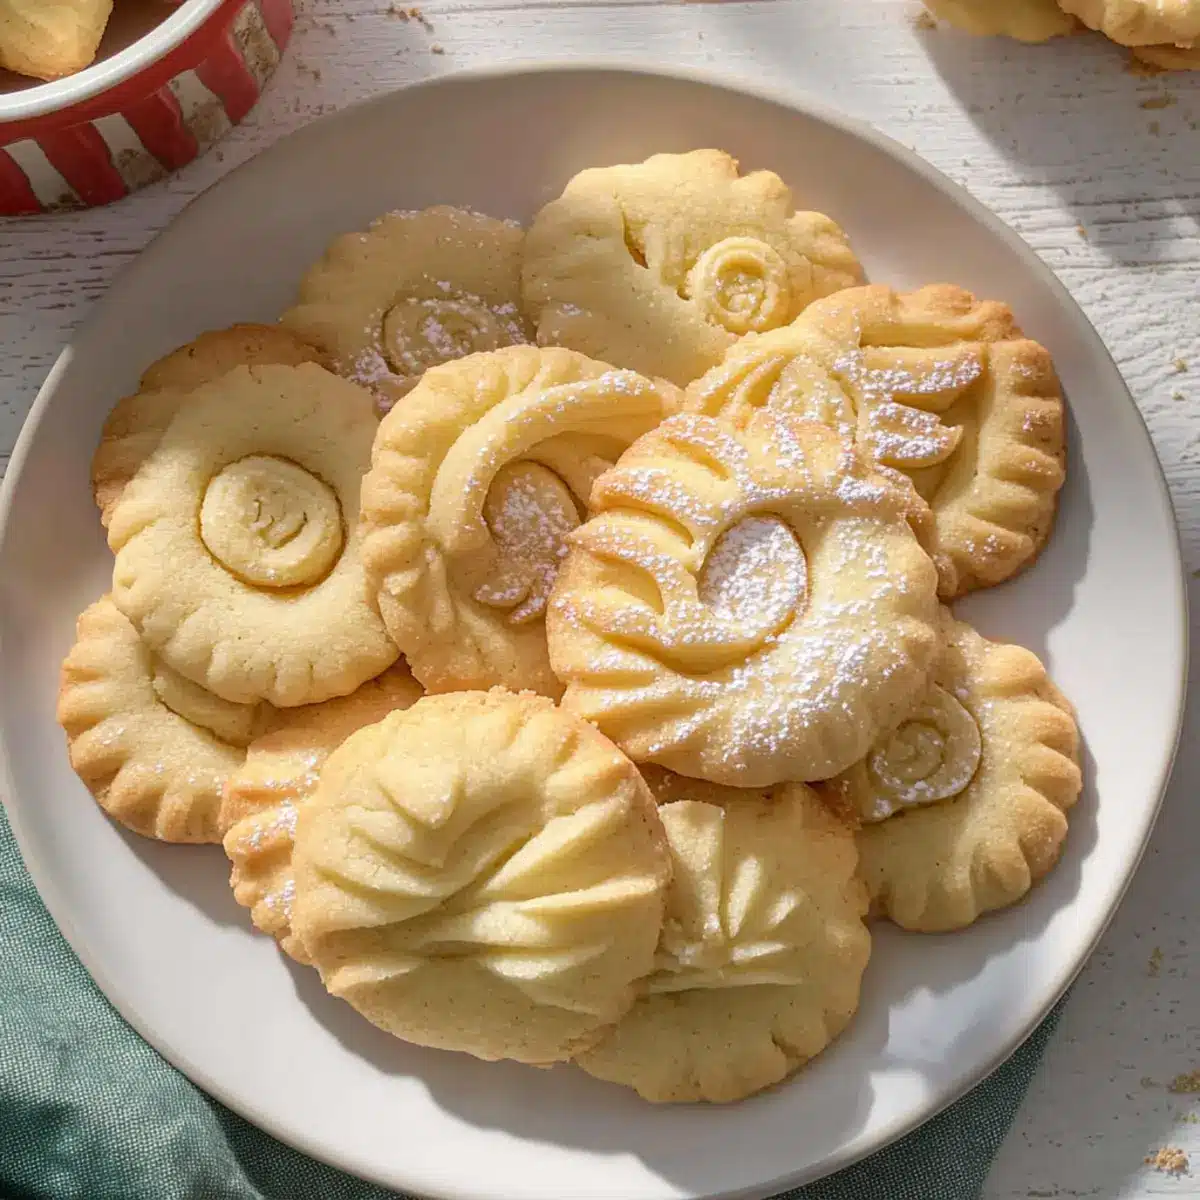
Irresistibly Buttery Danish Butter Cookies You’ll Love
Ingredients
Equipment
Method
- Prepare the baking environment: clear room in your refrigerator for chilling the cookies and line two baking sheets with parchment paper.
- In a stand mixer, beat 1 cup of room temperature European salted butter on medium speed until smooth and creamy, about 2 minutes.
- Gradually add in ¾ cup of granulated sugar and a pinch of salt, mixing until fluffy and light.
- Add 2 egg yolks, 1 teaspoon of vanilla extract, and 1 tablespoon of whole milk, mixing on low speed until well combined.
- In a separate bowl, whisk together 1 cup of all-purpose flour and ½ cup of cake flour until evenly combined.
- Gradually fold this flour mixture into the wet ingredients using a spatula, mixing just until combined.
- Transfer the dough into a piping bag fitted with a star tip and pipe 2-inch shapes onto the prepared baking sheets.
- Chill the cookies in the refrigerator for 20-30 minutes.
- Preheat your oven to 350°F (175°C) and bake the cookies for 10-15 minutes until the edges are golden brown.
- Let the cookies cool on the baking sheets for about 5 minutes, then transfer to a wire rack to cool completely.
Leave a Reply