
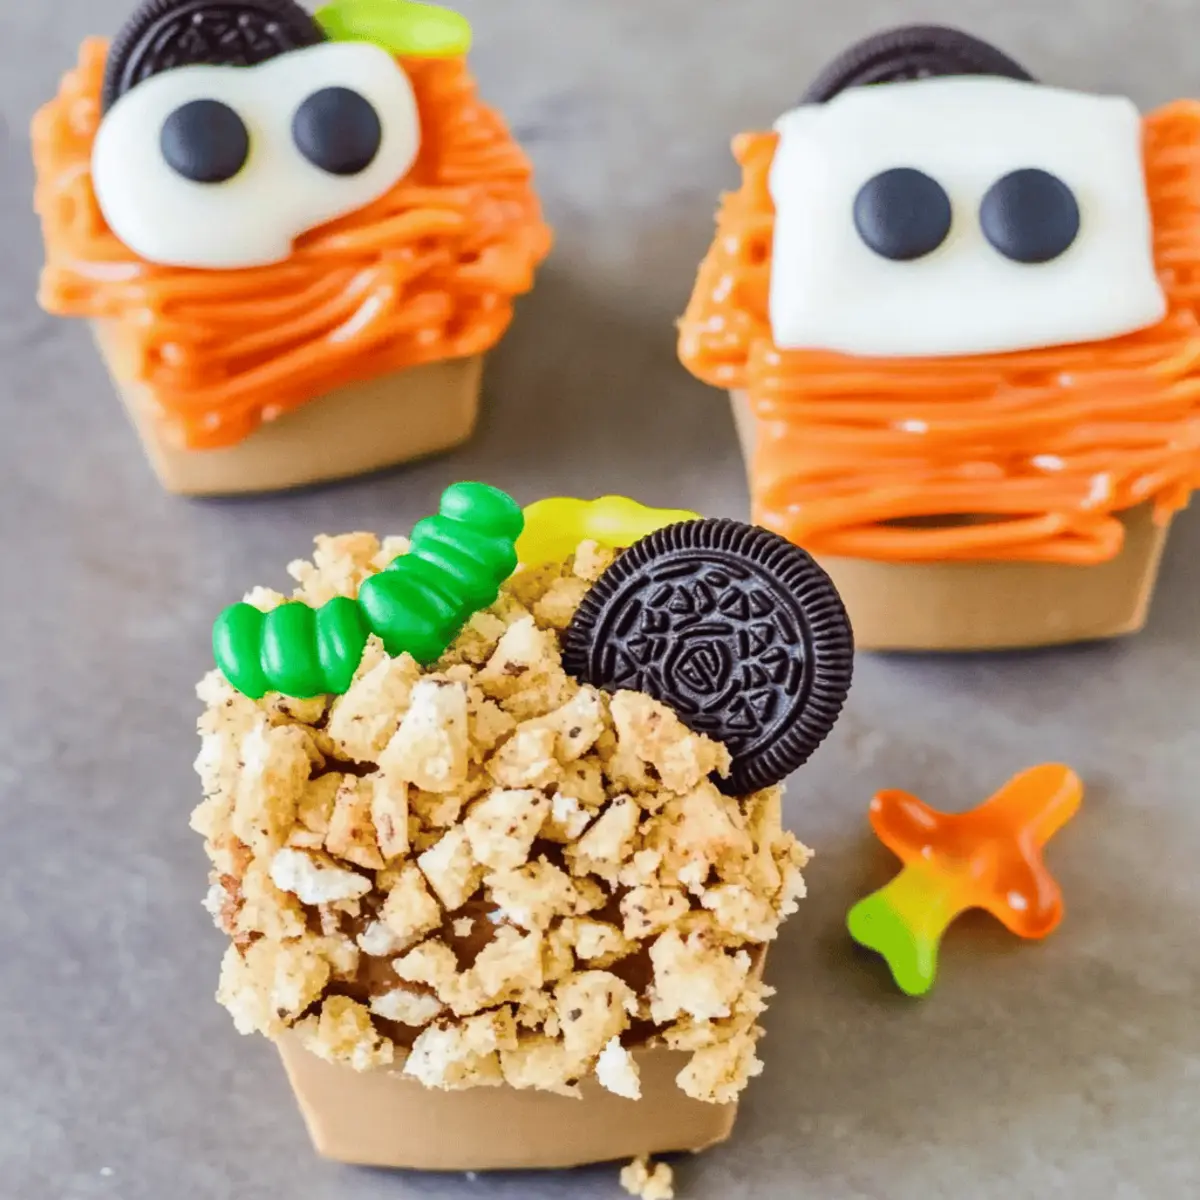
There’s something magical about transforming everyday treats into whimsical Halloween desserts that can both thrill and chill. With the excitement of the spooky season upon us, I couldn’t resist diving into the playful world of Halloween Rice Krispie Treats—a nostalgic yet creative twist on a classic favorite. These treats not only require minimal prep time, but they also invite a bit of creativity that both kids and adults can enjoy. Imagine molding crispy marshmallow goodness into spooky shapes or whimsical figures; they’re bound to become the talk of the Halloween party! So, whether you’re aiming to impress guests or just want to delight your family, these no-bake delights will keep the spirit of Halloween alive. Curious about how to craft these eerie yet delicious confections? Let’s dive into the sweet details!
Why Love Halloween Rice Krispie Treats?
Simplicity at Its Best: These Halloween Rice Krispie Treats can be whipped up in no time, making them an ideal choice for those busy days leading up to Halloween.
Endless Creativity: Customize your treats by molding them into spooky shapes, or decorating them with colorful candy melts, giving each creation its unique flair.
Kid-Friendly Fun: Both kids and adults will love rolling up their sleeves and getting creative, turning a classic treat into a fun Halloween project.
No-Bake Convenience: With no baking involved, these treats save you time and effort, allowing for quick assembly while still delivering a festive punch.
Crowd-Pleasing: These spooky delights are sure to impress party guests, leaving everyone’s taste buds tingling and filled with nostalgia—think back to those joyous childhood treats that you loved!
For more fun and festive options, consider pairing these treats with other spooky recipes like Creepy Dirt Cups or Chili Beef Rice, which add flavorful variety to your Halloween gathering.
Halloween Rice Krispie Treats Ingredients
For the Base
• Rice Krispies – The crunchy cereal forms the classic base of these treats, ensuring they’re light and crispy.
• Marshmallows – These provide the gooey sweetness that binds the Rice Krispies together; mini marshmallows melt quickly and evenly.
• Butter – Adds richness and flavor, making your treats even more delightful; consider using unsalted for better control of sweetness.
For Decoration
• Candy Melts – Perfect for dipping and decorating; use various colors to create colorful spooky designs or ghostly figures.
• Sprinkles – Add a fun, festive touch, making treat surfaces sparkle with Halloween spirit; use themed colors for extra flair.
• Edible Eyes – These whimsical decorations bring life to your spooky shapes, and you can find them in various sizes for different effects.
Optional Add-ins
• Peanut Butter – Swirl into the mixture for extra flavor, offering a deliciously nutty twist to your Halloween Rice Krispie Treats.
• Chocolate Chips – Mix in for added sweetness and texture; dark chocolate enhances the flavor profile beautifully.
• Gummy Candies – Use as fun decorations or as part of your treat designs to add an extra chewy surprise that kids will love.
With these ingredients, your Halloween Rice Krispie Treats will be not only delightful in flavor but also visually stunning! Let your creativity soar as you mix and mold these sweet treats for the Halloween festivities.
Step‑by‑Step Instructions for Halloween Rice Krispie Treats
Step 1: Prepare Your Ingredients
Begin by gathering all your ingredients for the Halloween Rice Krispie Treats. Measure out 3 tablespoons of butter, 4 cups of mini marshmallows, and 6 cups of Rice Krispies. Grab a large pot and a mixing bowl, as well as an 8×8 inch baking dish lined with parchment paper for easy removal. Keep everything within reach to streamline your preparation.
Step 2: Melt the Butter and Marshmallows
In a large pot over low heat, melt the butter while stirring continuously. Once the butter has melted, add in the mini marshmallows. Continue to heat and stir until the marshmallows are completely melted and smooth, which should take about 4-5 minutes. This gooey mixture is the heart of your Halloween Rice Krispie Treats, so ensure there are no lumps!
Step 3: Combine Rice Krispies
Remove the melted marshmallow mixture from heat and gently fold in the 6 cups of Rice Krispies with a spatula. Stir until the cereal is evenly coated, which will take about 1–2 minutes. The mixture should only slightly cool before moving to the next step to maintain its stickiness, ensuring that your treats bond together beautifully.
Step 4: Shape the Treats
Transfer the Rice Krispie mixture into the prepared baking dish, pressing it down firmly but gently with your hands or a spatula to create an even layer. Use a light coating of cooking spray on your hands to prevent sticking. Allow it to cool at room temperature for approximately 30 minutes or until firm before cutting into desired shapes for Halloween.
Step 5: Melt the Candy Coating
While the treats cool, melt your desired colors of candy melts in a microwave-safe bowl. Heat them in 30-second intervals, stirring in between until completely smooth. This colorful candy coating will enhance your Halloween Rice Krispie Treats, making them even spookier and more festive for your Halloween gathering.
Step 6: Decorate the Treats
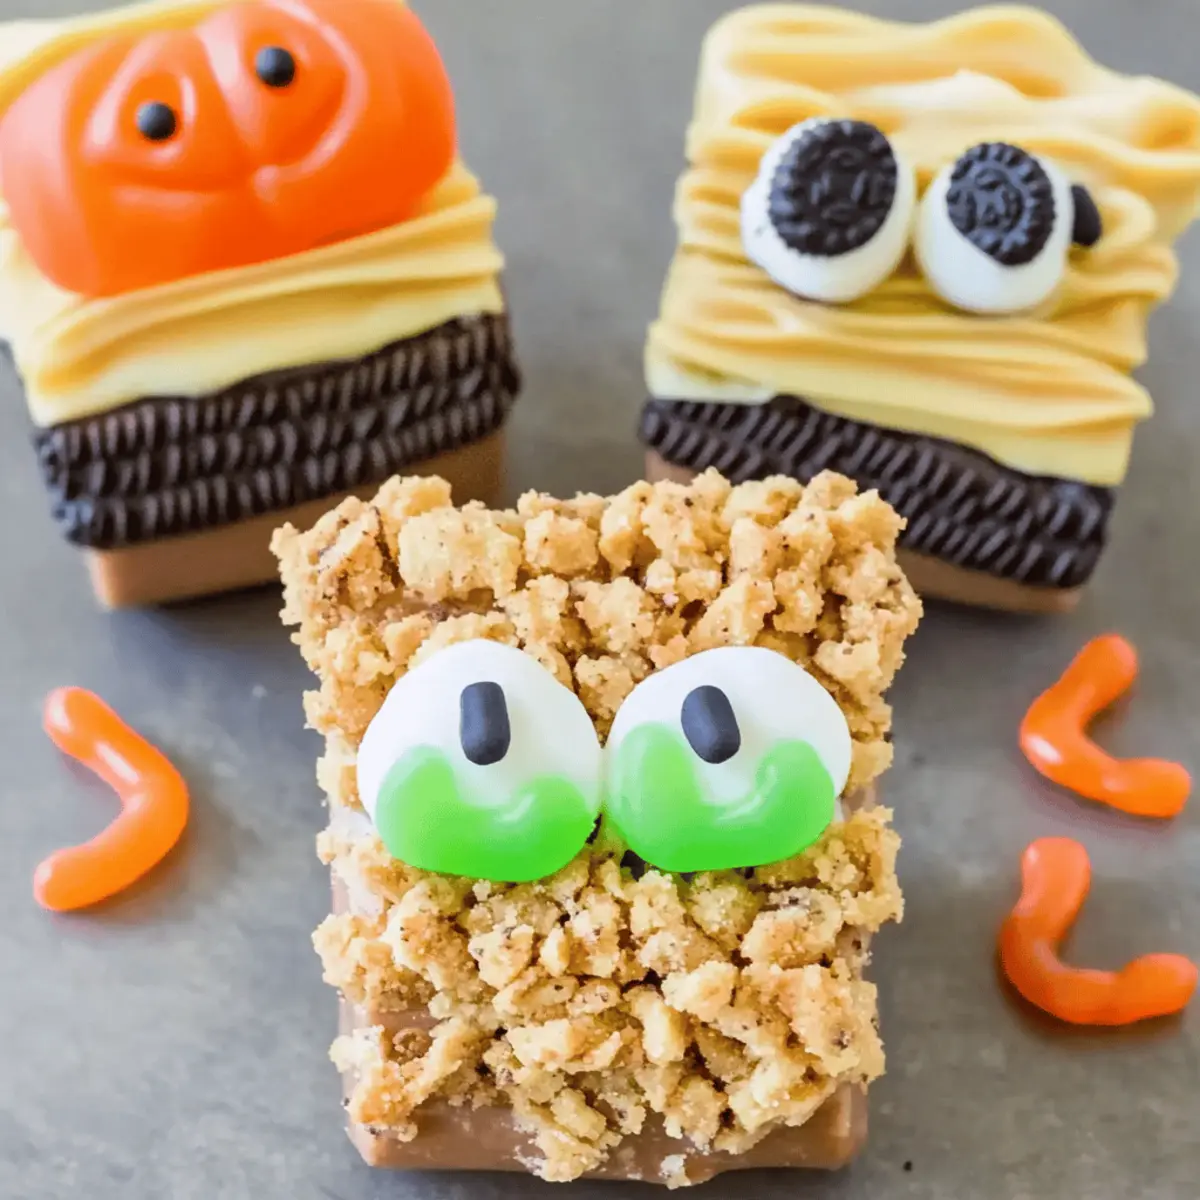
Once the Rice Krispie treats are firm and cool, use cookie cutters to create fun Halloween shapes, like ghosts or bats. Dip each shape partially into the melted candy melts, letting excess drip off, and then place them on parchment paper. Top with sprinkles or edible eyes while the coating is still wet for a spooky touch that will delight kids and adults alike!
Step 7: Serve & Enjoy
Allow the decorated Halloween Rice Krispie Treats to set completely, which should only take about 15-20 minutes. Arrange them on a festive platter for serving. These treats are perfect for Halloween parties, and their colorful designs make them visually appealing while eliciting joy from every guest. Enjoy the delightful treats you’ve created!
What to Serve with Halloween Rice Krispie Treats?
These playful treats are the perfect addition to your Halloween table, inviting creativity and deliciousness to your gathering.
- Spooky Punch: A tangy and fruity punch infused with spooky-themed garnishes enhances the festive atmosphere, providing a refreshing contrast to the sweetness of the treats.
- Ghostly Cupcakes: Light, fluffy cupcakes topped with ghostly meringue frosting create an inviting color palette, making for a delightful pairing that keeps the Halloween spirit alive.
- Monster Macarons: These chewy French cookies filled with colorful ganache add elegance and a variety of flavors, making them a sophisticated counterpart to your Rice Krispie treats.
- Creepy Dirt Cups: Layers of chocolate pudding, crushed Oreos, and gummy worms echo the fun texture and theme, creating a fun, interactive dessert option that kids will love.
- Caramel Apples: Juicy apples enrobed in rich caramel offer a sweet, tart contrast, balancing the sugary treats while sticking to the Halloween theme.
- Halloween-Themed Drinks: Serve beverages in spooky colors with fun garnishes—think green ghost smoothies or purple potion punch—to create an immersive Halloween experience.
- Chocolate Dipped Pretzels: These crunchy, salty snacks bring a delightful contrast to the sweetness, and their simple yet festive decoration makes them a crowd-pleasing addition.
- Pumpkin Spice Cookies: Soft and aromatic, these cookies echo the flavors of fall, connecting beautifully with the Halloween festivities while providing warm, comforting bites.
- Gummy Candy Platter: A colorful assorted platter of gummy candies allows guest to indulge their sweet tooth and complements the playful nature of your Rice Krispie treats.
Make Ahead Options
These Halloween Rice Krispie Treats are perfect for busy home cooks looking to save time during the spooky season! You can prepare the Rice Krispie base up to 24 hours in advance, cooling it completely before cutting it into shapes. Store the cooled treats in an airtight container at room temperature to maintain their delightful texture. Additionally, melt the candy melts and refrigerate them in a separate container beforehand. When you’re ready to serve, simply dip the shapes into the melted candy and decorate with sprinkles or edible eyes. This way, you’ll be one step ahead while still delivering treats that are just as delicious and festive!
Halloween Rice Krispie Treats Variations
Dive into the spooky fun of Halloween Rice Krispie Treats by customizing them to your heart’s content!
-
Pumpkin Spice: Add pumpkin spice to the marshmallow mixture for a seasonal twist that enhances the autumn flavor profile.
Elevate your treats with festive flair! The warm spices create a cozy vibe that’s perfect for fall celebrations. -
Chocolate Drizzle: After decorating with candy melts, drizzle melted chocolate on top for an extra layer of sweetness and richness.
This delightful combination will make every bite even more indulgent, ensuring your treats shine at any gathering. -
Gluten-Free Option: Swap Rice Krispies for gluten-free crispy rice cereal to cater to dietary needs without sacrificing flavor.
Everyone can enjoy these tasty treats, allowing all your guests to indulge in Halloween delights worry-free. -
Marshmallow Variants: Use flavored marshmallows, like strawberry or blueberry, for a unique taste and a fun twist on the traditional recipe.
Each flavor adds a new layer of excitement and surprise that will keep your guests guessing as they enjoy their sweet treats! -
Fun Toppings: Instead of sprinkles, consider crushed candies or themed Halloween chocolates for a fresh and enticing texture.
Roll your shapes in these crunchy toppings to create delightful, colorful treats that inspire everyone to dig in! -
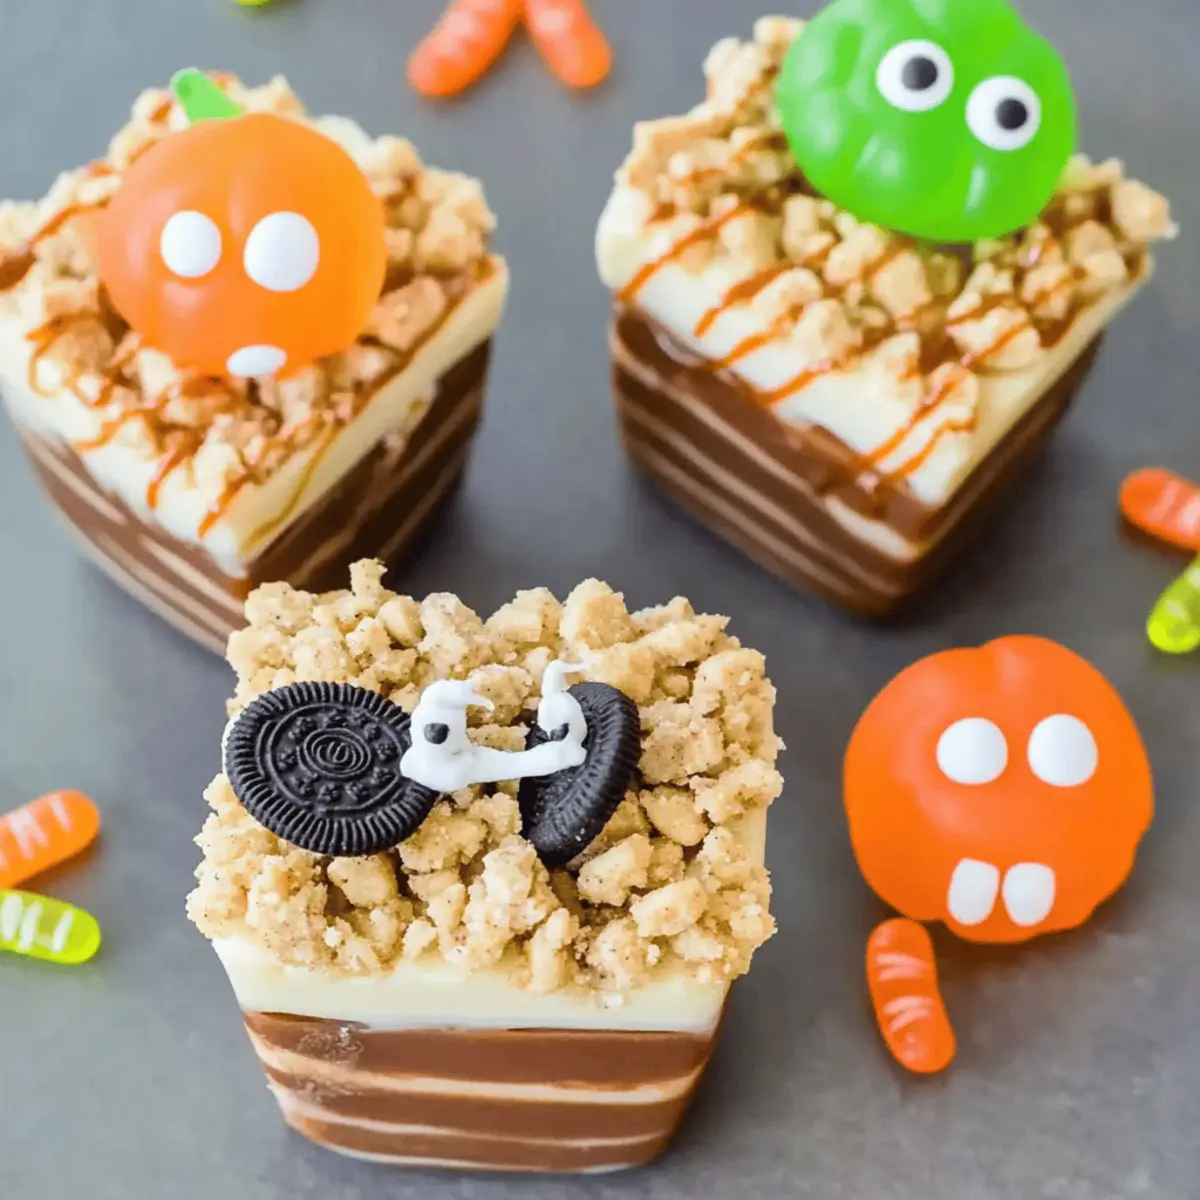
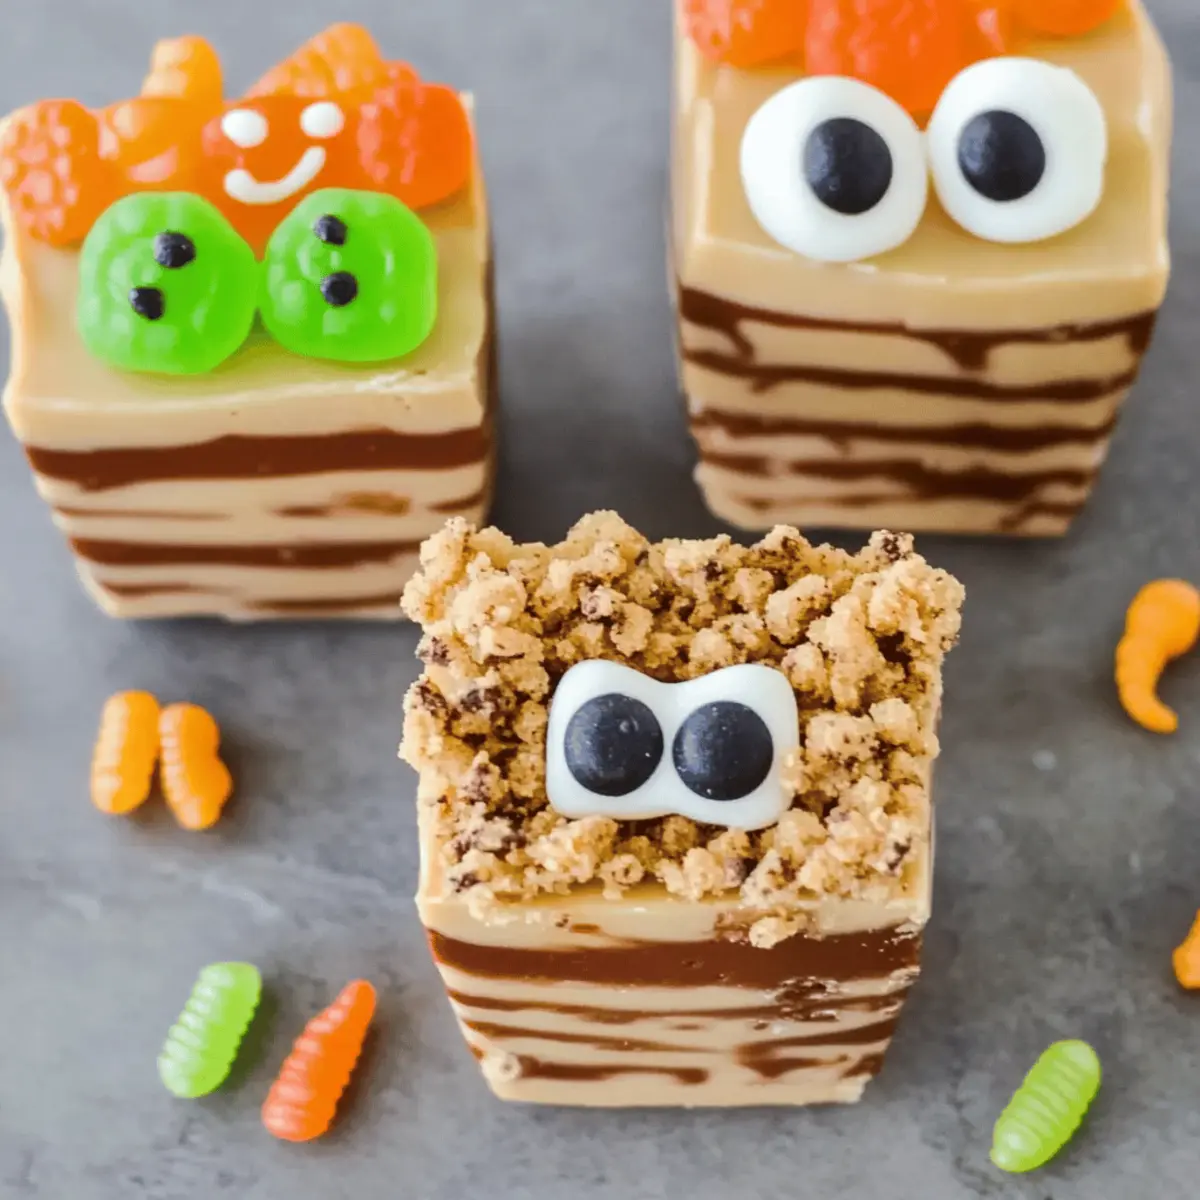
Rice Crispy Monsters: Shape treats into monsters with candy corn teeth and gummy candies for eyes, bringing creative designs to life.
This playful approach engages kids and gets everyone excited about Halloween, turning simple treats into edible art. -
Peanut Butter Twist: Mix in peanut butter to the melted marshmallow mixture for a creamy, nutty flavor that pairs beautifully with chocolate.
The rich, savory element adds depth and a complex flavor that will wow the taste buds of anyone who tries them. -
Spooky Fillings: Create surprise fillings by adding mini chocolate chips or a dollop of flavored frosting in the center of each shape.
This unexpected treat provides excitement in every bite, encouraging guests to munch their way through the festive fun!
Each variation of these Halloween Rice Krispie Treats opens up a world of creativity and deliciousness. For more inspiration, don’t forget to check out ideas like Creepy Dirt Cups or Korean Rice Balls to throw an unforgettable Halloween party filled with delightful bites!
How to Store and Freeze Halloween Rice Krispie Treats
Room Temperature: Keep your Halloween Rice Krispie Treats in an airtight container at room temperature for up to 3 days for optimal freshness and texture.
Fridge: If you prefer to extend their lifespan, store them in the fridge for up to a week. Just make sure they’re sealed to prevent them from becoming too hard.
Freezer: For longer storage, wrap each treat individually in plastic wrap and place them in a freezer-safe bag. They can be frozen for up to 2 months.
Reheating: To enjoy chilled treats, let them sit at room temperature for a few minutes before serving; avoid reheating as it can affect their texture.
Expert Tips for Halloween Rice Krispie Treats
-
Stay Warm: Keep the marshmallow mixture warm while working; if it cools too much, the Rice Krispies won’t stick together properly.
-
Light Pressure: When shaping your treats, press down gently to avoid making them too dense; this keeps the treats light and crispy.
-
Chill Before Cutting: Let the formed treats chill slightly before cutting them into shapes, ensuring you get clean edges and defined shapes.
-
Mix and Match: Don’t hesitate to experiment with different candy melts for decoration; this adds fun colors and makes each Halloween Rice Krispie treat unique!
-
Enjoy Together: Encourage kids to help with mixing and decorating; it’s a fun way to bond and unleash creativity while making spooky treats.
Halloween Rice Krispie Treats Recipe FAQs
How do I choose the right marshmallows?
Absolutely! When making Halloween Rice Krispie Treats, mini marshmallows are ideal because they melt evenly and quickly. Look for fresh, soft marshmallows without any hard spots or inconsistencies; fresh ones will blend perfectly into your gooey mixture.
What’s the best way to store leftover Rice Krispie Treats?
For sure! Store your Halloween Rice Krispie Treats in an airtight container at room temperature for up to 3 days. If you want them to last longer, place them in the fridge for up to a week. Just remember to seal them properly to avoid hardening!
Can I freeze Halloween Rice Krispie Treats?
Yes, you can! To freeze them, wrap each treat individually in plastic wrap, then place them in a freezer-safe bag. They can be frozen for up to 2 months. When ready to enjoy, let them sit at room temperature for a few minutes to soften.
What should I do if the mixture is too sticky?
Very! If your mixture becomes too sticky while shaping, use a light coating of cooking spray on your hands or spatula to prevent sticking. This will make it easier for you to mold them into fun Halloween shapes without losing that light, crispy texture.
Are there any allergy considerations for this recipe?
Definitely! Keep in mind that Rice Krispie Treats often contain gluten, so if you’re making these for someone with a gluten allergy, ensure you’re using gluten-free Rice Krispies. Additionally, check the labels on candies and sprinkles to avoid potential allergens, especially for nut allergies.
Can I customize the decorations?
Absolutely! One of the most enjoyable aspects of making Halloween Rice Krispie Treats is the creative freedom. You can switch out candy melts for other colors, experiment with different sprinkles, or add fun decorations like gummy bugs or sprinkles to match your spooky theme.
Halloween Rice Krispie Treats: Spooky Sweet Fun for All
Ingredients
Equipment
Method
- Prepare Your Ingredients: Gather all your ingredients and measure out butter, marshmallows, and Rice Krispies.
- Melt the Butter and Marshmallows: Melt butter on low heat, add marshmallows and stir until smooth.
- Combine Rice Krispies: Remove from heat, fold in Rice Krispies and stir until evenly coated.
- Shape the Treats: Transfer mixture to baking dish, pressing down firmly to create an even layer.
- Melt the Candy Coating: Melt candy melts in a microwave-safe bowl until smooth.
- Decorate the Treats: Use cookie cutters to shape treats, dip in candy melts and add decorations.
- Serve & Enjoy: Allow to set, arrange on a platter and enjoy during the Halloween festivities.
Leave a Reply