
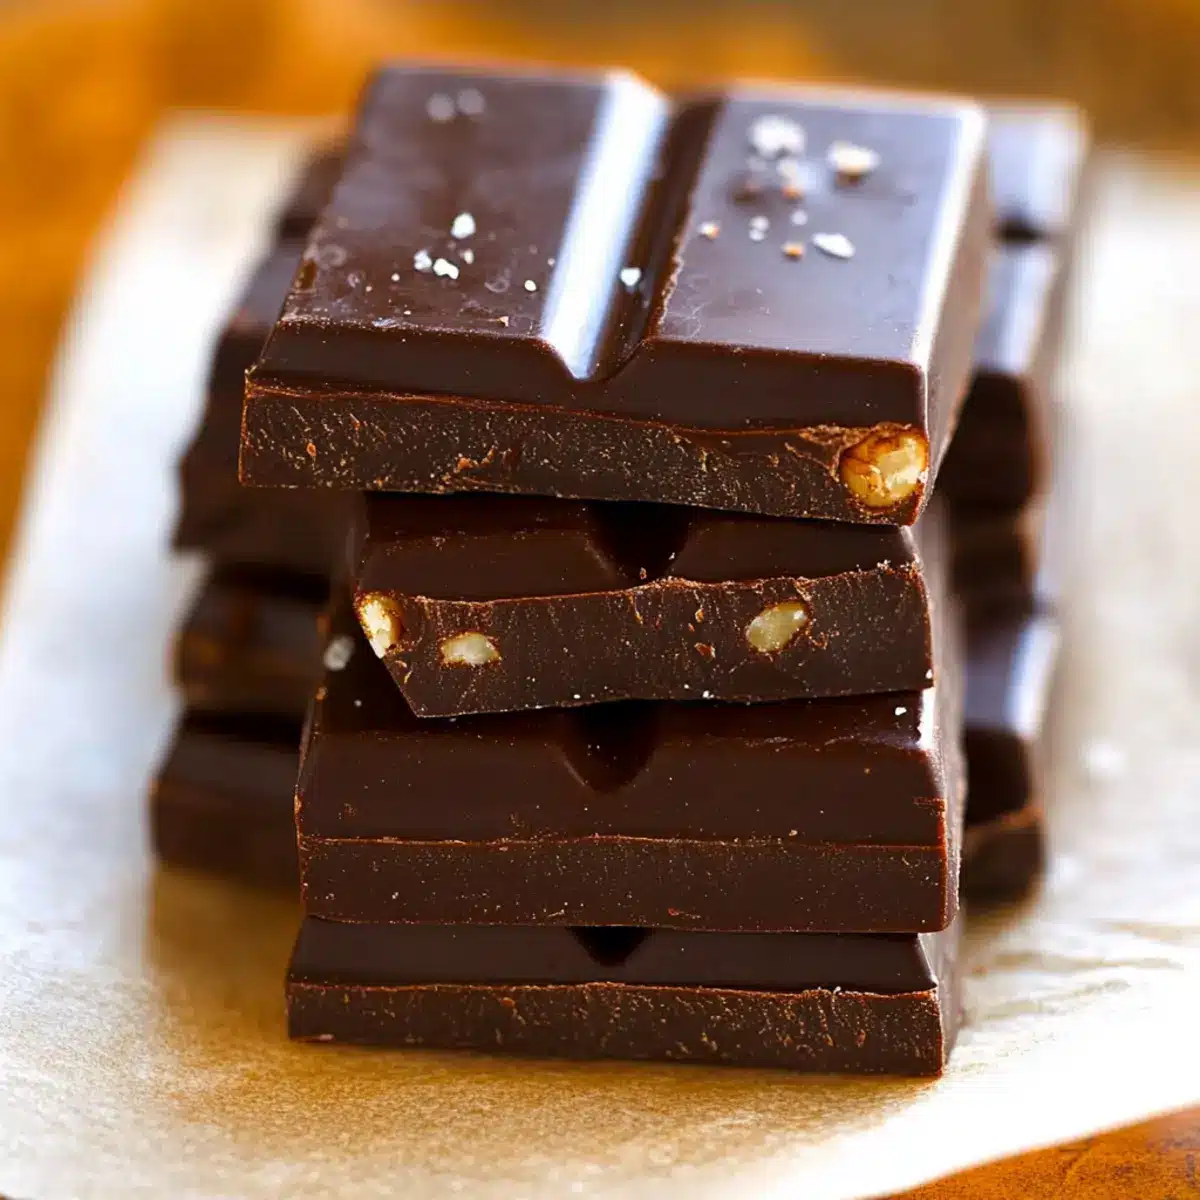
Have you ever stood in front of your pantry, craving something sweet yet feeling guilty about indulging? I’ve been there. That’s why I’m thrilled to share my recipe for Homemade Chocolate Bars—an absolute game changer for those of us who want a delightful treat without the sugar overload. Ready in under five minutes with just three ingredients, these bars are not only quick to whip up but also completely customizable! Whether you’re a fan of classic chocolate, a mint enthusiast, or someone who loves a rocky road adventure, this recipe lets you play around with flavors and add-ins, all while keeping it low-carb and keto-friendly. Imagine satisfying your sweet tooth and impressing friends with your homemade creations—all while avoiding the guilt associated with store-bought options. Curious about how easy it is to make these luscious bars? Let’s dive in!
Why Make Homemade Chocolate Bars?
Simplicity: With just three easy ingredients, these chocolate bars come together in minutes, making them perfect for busy schedules.
Customizable Flavors: You can play with endless variations, from a refreshing chocolate mint to a delightful rocky road, ensuring you never get bored!
Guilt-Free Indulgence: These bars are low in carbs and can be entirely sugar-free, so you can satisfy your sweet cravings without any guilt.
Instant Gratification: Ready in less than 5 minutes, you’ll be enjoying your homemade treats in no time.
Perfect for Sharing: Impress friends and family with your culinary creativity—everyone will love your delicious homemade chocolate bars! For more delightful chocolate creations, check out the Chocolate Cheesecake Decadent or the scrumptious Bake Chocolate Bars.
Homemade Chocolate Bars Ingredients
• Dive into sweet simplicity!
For the Chocolate Base
- Cacao or Cocoa Powder – This provides the rich chocolate base; opt for raw cacao for an intense flavor.
- Coconut Oil – Acts as a binder while adding a smooth texture; regular unsalted butter can be used for a different taste.
- Maple Syrup, Honey, or Agave – Sweetens your chocolate bars; replace with vanilla stevia drops for a sugar-free version.
For Flavor Variations
- Extracts – A few drops of mint or vanilla can elevate your chocolate bars to new flavor heights.
- Add-ins – Enhance texture and taste by mixing in cocoa nibs, nuts, or chia seeds to personalize your treat.
Customizing your Homemade Chocolate Bars has never been easier!
Step‑by‑Step Instructions for Homemade Chocolate Bars
Step 1: Melt the Coconut Oil
Begin by heating 1/3 cup of coconut oil in a small saucepan over low heat, stirring gently until just melted. This should take around 2-3 minutes; keep an eye on it to avoid overheating. Once melted, remove from heat and allow it to cool slightly; this oil will create a smooth base for your Homemade Chocolate Bars.
Step 2: Combine Ingredients
In a mixing bowl, whisk together the melted coconut oil with 1 cup of cacao or cocoa powder and 1/4 cup of maple syrup, honey, or agave. Mix vigorously for about 1-2 minutes until the texture is thick and glossy, resembling a silky chocolate sauce. Ensure there are no lumps, creating that rich chocolate base we crave for our Homemade Chocolate Bars.
Step 3: Mold the Chocolate
Pour the smooth chocolate mixture into a flat container lined with parchment paper or silicone chocolate molds for easy removal. Use a spatula to spread it evenly, making it about 1/4 inch thick. Take a moment to admire your work, as this is the foundation of your delicious Homemade Chocolate Bars!
Step 4: Chill to Set
Place your filled container or molds in the refrigerator and chill for about 30 minutes or until the chocolate is firm and set. You can also speed this process up by putting them in the freezer for about 15 minutes. You’ll know it’s ready when it feels completely solid and breaks easily.
Step 5: Cut and Store
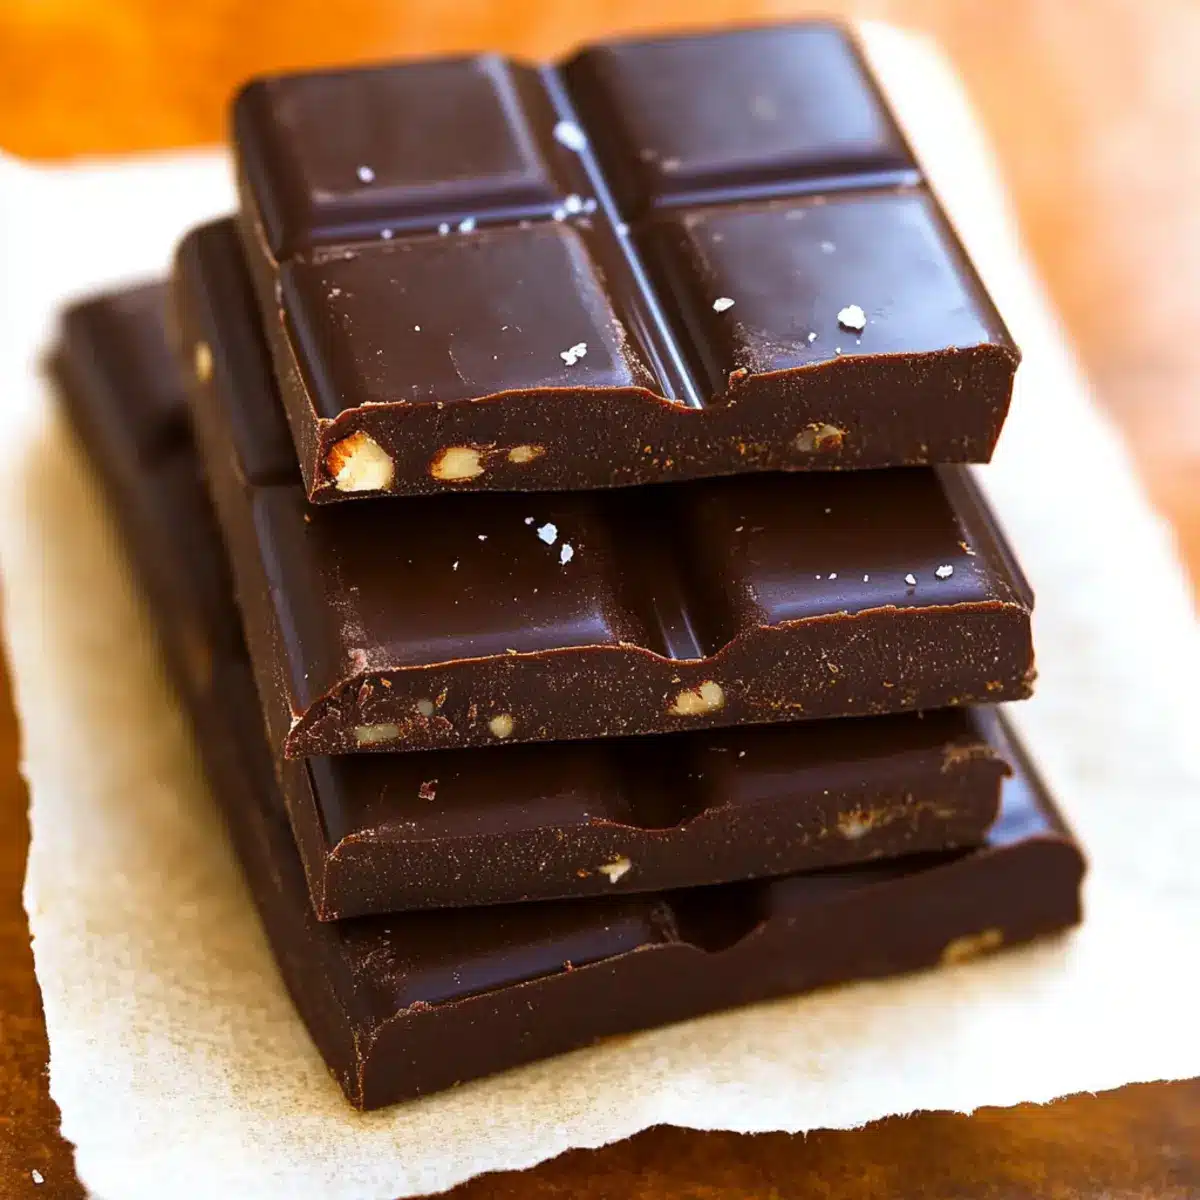
Once chilled, remove the chocolate from the molds or parchment paper, and cut it into bars or squares as desired. Enjoy them immediately or store any leftovers in an airtight container in the fridge for up to two weeks. Alternatively, you can freeze them for longer freshness, making your Homemade Chocolate Bars a snack you can always have on hand!
Homemade Chocolate Bars Variations & Substitutions
Feel free to get creative and personalize your homemade chocolate bars to delight your taste buds even more!
-
Chocolate Mint: Add a few drops of pure peppermint extract for a refreshing twist that brings back fond memories of minty treats. The moment you bite into one, your senses will be invigorated!
-
Rocky Road: Mix in mini vegan marshmallows and chopped nuts for a fun and chewy texture that adds layers of surprise in every bite. Think of this as a nostalgic nod to your favorite candy bar!
-
Peanut Butter Swirl: Swirl in melted peanut butter before chilling for a creamy and nutty flavor explosion. It’s a match made in dessert heaven, satisfying those who crave that classic combination.
-
Spicy Chocolate: Introduce a hint of cayenne pepper for those who like a little heat with their sweet. This bold addition gives a surprising kick, making your chocolate bars unforgettable!
-
Dried Fruits: Toss in some dried cherries or cranberries for a delightful chewiness and burst of fruity flavor. These additions not only enhance taste but also add a beautiful pop of color.
-
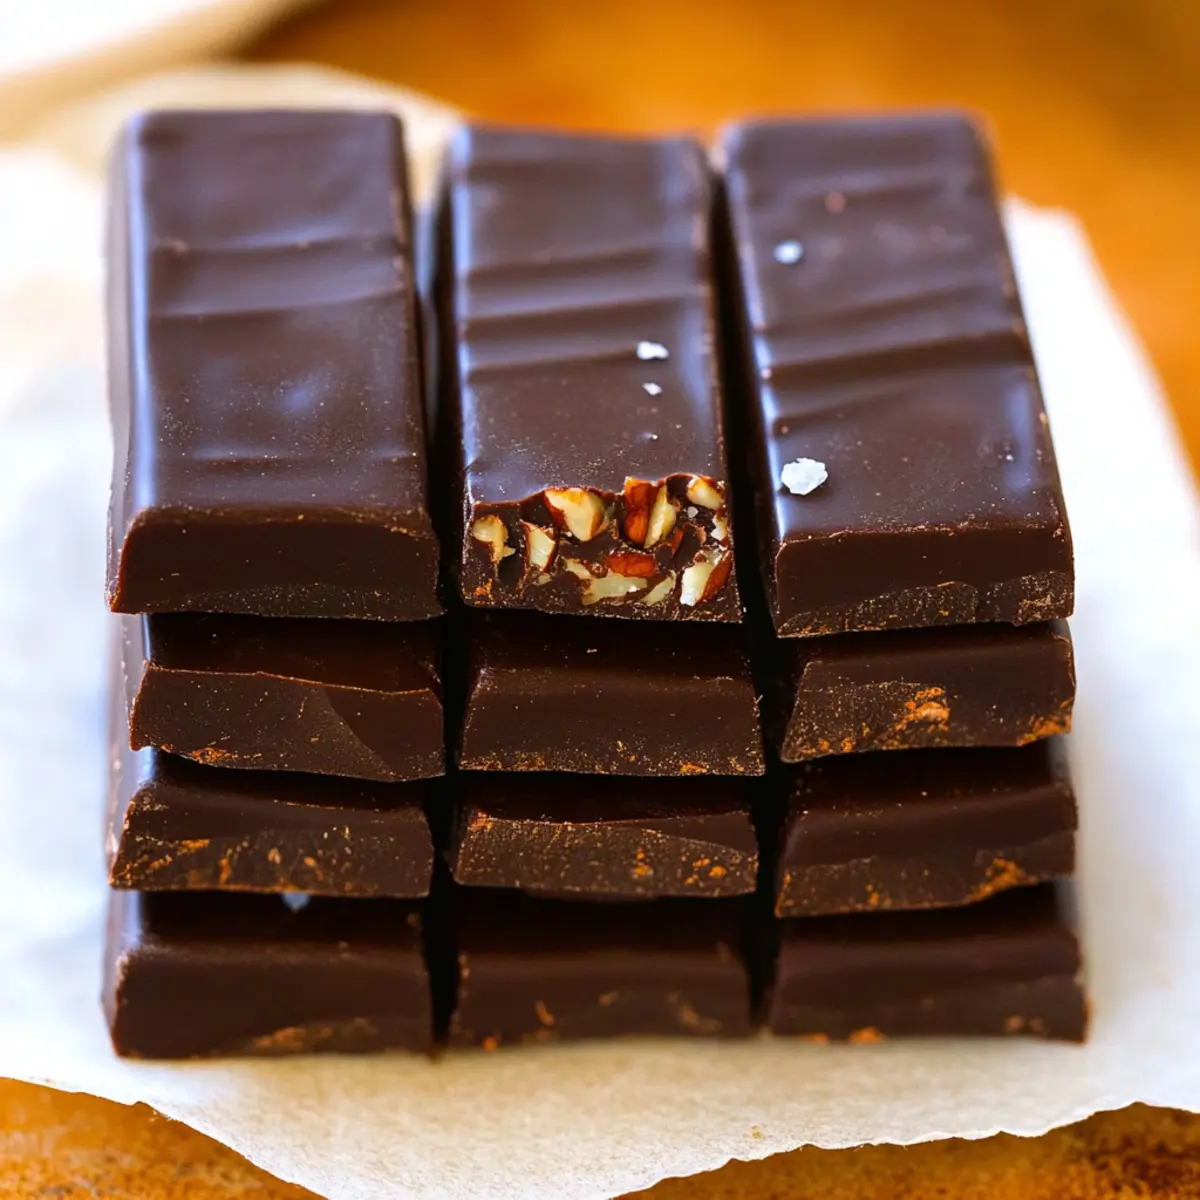
Nutty Crunch: Include chopped almonds or walnuts for an extra crunch and nutty richness. A little crunch goes a long way in complementing the smooth chocolate base.
-
Sugar-Free Option: Replace honey or agave with vanilla stevia drops to create a completely sugar-free version. Enjoy your sweet treat without the guilt while maintaining that irresistible flavor!
-
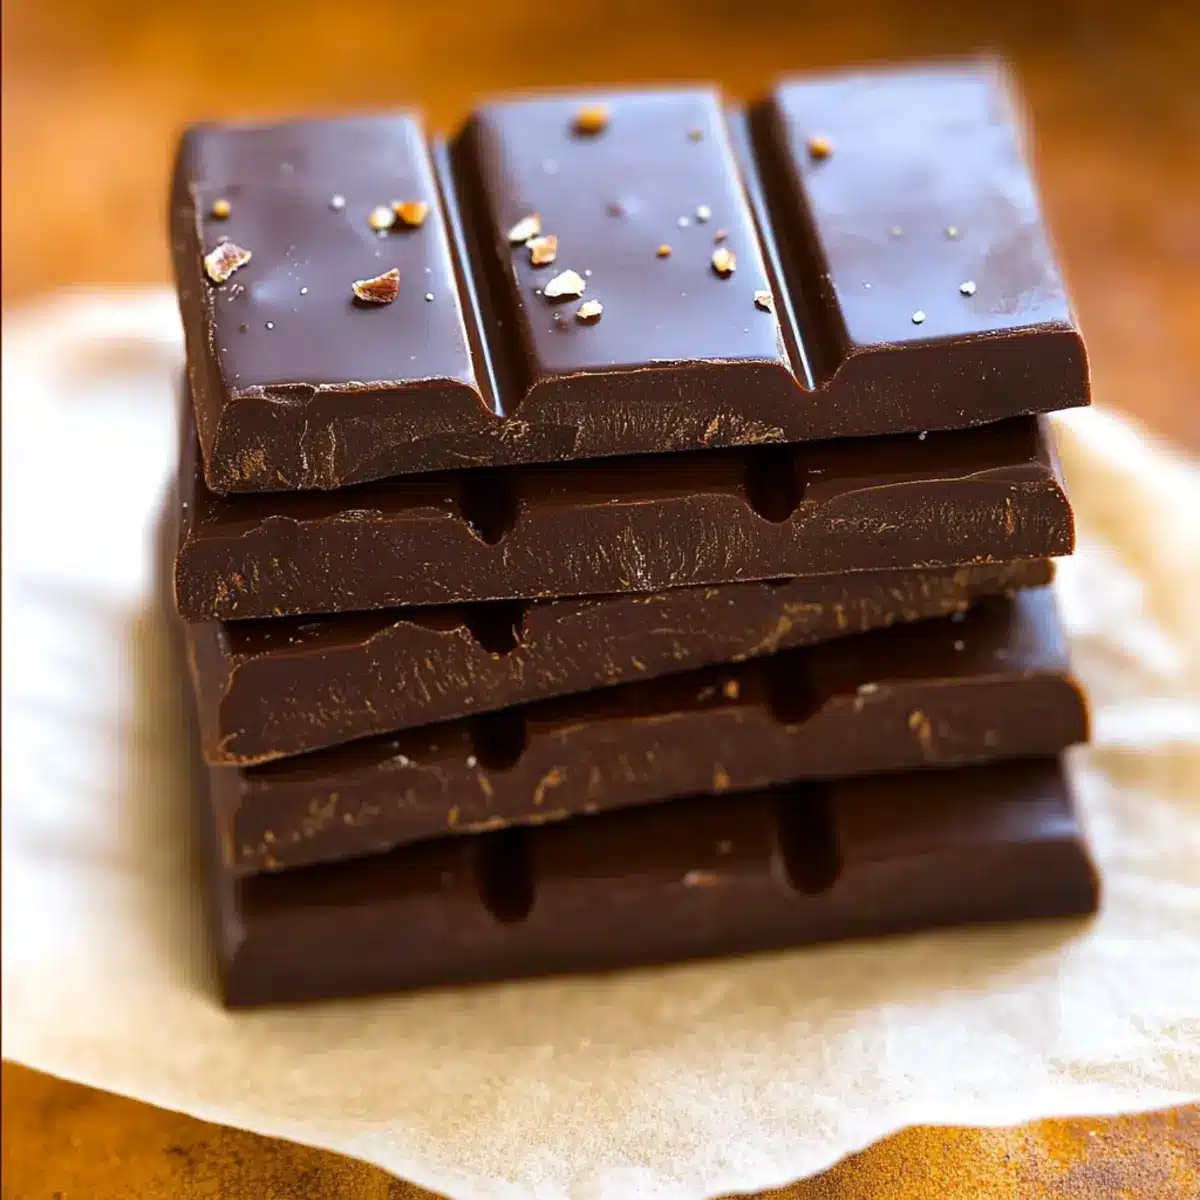
Layered Bark: Spread your chocolate mixture thinly on parchment paper, sprinkle with various toppings like coconut flakes or chia seeds, and then break into rustic pieces for a beautiful bark. Trust me, it will be gone before you know it!
For more chocolate inspiration, dive into the decadence of Chocolate Cheesecake Decadent or enjoy making these delightful Bake Chocolate Bars. Happy customizing!
Expert Tips for Homemade Chocolate Bars
-
Use Quality Ingredients: Choose high-quality cacao or cocoa powder for the best flavor in your homemade chocolate bars. It makes a noticeable difference!
-
Adjust Sweetness Carefully: If using stevia for a sugar-free option, start with a smaller amount and taste as you go to avoid bitterness.
-
Prevent Melting: To keep your bars firm at room temperature, use coconut oil instead of butter, which can soften too much outside of refrigeration.
-
Chill Time Matters: Letting the chocolate set for about 30 minutes in the fridge ensures a nice, firm texture. Don’t rush this step!
-
Explore Textures: Feel free to experiment with add-ins like nuts or seeds. They not only add flavor but also create a delightful crunch in your homemade chocolate bars.
How to Store and Freeze Homemade Chocolate Bars
Fridge: Store your Homemade Chocolate Bars in an airtight container in the fridge for up to two weeks. This keeps them firm and fresh while allowing for easy snacking.
Freezer: For longer-lasting treats, place the chocolate bars in a freezer-safe container or zip-lock bag. They can be frozen for up to three months, ensuring you always have a sweet treat ready to go.
Wrap Carefully: If spacing is tight, wrap individual bars in parchment or wax paper before placing them in a container. This prevents them from sticking together and makes for easy retrieval!
Reheating: If your bars become too hard, allow them to sit at room temperature for a few minutes to soften before enjoying.
Make Ahead Options
These Homemade Chocolate Bars are a fantastic option for busy home cooks looking to save time! You can prepare the chocolate mixture and pour it into molds or containers up to 24 hours in advance. Simply store the poured mixture in the fridge, ensuring it remains covered to prevent any absorption of odors. When you’re ready to enjoy your homemade treats, pop them in the fridge for about 30 minutes to set, or 15 minutes in the freezer for quicker results. By prepping ahead, you can enjoy your delicious chocolate indulgence without the hassle during busy weeknights, making every moment sweeter!
What to Serve with Homemade Chocolate Bars?
Indulging in homemade chocolate bars creates a blissful moment, and pairing them with delightful sides can elevate your treat experience.
-
Fresh Berries: Their tartness beautifully contrasts the rich chocolate, providing a refreshing burst of flavor.
-
Coconut Whipped Cream: Light and fluffy, this creamy addition enhances the bars, creating a dreamy chocolate experience.
-
Nutty Granola: The crunch of granola offers delightful texture and a hint of nutty flavor, making every bite exciting.
-
Ice Cream: A scoop of vanilla or chocolate ice cream transforms these bars into an indulgent dessert that’s hard to resist. Serve them together for a classic treat that never disappoints.
-
Chai Tea: The warm spices in chai create a comforting balance with the chocolate, perfect for cozy evenings.
-
Espresso: A strong, rich coffee pairs excellently, amplifying the chocolate flavor and providing a quick energy boost.
-
Peanut Butter Dip: Just a spoonful brings an irresistible nutty twist, perfect for a cozy dipping experience.
-
Almond Milk: This creamy dairy-alternative drink complements the sweetness of the bars while keeping things light.
-
Dark Chocolate-Covered Nuts: Elevate flavors by serving these together for an adventurous play of textures and tastes.
Homemade Chocolate Bars Recipe FAQs
How do I choose the right cocoa or cacao powder?
Absolutely! When selecting cocoa or cacao powder, look for options that are organic and minimally processed. Raw cacao provides a richer, more intense flavor, while cocoa powder is often more refined and slightly sweeter. Check the label for ingredients; it should ideally be free from additives.
How should I store my homemade chocolate bars?
Very simple! Keep your Homemade Chocolate Bars in an airtight container and refrigerate for up to two weeks. This method preserves their texture and flavor. If you’re in need of longer storage, freezing is a fantastic option!
Can homemade chocolate bars be frozen?
Absolutely! To freeze your Homemade Chocolate Bars, place them in a freezer-safe container or zip-lock bag. They can be kept frozen for up to three months. If you’re tight on space, wrap each bar in parchment or wax paper before stacking them to keep them from sticking together! When ready to enjoy, simply let them sit at room temperature for a few minutes to soften.
What do I do if my chocolate bars are too soft?
If your bars don’t set properly and remain too soft, try increasing the amount of coconut oil in your mixture next time; this helps provide a firmer texture. Alternatively, ensure they chill for a full 30 minutes in the refrigerator or freeze them for about 15 minutes for a more solid result.
Can I make these chocolate bars vegan-friendly?
Very! Simply use maple syrup or agave syrup for sweetness and stick to plant-based ingredients. Ensure your cocoa powder is free from animal products, and you’re all set! You can also swap in vegan-friendly add-ins like nuts or dairy-free chocolate chips to explore more flavor options.
Are there any allergens I need to consider?
For those with allergies, be mindful of the ingredients! Coconut oil is generally safe, but if you have a nut allergy, avoid mixed nuts or cocoa nibs as add-ins. Feel free to substitute any ingredients as needed—there’s always a way to customize these Homemade Chocolate Bars to fit your dietary needs!
Delicious Homemade Chocolate Bars in Just 5 Minutes
Ingredients
Equipment
Method
- Melt the coconut oil in a saucepan over low heat, stirring gently until just melted, about 2-3 minutes.
- Combine the melted coconut oil with the cacao powder and sweetener in a mixing bowl, whisking until thick and glossy, about 1-2 minutes.
- Pour the mixture into a lined container or molds, spreading evenly to about 1/4 inch thick.
- Chill in the refrigerator for about 30 minutes or in the freezer for 15 minutes until firm.
- Remove from molds and cut into bars or squares; store leftovers in an airtight container.
Leave a Reply