
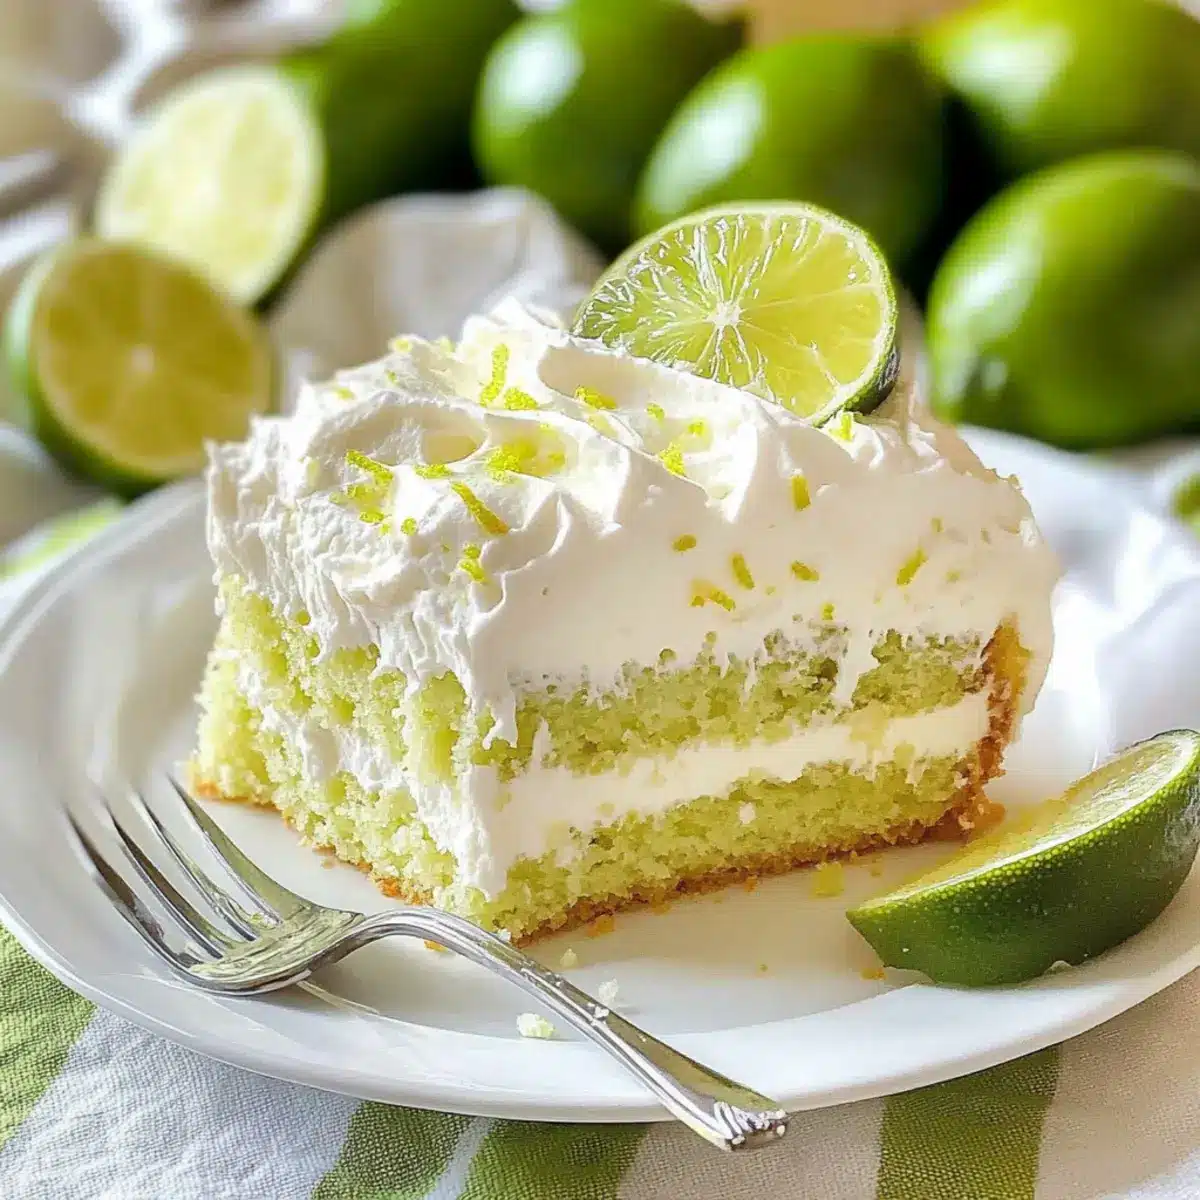
As I watched the sun dip below the horizon one warm evening, the idea for my Easy Key Lime Poke Cake came to me—and I knew it was time to share this delight. This recipe is a true gem, offering a comforting balance of sweet and tangy that can brighten any gathering. It’s shockingly easy to whip up, with just a few simple steps: poke, pour, and let chill—perfect for potlucks or family get-togethers. Not only does this cake embrace the refreshing essence of citrus, but its moist texture and zesty lime punch resemble the classic flavors of a key lime pie in each slice. Ready to impress your friends and family while savoring a slice of sunshine? Let’s dive into this delicious adventure together!
Why is Key Lime Poke Cake a Must-Try?
Zesty, Refreshed Flavor: Bursting with tartness, this cake offers a delightful twist that elevates any dessert table.
Effortless Preparation: With just three easy steps—poke, pour, chill—you’ll have a stunning dessert that impresses guests without the fuss.
Versatile Appeal: Perfect for summer barbecues, birthday parties, or just a pick-me-up treat, this cake suits every occasion!
Chill for Maximum Flavor: The chilling process not only sets the delicious filling but also enhances the vibrant lime flavor.
Looking for more citrus-inspired desserts? Check out this Moist Chantilly Cake or indulge in a slice of Chocolate Cheesecake Decadent.
Key Lime Poke Cake Ingredients
For the Cake
• Yellow Cake Mix (15.25 oz) – This forms the base structure of the cake; feel free to substitute with a gluten-free cake mix for those with dietary restrictions.
• Water (1 cup) – Keeps the cake hydrated; no substitutions needed.
• Vegetable Oil (½ cup) – Adds moisture and richness; can swap in melted butter for an even richer flavor.
• Large Eggs (3) – Provide essential structure and stability; it’s best to keep these as-is.
For the Filling
• Lime-Flavored Gelatin Mix (3 oz) – Infuses the cake with vibrant lime flavor; if unavailable, lemon gelatin can be a great alternative.
• Key Lime Juice (1 cup) – This is the star of the show, giving that tart kick; bottled or fresh key lime juice works beautifully.
• White Sugar (¾ cup) – Sweetens the mixture; no substitutions are recommended.
• Cornstarch (1 tablespoon) – Helps to stabilize the filling; can be omitted if you’re looking for an easy option.
• Butter (2 tablespoons) – Adds flavor and richness; opt for unsalted to have better control over your cake’s salt content.
• Lime Zest (1 tablespoon and extra for garnish) – Enhances the lime aroma and flavor; you can omit it if it’s not on hand.
For the Topping
• Whipped Topping (8 oz, thawed) – Creates a creamy finish to your cake; if preferred, fresh whipped cream works just as well.
• Green Food Coloring (optional) – Adds a fun aesthetic; feel free to skip it for a more natural look.
This Key Lime Poke Cake promises a tantalizing taste experience, whether for a barbecue or a cozy family gathering!
Step‑by‑Step Instructions for Key Lime Poke Cake
Step 1: Prepare the Cake
Preheat your oven to 350°F (175°C). In a large mixing bowl, combine the yellow cake mix, 1 cup of water, ½ cup of vegetable oil, and 3 large eggs. Mix until smooth, about 2 minutes. Pour the batter into a greased 9×13-inch baking dish. Bake for 25-30 minutes or until a toothpick inserted in the center comes out clean. Once baked, allow the cake to cool completely in the pan.
Step 2: Poke the Cake
Once the cake has cooled, take a fork and gently poke holes all over the top, spacing them about 1 inch apart. This step is crucial for our Key Lime Poke Cake, as the holes will allow the delicious filling to soak in. Aim for a depth of about 2 inches to maximize flavor absorption.
Step 3: Add Filling
In a medium bowl, combine the lime-flavored gelatin mix and 1 cup of key lime juice, stirring until dissolved. Carefully pour the lime mixture evenly over the poked cake, ensuring it seeps into the holes you’ve created. You’ll notice the cake absorbing the vibrant filling, indicating you’re on the right track.
Step 4: Refrigerate
Cover the cake with plastic wrap and refrigerate for at least 3 hours, or overnight for even better flavor. Chilling is essential to allow the filling to set properly and intensify the lime flavor in your Key Lime Poke Cake. When ready, the cake should be firm and beautifully soaked.
Step 5: Top the Cake
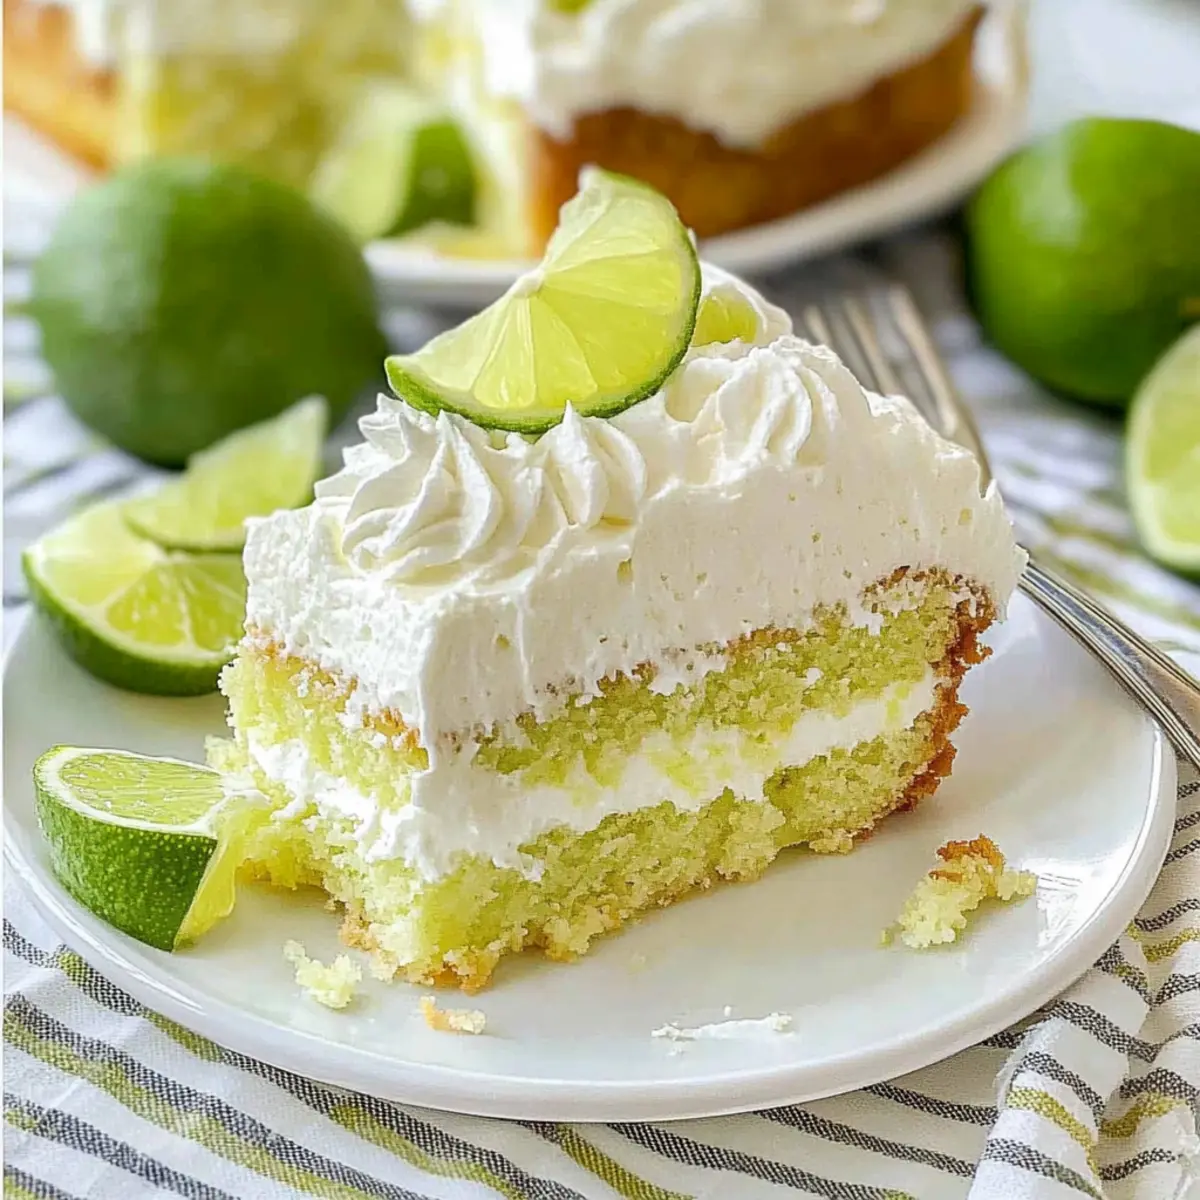
Once the chilling time is complete, remove the cake from the refrigerator. In a mixing bowl, spread 8 ounces of thawed whipped topping evenly over the cake, covering it all the way to the edges for a delightful finishing touch. Use a spatula to create a smooth, creamy blanket that compliments the zesty flavor of the cake.
Step 6: Garnish and Serve
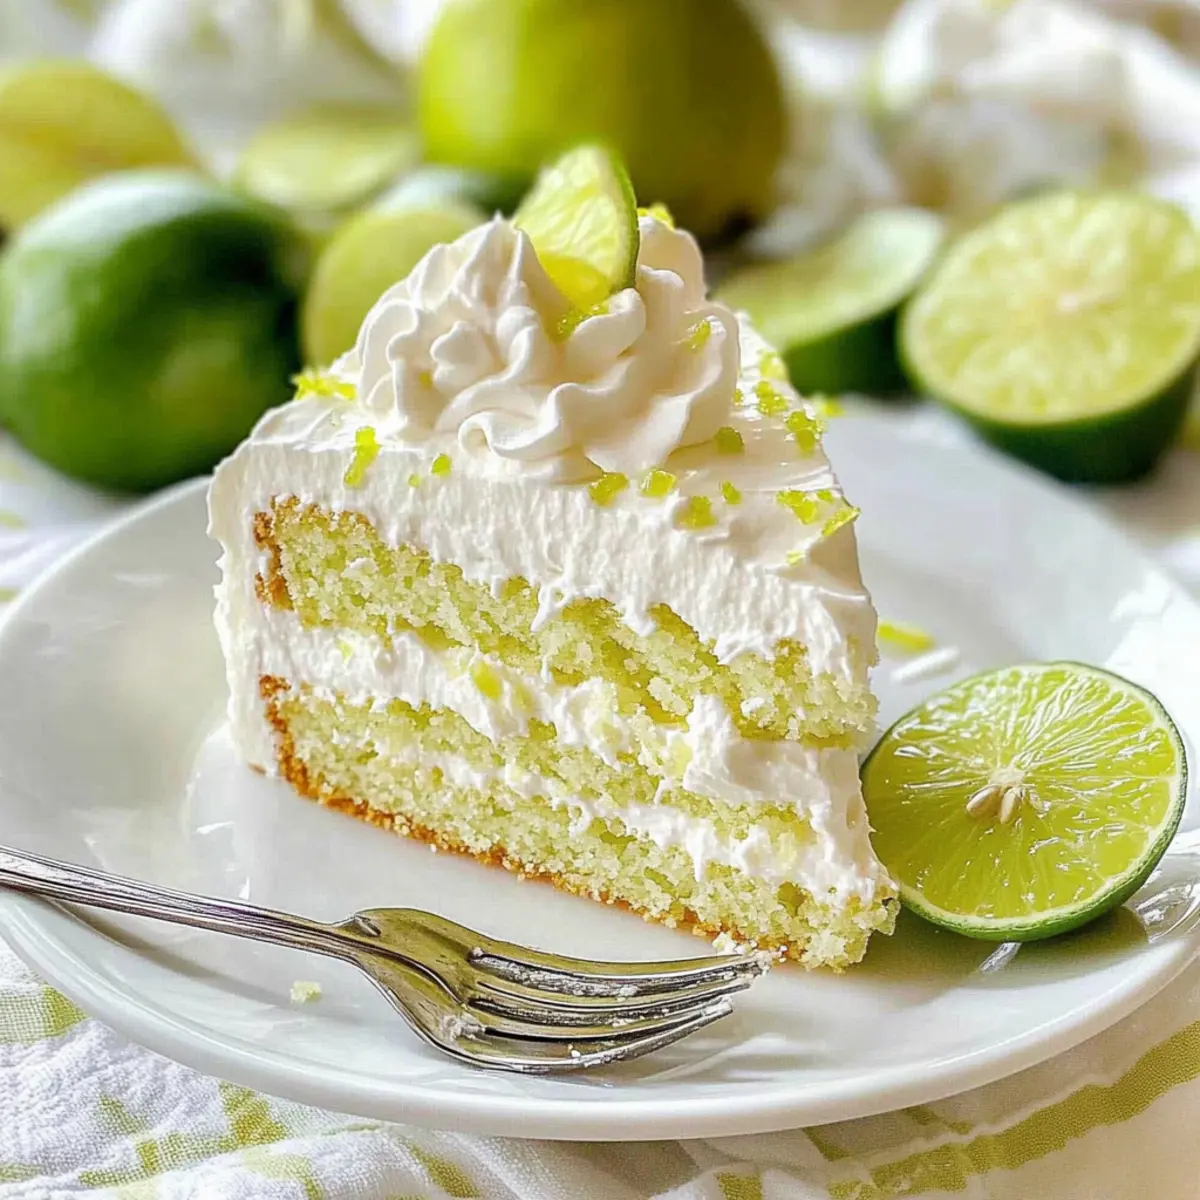
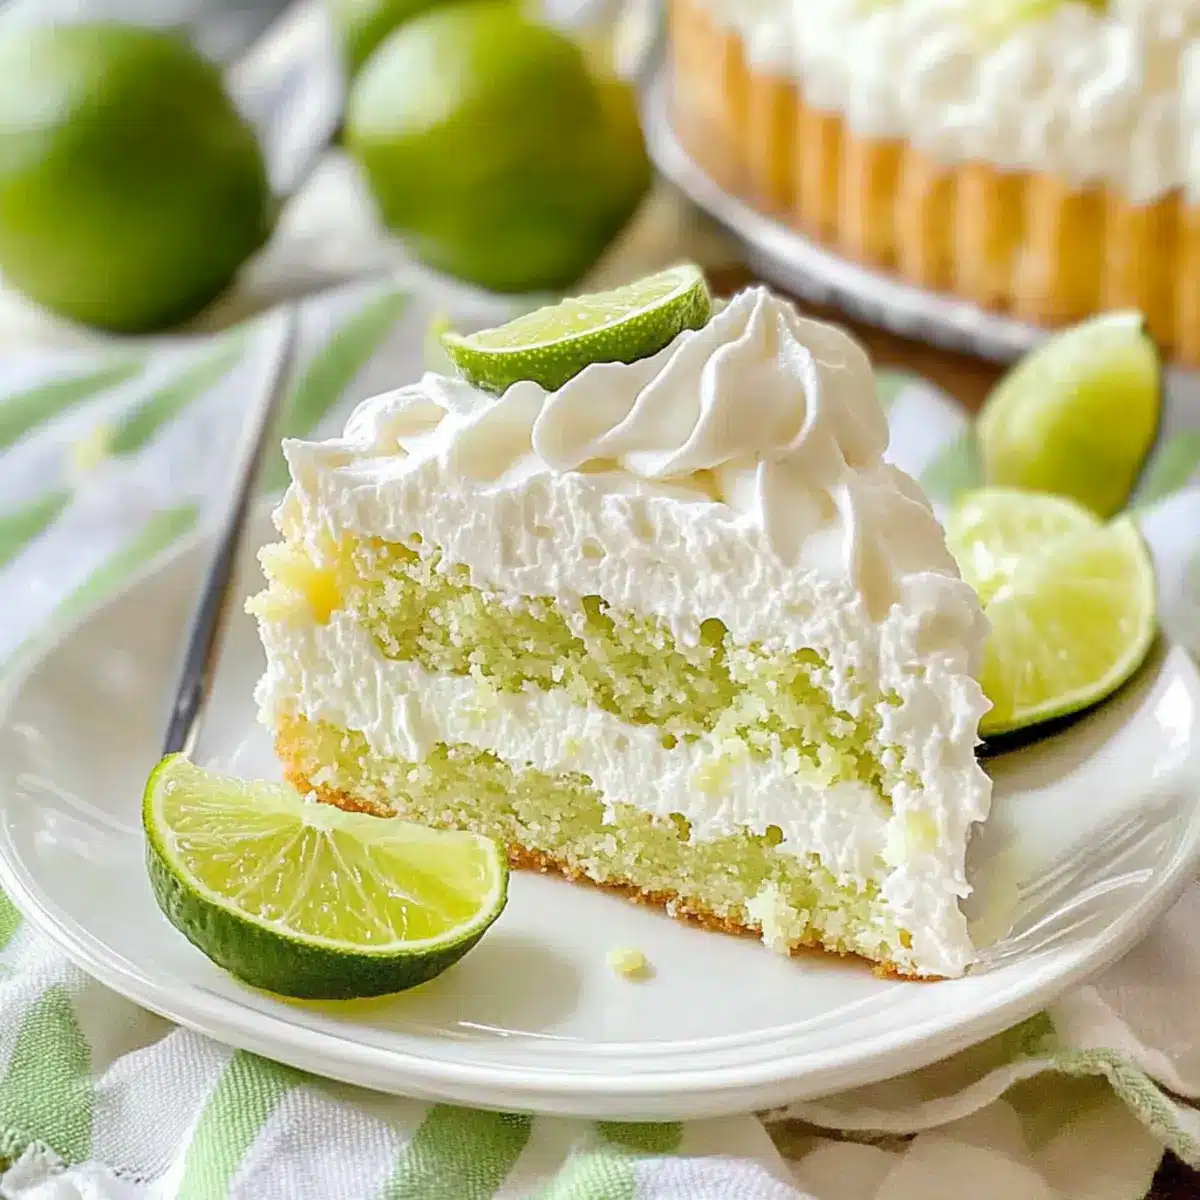
For a bright and appealing look, sprinkle extra lime zest on top of the whipped topping. If desired, you can also add a few lime slices for decoration. Cut the Key Lime Poke Cake into squares and serve cold. Each slice promises refreshing bursts of lime and sweetness that will dazzle your guests!
What to Serve with Easy Key Lime Poke Cake
Elevate your dessert experience with delightful pairings that complement the zesty vibrancy of this refreshing cake.
-
Sweet Whipped Cream: A dollop of fresh whipped cream adds a creamy richness, balancing the tartness of the key lime beautifully.
-
Crispy Graham Cracker Crust: A simple graham cracker crust crumble makes for a delightful crunch and brings that iconic key lime pie vibe to the table.
-
Tropical Fruit Salad: A colorful mix of pineapple, mango, and berries brings a refreshing burst of sweetness, enhancing the cake’s citrus notes.
-
Refreshing Iced Tea: Serve a tall glass of unsweetened iced tea for a refreshing contrast; it cleanses the palate between each delicious bite.
-
Coconut Macaroons: These chewy treats pair wonderfully with the tangy flavors of the cake, adding an extra layer of texture and richness.
-
Lemonade Cocktail: A chilled lemonade cocktail mixed with a hint of mint is the perfect refreshing sip that complements the cake’s tartness.
-
Key Lime Pie Bars: For double the fun, serve these alongside your poke cake to delight citrus lovers and add variety to your dessert spread.
Each pairing offers its unique flavor profile, ensuring your Easy Key Lime Poke Cake stands out while creating a memorable meal experience.
Make Ahead Options
This Easy Key Lime Poke Cake is an ideal dish for busy home cooks looking to save time! You can prepare the cake base up to 24 hours in advance; simply bake it, let it cool, then poke the holes and refrigerate without the filling. To keep everything fresh, cover the wrapped cake tightly to prevent drying. You can also mix the lime gelatin and key lime juice (without pouring it on) up to 3 days ahead. When you’re ready to serve, pour the gelatin mixture over the cake, chill for at least 3 hours, then top with whipped topping, and garnish. Your cake will be just as delicious and refreshingly vibrant!
Key Lime Poke Cake Variations
Feel free to get creative with your Key Lime Poke Cake by trying these delightful twists!
-
Lemon Twist: Swap key lime juice for lemon juice for a zesty citrus alternative that’s equally refreshing. The bright flavor will still shine through beautifully!
-
Graham Cracker Crunch: Mix crushed graham crackers into the whipped topping for a cheesecake-like texture. It adds a delightful crunch that complements the smooth cake.
-
Berry Burst: Layer fresh berries—like strawberries or blueberries—on top of the whipped topping. This vibrant addition not only enhances flavor but also offers a pop of color.
-
Coconut Delight: Stir in shredded coconut into the cake batter or sprinkle it on top before serving. This tropical twist takes your dessert to an island paradise!
-
Heat It Up: Add a pinch of cayenne pepper or a few drops of hot sauce to the lime gelatin mixture. It creates an unexpected, exciting kick that elevates the flavors.
-
Alternative Sweeteners: Substitute white sugar with coconut sugar or a stevia blend for a lower-calorie option. Your cake will still boast its signature zing without any of the guilt!
-
Dairy-Free Option: Use coconut whipped cream instead of regular whipped topping for a rich, dairy-free alternative. It blends wonderfully with the tropical flavors of lime.
-
Flavored Whipped Cream: Infuse the whipped topping with vanilla or almond extract for an aromatic twist. A little goes a long way, bringing an enticing layer of flavor!
Don’t miss out on trying these variations; each one adds its own magic to this already delightful dessert! If you’re after more scrumptious cakes, be sure to check out the Ube Mochi Cake or the indulgent Strawberry Cheesecake Cinnabon for more delightful inspiration.
How to Store and Freeze Key Lime Poke Cake
Refrigerator: Cover the cake tightly with plastic wrap or aluminum foil to prevent it from drying out. It will stay fresh for up to 3 days in the fridge.
Freezer: Slice the Key Lime Poke Cake into individual pieces, wrap each slice in plastic wrap, then place in an airtight container. It can be frozen for up to 2 months.
Thawing: When ready to enjoy, remove from the freezer and let it thaw in the refrigerator overnight for the best texture.
Reheating: Although it’s best served cold, you can also enjoy it at room temperature straight from the fridge; no reheating necessary!
Expert Tips for Key Lime Poke Cake
-
Even Holes: When poking holes in the cake, ensure they are evenly spaced and deep enough for the filling to soak through effectively.
-
Chill Time Matters: Allow the cake to chill for at least 3 hours, or overnight if possible, to enhance the flavor of your Key Lime Poke Cake and ensure the filling sets properly.
-
Day-Ahead Prep: For the best flavor, consider making the cake a day in advance. This allows the flavors to meld beautifully and ensures a moist, flavorful dessert.
-
Fresh Ingredients: Use fresh key lime juice for the brightest flavor. While bottled juice is convenient, fresh juice makes a noticeable difference in taste.
-
Visual Appeal: If you want to impress, add some lime slices or additional zest as garnish right before serving for an extra pop of color and freshness.
Key Lime Poke Cake Recipe FAQs
How do I know if my key limes are ripe?
Absolutely! When choosing key limes, look for ones that are slightly soft to the touch and have a vibrant green color. Avoid limes with dark spots all over, as they may be overripe. Ripe key limes will feel heavier relative to their size, indicating juiciness.
How should I store my Key Lime Poke Cake?
For the best results, cover the Key Lime Poke Cake tightly with plastic wrap or aluminum foil to prevent it from drying out. It will stay fresh in the refrigerator for up to 3 days. If you want to keep it longer, you can freeze it.
Can I freeze Key Lime Poke Cake?
Absolutely! To freeze, slice the Key Lime Poke Cake into individual pieces and wrap each slice tightly in plastic wrap. Then, place them in an airtight container or ziploc bag. It can be frozen for up to 2 months. When you’re ready to enjoy, just thaw it in the refrigerator overnight for the best texture!
What if the filling doesn’t soak into the cake properly?
Very! If you notice that the filling isn’t absorbing well, it could be due to not poking enough holes or spacing them too far apart. In this case, you can carefully poke additional holes after pouring the filling and give it time to soak in. Make sure each hole reaches about 2 inches deep for maximum absorption.
Is this recipe suitable for those with food allergies?
Great question! This Key Lime Poke Cake contains common allergens like eggs and gluten (from the cake mix). For gluten-free options, use a gluten-free cake mix and substitute eggs with an egg replacement if needed. Always check ingredient labels for any other potential allergens, especially for the whipped topping.
How can I enhance the lime flavor in my cake?
If you want to boost that refreshing lime flavor even more, consider adding extra lime zest both in the filling and as a garnish. You could also use fresh key lime juice instead of bottled juice for a brighter flavor. Another fun idea is to fold in some lime zest into the whipped topping for an added zing!
Zesty Key Lime Poke Cake That’ll Brighten Your Day
Ingredients
Equipment
Method
- Preheat your oven to 350°F (175°C). In a large mixing bowl, combine the yellow cake mix, 1 cup of water, ½ cup of vegetable oil, and 3 large eggs. Mix until smooth, about 2 minutes. Pour the batter into a greased 9x13-inch baking dish. Bake for 25-30 minutes or until a toothpick inserted in the center comes out clean. Once baked, allow the cake to cool completely in the pan.
- Once the cake has cooled, take a fork and gently poke holes all over the top, spacing them about 1 inch apart.
- In a medium bowl, combine the lime-flavored gelatin mix and 1 cup of key lime juice, stirring until dissolved. Carefully pour the lime mixture evenly over the poked cake.
- Cover the cake with plastic wrap and refrigerate for at least 3 hours, or overnight for even better flavor.
- Once the chilling time is complete, spread 8 ounces of thawed whipped topping evenly over the cake.
- For a bright look, sprinkle extra lime zest on top and add lime slices if desired. Cut into squares and serve cold.
Leave a Reply