
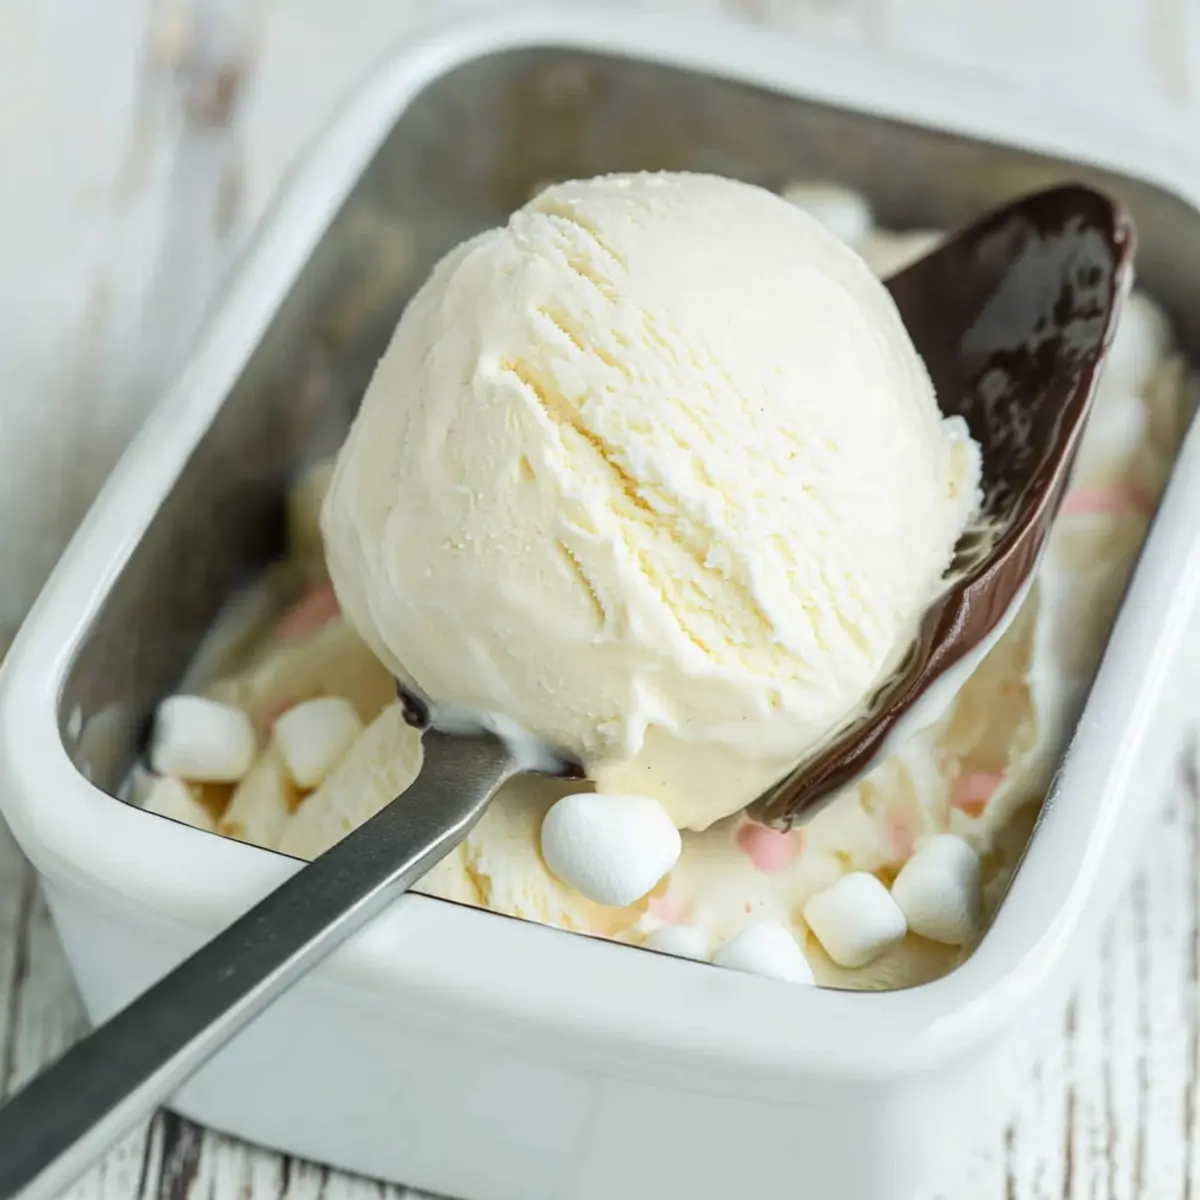
As I scooped the creamy goodness into my bowl, a wave of nostalgia washed over me, instantly transporting me back to lazy summer days filled with laughter and sweet treats. This Creamy No Churn Marshmallow Ice Cream captures that joyous spirit with just five simple ingredients. The beauty of this recipe lies not only in its delectable flavor but also in its effortless preparation—no ice cream maker needed! Whether you’re hosting a gathering or just want to indulge in a sweet treat after dinner, this easy dessert fits perfectly into any occasion. With its silky texture and delightful sweetness, every bite is like a little celebration of marshmallow bliss. Curious how to bring this delightful scoop of nostalgia to your kitchen? Let’s dive in!

Why is this Marshmallow Ice Cream a must-try?
Simplicity at its Finest: With only five ingredients, this recipe ensures a quick and easy preparation, making it perfect for anyone—even novice chefs!
Irresistible Creamy Texture: The combination of heavy whipping cream and marshmallow fluff creates a creamy delight that’s smooth as silk.
Perfect for Any Occasion: Whether it’s a casual dessert or a special gathering, this no-churn ice cream is guaranteed to impress your guests and transform any moment into a celebration. Pair it with some brownie bits or drizzle it with chocolate sauce for an extra treat!
Endless Customization Options: Want to switch things up? Add chocolate chips, caramel swirls, or even some Avocado Cream Sauce for a unique twist.
Nostalgic Flavor: Each spoonful is not just a dessert but a delightful reminder of carefree summer days filled with joy and sweetness—bringing back memories with every delicious bite!
Marshmallow Ice Cream Ingredients
For the Base
- Heavy Whipping Cream – Provides the luxurious creaminess that makes this marshmallow ice cream rich and dreamy; remember to use really cold cream for the best whipping results.
- Sweetened Condensed Milk – This ingredient brings a sweet, smooth texture and acts as a stabilizer; you can opt for a fat-free version if you’re looking for a lighter alternative.
- Marshmallow Fluff – Adds that signature smooth texture and deliciously sweet flavor that makes this ice cream irresistible! No substitutions are needed for that classic taste.
For the Flavor
- Vanilla Extract – Enhances the overall flavor of the ice cream; opt for pure vanilla for a deeper, more aromatic essence.
- Salt – A pinch of salt helps to balance the sweetness and elevate the flavors; feel free to adjust it according to your preference.
Step‑by‑Step Instructions for Creamy No Churn Marshmallow Ice Cream
Step 1: Whip the Cream
In a large mixing bowl, pour in the heavy whipping cream, ensuring it is very cold for optimal whipping. Using a hand mixer or a stand mixer fitted with a whisk attachment, whip the cream on medium-high speed for about 3-5 minutes, until stiff peaks form. The whipped cream should be fluffy and able to hold its shape, ready to become the base of your creamy marshmallow ice cream.
Step 2: Mix the Condensed Milk Mixture
In a separate bowl, combine the sweetened condensed milk, marshmallow fluff, vanilla extract, and a pinch of salt. Use a spatula or a whisk to mix these ingredients until they are smooth and well incorporated, about 1-2 minutes. The mixture should be thick and creamy, with a delightful sweetness that pairs perfectly with the whipped cream.
Step 3: Combine Mixtures Gently
Carefully fold the condensed milk mixture into the whipped cream using a large spatula. Begin by adding a small amount of the whipped cream to the condensed milk to lighten it, stirring gently. Then, add the rest of the whipped cream in increments, folding until just combined. Be cautious to maintain the light and airy texture of the whipped cream to keep your marshmallow ice cream fluffy.
Step 4: Transfer to Loaf Pan
Once combined, transfer the marshmallow ice cream mixture into a 9×5 loaf pan, using the spatula to spread it evenly. Smooth the top with the spatula to create a glossy surface that looks inviting. Cover the pan tightly with plastic wrap or a lid to prevent ice crystals from forming during freezing, ensuring every bite remains creamy.
Step 5: Freeze Until Firm
Place the loaf pan in the freezer and let the mixture freeze for at least 6 hours or until completely firm. This long freezing time allows your no churn marshmallow ice cream to set perfectly, resulting in a scoopable, luscious dessert. It’s worth the wait to indulge in the smooth, delightful sweetness after the freezing time is up!
What to Serve with Creamy No Churn Marshmallow Ice Cream
There’s something magical about a scoop of dessert that invites endless pairing possibilities, enhancing every delightful bite.
-
Brownie Bites: Rich and fudgy, these brownie bites create a heavenly contrast to your smooth marshmallow ice cream, adding a delightful chew. With each spoonful, you’ll experience a blissful balance of textures.
-
Fresh Berries: Juicy strawberries or raspberries provide a tart freshness that beautifully offsets the sweetness of the ice cream, refreshing your palate with every bite.
-
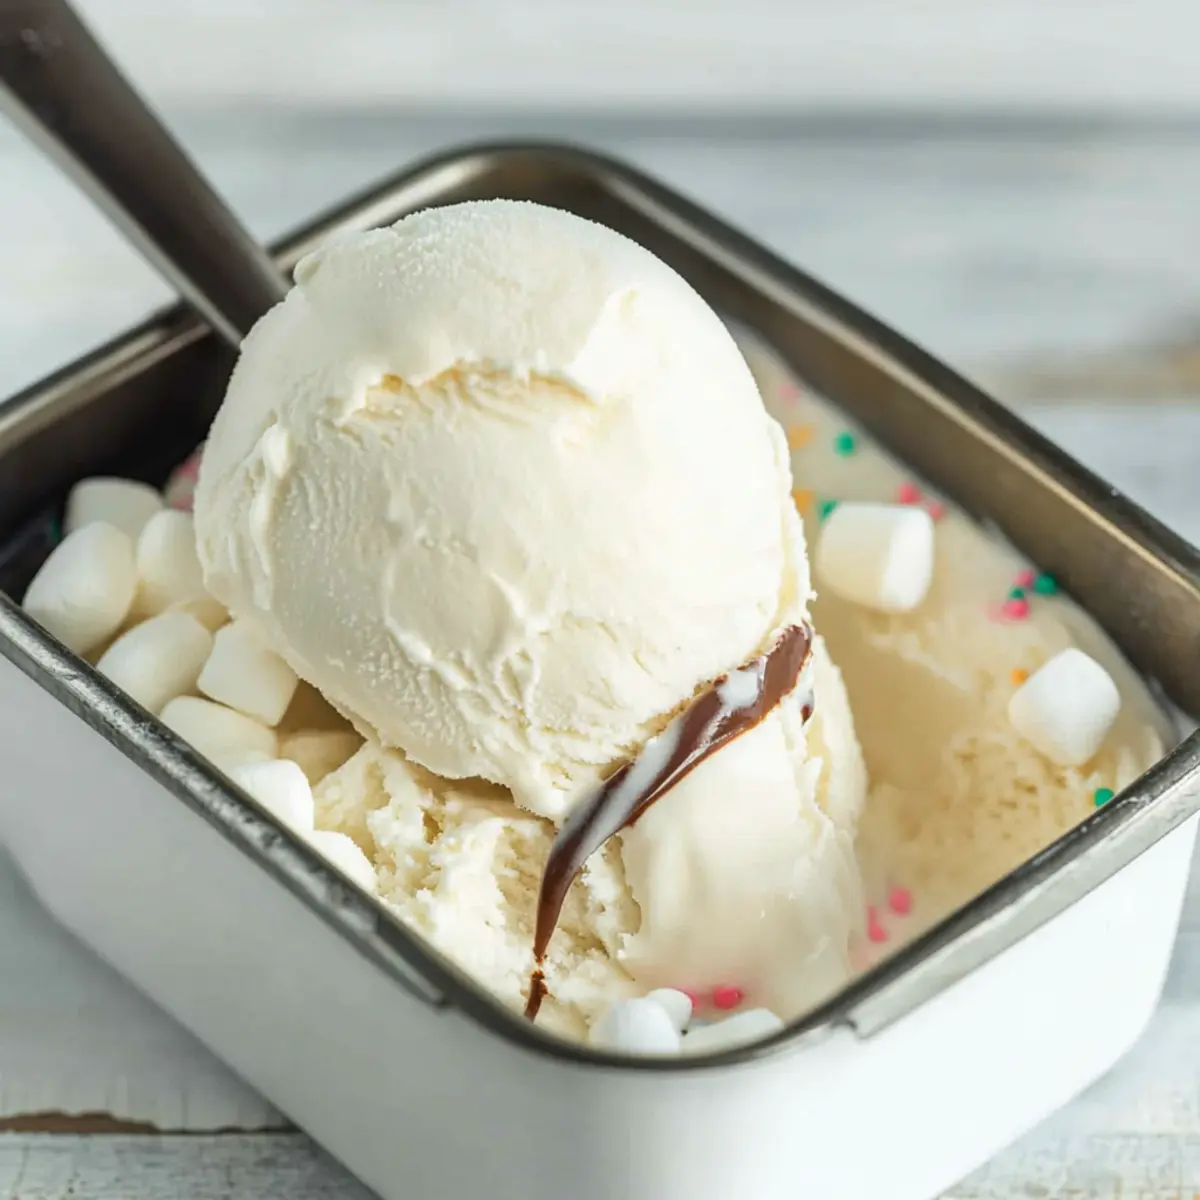
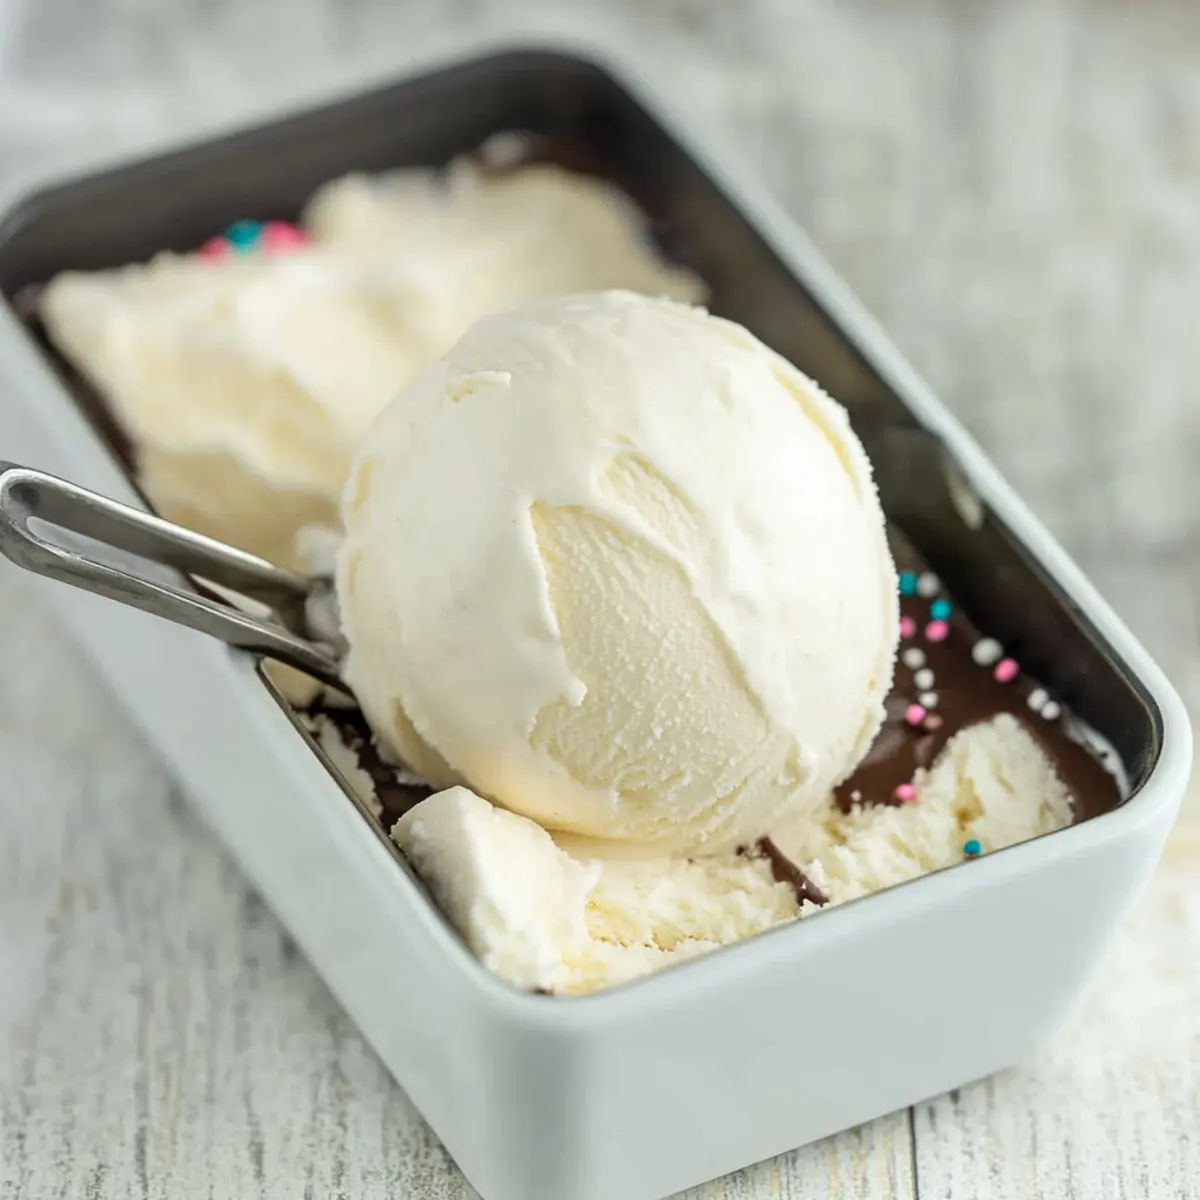
Chocolate Sauce: A warm drizzle of chocolate sauce adds a rich, indulgent layer, making each serving look as tempting as it tastes. The glossy darkness enhances the marshmallow’s light tone, creating a gorgeous dessert.
-
Toasted Coconut: For a tropical twist, sprinkle some toasted coconut flakes on top. The nutty crunch offers a delightful textural contrast to the creamy ice cream, and the flavors will transport you to a sunny beach day.
-
Homemade Waffle Cones: Serve your marshmallow ice cream in freshly made waffle cones for a classic touch. The crispy texture and buttery flavor of the cone elevate the overall experience with every scoop.
-
Salted Caramel Sauce: A drizzle of salted caramel creates that perfect sweet-salty combination, amplifying the dessert’s sweetness while adding a sophisticated flair. Each mouthful will be a decadent dream!
-
Mint Leaves Refreshment: Fresh mint leaves can be a lovely garnish that adds a hint of coolness and a pop of color. They bring an aromatic freshness that contrasts beautifully with the sweet flavors of your ice cream.
-
Vanilla Cake Slices: A slice of simple, fluffy vanilla cake provides a quaint companion for your marshmallow ice cream. Layering bites of cake and ice cream will send your taste buds on a nostalgic journey!
Make Ahead Options
This Creamy No Churn Marshmallow Ice Cream is perfect for meal prep, allowing you to create a delightful dessert ahead of time! You can whip the heavy cream and mix the condensed milk combination up to 24 hours in advance. Simply complete Steps 1 and 2, then cover and refrigerate the mixtures separately to maintain freshness and texture. On the day you plan to serve, gently fold the mixtures together, transfer to the loaf pan, and freeze until firm for at least 6 hours. This way, you’ll have a luscious, ready-to-scoop treat that’s just as delicious and perfect for spontaneous dessert cravings!
Storage Tips for Marshmallow Ice Cream
Fridge: Store any leftover marshmallow ice cream in an airtight container in the refrigerator for up to 2 days if you prefer to enjoy it soft and creamy.
Freezer: Keep your marshmallow ice cream in a covered container in the freezer for up to 2 weeks. Ensure to cover it tightly to prevent the formation of ice crystals.
Reheating: No need to reheat! Just scoop your marshmallow ice cream directly from the freezer. If it’s too hard, let it sit at room temperature for a few minutes for easier scooping.
Serving: For the best experience, serve your marshmallow ice cream immediately after taking it out of the freezer, or allow it to soften slightly to reveal its luscious, creamy texture.
Marshmallow Ice Cream Variations & Substitutions
Feel free to get creative with this delightful treat, adding your own twist to make it even more irresistible!
-
Chocolate Chip Delight: Stir in chocolate chips before freezing to add a rich, sweet crunch that pairs beautifully with the marshmallow flavor.
-
Cookie Crumble: Add crushed cookies, like Oreos or chocolate wafers, into the mix for a delightful texture and surprise bites throughout your ice cream.
-
Caramel Swirl: Drizzle in caramel sauce right before freezing for a sweet and sticky surprise with each scoop. The gooey texture complements the creaminess perfectly!
-
Fruit Fusion: Mix in finely chopped fruits, such as strawberries or bananas, for a fruity twist that balances the sweetness and adds a refreshing zing. Imagine the burst of flavor in every bite!
-
Nutty Crunch: Fold in chopped nuts, like walnuts or pecans, to create a delightful contrast in texture and flavor, giving your ice cream a toasty undertone.
-
Dairy-Free Option: Swap the heavy cream and sweetened condensed milk with coconut cream and a dairy-free sweetener. This makes for a delicious vegan alternative that still delights!
-
Spicy Kick: Add a pinch of cayenne pepper or cinnamon to the mixture for an unexpected flavor twist that will tantalize the taste buds and warm your spirit!
-
Mix-ins Wonderland: Try incorporating any of your favorite toppings, like mini marshmallows or sprinkles, to create a fun, personalized marshmallow ice cream that suits your fancy.
With these variations, your homemade marshmallow ice cream can become a truly unique dessert that keeps everyone guessing and coming back for more! For more irresistible ideas, how about trying a scoop alongside some Street Corn Pasta or adding a fruity kick like in Vegan Sun Pasta? Enjoy your sweet creations!
Expert Tips for Marshmallow Ice Cream
-
Chill Your Tools: Make sure to chill your mixing bowl and beaters in the freezer for 15 minutes before whipping the cream to achieve the best volume.
-
Careful Folding: When combining the whipped cream and the condensed milk mixture, fold gently to prevent deflation. This keeps your marshmallow ice cream light and fluffy.
-
Add Stabilizers: A small amount of Xanthan gum can greatly improve the texture by reducing ice crystals, resulting in a creamier ice cream experience.
-
Easy Scooping: Consider mixing in 1 tablespoon of vodka before freezing. This prevents the marshmallow ice cream from becoming too hard, ensuring easy scooping later.
-
Experiment with Flavors: Feel free to incorporate chocolate chips or crushed cookies into the ice cream base for a unique twist that can delight your taste buds!
Marshmallow Ice Cream Recipe FAQs
What type of heavy whipping cream should I use?
Use heavy whipping cream that is very cold for the best results. Brands that have a higher fat content (around 36% or more) will whip better and yield a creamier texture in your marshmallow ice cream.
Can I store this marshmallow ice cream?
Absolutely! Store your marshmallow ice cream in a covered container in the freezer for up to 2 weeks. This helps maintain its creamy texture and prevents ice crystal formation. Just make sure it’s tightly sealed to lock in freshness.
Can I freeze my marshmallow ice cream for longer than 2 weeks?
While it’s best enjoyed within 2 weeks, you can keep your marshmallow ice cream in the freezer for up to 3 months. Simply ensure it’s stored in an airtight container to prevent freezer burn and any unwanted odors.
What can I do if my marshmallow ice cream is too hard?
If you find your marshmallow ice cream has become too hard to scoop after freezing, let it sit at room temperature for about 5-10 minutes before trying to scoop. This will soften the ice cream, making it easier to serve.
Are there any dietary concerns with this recipe?
For those with dairy allergies, consider substituting the heavy cream with coconut cream or a dairy-free whipping cream alternative. Keep in mind that the texture and flavor can vary slightly but should still be delicious! Always ensure the marshmallow fluff used is gluten-free if you’re accommodating dietary restrictions.
How can I customize my marshmallow ice cream?
The beauty of this recipe is its versatility! You can fold in chocolate chips, crushed cookies, or even swirls of caramel or fudge before freezing. If you’d like an added crunch, sprinkle some nuts or crushed graham crackers on top when serving for a delightful twist!
Delicious Marshmallow Ice Cream: No Churn, 5 Easy Ingredients
Ingredients
Equipment
Method
- Whip the cream in a large mixing bowl on medium-high speed for 3-5 minutes until stiff peaks form.
- In a separate bowl, mix sweetened condensed milk, marshmallow fluff, vanilla extract, and salt until smooth.
- Fold the condensed milk mixture into the whipped cream carefully to maintain the fluffy texture.
- Transfer the mixture into a 9x5 loaf pan, smoothing the top and covering it tightly.
- Freeze for at least 6 hours or until completely firm before serving.
Leave a Reply