
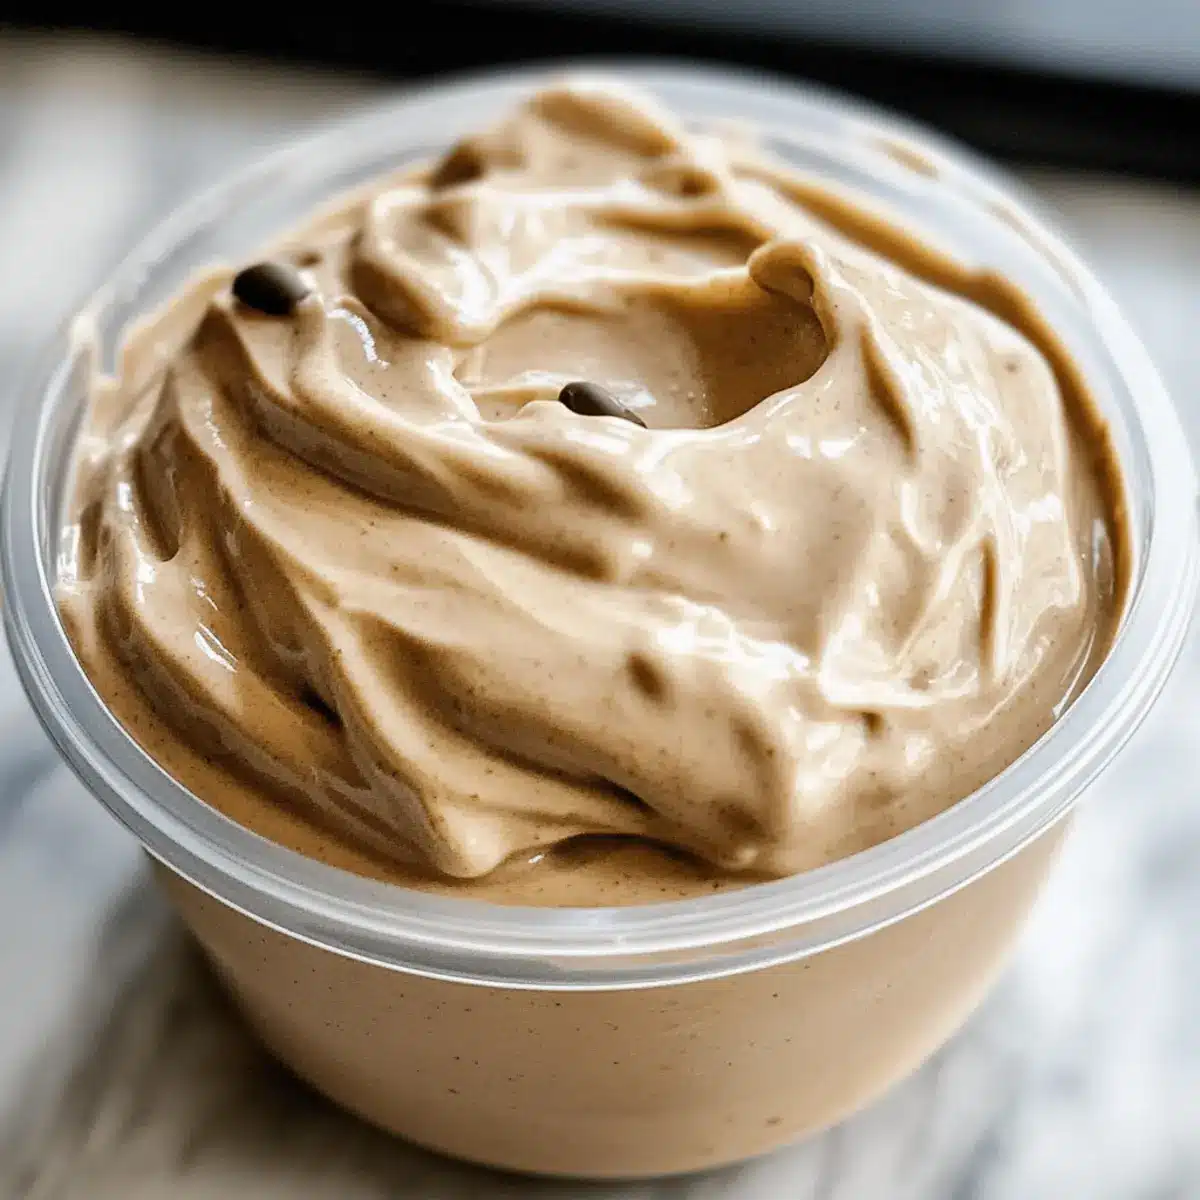
Sweeping through the kitchen, the rich aroma of freshly brewed espresso always tempts me to whip up something decadent. This time, I’ve combined that familiar coffee goodness with a delightful twist in my Ninja Creami Mocha Espresso Protein Ice Cream. Not only does this easy-to-make dessert provide a deliciously creamy texture, but it’s also a satisfying way to sneak in some protein to fuel your day. Imagine treating yourself to a healthy dessert that handles your sweet cravings while giving you a boost of energy—it’s a win-win! Plus, with the ability to customize flavors and ingredients, each batch can reflect your unique taste. Curious to find out how to make this invigorating treat? Let’s dive in!
Why is Ninja Creami Ice Cream so special?
Satisfying Sweetness: This Ninja Creami Mocha Espresso Protein Ice Cream satisfies your sweet cravings without the guilt, making it ideal for dessert lovers.
Packed with Protein: Each scoop is a delightful way to sneak in protein, perfect for anyone seeking a healthier treat.
Customizable Flavors: Feel free to make it your own! Substitute ingredients based on your preference, like using vanilla instead of chocolate protein powder for a whole new experience.
Quick and Easy: With a simple prep process, you can enjoy this delightful dessert in no time after a busy day—perfect for those looking to escape fast food monotony.
Perfect for Entertaining: Serve this creamy indulgence at your next gathering or cozy night in, and watch friends and family savor every last spoonful! Try pairing it with the High Protein Breakfast Burrito for a well-rounded meal.
Ninja Creami Mocha Espresso Protein Ice Cream Ingredients
For the Base
• Chocolate Protein Powder – This main ingredient delivers both flavor and a healthy protein boost; you can swap in vanilla protein powder and increase cocoa for variety.
• Cocoa Powder – Adds that essential chocolate richness; make sure it’s unsweetened to elevate flavor without extra sugar.
• Chilled Espresso or Cold Brew Coffee – Infuses a robust coffee flavor while minimizing melting; opt for decaf if you’re sensitive to caffeine.
• Milk of Choice – Whole, almond, or oat milk are great for a creamy texture; for a dairy-free dessert, stick with almond or oat.
Optional Add-ins
• Chocolate Chips – These are perfect for an extra chocolatey bite; adjust the quantity based on how indulgent you want it to be.
• Peanut Butter – A fantastic way to add creaminess and nutty flavor; feel free to mix it in for a satisfying twist!
Indulge in this Ninja Creami Mocha Espresso Protein Ice Cream and enjoy how easily you can create a healthy, customized dessert!
Step‑by‑Step Instructions for Ninja Creami Mocha Espresso Protein Ice Cream
Step 1: Combine Dry Ingredients
In a Ninja Creami pint, begin by adding one scoop of chocolate protein powder and a spoonful of unsweetened cocoa powder. Whisk them together until well combined, ensuring no lumps remain. This mix lays the foundation for your Ninja Creami Mocha Espresso Protein Ice Cream and infuses it with rich chocolate flavor.
Step 2: Add Espresso
Next, pour in your chilled espresso or cold brew coffee. This concentrated coffee addition will give your ice cream a bold flavor boost. Stir gently at first, then vigorously until the mixture is smooth and creamy, ensuring that all dry ingredients are thoroughly dissolved and incorporated.
Step 3: Mix in Milk
Slowly add your milk of choice—whether whole, almond, or oat—while whisking continuously to achieve a rich, creamy texture. Aim for a consistency similar to a thick batter. This step is vital for the creaminess of your Ninja Creami Mocha Espresso Protein Ice Cream, so mix until completely smooth and well-combined.
Step 4: Freeze the Mixture
Once your mixture is smooth, pour it back into the Ninja Creami pint. Seal the lid tightly to avoid ice crystals during the freezing process. Place the pint in the freezer and allow it to freeze for at least 8 hours or overnight. The longer it freezes, the creamier it will be when processed.
Step 5: Process the Ice Cream
After the mixture has frozen solid, remove it from the freezer and process it in your Ninja Creami using the “Lite Ice Cream” or “Ice Cream” setting. In about 2-3 minutes, it will begin to transform into a luscious ice cream texture. Watch closely as it transforms into the silky goodness you desire.
Step 6: Re-spin for Creaminess
If the texture appears crumbly after the first spin, don’t worry! Simply re-spin the ice cream until it reaches a smooth consistency, typically requiring one or two additional spins. This step ensures your Ninja Creami Mocha Espresso Protein Ice Cream has that perfect soft-serve feel and is ready to serve.
Step 7: Add Optional Mix-ins
If you’d like to enhance the flavor, consider stirring in chocolate chips or peanut butter at this stage. Use a spoon to fold in your desired add-ins gently. This step is optional but can elevate your homemade ice cream experience even further, making it uniquely yours!
Step 8: Serve and Enjoy
Scoop your delicious Ninja Creami Mocha Espresso Protein Ice Cream into bowls. You can enjoy it right away or store it back in the freezer for later. A drizzle of syrup or a sprinkle of sea salt on top makes for a beautiful, indulgent presentation that will impress your guests!
How to Store and Freeze Ninja Creami Mocha Espresso Protein Ice Cream
Fridge: Store any leftovers in the fridge for up to 3 days, but be aware that the texture may change and become less creamy.
Freezer: Keep your Ninja Creami Mocha Espresso Protein Ice Cream in an airtight container, where it can last for up to 2 weeks. For the best texture, re-spin before serving.
Wrapping: If you don’t consume it all at once, consider using plastic wrap directly on the surface of the ice cream before sealing the lid to minimize air exposure and ice crystals.
Reheating: There’s no need to reheat this ice cream, but if you find it too hard to scoop, let it sit at room temperature for about 5-10 minutes before serving.
Expert Tips for Ninja Creami Ice Cream
Smooth Base: Ensure thorough mixing of the base ingredients to avoid lumps; a smooth mixture is key for creamy Ninja Creami Mocha Espresso Protein Ice Cream.
Quality Matters: Choose high-quality chocolate protein powder for the best flavor; lower-quality options can impact the overall taste.
Freeze Solid: Be patient while freezing—your ice cream needs to be completely solid to achieve the right texture when processed.
Proper Processing: Keep the lid on during freezing for optimal results; only remove it when it’s time to re-spin to prevent icy textures.
Experiment Freely: Don’t hesitate to try various protein powders or mix-ins! Customize your ice cream to fit your tastes while keeping it healthy.
What to Serve with Ninja Creami Mocha Espresso Protein Ice Cream
Pair your refreshing frozen treat with these delightful accompaniments for a perfectly rounded meal experience.
- Fresh Berries: Their natural sweetness and tartness elevate the mocha flavor while adding a vibrant pop of color to your bowl.
- Chocolate Drizzle: A rich chocolate sauce forms a luscious layer of indulgence that beautifully complements the protein-packed ice cream.
- Nutty Cookies: Serve with crunchy almond or hazelnut cookies for a delightful contrast in texture that makes every bite memorable.
- Decadent Whipped Cream: A dollop of airy whipped cream adds a light, creamy element, enhancing the dessert’s overall richness.
- Coffee Smoothie: Pair with a cold brew or mocha smoothie to amplify the coffee experience, making your dessert a blissful treat!
- Almond Milk Latte: A warm or iced almond milk latte perfectly harmonizes the coffee flavors, creating a comforting, café-like vibe at home.
- Cinnamon Sprinkles: A light dusting of cinnamon takes your ice cream to the next level, blending aromatic warmth with every scoop.
Ninja Creami Mocha Espresso Protein Ice Cream Variations
Feel free to explore these delicious variations that will elevate your ice cream experience to new heights!
- Dairy-Free Delight: Substitute cow’s milk with almond or coconut milk for a rich, vegan-friendly version.
- Sweeten It Up: Add a splash of maple syrup or honey for a touch of natural sweetness without any additional sugar.
- Nutty Twist: Mix in a tablespoon of almond or cashew butter before freezing for a creamy, nutty flavor that pairs beautifully with mocha.
- Decadent Chocolate: Use dark chocolate protein powder instead of cocoa powder for an intense chocolate experience that chocoholics will love.
- Fruit Fusion: Blend in a ripe banana before freezing to enhance creaminess and add a hint of natural sweetness—a delicious way to boost your ice cream!
- Caramel Bliss: Drizzle in some sugar-free caramel sauce right before serving for a heavenly, decadent finish.
- Espresso Shot: For a stronger coffee kick, replace a bit of the milk with an extra shot of espresso—perfect for morning or afternoon energy!
- Flavor Explosion: Consider adding crushed espresso beans or a bit of cinnamon for a unique depth of flavor that turns your ice cream into a gourmet treat.
You can always customize and enhance your Ninja Creami Mocha Espresso Protein Ice Cream to suit your taste buds—it’s all about making this dessert uniquely yours! And if you’re looking for even more nutritious options, don’t miss out on the High Protein Peanut Butter Overnight Oats or the indulgent Korean Milk Cream for delightful pairings.
Make Ahead Options
Preparing your Ninja Creami Mocha Espresso Protein Ice Cream in advance is a fantastic way to save time and indulge in dessert any night of the week! You can mix your ingredients and store the base in the freezer for up to 24 hours before processing. Simply combine the protein powder, cocoa powder, and chilled espresso with your milk, whisk until smooth, and pour into the Ninja Creami pint. Once you’re ready to enjoy, just freeze the mixture for at least 8 hours (or overnight), then use the “Lite Ice Cream” or “Ice Cream” setting to achieve that luscious texture. For the best quality, ensure to keep it tightly sealed while it freezes to prevent ice crystals, and don’t forget to re-spin if necessary for that perfect creaminess!
Ninja Creami Mocha Espresso Protein Ice Cream Recipe FAQs
What kind of chocolate protein powder should I use?
Absolutely! I recommend using a high-quality chocolate protein powder for the best flavor. Lower-priced options can impact the taste significantly, so splurge a bit for this treat!
How long can I store Ninja Creami Mocha Espresso Protein Ice Cream?
You can store your ice cream in an airtight container in the freezer for up to 2 weeks. To maintain that creamy texture, I advise re-spinning it in the Ninja Creami before serving. If you keep leftovers, they can last in the fridge for up to 3 days, but the texture may change slightly.
Can I freeze the ice cream mix before processing?
Yes! Once you mix your ingredients and freeze them, make sure they are frozen solid—this usually requires at least 8 hours. Just remember, this prevents the ice cream from becoming too crumbly after processing, ensuring a smooth finish.
What should I do if my ice cream turns out crumbly?
Don’t worry! If the texture is crumbly after the first spin, re-spin the ice cream for an additional round. It usually takes one or two spins to achieve that creamy, soft-serve texture you desire!
Are there any allergy considerations for this recipe?
Very! If you’re preparing this ice cream for others, be mindful of allergies. For nut sensitivities, opt for rice milk or oat milk instead of almond milk. Additionally, ensure to check the protein powder for any allergens specific to your guests.
Can I add other flavors to my Ninja Creami Mocha Espresso Protein Ice Cream?
Definitely! This recipe is highly customizable. You can switch out the protein powder for vanilla or even caramel for unique twists. Blend in crushed espresso beans or mix in bananas for additional creaminess and flavor variety!
Ninja Creami Mocha Espresso Protein Ice Cream: Guilt-Free Indulgence
Ingredients
Equipment
Method
- Combine one scoop of chocolate protein powder and a spoonful of unsweetened cocoa powder in a Ninja Creami pint. Whisk until well combined.
- Pour in chilled espresso or cold brew coffee and stir gently, then vigorously, until smooth.
- Slowly add milk while whisking to achieve a rich, creamy texture.
- Pour the mixture back into the Ninja Creami pint, seal tightly, and freeze for at least 8 hours or overnight.
- After freezing, process the mixture in the Ninja Creami using the 'Lite Ice Cream' or 'Ice Cream' setting.
- If the texture is crumbly after the first spin, re-spin until reaching a smooth consistency.
- Stir in any optional mix-ins like chocolate chips or peanut butter if desired.
- Scoop into bowls and enjoy immediately, or store back in the freezer for later.
Leave a Reply