
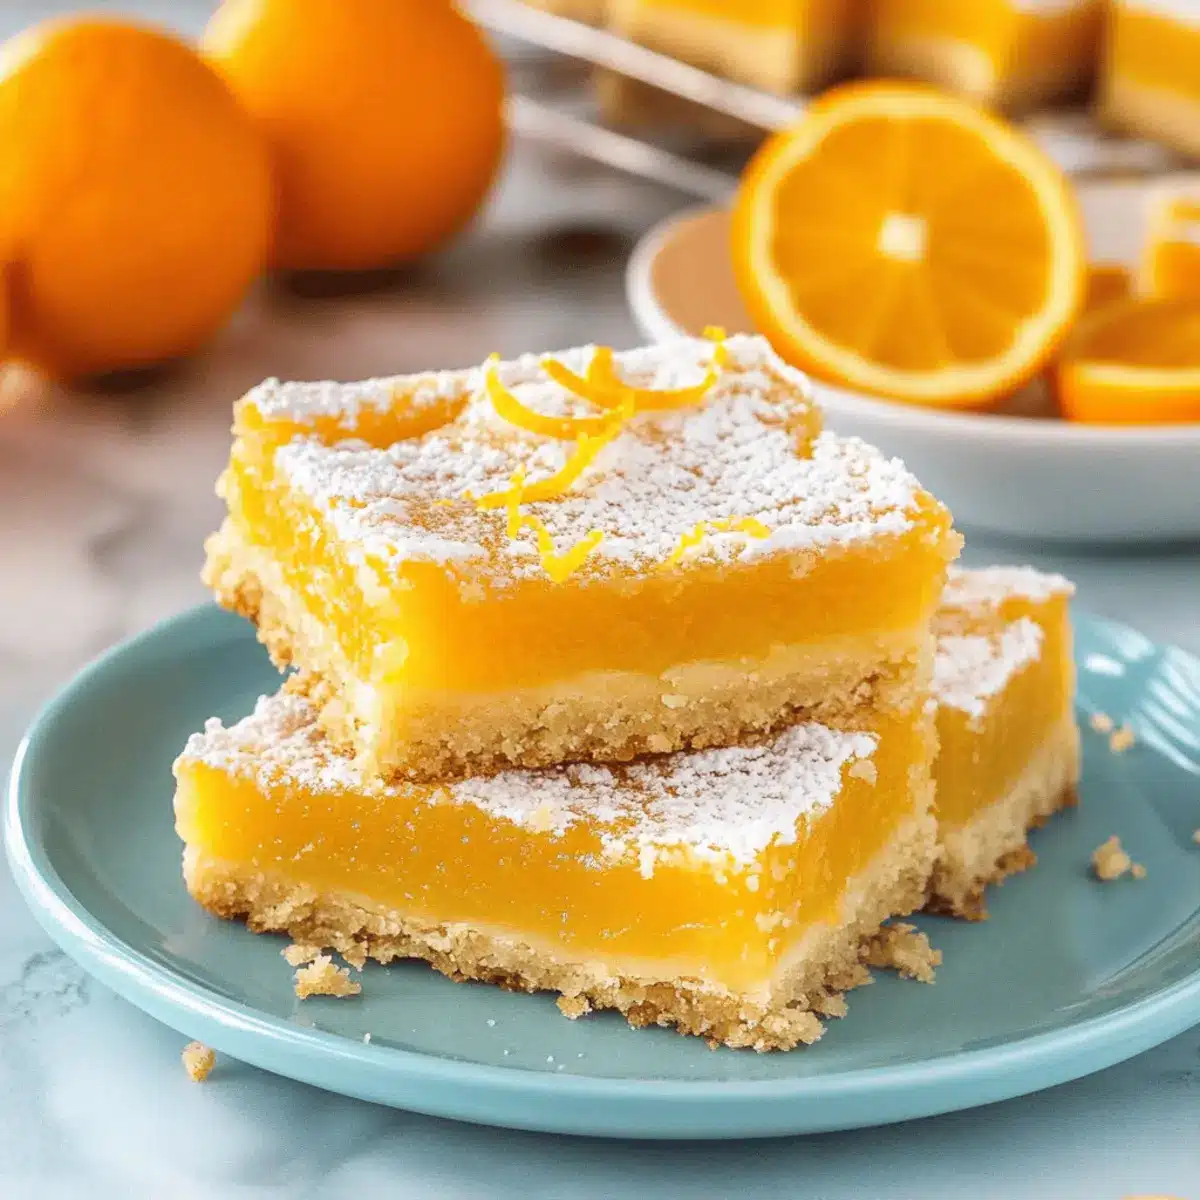
Stepping into the kitchen with the scent of fresh oranges dancing in the air instantly transports me to sunny days, even in the middle of winter. That’s the magic of these Orange Dream Bars—a delightful blend of sweet and tart that’s simply irresistible. With a luxuriously buttery shortbread crust supporting a creamy orange curd filling, these bars strike the perfect harmony for anyone looking to elevate their dessert game. They’re quick to whip up, making them ideal for both a casual family treat or a show-stopping addition to your next gathering. Plus, they offer a delightful twist on the classic lemon bars that we all know and love. Curious about how to bring a burst of citrus sunshine into your life? Let’s dive into the recipe!
Why Are These Orange Bars Irresistible?
Bright, Fresh Flavor: The combination of citrusy orange juice and zest creates a vibrant taste that will awaken your senses and elevate any meal.
Buttery Crust: A thick, crumbly shortbread base provides a rich contrast to the creamy filling, ensuring every bite is absolutely satisfying.
Quick and Easy: With just a few simple ingredients, these bars are simple to prepare, making them perfect for spontaneous baking moments.
Versatile Treat: Whether served at a summer barbecue or a winter holiday gathering, they always impress your guests, becoming a crowd favorite in every scenario.
Perfect for Meal Prep: Made in advance, these orange bars hold up well in the fridge, making them an excellent option for meal planning or snacks throughout the week.
If you love easy recipes like these, don’t miss out on our delightful Bake Chocolate Bars that are sure to please!
Orange Bars Ingredients
For the Crust
- Unsalted Butter – provides richness and moisture for the crust; feel free to substitute with salted butter, just reduce the added salt.
- All-Purpose Flour – acts as the structure for the crust and filling; no substitutions are necessary unless you prefer gluten-free options.
- Granulated Sugar – sweetens the crust while balancing the tartness of the orange; finer sugar can be used if desired.
- Salt – enhances the flavors in the crust; adjust if using salted butter.
For the Filling
- Fresh Squeezed Orange Juice – serves as the base for the filling; fresh juice is essential for the best citrus flavor.
- Orange Zest – intensifies the citrus aroma and flavor; use more if your oranges are larger for an extra burst of taste.
- Orange Extract – amplifies the orange flavor in the filling, ensuring a full-bodied taste that makes these orange bars irresistible.
- Baking Powder – adds a slight lift to the filling, contributing to a perfect texture.
- Eggs – essential for achieving the filling’s creamy and structured consistency; avoid substitutions for best results.
For Dusting
- Powdered Sugar – optional, but a light dusting on top enhances presentation and adds a touch of sweetness.
Step‑by‑Step Instructions for Orange Dream Bars
Step 1: Preheat the Oven and Prepare the Pan
Begin by preheating your oven to 350°F (175°C). While it warms, take a 9×13-inch baking pan and line it with foil or parchment paper. Make sure to grease it lightly to keep the Orange Dream Bars from sticking. This first step sets the foundation for a perfectly baked dessert with a crispy crust.
Step 2: Make the Buttery Crust
In a large mixing bowl, beat together unsalted butter until creamy, about 2-3 minutes. Gradually add in all-purpose flour, granulated sugar, and a pinch of salt, mixing until a consistent dough forms. Next, press this mixture firmly into the bottom of your prepared pan, ensuring even distribution. Bake for 18 minutes or until it’s lightly golden.
Step 3: Prepare the Orange Filling
While the crust is baking, make the luscious filling. In a blender or mixing bowl, combine fresh-squeezed orange juice, orange zest, orange extract, granulated sugar, all-purpose flour, baking powder, and eggs. Blend until smooth and well mixed, which should take about 1-2 minutes. You want a silky texture that will transform into the creamy orange filling of your Orange Dream Bars.
Step 4: Combine and Bake
Once the crust is out of the oven, immediately pour the orange filling over the hot crust. This will help the layers meld beautifully. Return the pan to the oven and bake for an additional 20-23 minutes, or until the filling is set but still slightly jiggly in the center. This ensures a deliciously creamy finish to your orange bars.
Step 5: Cool and Dust
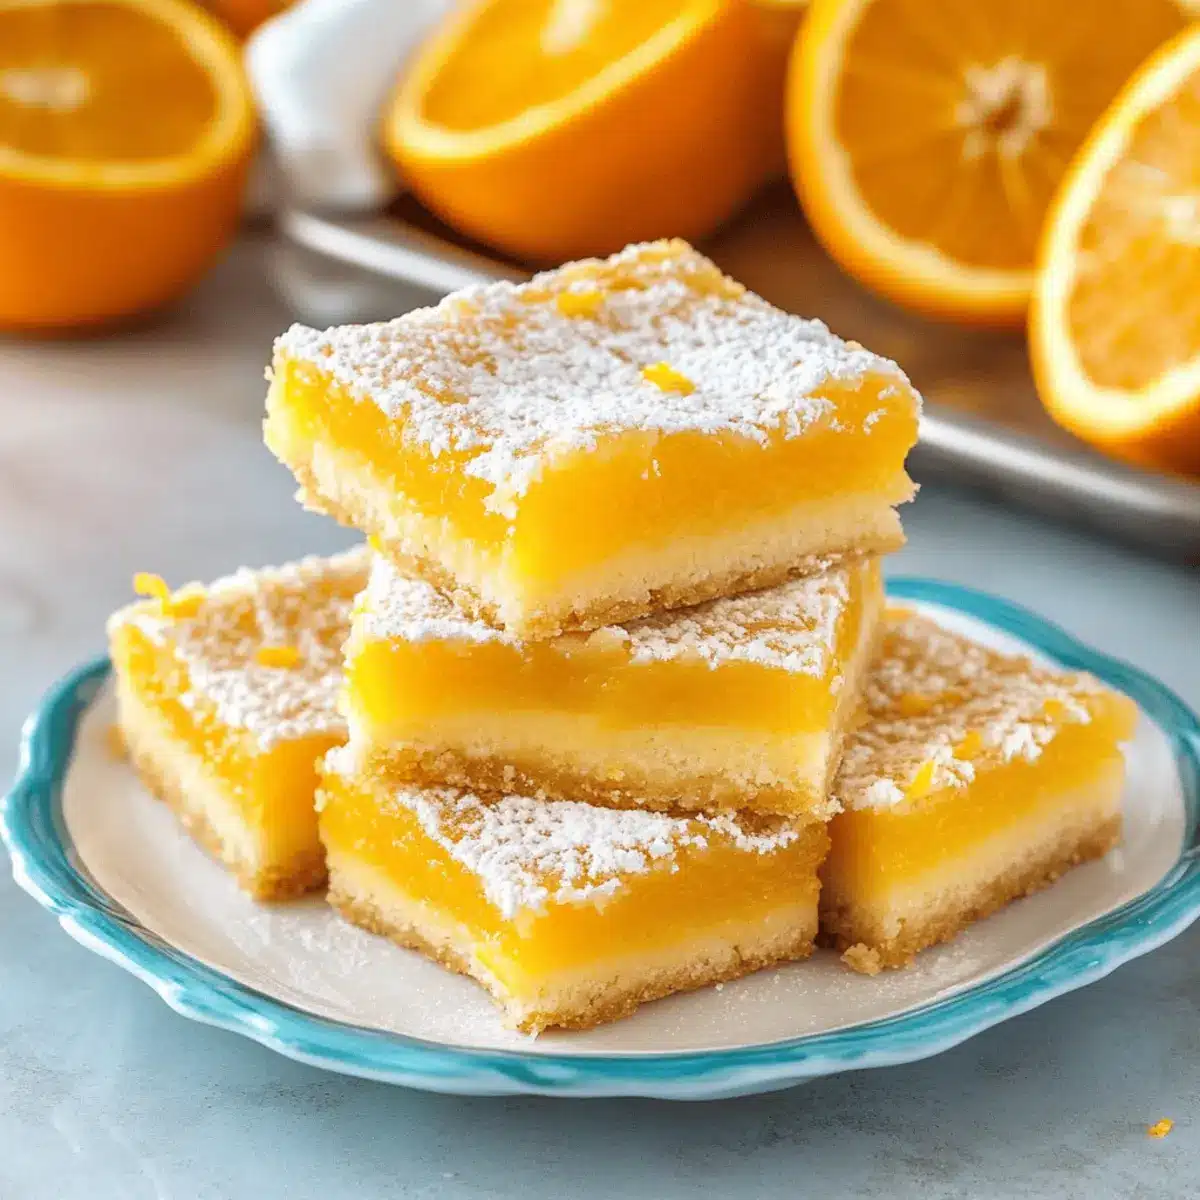
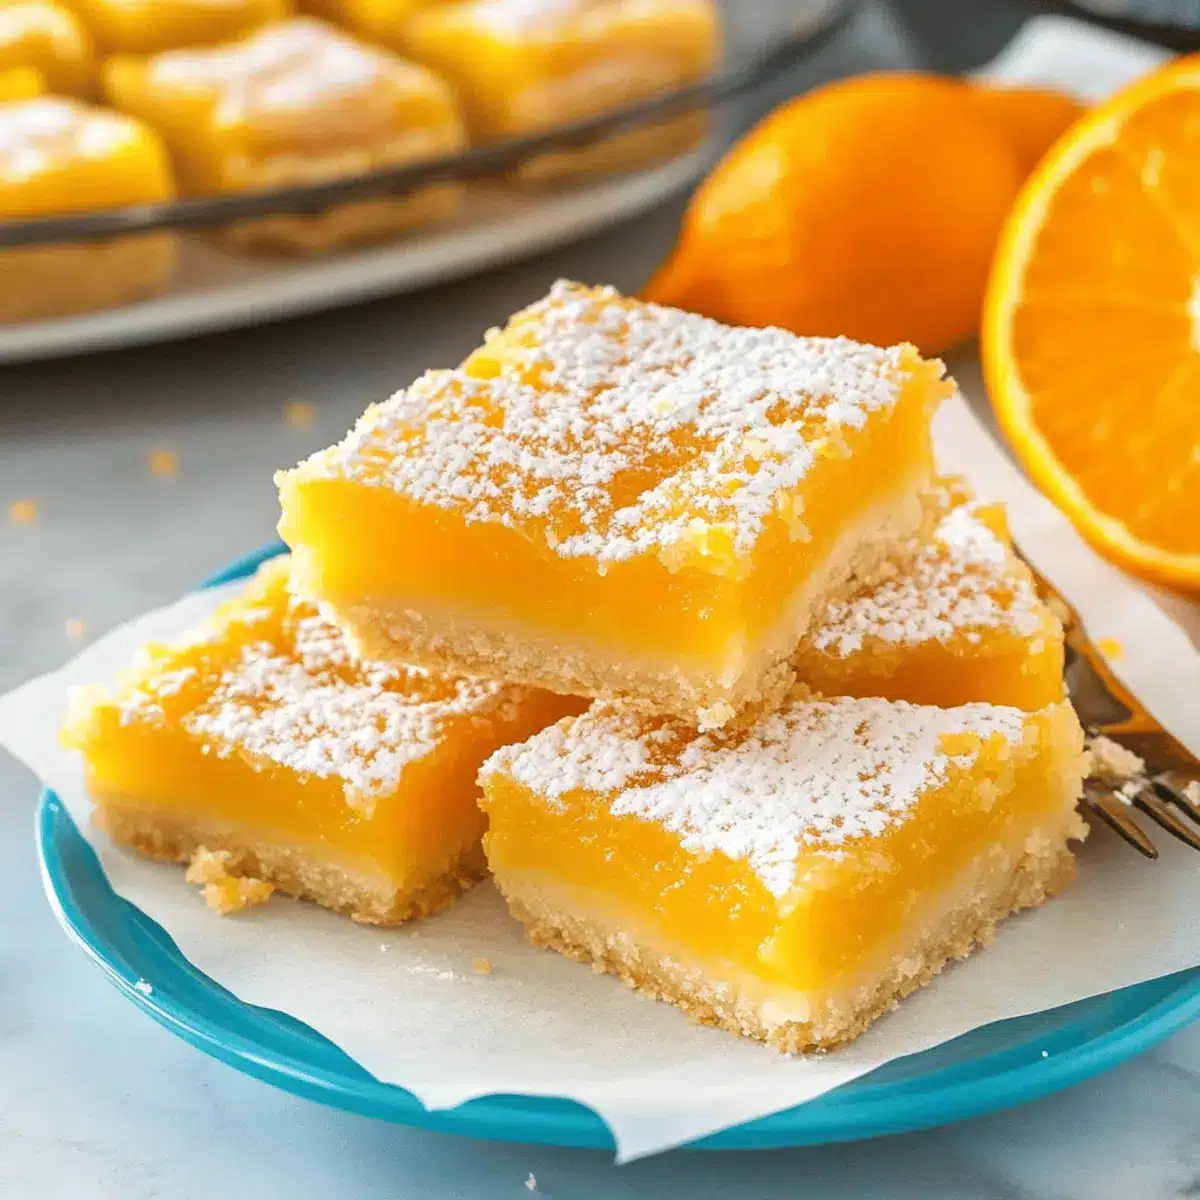
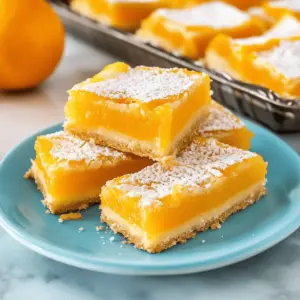
After baking, remove the Orange Dream Bars from the oven and allow them to cool completely in the pan on a wire rack. This should take about an hour. Once cool, dust the top with powdered sugar for added sweetness and a lovely presentation. Finally, slice into squares for your perfect citrus-infused dessert.
Step 6: Serve and Enjoy
Now that your Orange Dream Bars are ready, they can be served immediately or stored in the refrigerator for later enjoyment. Consider pairing them with a dollop of whipped cream or a scoop of vanilla ice cream for a refreshing contrast. These delightful bars are bound to brighten anyone’s day!
Orange Bars Variations & Substitutions
Unlock the potential of your Orange Dream Bars by making them uniquely yours with these fun twists and swaps.
-
Blood Orange Twist: Substitute blood oranges for a richer color and deeper flavor! The sweetness is divine, making for a bold presentation.
-
Almond Extract Boost: Adding just a hint of almond extract can elevate the flavor to new heights. This nutty note pairs wonderfully with the citrus, creating a comforting warmth.
-
Coconut Crust Crunch: For a tropical twist, mix shredded coconut into the crust for added texture. The coconut will complement the orange perfectly, bringing a beachy vibe to every bite.
-
Ginger Zing: Adding freshly grated ginger to the filling introduces a hint of heat and warmth that contrasts beautifully with the sweet oranges. It creates a beautiful, spicy flavor profile!
-
Gluten-Free Options: Use a gluten-free flour blend for those looking to avoid gluten. Make sure to check the blend’s ratio as it might vary, ensuring the crust remains crumby and delightful.
-
Extra Zesty: Don’t be shy with the zest! Use the zest of the entire orange instead of just a tablespoon for a more intense citrus flavor. The aroma will be heavenly!
-
Spicy Kick: Sprinkle a dash of cayenne pepper into the filling for a surprising and unique spiciness that will tickle your taste buds. It’ll take your bars from sweet to adventurous!
If you find yourself craving something a little different, our scrumptious Bake Chocolate Bars might also inspire your next delicious creation!
How to Store and Freeze Orange Dream Bars
Fridge: Store your Orange Dream Bars in an airtight container, where they will remain fresh for up to 1 week. This helps keep the filling creamy while preventing any drying out.
Freezer: For longer storage, wrap the bars in plastic wrap and then place them in a freezer-safe container. They can be frozen for up to 2 months.
Thawing: To enjoy frozen Orange Dream Bars, simply transfer them to the fridge overnight to thaw. This preserves their texture and flavor beautifully.
Serving Tip: Before serving, dust with additional powdered sugar for an extra touch of sweetness.
Make Ahead Options
For those busy days when time is of the essence, these Orange Dream Bars can be prepped in advance to simplify your schedule! You can prepare the buttery shortbread crust up to 24 hours ahead of time and store it tightly covered in the refrigerator, ensuring that it remains fresh and crumbly. The orange filling can also be made up to 3 days in advance. Just keep it in an airtight container until you’re ready to pour it over the baked crust. When you are ready to finish, simply bake the crust, pour in the filling, and follow the baking instructions. These practical steps mean you’ll enjoy fabulous Orange Dream Bars with minimal effort, perfect for impromptu gatherings or weeknight treats!
Expert Tips for Orange Bars
-
Crust Packing: Ensure the crust is tightly packed in the pan to prevent leaking filling. A well-formed crust keeps everything together beautifully.
-
Use Fresh Juice: Always opt for fresh-squeezed orange juice; it’s essential for capturing that vibrant flavor. Bottled juice can’t replicate the freshness.
-
Texture Timing: Keep an eye on the filling while baking; it should be set but still slightly jiggly in the center for that creamy texture characteristic of orange bars.
-
Avoid Straining: Don’t strain the fresh orange juice; the pulp adds depth and richness to the flavor. Embrace that citrusy essence!
-
Chill Before Serving: Let your orange bars cool completely before cutting for cleaner, neater squares. They’ll be even more delicious after chilling in the fridge.
What to Serve with Orange Dream Bars
Indulging in these creamy, zesty bars invites a world of delicious pairing possibilities that enhance their bright citrus charm.
-
Whipped Cream: A dollop of lightly sweetened whipped cream adds a fluffy texture, making each bite even more delightful.
-
Vanilla Ice Cream: The rich creaminess of vanilla ice cream contrasts perfectly with the tartness of the orange bars, bringing a satisfying balance.
-
Sliced Fresh Fruit: A colorful medley of berries or tropical fruits provides a refreshing, bright contrast, enhancing the fruity flavors of the dessert.
-
Sparkling Water with Lime: Refreshing and bubbly, this drink cleanses the palate, making each slice of orange bliss truly shine.
-
Mint Tea: The fragrant notes of mint tee will complement the citrus well, offering a soothing finish that delights the senses.
-
Coconut Macaroons: The chewy texture and sweetness of coconut macaroons create a lovely contrast to the creamy orange filling, adding depth to the dessert spread.
-
Lemonade or Citrus Spritzer: Add a bubbly zest by pairing these bars with fresh lemonade or a citrus spritzer; the acidity will resonate beautifully with the orange flavor.
-
Shortbread Cookies: The crumbly sweetness of classic shortbread cookies echoes the buttery crust of the bars, providing a delicious duet of textures.
-
Fruit Sorbet: Choose a complementary sorbet flavor like lemon or passion fruit for a refreshing dessert experience that elevates the citrus theme.
Orange Dream Bars Recipe FAQs
How do I choose ripe oranges for this recipe?
Absolutely! Look for oranges that are firm, smooth, and heavy for their size, as this indicates juiciness. Avoid any oranges with dark spots or blemishes. The brighter the orange, the more vibrant the flavor!
How should I store my Orange Dream Bars?
To keep your Orange Dream Bars fresh, store them in an airtight container in the refrigerator for up to 1 week. This helps in maintaining that creamy texture of the filling while also preventing them from drying out.
Can I freeze Orange Dream Bars?
Yes, you can! Wrap the bars tightly in plastic wrap and then place them in a freezer-safe container. They can be frozen for up to 2 months. When you’re ready to enjoy them, move the bars to the refrigerator overnight to thaw, which helps preserve their delicious texture.
What should I do if my filling turns out too runny?
If your filling is runny, it might need more baking time. Return the bars to the oven and bake for an additional 5 minutes, checking every minute until the filling is set but still slightly jiggly in the center. Avoid overbaking, as you want a creamy consistency.
Are Orange Dream Bars suitable for those with allergies?
These Orange Dream Bars contain eggs and gluten (from the flour), so they may not be suitable for those with egg or gluten allergies. However, you can experiment with a gluten-free flour blend and egg substitute like flaxseed meal mixed with water for a delicious twist.
How can I enhance the flavor of my Orange Dream Bars?
Consider adding a hint of almond extract along with the orange extract for additional flavor depth. You can also try using blood oranges for a unique taste and vibrant color. If you want a bit of texture, incorporate shredded coconut into the crust!

Irresistibly Creamy Orange Bars That Brighten Your Day
Ingredients
Equipment
Method
- Preheat your oven to 350°F (175°C) and line a 9x13-inch baking pan with foil or parchment paper. Grease lightly.
- Beat together unsalted butter until creamy, about 2-3 minutes. Gradually add flour, sugar, and salt, mixing until a consistent dough forms. Press into the bottom of the prepared pan and bake for 18 minutes.
- Combine orange juice, zest, extract, sugar, flour, baking powder, and eggs in a blender or bowl. Blend until smooth, about 1-2 minutes.
- Pour the orange filling over the hot crust and bake for an additional 20-23 minutes until set but slightly jiggly in the center.
- Allow the bars to cool completely in the pan on a wire rack, about 1 hour. Dust with powdered sugar before slicing into squares.
- Serve immediately or store in the refrigerator. Pair with whipped cream or vanilla ice cream for extra delight.
Leave a Reply