
As I stirred the pot of bubbling oil, the delightful aroma of crispy popcorn chicken danced through the kitchen, igniting memories of family movie nights. This kid-friendly snack is not just a throwback to those cozy evenings; it’s a guilt-free indulgence everyone will adore. This Crispy Homemade Popcorn Chicken recipe is perfect for satisfying those cravings while avoiding the drive-thru. With just a few pantry staples, you can whip up this crowd-pleaser that delivers on both flavor and simplicity. Whether you’re in charge of dinner or looking to impress guests, this dish can be a hit and even offers versatile variations like a spicy buffalo twist or a gluten-free option. Ready to begin your culinary adventure? Let’s dive into making this irresistibly crispy delight that promises smiles all around!
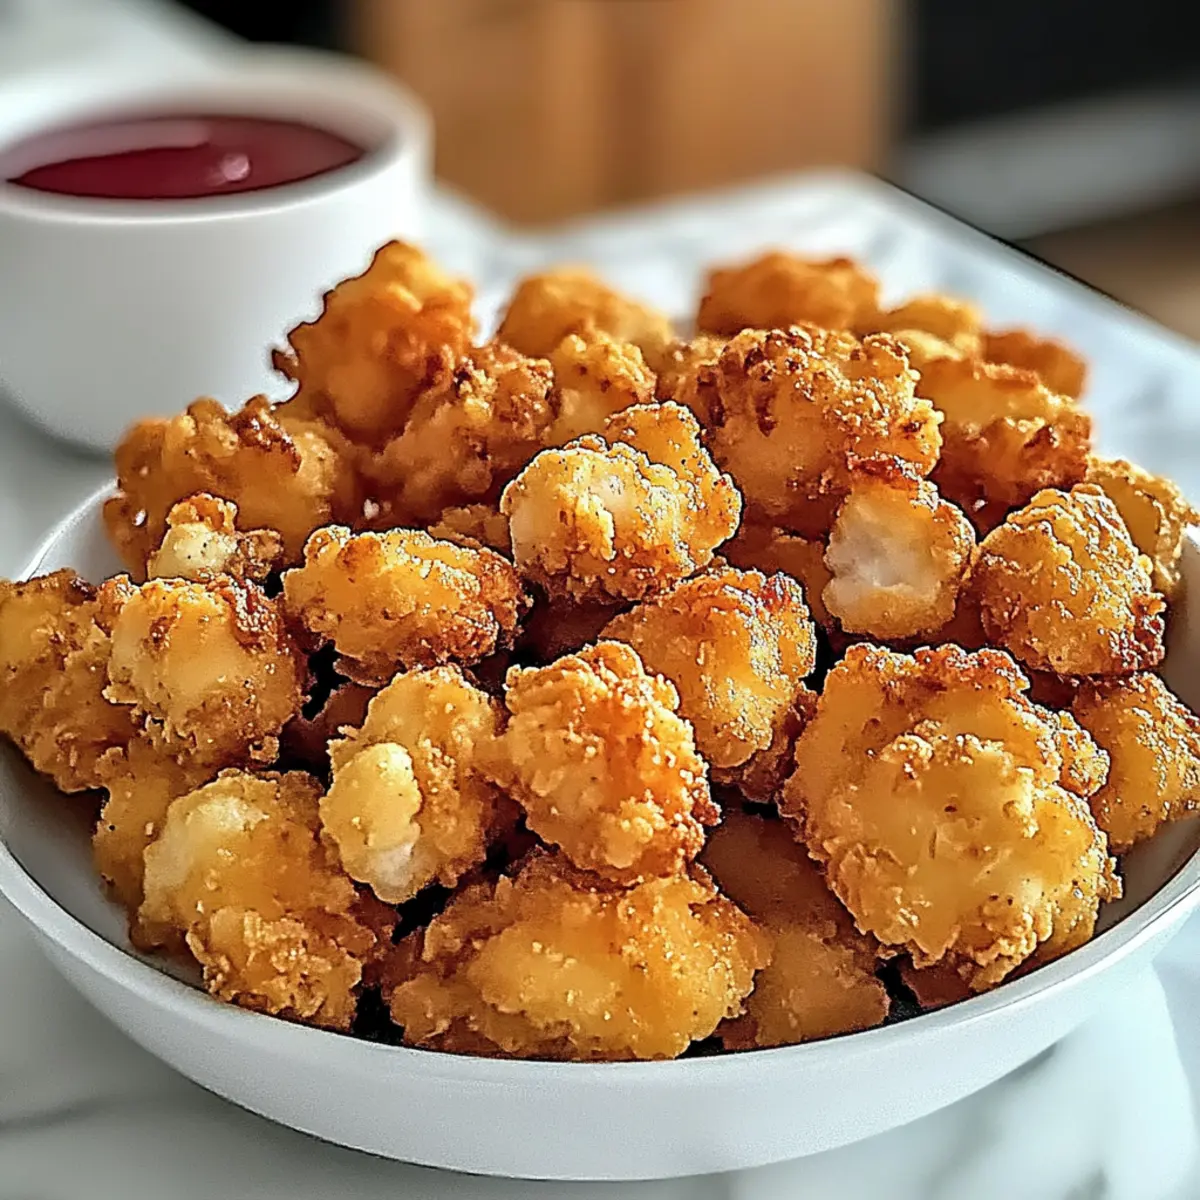
Why Is This Popcorn Chicken So Amazing?
Crispy Goodness: Each piece boasts a satisfying crunch that’ll make your taste buds dance with joy!
Kid-Friendly Appeal: Perfectly suited for picky eaters, this popcorn chicken is an instant hit with kids and adults alike.
Customization Galore: Whether you prefer a spicy buffalo twist or a lightened-up baked version, this recipe has options for everyone!
Time-Saving Delight: Quick to prepare and easy to fry, you’ll have a delicious snack ready in less than 30 minutes.
Meal Prep Magic: Great for meal prepping, simply store leftovers in the fridge or freeze for quick weeknight dinners—just reheat in the air fryer for crunch perfection!
This popcorn chicken is not only indulgent but a healthier alternative to fast food. Serve it alongside a refreshing garden salad or creamy mac and cheese for a complete meal that impresses. Enjoy this homemade treat that captures the essence of fun family gatherings!
Popcorn Chicken Ingredients
For the Chicken
• Boneless Skinless Chicken Breasts – Essential for a tender and protein-packed snack; make sure to use fresh pieces for the best texture.
• Buttermilk – Provides juiciness and helps the coating stick; you can substitute with milk mixed with lemon juice for a similar effect.
For the Coating
• All-Purpose Flour – This is the foundation for the crispy exterior; for a gluten-free option, use chickpea flour instead.
• Salt – Enhances the flavors; feel free to adjust based on your taste preference, or opt for sea salt for extra zing.
• Garlic Powder – Adds a layer of flavor; if you’re not a fan of garlic, onion powder works just as well.
• Panko Breadcrumbs – Creates that sought-after ultra-crispy texture; look for gluten-free breadcrumbs if needed to keep it inclusive.
For Frying
• Vegetable or Canola Oil – Crucial for frying; achieving the right oil temperature will ensure perfect crispiness for your popcorn chicken.
Step‑by‑Step Instructions for Crispy Homemade Popcorn Chicken
Step 1: Prep Chicken
Start by cutting the boneless skinless chicken breasts into 1-inch pieces, ensuring each piece is uniform for even cooking. Pat the pieces dry with paper towels to remove excess moisture, which helps achieve that golden crunch. Having dry chicken is essential for the coating to adhere properly.
Step 2: Mix Coatings
In a shallow bowl, combine all-purpose flour with salt and garlic powder, stirring until well mixed. In separate bowls, pour the buttermilk and panko breadcrumbs, preparing them for the dredging process. This organized setup allows for a smoother workflow as you coat the chicken pieces effectively.
Step 3: Dredge Chicken
Coat each chicken piece by first rolling it in the flour mixture, ensuring a complete coverage. Next, dip the floured chicken into the buttermilk, letting any excess drip off. Finally, press the chicken into the panko breadcrumbs to create a thick, crunchy crust that will result in delectable popcorn chicken.
Step 4: Heat Oil
In a heavy pot, heat vegetable or canola oil over medium heat until it reaches 350°F (175°C). Use a thermometer to ensure the temperature is accurate, as this is key for achieving that crispy texture. Once the oil is hot, you’ll notice a shimmer on the surface, indicating it’s ready for frying.
Step 5: Fry Chicken
Carefully add the coated chicken pieces to the hot oil in batches, ensuring not to overcrowd the pot. Fry each batch for 2-3 minutes, or until they turn a beautiful golden brown. Keep an eye on the color to avoid burning and adjust the heat as necessary to maintain a steady temperature.
Step 6: Drain and Serve
Once the popcorn chicken is perfectly fried, use a slotted spoon to remove them from the oil. Drain the fried pieces on paper towels, which will absorb excess grease. Season them with a sprinkle of salt while they are still hot, enhancing their flavor before serving immediately with your favorite dipping sauces.
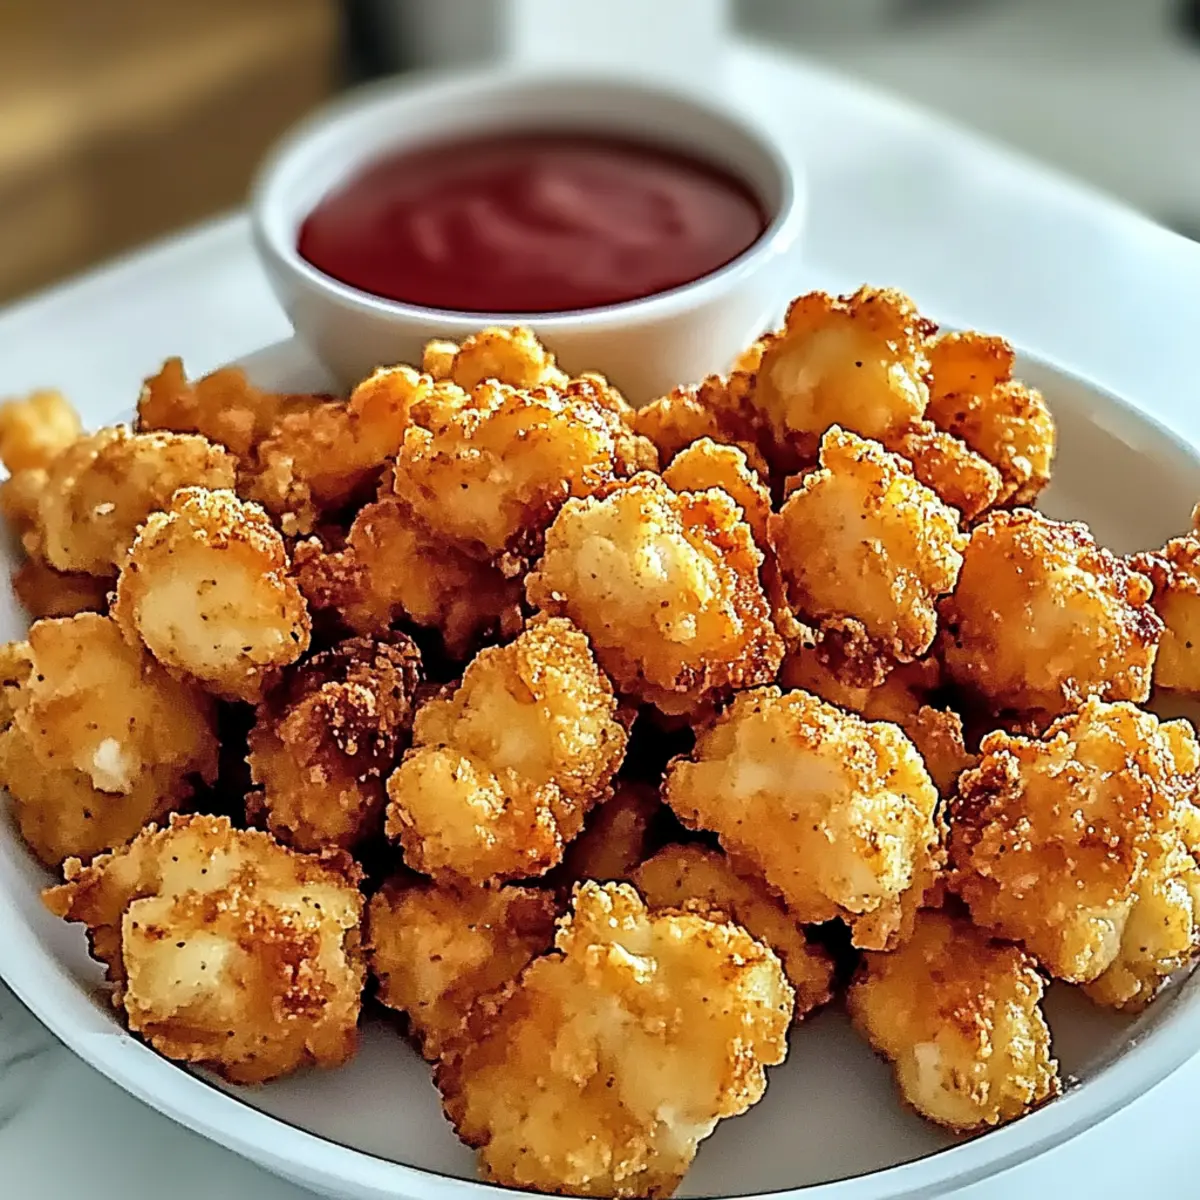
How to Store and Freeze Popcorn Chicken
Fridge: Place leftovers in an airtight container and refrigerate for up to 2 days to preserve freshness and flavor.
Freezer: Cool the popcorn chicken completely, then store in a freezer-safe bag or container for up to 3 months.
Reheating: For best results, reheat in an air fryer at 375°F for about 5-7 minutes to restore crispiness. Avoid using the microwave, which can make the coating soggy.
Thawing: When ready to eat, thaw in the fridge overnight for even reheating. Enjoy your delightful popcorn chicken just as crispy as it was on day one!
Expert Tips for Perfect Popcorn Chicken
• Temperature Check: Use a thermometer to keep oil at 350°F for consistently crispy popcorn chicken; too hot can burn the coating.
• Don’t Overcrowd: Fry in small batches to prevent the temperature from dropping, which can lead to soggy chicken.
• Dry Chicken: Ensure chicken pieces are patted dry before coating; moisture can prevent the breadcrumbs from sticking properly.
• Crisp Storage: If reheating, use an air fryer or oven instead of a microwave to maintain that irresistible crispiness.
• Taste Test: Adjust seasoning in the flour mixture to suit your family’s palate; a pinch of paprika can add extra depth to the flavor.
These tips will help you achieve crispy popcorn chicken that everyone will rave about!
Make Ahead Options
These Crispy Homemade Popcorn Chicken pieces are perfect for meal prep enthusiasts! You can marinate the chicken in buttermilk up to 24 hours in advance, which helps keep the meat juicy and flavorful. Additionally, you can coat the chicken with the flour and breadcrumb mixture and refrigerate it for up to 3 days before frying. Just ensure to cover the chicken pieces tightly to prevent drying out. When you’re ready to serve, heat your oil and fry in batches as instructed. This way, you’ll get the same crispy, mouthwatering results with minimal effort, making weeknight dinners a breeze!
What to Serve with Crispy Homemade Popcorn Chicken
Picture a cozy night filled with laughter and joy, as golden bites of crispy goodness bring your meal to life.
-
Creamy Mac and Cheese: This rich, cheesy favorite balances the crunch of the popcorn chicken, making each bite a delightful flavor explosion.
-
Garden Salad: A fresh mix of greens adds a crisp, refreshing counterpoint to the warm, savory chicken, ensuring a well-rounded meal.
-
Sweet Potato Fries: Their natural sweetness and delightful texture complement the savory popcorn chicken, creating a satisfying contrast on your plate.
-
Coleslaw: The crunchy, tangy slaw cuts through the richness, providing a delightful balance that makes it a perfect pairing.
-
Dipping Sauces: Offer a variety, like honey mustard or spicy mayo; they enhance flavor and add a fun interactive element to your meal.
-
Roasted Vegetables: Colorful, caramelized veggies bring a hearty element to the table, enriching your dining experience with extra nutrients and flavor.
-
Fizzy Lemonade: A cool, refreshing drink that quenches your thirst while lifting the meal with its zesty brightness, making every bite even more enjoyable.
Combining these delightful sides with your crispy homemade popcorn chicken will create a memorable dining experience that satisfies everyone at your table!
Popcorn Chicken Variations & Substitutions
Feel free to explore these tempting variations and make this delicious popcorn chicken your own!
-
Baked Version: Bake at 400°F for 15-20 minutes, flipping halfway through for a lighter, healthier twist. Enjoy that guilt-free crunch without the frying oil!
-
Spicy Buffalo Twist: After frying, toss the chicken in your favorite buffalo sauce for an irresistible kick. Pair it with a cooling ranch dip to balance the heat beautifully.
-
Gluten-Free Option: Substitute all-purpose flour with chickpea flour and use gluten-free breadcrumbs. This way, everyone can enjoy the crispy goodness, including those with dietary restrictions.
-
Vegetarian Style: Replace chicken with cauliflower florets coated in the same delightful ingredients. They crisp up perfectly for a savory snack that’s sure to satisfy.
-
Flavorful Marinade: Marinate chicken pieces in buttermilk mixed with hot sauce before breading for an extra layer of flavor. It adds a tangy depth that’ll have guests coming back for more!
-
Herb Infusion: Mix dried herbs such as oregano or thyme into the flour coating for a fragrant twist. Fresh herbs can elevate your popcorn chicken to gourmet-level indulgence.
-
Crispy Air Fryer Method: Use the air fryer for a healthier take! Cook the coated chicken at 400°F for about 10 minutes, flipping halfway through to achieve that classic crunch without excess oil.
-
Zesty Dipping Sauces: Explore dips like honey mustard, spicy mayo, or even a zesty garlic aioli for a delightful accompaniment. These sauces can transform each bite into a flavor adventure!
For delightful inspirations on incorporating chicken into various dishes, check out our Honey Garlic Chicken or try your hand at the fiery flavors of Fiery Chicken Ramen.
Crispy Homemade Popcorn Chicken Recipe FAQs
How do I choose the best chicken for popcorn chicken?
Absolutely! For the juiciest and most tender popcorn chicken, always select boneless, skinless chicken breasts that are firm and fresh. Look for pieces that have a nice pink color without any dark spots or signs of aging. Fresh chicken ensures a delightful texture and flavor, making your homemade treat even more delicious.
How should I store leftover popcorn chicken?
Once you’ve enjoyed your crispy popcorn chicken, store any leftovers in an airtight container in the fridge. They will stay fresh and tasty for up to 2 days. Simply place them in the container, ensuring it’s sealed well to avoid moisture buildup, which could make them soggy.
Can I freeze popcorn chicken?
Yes, you can! Allow the popcorn chicken to cool completely after frying. Then, place the pieces in a freezer-safe plastic bag or airtight container. They can be frozen for up to 3 months. For best results when you’re ready to enjoy them again, thaw in the refrigerator overnight before reheating.
What if my coating isn’t crispy?
If your coating isn’t crispy, there are a couple of common issues to consider. First, check the oil temperature; it should be between 350°F and 375°F. If it’s too cool, the chicken will absorb oil and become soggy. Secondly, ensure that the chicken was patted dry before dredging—excess moisture can also prevent the coating from adhering properly. If the oil temperature and dredging technique are on point, your popcorn chicken will have the perfect crunch!
Can I make popcorn chicken gluten-free?
Absolutely! To make your popcorn chicken gluten-free, simply substitute all-purpose flour with chickpea flour and use gluten-free panko breadcrumbs instead of regular ones. This way, you can enjoy the same crispy goodness without compromising on the flavor or texture!
Is there a way to reheat popcorn chicken without losing its crunch?
Yes, indeed! To maintain that crunchy texture, I recommend reheating your popcorn chicken in an air fryer set at 375°F for about 5 to 7 minutes. This method restores the crispiness that can be lost in the microwave, ensuring each bite is just as delicious as when it was freshly cooked.
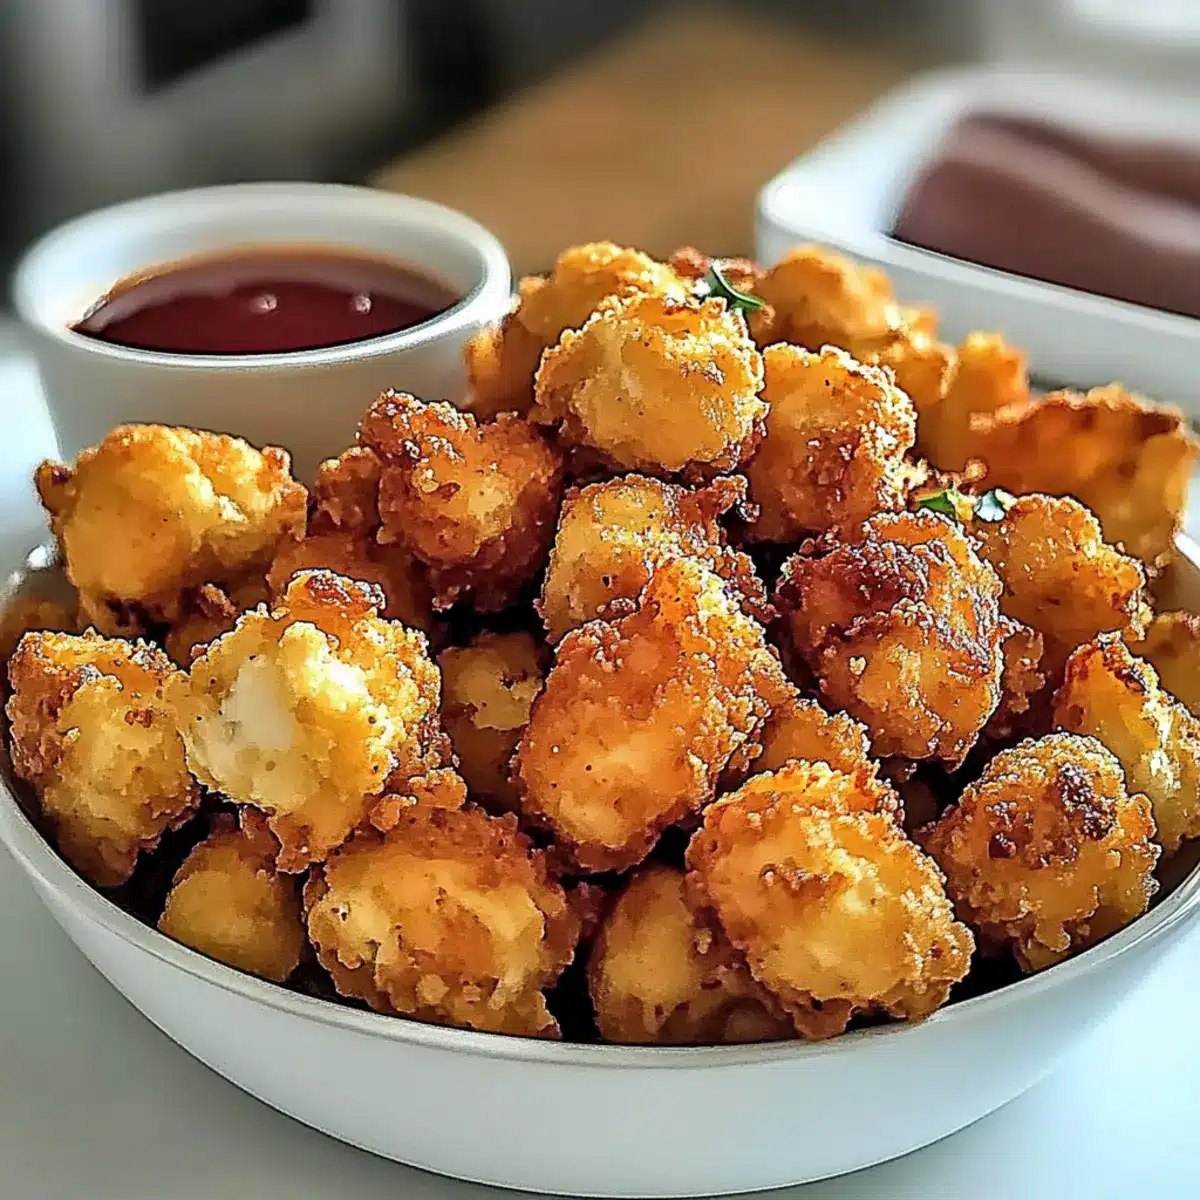
Crispy Popcorn Chicken: The Ultimate Homemade Snack Treat
Ingredients
Equipment
Method
- Start by cutting the boneless skinless chicken breasts into 1-inch pieces, ensuring each piece is uniform for even cooking. Pat the pieces dry with paper towels.
- In a shallow bowl, combine all-purpose flour with salt and garlic powder. In separate bowls, pour the buttermilk and panko breadcrumbs.
- Coat each chicken piece by rolling it in the flour mixture, then dipping it in the buttermilk, and finally pressing it into the panko breadcrumbs.
- In a heavy pot, heat the vegetable or canola oil over medium heat until it reaches 350°F. Use a thermometer to ensure accuracy.
- Carefully add the coated chicken pieces to the hot oil in batches, frying each for 2-3 minutes or until golden brown.
- Use a slotted spoon to remove the chicken from the oil and drain on paper towels. Season with salt and serve immediately.
Leave a Reply