
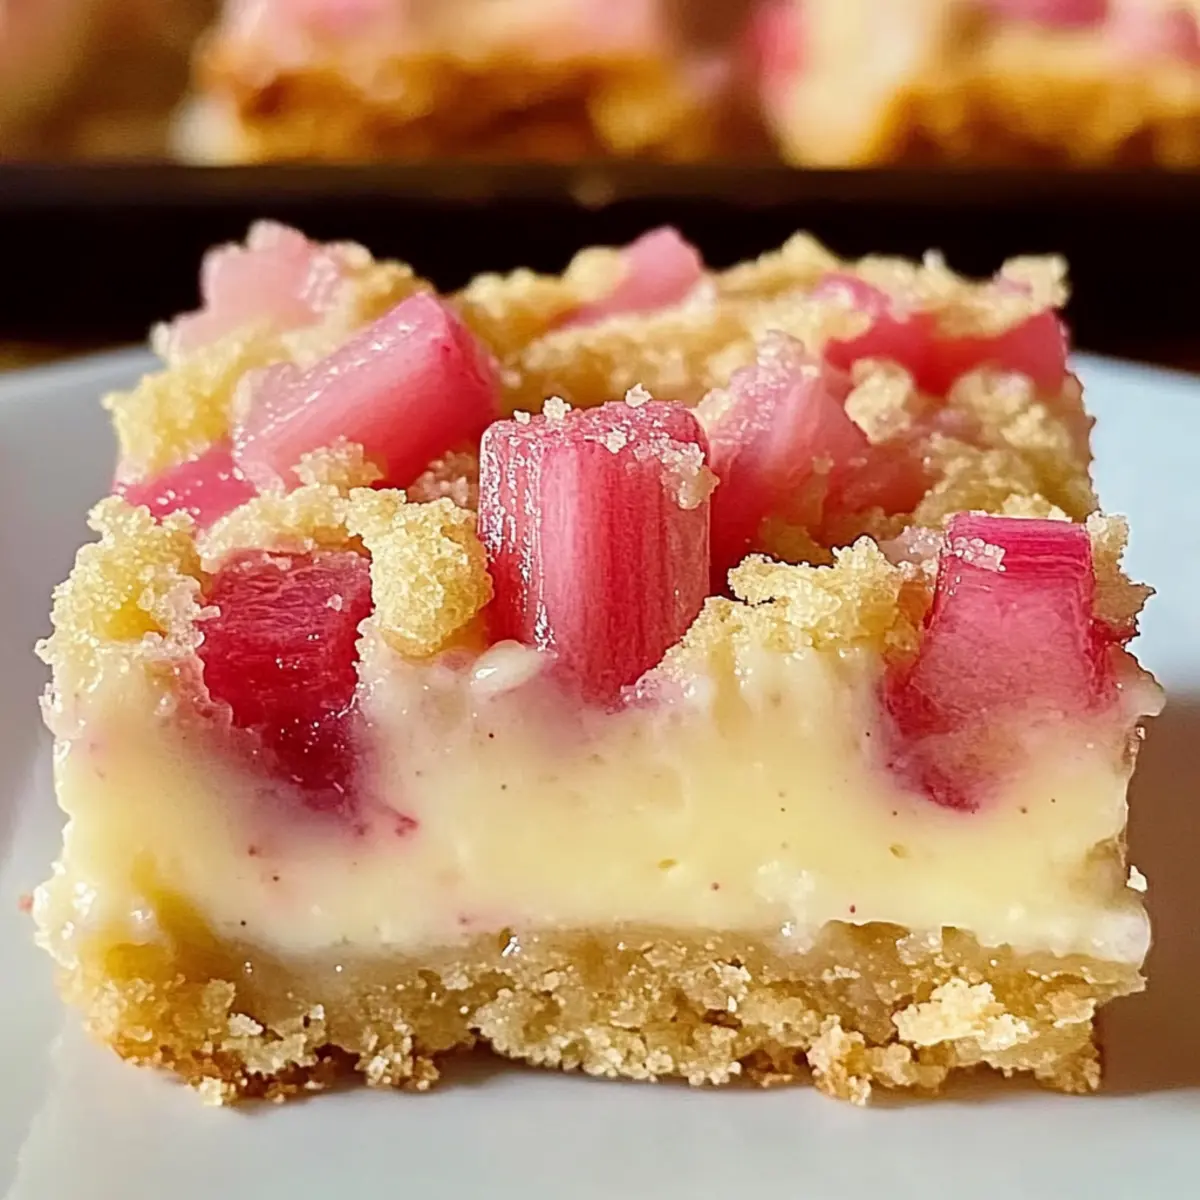
As I stood in my garden, a vibrant tangy aroma wafted through the air, inviting me to create something truly special. Enter the delightful Rhubarb Dream Bars—a sweet and tangy spring dessert that celebrates the season’s unique flavors. With just six simple ingredients, these bars offer a nostalgic taste of homemade goodness that transports me back to sunlit picnics and family gatherings. Not only are they incredibly easy to whip up, but they’re also a crowd-pleaser, ensuring everyone can savor this treat together. Plus, there’s a gluten-free option for those who need it! Ready to bring some spring cheer into your kitchen? Let’s dive into this delicious recipe!
Why are Rhubarb Dream Bars irresistible?
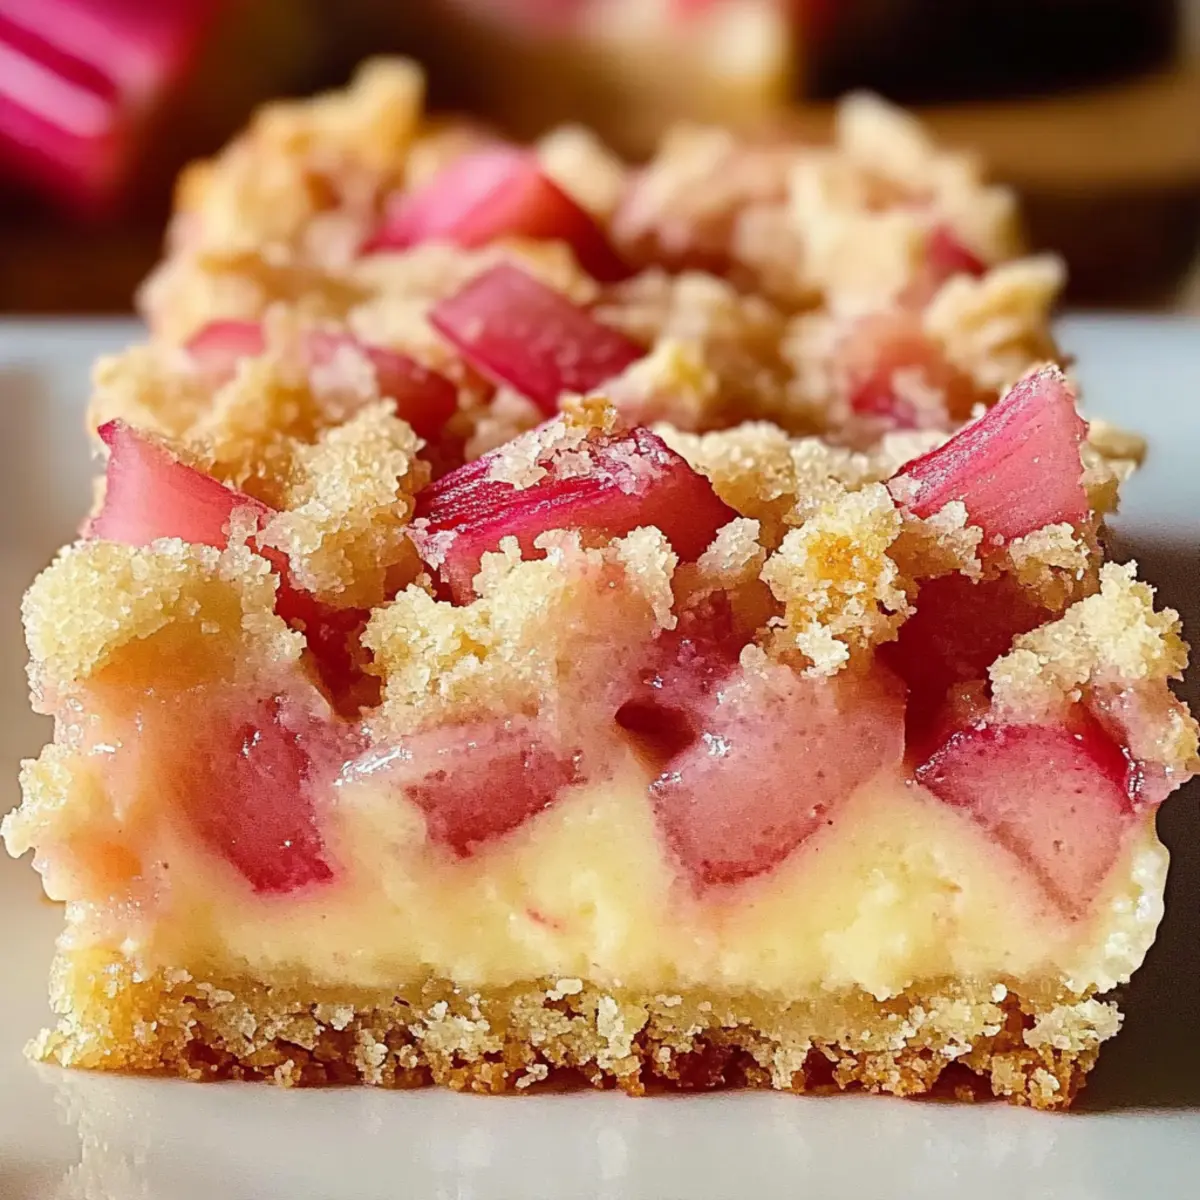
Nostalgic flavors that bring back memories of family gatherings make these bars a must-try! Simple preparation with just six ingredients ensures you can whip them up in no time, even on busy days. Versatile enough to swap rhubarb with seasonal berries, they cater to various tastes. Not to mention, a gluten-free option is available, hitting the mark for dietary preferences. Serve them chilled with a dollop of whipped cream or a scoop of ice cream, and you have a showstopper dessert that will wow your guests. Ready to enjoy? Pair these bars with my delightful Matcha Basque Cheesecake for a spring dessert table!
Rhubarb Dream Bars Ingredients
• Gather these simple ingredients to create your delicious rhubarb dream bars!
For the Crust
- All-Purpose Flour – Forms the structure of the crust; substitute with a gluten-free blend for a gluten-free option.
- Powdered Sugar – Sweetens and softens the crust for a delightful texture; granulated sugar can be used but may change the crust’s firmness.
- Butter (cold and cubed) – Adds richness and ensures a flaky crust; margarine can work for a dairy-free version.
For the Filling
- Large Eggs – Binds the filling together and creates a custard-like texture; using room temperature eggs enhances mixing.
- Granulated Sugar – Provides sweetness to balance the tang of rhubarb, making the filling irresistible.
- Salt – Amplifies the flavors of the bars, ensuring a delightful taste experience.
- Diced Rhubarb – The star of the show! Adds tang and freshness; fresh rhubarb is ideal, but thawed frozen can be substituted.
- Ground Cinnamon (optional) – Adds a touch of warmth; omit if you prefer the pure taste of rhubarb.
Now that you have your ingredients ready, let’s create these delightful Rhubarb Dream Bars together!
Step‑by‑Step Instructions for Rhubarb Dream Bars
Step 1: Preheat and Prepare
Begin by preheating your oven to 325°F (160°C). Grease a 9×13-inch baking pan with butter or non-stick spray to prevent sticking. This will create the perfect base for your Rhubarb Dream Bars. While the oven warms up, gather your ingredients, ensuring everything is at hand for a smooth cooking experience.
Step 2: Make the Crust
In a large mixing bowl, combine 2 cups of all-purpose flour with ½ cup of powdered sugar. Use a pastry cutter or your fingers to cut in 1 cup of cold, cubed butter until the mixture resembles coarse crumbs. This creates a flaky texture for your crust. Once combined, evenly press the crust mixture into the bottom of your prepared baking pan.
Step 3: Bake the Crust
Place the crust in the preheated oven and bake for about 15 minutes, or until it is lightly golden. Keep an eye on it; the edges should just begin to firm up while the center remains soft. Once baked, remove the crust from the oven and allow it to cool slightly while you prepare the filling.
Step 4: Mix the Filling
In the same mixing bowl, lightly beat 4 large eggs with a whisk. Add in 2 cups of granulated sugar, ½ cup of all-purpose flour, and 1 teaspoon of salt, mixing well until the batter is smooth. If you’re using cinnamon, now’s the time to add it in! This sweet mixture balances perfectly with the tangy rhubarb you’ll be folding in next.
Step 5: Add the Rhubarb
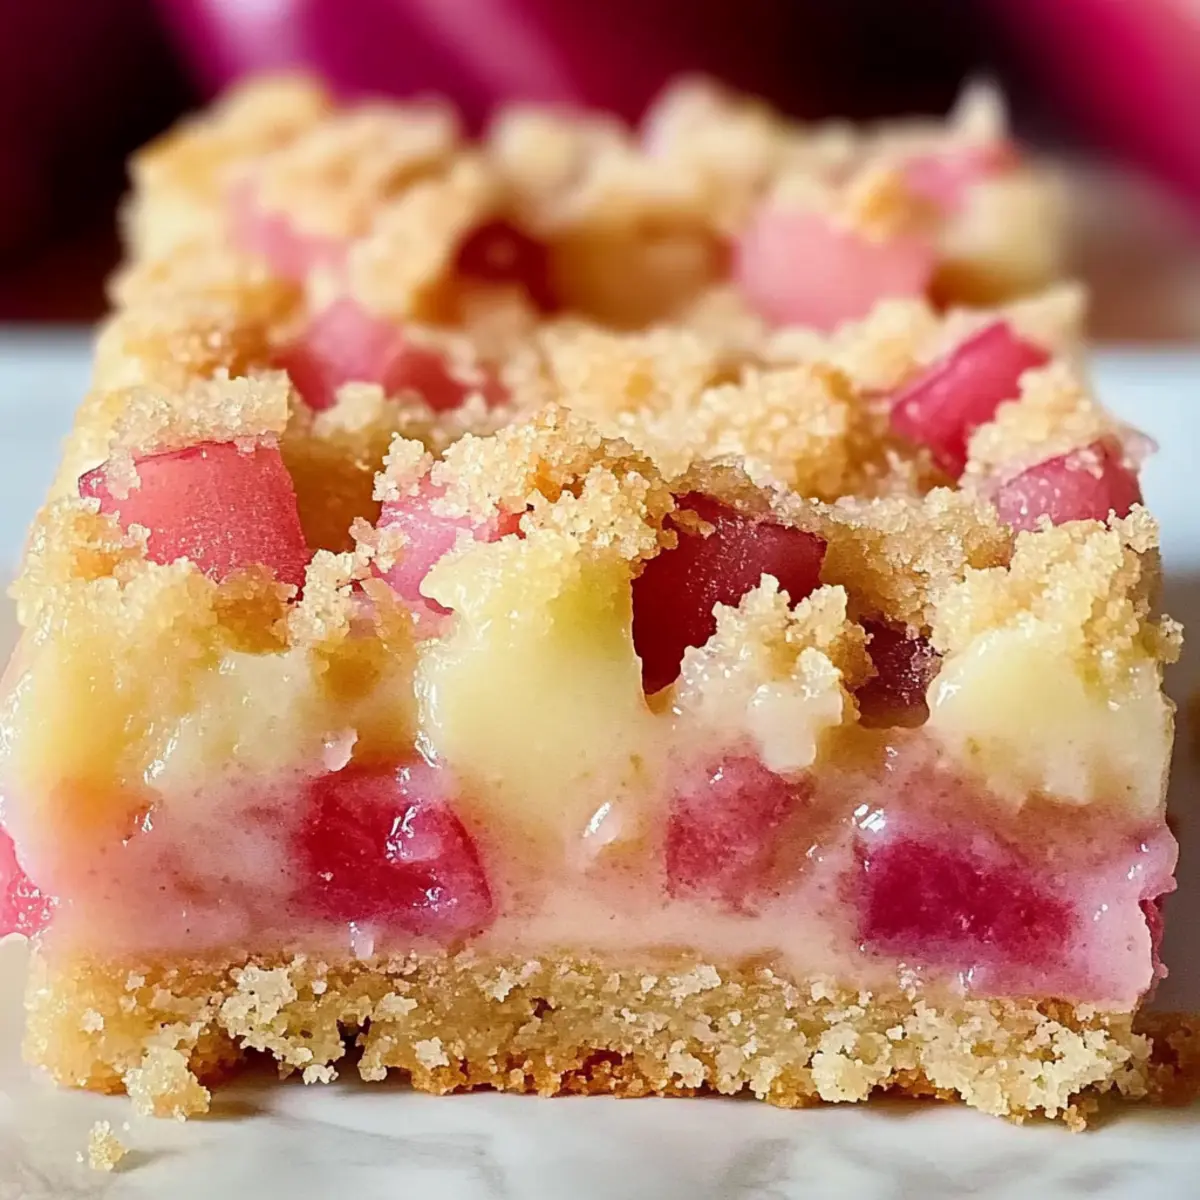
Gently fold in 4 cups of diced rhubarb into the egg mixture, ensuring not to break the pieces too much. This action captures the essence of spring in every bite of your Rhubarb Dream Bars. The mixture should be vibrant and speckled with the tangy fruit. Pour this luscious filling over the pre-baked crust, spreading it evenly.
Step 6: Bake Again
Return the pan to the oven and bake for approximately 60 minutes. The filling is done when it has set and is no longer jiggly in the center. You might notice a light golden color developing on top; that’s a sign of deliciousness! Once achieved, remove the bars from the oven and let them cool completely in the pan on a wire rack.
Step 7: Cool and Slice
After cooling, it’s crucial to let the Rhubarb Dream Bars chill in the fridge for a couple of hours, or overnight if possible. This allows the filling to firm up for clean cuts. When ready to serve, use a sharp knife to slice them into squares, revealing their tempting, creamy filling. Enjoy!
Expert Tips for Rhubarb Dream Bars
- Chill for Perfection: Let the bars cool overnight in the fridge for the best texture. This allows the filling to set beautifully.
- Room Temperature Eggs: Use eggs at room temperature for a smoother filling. Cold eggs can result in a lumpy mixture.
- Careful with Rhubarb: If using frozen rhubarb, be sure to thaw and drain it well to avoid excess moisture in your filling.
- Baking Time Check: Keep an eye on the filling during baking. It should be set and no longer jiggly, typically around 60 minutes.
- Clean Cuts: Make sure to let the bars cool completely before slicing. Warm bars can crumble and make for messy portions.
Enjoy making these delightful Rhubarb Dream Bars!
What to Serve with Rhubarb Dream Bars
As you slice into these tangy yet sweet bars, think of the delightful companions that will elevate your spring dessert experience.
-
Whipped Cream: A fluffy dollop adds a rich creaminess that complements the tang of the rhubarb. It balances the sweetness perfectly, making each bite a heavenly experience.
-
Vanilla Ice Cream: The creamy coldness of vanilla ice cream contrasts beautifully with the warm, custard-like filling. It’s a classic pairing that brings a magical touch to your dessert table.
-
Fresh Berries: A colorful assortment of ripe strawberries, blueberries, or raspberries adds a burst of freshness. Their natural sweetness enhances the rhubarb’s tang, creating a lovely explosion of flavors.
-
Mint Sprigs: Adding a few fresh mint leaves as a garnish brings a refreshing touch, both visually and in taste. The aromatic qualities elevate the whole dessert experience!
-
Warm Tea or Coffee: A cup of herbal tea or strong coffee can provide a lovely balance to the sweetness of the bars. The warm beverage creates a comforting atmosphere for enjoying this nostalgic treat.
-
Lemonade: A chilled, zesty lemonade offers a refreshing contrast to the rich dream bars. Its tartness echoes the rhubarb, ensuring that every sip adds to the joy of your dessert.
Consider these delightful pairings to create a delicious experience that brings family and friends together around the table while celebrating the tastes of spring.
Make Ahead Options
These Rhubarb Dream Bars are perfect for busy home cooks who love to meal prep! You can prepare the crust up to 24 hours in advance; simply mix the ingredients, press the mixture into the baking pan, and store it covered in the fridge. The filling can also be made a day ahead by mixing the egg and sugar mixture, then folding in the rhubarb. Store it in an airtight container in the fridge. When you’re ready to bake, pour the prepared filling over the chilled crust and bake as instructed. This method ensures your bars are just as delicious and fresh, saving you time while adding a nostalgic touch to your spring dessert!
Storage Tips for Rhubarb Dream Bars
- Fridge: Store leftover Rhubarb Dream Bars in an airtight container in the refrigerator for up to 4-5 days to maintain their freshness and flavor.
- Freezer: For longer storage, freeze the bars for up to 2 months. Be sure to separate layers with parchment paper to prevent sticking.
- Thawing: When ready to enjoy, thaw overnight in the refrigerator. Reheat in the oven at 350°F for about 10-15 minutes, if desired.
- Serving Tip: Enjoy chilled, but warming them slightly can accentuate the creamy filling and enhance the flavor!
Rhubarb Dream Bars Variations & Substitutions
Looking to put your own spin on these delightful bars? Customizing your Rhubarb Dream Bars makes them even more special!
- Dairy-Free: Substitute butter with margarine or coconut oil to create a luscious, dairy-free version that’s just as rich.
- Gluten-Free: Use a gluten-free flour blend for both the crust and filling without sacrificing texture or flavor. It’s a fantastic way to accommodate dietary needs!
- Berry Bliss: Swap out rhubarb for chopped strawberries or raspberries for a sweeter, vibrant alternative. The tartness will be replaced with a lovely fruity zing.
- Nuts About Nuts: Add ½ cup of chopped walnuts or almonds into the filling or sprinkle atop for a delightful crunch. The nutty profile pairs beautifully with the fruity filling!
- Fruity Fusion: Mix diced apples with the rhubarb for an exciting flavor twist. They’ll add a different sweetness while keeping that famous tang!
- Spiced Sensation: Experiment with a pinch of ginger or nutmeg alongside the cinnamon for added warmth and complexity in flavor. Spice it up based on your preferences!
- Zesty Addition: Grate some lemon or orange zest into the filling for a refreshing citrus twist that brightens the dessert. It’s a small touch that makes a big impact!
Don’t forget to serve your Rhubarb Dream Bars with a dollop of whipped cream or a scoop of vanilla ice cream for the ultimate experience! For an extra treat, you might consider whipping up my decadent Bake Chocolate Bars to serve alongside!
Rhubarb Dream Bars Recipe FAQs
What ripeness of rhubarb should I use?
Absolutely, fresh rhubarb is ideal for this recipe! Look for stalks that are firm, vibrant pink or green in color, and free from dark spots or wilting. If you’re using frozen rhubarb, ensure it’s properly thawed and drained to avoid excess moisture in your filling.
How should I store leftover Rhubarb Dream Bars?
To keep your Rhubarb Dream Bars fresh, store them in an airtight container in the refrigerator for up to 4-5 days. This method preserves their creamy filling and buttery crust beautifully!
Can I freeze Rhubarb Dream Bars?
Definitely! You can freeze the bars for up to 2 months. To do this, cut the bars into squares, place parchment paper between layers to prevent sticking, and store them in an airtight container. When you’re ready to enjoy them, simply thaw overnight in the fridge or warm them slightly in the oven at 350°F for about 10-15 minutes.
What if my filling doesn’t set properly?
If your Rhubarb Dream Bars aren’t setting, it’s likely due to under-baking. Make sure to bake for the full 60 minutes until the filling is firm and no longer jiggly in the center. If they’re still warm after baking, allow them to cool completely before cutting; this will help firm them up further.
Are Rhubarb Dream Bars suitable for gluten-free diets?
Very! You can easily make them gluten-free by substituting the all-purpose flour with a gluten-free blend. Just ensure that all other ingredients are gluten-free, such as the powdered sugar and any optional toppings you choose to use.
Can pets eat rhubarb?
No, rhubarb should be kept away from pets as it can be toxic to dogs and cats, leading to adverse reactions. Always ensure that your kitchen creations are pet-safe and enjoy these delightful bars with your human friends and family!

Rhubarb Dream Bars: A Nostalgic Sweet Treat for Spring
Ingredients
Equipment
Method
- Preheat your oven to 325°F (160°C) and grease a 9x13-inch baking pan.
- In a large bowl, combine 2 cups of all-purpose flour with ½ cup of powdered sugar. Cut in 1 cup of cold, cubed butter until the mixture resembles coarse crumbs.
- Press the crust mixture evenly into the bottom of your prepared baking pan.
- Bake the crust for about 15 minutes until lightly golden. Remove and allow to cool slightly.
- In the same mixing bowl, lightly beat 4 large eggs. Add in 2 cups of granulated sugar, ½ cup of all-purpose flour, and 1 teaspoon of salt, mixing well until smooth.
- Gently fold in 4 cups of diced rhubarb into the egg mixture and pour it over the pre-baked crust.
- Return to the oven and bake for approximately 60 minutes until the filling is set and lightly golden.
- Allow the bars to cool completely in the pan on a wire rack before chilling in the fridge for a couple of hours.
- Slice into squares and enjoy!
Leave a Reply